Woodworking

Concept Flower Thing v2
This project started out as a design exploration using “Surfaces” in Autodesk Fusion based around some rough sketches I did on paper. I wanted to create a bowl-like project that was challenging to build in... [read more]
May
3
2025
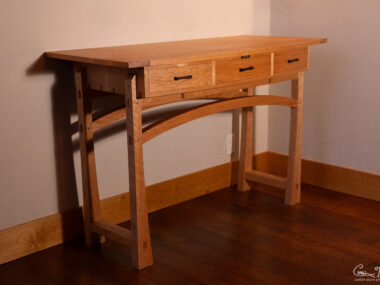
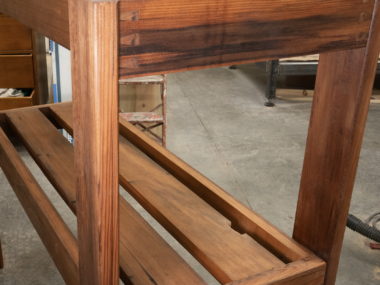
Curved Entry Way Table – Modern Woodworking
I’ve been wanting to build more furniture for our house, and I’ve long been inspired by seeing Michael Peckovich’s work, especially his Curved Entry Way Table that I saw in his book Foundations of Woodworking.... [read more]
Mar
29
2025

My Woodworking Income – YouTube, Etsy, Website
Hey all! I thought I’d do a video documenting how well my woodworking business is going, in particular now that I have over 10,000 subscribers on YouTube. Let me talk about my goals. I’m really... [read more]
Feb
27
2025
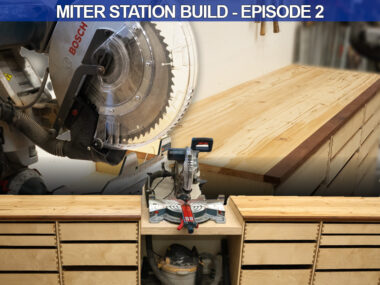
Part 2: The Best Miter Station – CAD and Shop Work
In my last blog post I discussed a bit about my miter station design ideas. I finished up a video where I discuss some of the overall CAD design concepts and how I did a... [read more]
Feb
11
2025
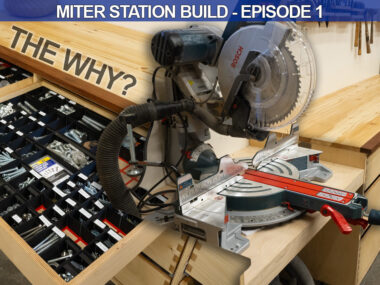
The Best Miter Station and Shop Cabinets
Every YouTuber will say their thing is “the best” or “ultimate” or whatever. It’s the bait to pull people in to watch their video, and I kind of have to do it too. The problem... [read more]
Jan
31
2025
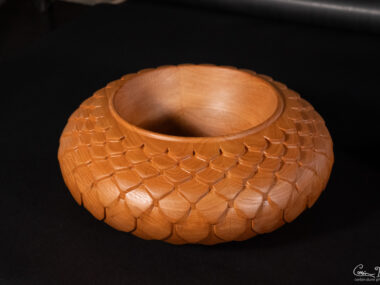
The Dragon Scale Bowl
Well, my blog falls a bit behind, but a month ago I made this new bowl, which I call the “Dragon Scale Bowl”. Initially this idea started out as an exploration of “scales” using Rhino... [read more]
Dec
21
2024
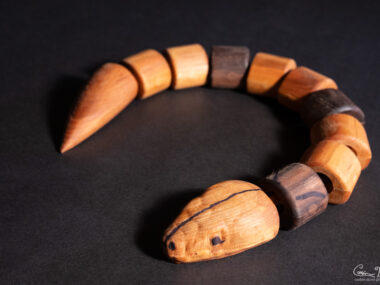
The Articulating Wood Snakes
Video Link: https://youtu.be/4gjCOKrucIA My son’s 6th birthday was coming up, and it seems to be a modern kid’s party tradition for all the attendees to get a gift bag or something. I’ve previously 3d printed... [read more]
Nov
22
2024
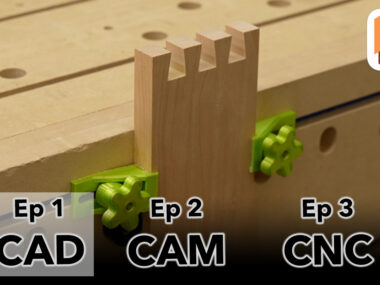
Ep 1: CAD Dovetail Design in Autodesk Fusion 360
I design a lot of my projects in Autodesk Fusion 360. Well, I guess it is just called “Fusion” now, which I think was a bad move by Autodesk to rename the product. People can... [read more]
Oct
24
2024
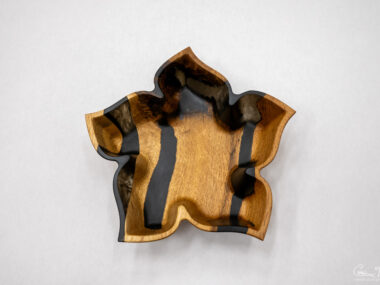
Oak and Epoxy Five Petal Flower Bowl
A while back I posted a new bowl design, which I call the “Five Petal Flower Bowl”. I keep messing up and writing “pedal” instead of “petal” — I guess I have mountain biking on... [read more]
Oct
21
2024

Building a Wall Cabinet / Medicine Cabinet
I just finished building a medicine cabinet for my bathroom. I wanted something that matched the mirror frame design that I did about a month ago. This project file is shared over on Corbin’s Workshop... [read more]
Oct
17
2024
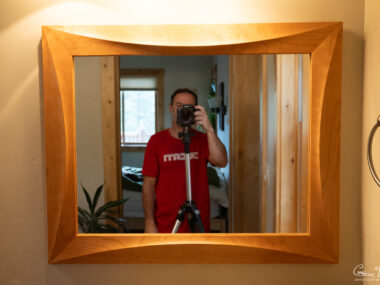
The Mirror Frame v1 and Other Concepts
Yeah, I did spend $1100 to make two of these mirrors for my bathroom, but it was worth it! And it really wasn’t that much; the majority of the cost was purchasing software: Rhino. I... [read more]
Sep
27
2024
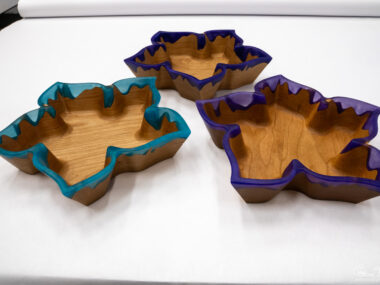
The Five Petal Flower Bowl
Oh boy! I kind of forgot to share this project on my blog. I wanted to make a new bowl design, and just play with some shapes in Fusion 360. Ahem…I mean, “Fusion”, as they... [read more]
Sep
17
2024
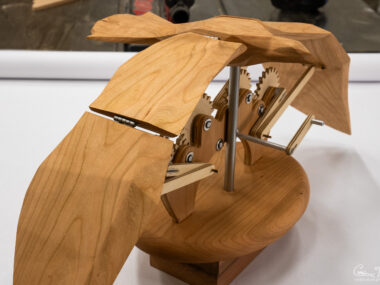
The Falcon Automata
This is a mechanical flying falcon automaton, powered by turning the crank arm in front of it to move the wings up and down. I recently just realized that “automata”, which is what I’ve been... [read more]
Jun
29
2024
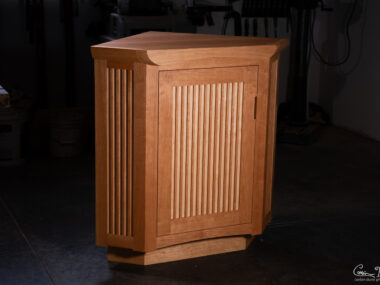
The Corner Cabinet – CNC Woodworking
First off, check out the build video: The Corner Cabinet – CNC Woodworking Fine Furniture I finished this project about a month ago, but I never got around to posting it to my website. My... [read more]
Mar
23
2024
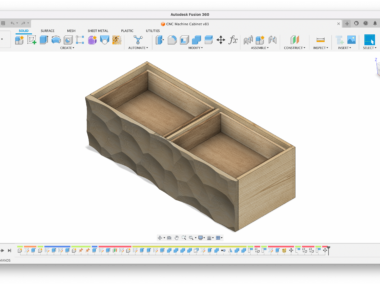
The Voronoi Texture Cabinet Design
Video Link: The Voronoi Texture Cabinet Design on YouTube I started this cabinet late last year and finished in early January. My goal was to build something to hold a lot of my CNC accessories... [read more]
Feb
22
2024
The Hydroponics/Aquaponics Setup
Normally when you think of California you think of sunny beaches and a warm temperate climate where you can easily grow fruits and vegetables. However, we live near Lake Tahoe, and it is cold in... [read more]
Feb
18
2024
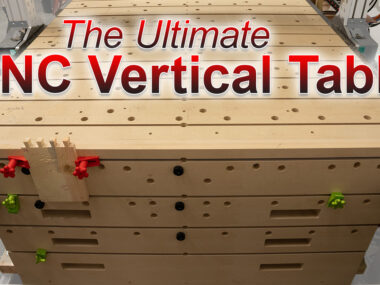
Video & Notes: CNC Vertical Work Table
Video link: CNC Vertical Work Table Build It’s been a while since I posted on my blog, and I’ve got a few videos on YouTube that are interesting to talk about. This one above is... [read more]
Feb
16
2024

Video: Perfect CNC Inlays
This video is for CNC woodworkers on how to get perfect inlays with a straight bit. Using a straight bit is required when you want a deep inlay; something greater than 1/2″ thick and up... [read more]
Dec
29
2023
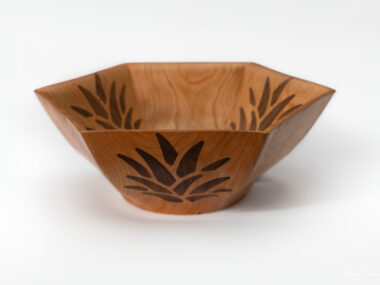
Hex Salad Bowl with Wood Inlay – CNC Woodworking
Watch the video build: Hex Inlay Salad Bowl – My Hardest CNC Project My last hexagonal salad bowl was made with epoxy and cherry wood. I laminated up a bunch of pieces of cherry and... [read more]
Nov
25
2023

Video: Dust Collector Closet
Video link: No cyclone dust collector, no problem! My dust collector is terrible at fine filtration. It is a cheapish 3 HP Grizzly dust collector. Something similar to this base 3 HP G1030Z2P that is... [read more]
Nov
3
2023
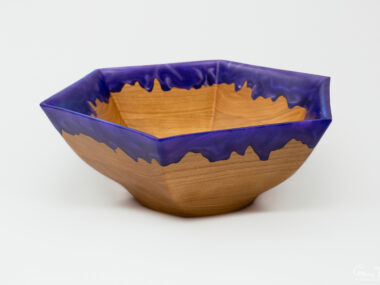
Video: Hexagonal Salad Bowl
I finished this new salad bowl a few days ago. I decided to do my “signature style” of epoxy drips on a new bowl design. I played around with a lot of different shapes using... [read more]
Oct
14
2023
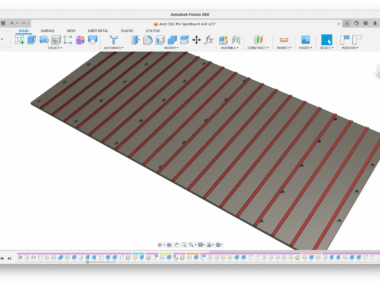
Video: How to Make a CNC Spoilboard
Video link: The Ultimate CNC Spoilboard – over on YouTube. A lot of the base footage for this video was filmed when I built my CNC machine back in January and February of 2023. I... [read more]
Oct
6
2023
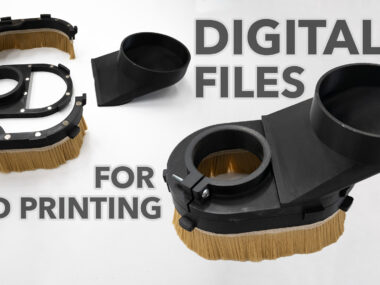
CNC Dust Boot / CNC Dust Shoe / Dust Manifold / Version 2.0
Video link: 3D Printed CNC Dust Boot This is a new CNC Dust Shoe that I designed in Fusion 360. You can download it for free over on my workshop site: CNC Dust Boot for... [read more]
Sep
20
2023
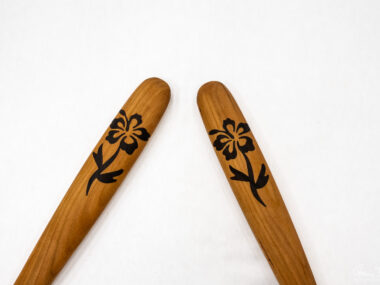
Salad Utensil Set – Hibiscus Inlay – Cherry and Walnut
This is the latest incarnation of my wood utensil set. I had a few people say I should do a salad set — and this is what I came up with! The overall shape is... [read more]
Aug
17
2023

Video: CNC’ed Salad Bowl – A Failure?
I had a lot of issues making this bowl, and it took over a month to get it completed. I did a lot of test cuts…and I went through a lot of problems before I... [read more]
Jul
14
2023
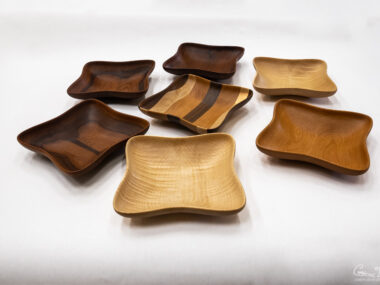
Videos: Shallow Flow Bowl – CNC Woodworking Projects
This is my “Shallow Flow Bowl” design that I did a while back in Fusion 360. I decided to make a few of them out of wood for sale on Corbin’s Workshop and Etsy and... [read more]
Jun
29
2023
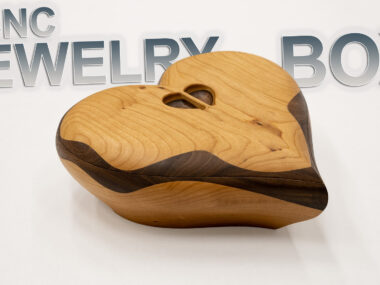
Video: Wood Heart Boxes
I made a few more of these boxes and finished up a video on the whole process. This was one of the first projects on my Avid CNC that I got earlier this year. Some... [read more]
Jun
9
2023
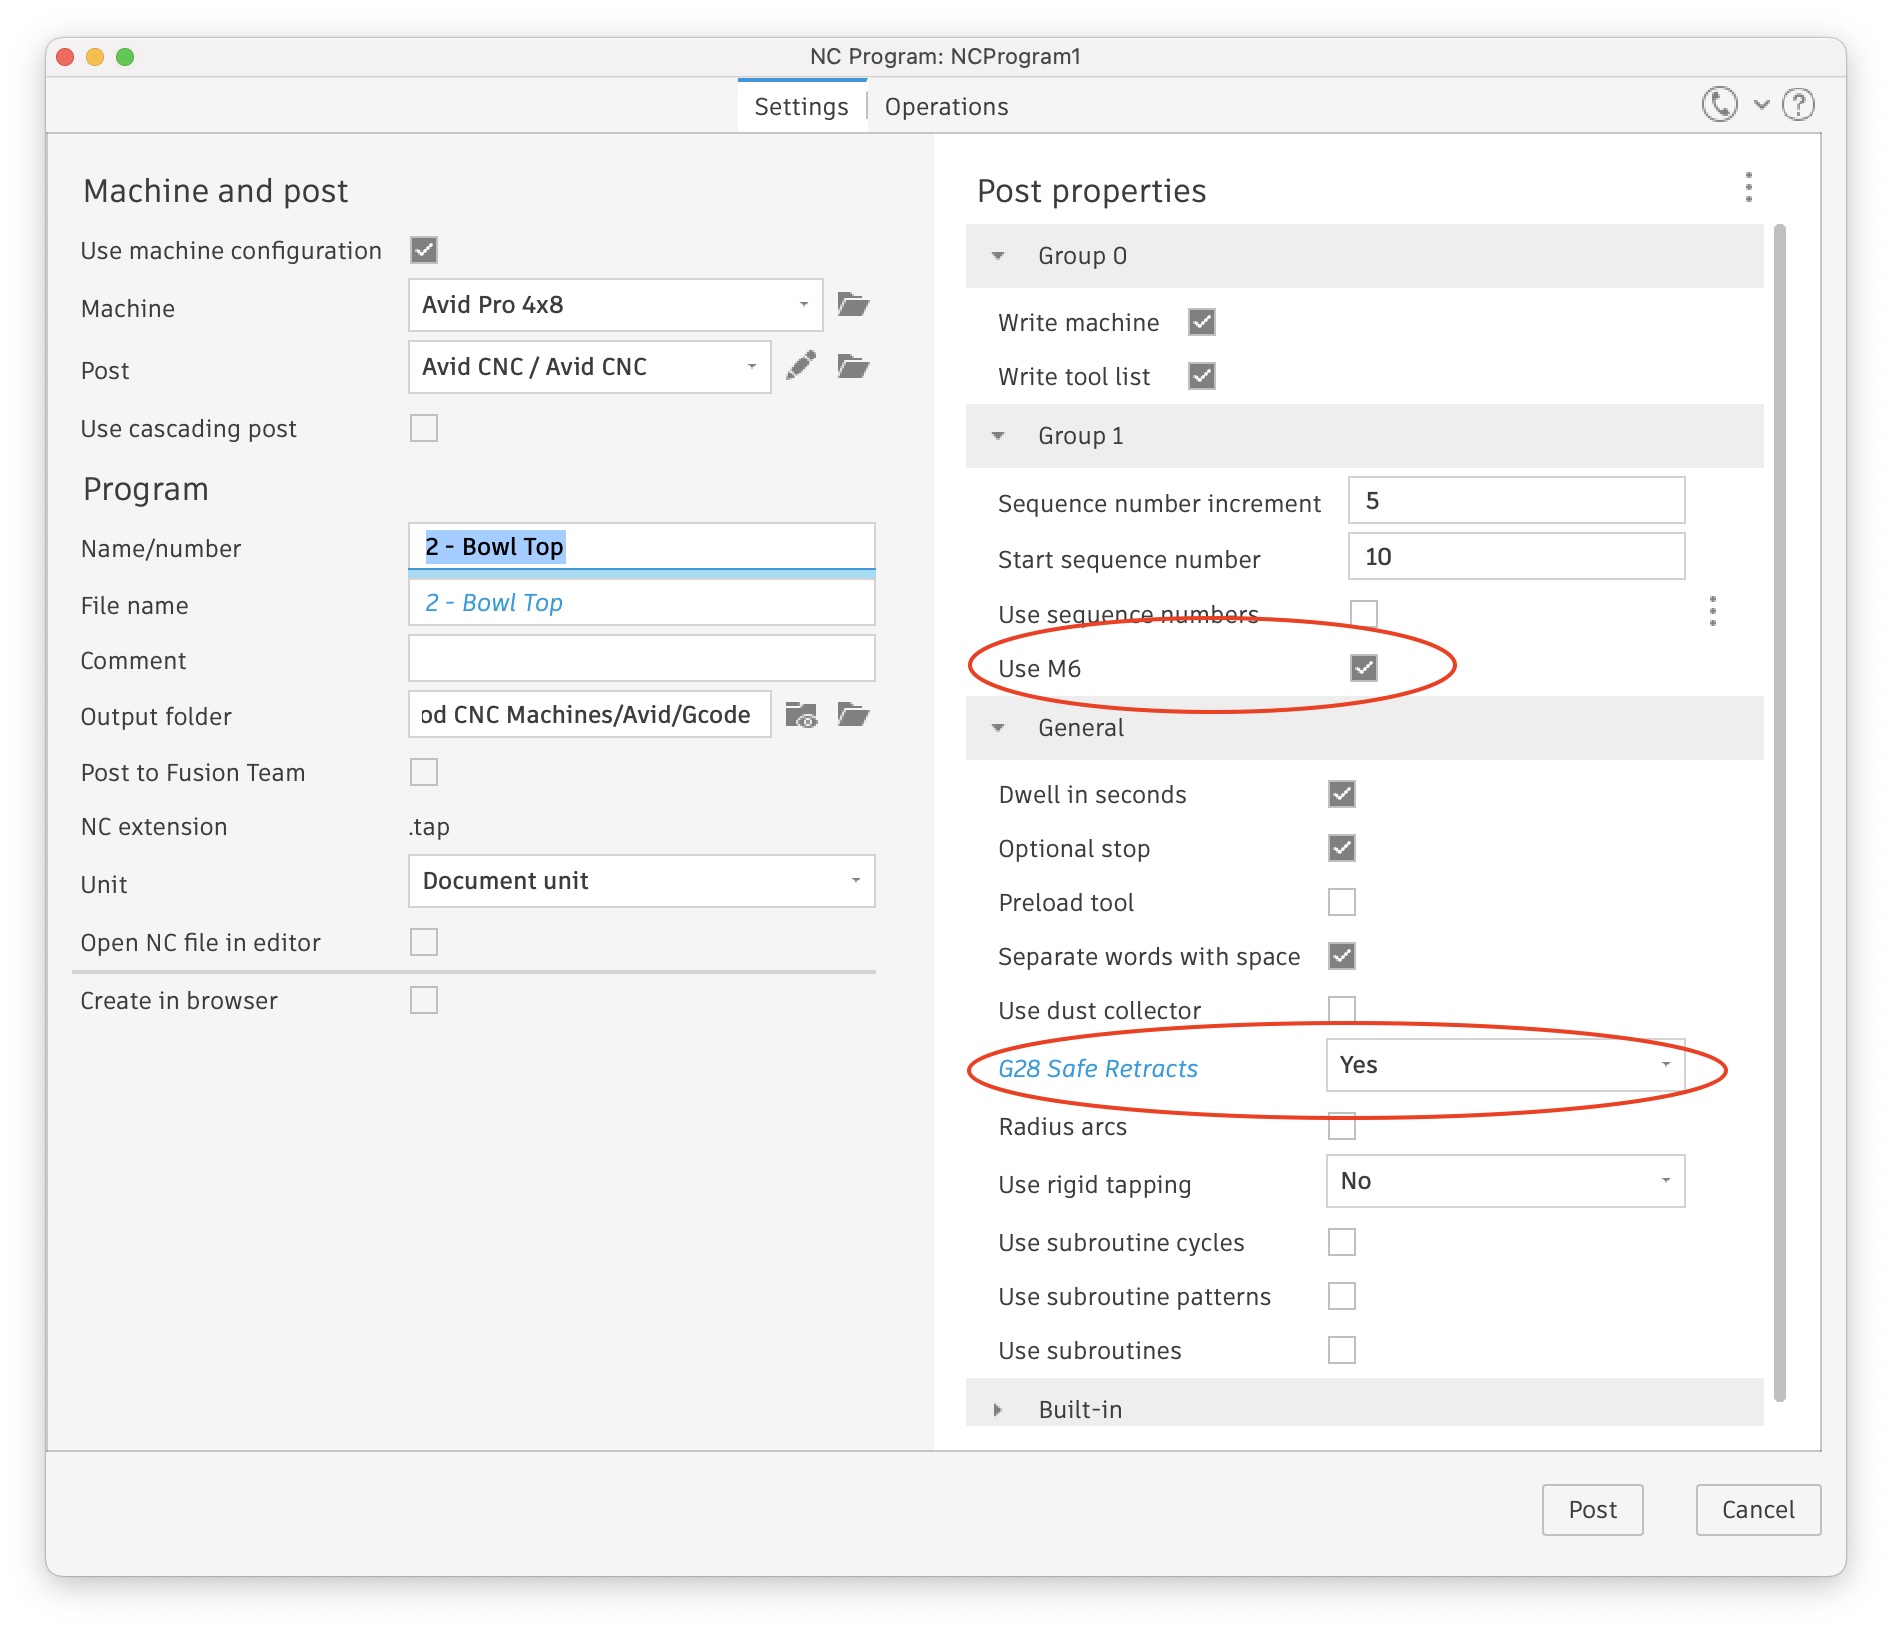
Avid CNC ATC Post Processor for Fusion 360
If you are using an Automatic Tool Changer (ATC) with an Avid CNC then you have to customize or install a new post processor to make it work properly in Fusion 360. UPDATE: the current... [read more]
May
27
2023
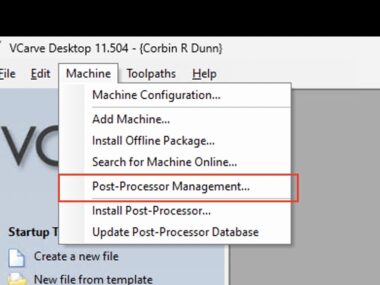
Avid CNC ATC Post Processor Setup – Vectric VCarve / Vectric Aspire
If you are using an Automatic Tool Changer (ATC) with an Avid CNC (Mach 4 or Centroid), then you need to customize the post processor for Vectric. The one provided by Avid is not right!... [read more]
May
21
2023
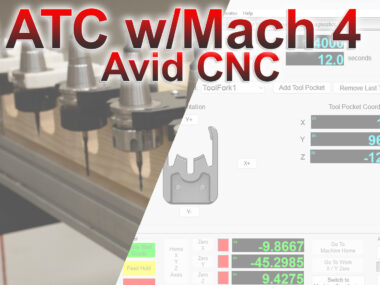
Video: Mach 4 Setup for an ATC
In one of my last posts, I discussed how I setup the hardware for my ATC on my Avid CNC. This video describes the software side of things. I’ve been working on this software for... [read more]
May
19
2023
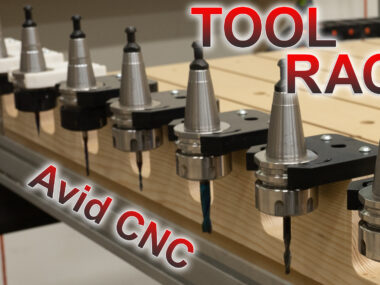
Video: How to Make an ATC Tool Rack
I needed a tool rack for my HITECO ATC spindle on my Avid CNC machine. I experimented with 3D printing some holders, but I felt like they were too weak. So, I ended up machining... [read more]
May
9
2023
As an Amazon Associate I earn from qualifying purchases.
(c) 2008-2025 Corbin Dunn
Subscribe to RSS feeds for entries.
50 queries. 0.280 seconds.