The Hydroponics/Aquaponics Setup
Normally when you think of California you think of sunny beaches and a warm temperate climate where you can easily grow fruits and vegetables. However, we live near Lake Tahoe, and it is cold in the winter with lots of snow. The growing season is pretty short, and we have been wanting to have more fresh organic vegetables year round. So, I decided to do some research into hydroponics and aquaponics. Aquaponics is hydroponics, but also provides fresh fish to eat, and the fish waste feeds the plants.
I decided to develop a system that could be run as either a straight hydroponics, or easily be converted to an aquaponics system. I’m doing a hybrid system, where I manually take water from my other fish tank and use it as the water for the hydroponics system, but I also augment it with proper nutrients so the plants stay happy.
I started by building a base out of reclaimed redwood, and the build video is here: CNC Dovetail Joinery with Old Growth Redwood (and embedded above).
The highlight of the video is using my CNC machine to cut all the dovetail joinery, and it was pretty easy to do facing the boards flat on my bed, and accommodating the bit thickness into my design. I could have mounted the pins vertically using my new vertical spoilboard, but I wanted to just try out some other techniques.
One of my wife’s goals was to use a food grade plastic. So, all the bins are a high quality restaurant plastic bin, designed for food contact. I’ve seen a lot of people do cheap builds where they use random IKEA bins. I’m sure they would work, but we were worried about the plastic chemicals leaching into the vegetables.
The system has a submersible pump in the aquarium on the bottom. It is set on a basic timer that I can setup via my iPhone. The pump fills up one bin on each level, which then has an inter-connect to adjacent bins. One bin has a bell valve drain, and once the water reaches the top the bell valve starts draining all the water out. I run the pump long enough for the bell valve to start working, and then it shuts off. All the water drains out, and every few hours the cycle starts again. If I had fish in the bottom tank, I could just let the pump run 24 hours a day, constantly cycling (and filtering) the water. I might have some issues with getting the water level right, as quite a bit of the water is used to fill up the the grow bins, so it may not work too well if I actually had food grade fish down there (ie: tilapia). LED lights are also on a timer, set to run for 12 hours.


This endeavor wasn’t cheap! I kept track of all the materials, and my grand total was $686.11. And that is excluding the wood, which I got for free. I think the system is better than a lot of the all plastic drip (NFT) systems that people sell.
Materials:
- Basic 400 GPH Pump
- Drain Fittings – I should have used regular PVC fittings from Home Depot and saved some $$$.
- Clay Pebbles / LECA – Three bags! One of the biggest expenses.
- Grow Lights – White – Trying white an a red spectrum; I have four extra I used for other stuff.
- Grow Lights – Pink – Apparently needed to encourage flowering. I haven’t gotten that far yet!
- Rockwool – Used to start seeds.
- Seals – I used these to interconnect the boxes.
- Hoses – BPA Free! Lots of stuff on the internet may not be quite safe for food contact.
- Smart Switches – these things are awesome! I’ll be getting more for other projects.
- White boxes – I got the deepest…which is good, as roots go to the bottom, but shallow would mean less water required.
- Fish tank from Petco: $40
- Misc Home Depot connections (PVC, etc)
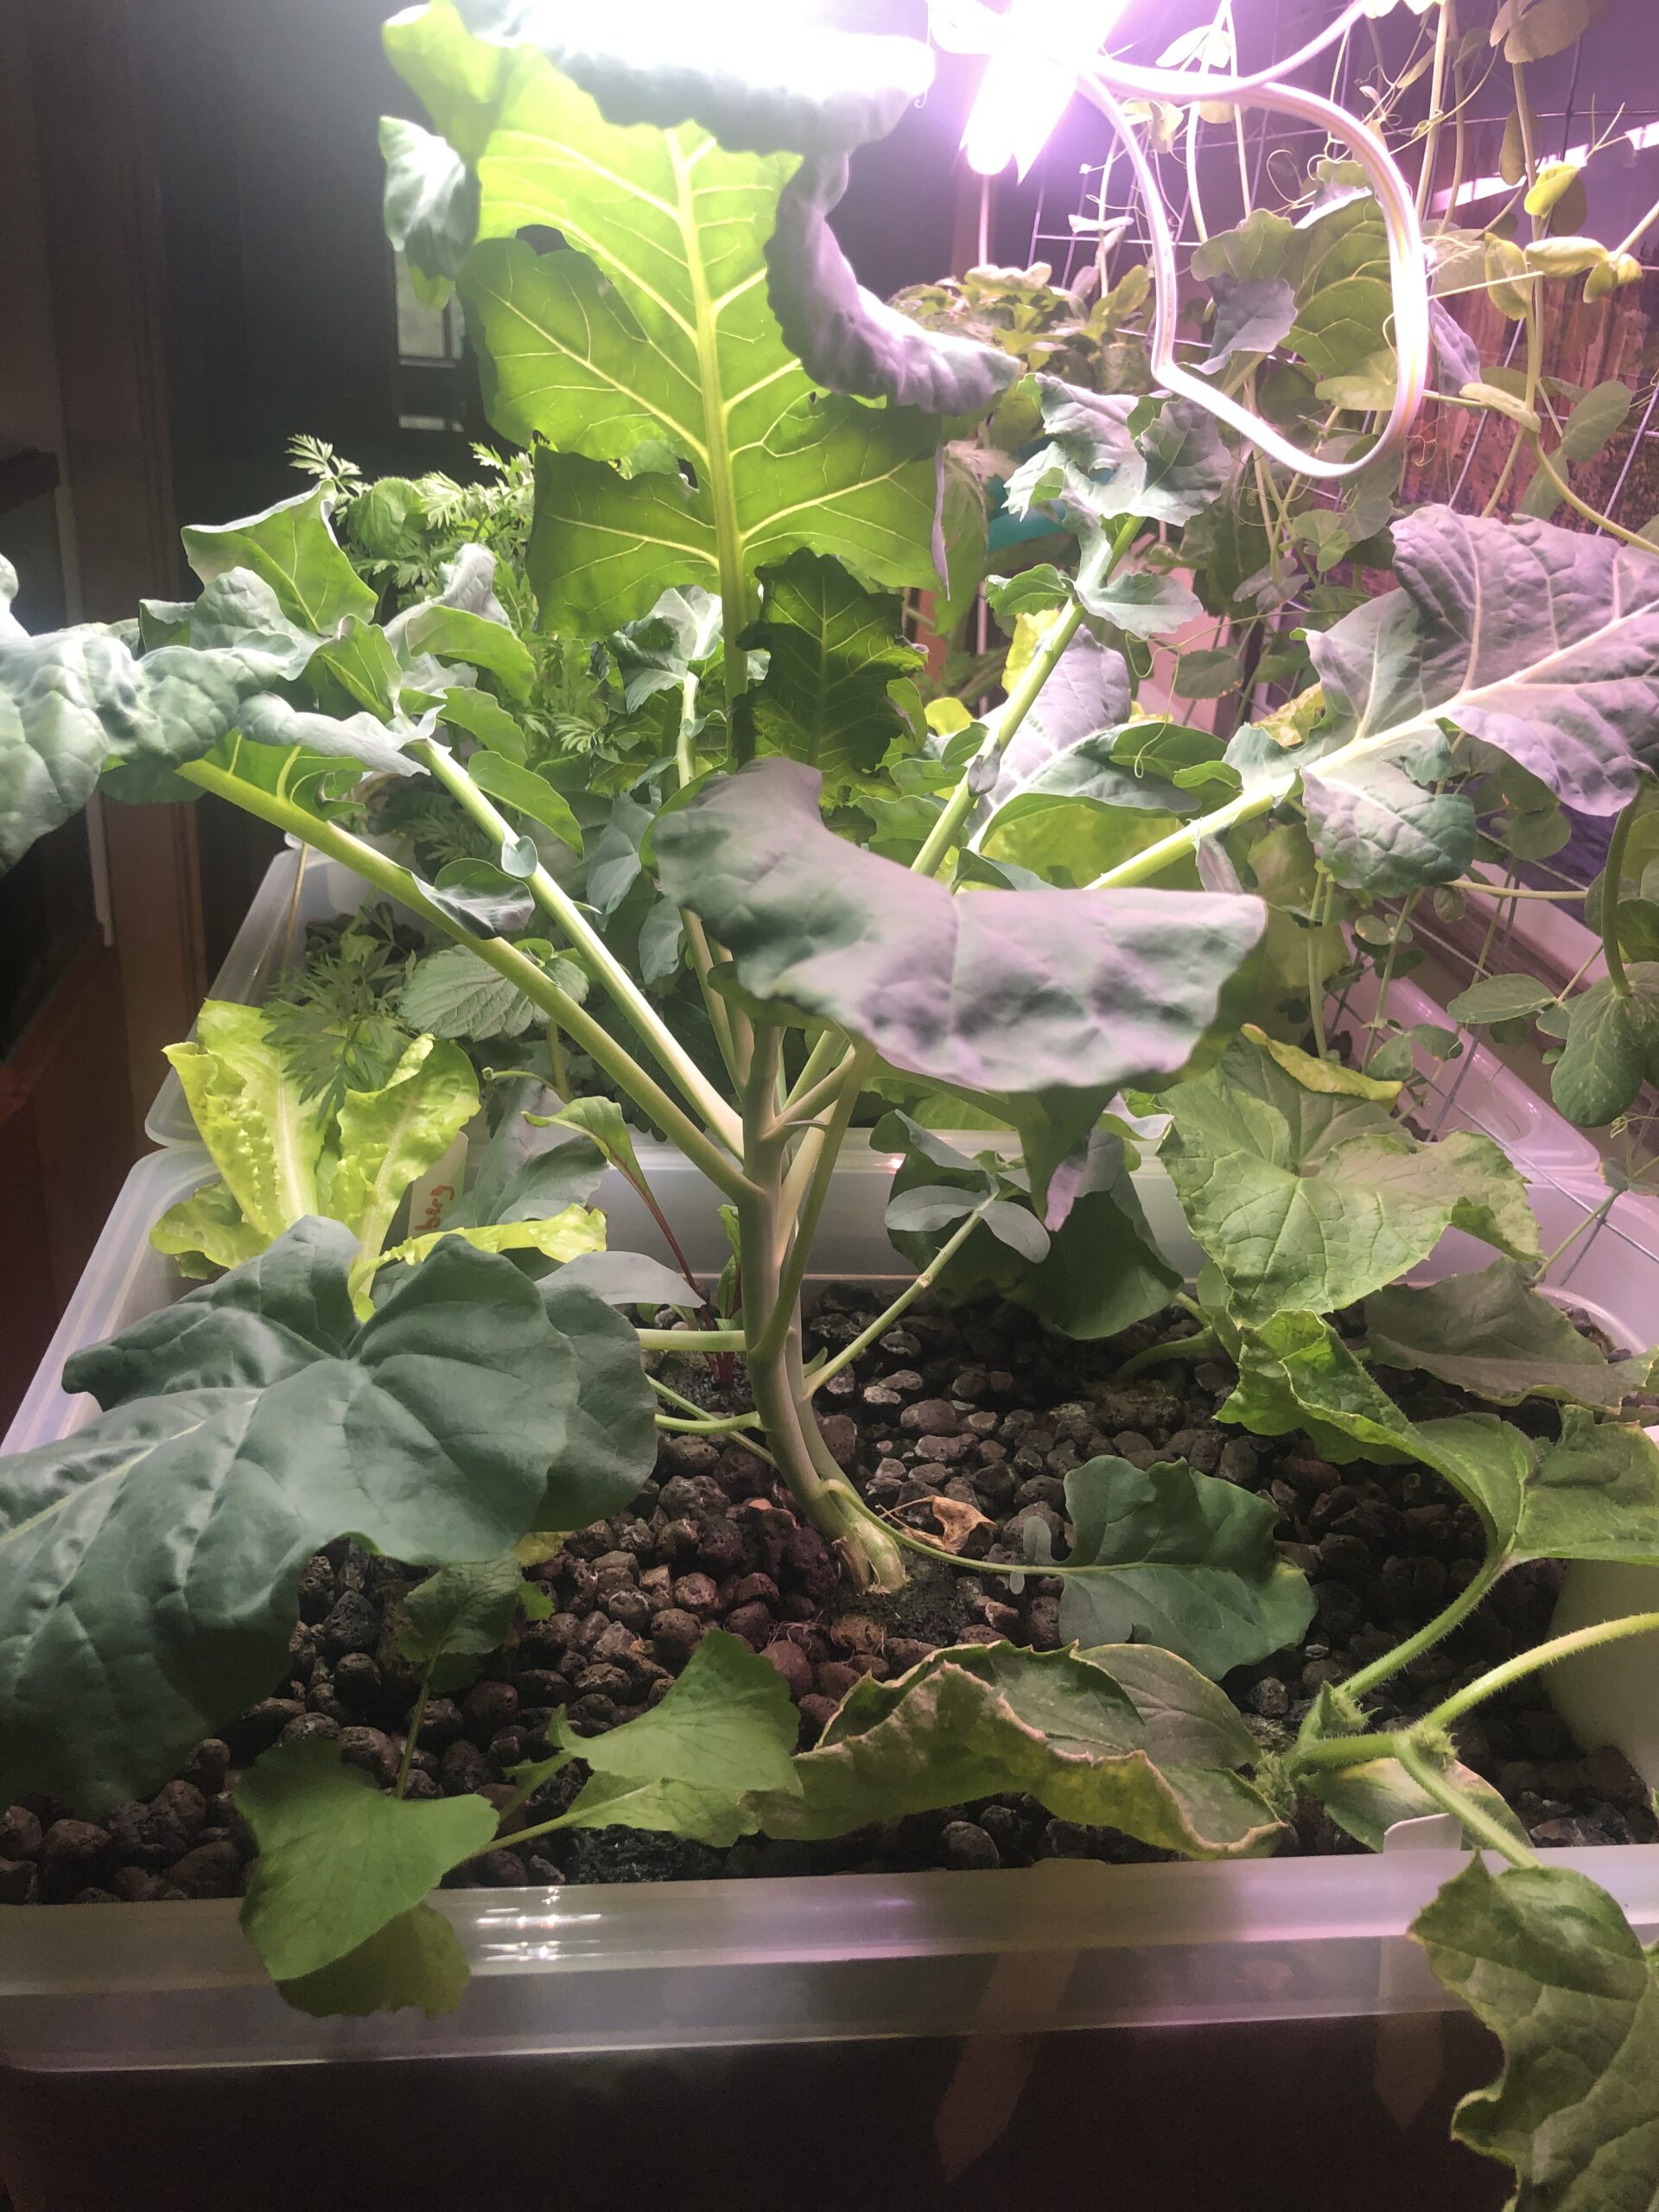
Update: May 2024
Growing certain things works great: lettuce and leafy greens seem to easily grow. Root vegetables don’t really work in the clay pebbles, so carrots, beets and radishes never really formed. Broccoli great huge, and got one small “tree”, but didn’t get as big of a flower as I was expecting. The tomatoes started off great and grew voraciously, but they suffered “bud drop” due to some missing nutrient of imbalance. I tried to adjust the Ph, as it seemed really high at some points (up to 8), but that didn’t help, and it kept dropping flowers. The plant itself was huge, but I only got two small tomatoes before pulling it out after five months. Strawberries did well at first, and then started to rot near the base; something was also missing for them.


