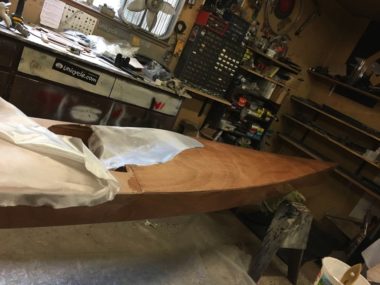
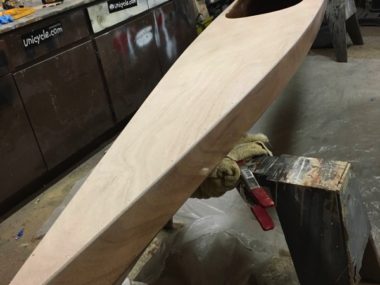
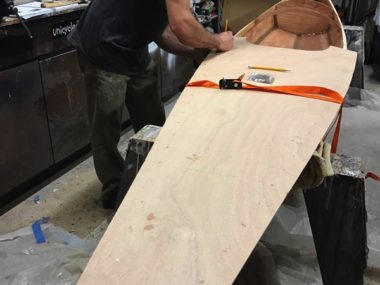
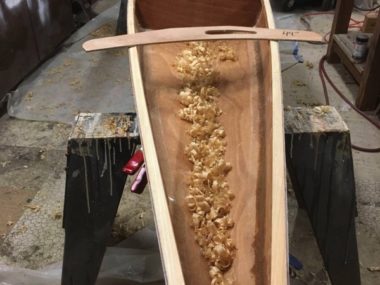
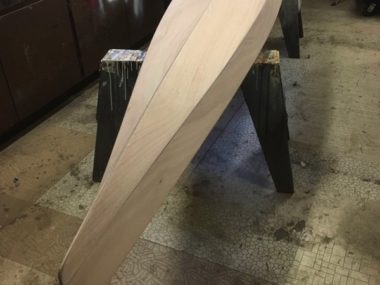
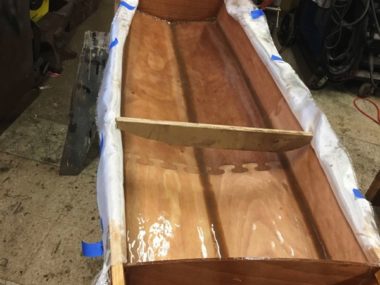
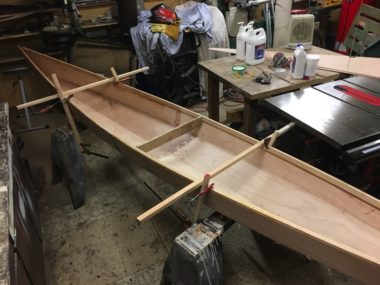
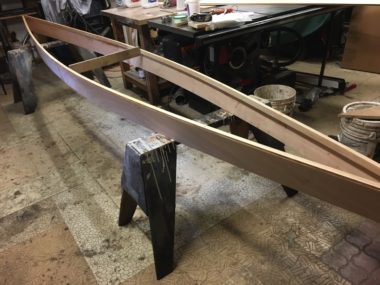
I used 4oz fiberglass on top, per the instructions in the kit. I was afraid I was going to run out of epoxy hardener, so I only glassed half of the boat at first. This...
[read more]
I’ve been busy having fun doing other things, so the kayak progress isn’t too fast. Yesterday I finished rounding off the corners of the top, and sanded through all the grits from 80 on up...
[read more]
The next big step in the kayak was to glue the top on. First you put a coat of unthickened epoxy on the bottom side of the top piece, and then use thickened (cab-o-sil) epoxy...
[read more]
The next step in my kayak building journey was to plane the end clamps. These need a specific radius that changes depending on where you are along the top of the boat. The kit includes...
[read more]
The next big step is to glass the hull bottom. I sanded down the putty with 80 grit, and then went through all the grades all over the kayak: 100/120/150/220. You then cover it with...
[read more]
The kayak is still moving along! I’ve been a bit busy enjoying the outdoors: mountain biking (yeah on two wheels!), camping, and rock climbing. The next part was to glass the interior middle section; there...
[read more]
The kayak is starting to look like a real boat! First you have to level it, propped up on some sticks/sawhorses: Then install the bulkheads: And finally, start gluing it together with...
[read more]
I got to the stitching part of the “stitch and glue” kayak build! It didn’t take very long….the kit was easy to work with. I had to push my tablesaw off to the side to...
[read more]
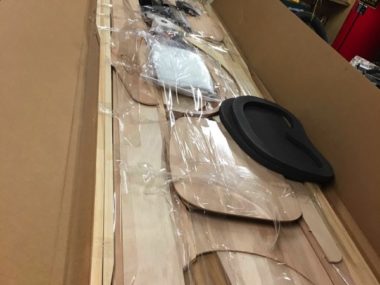
The kit came about a week after I ordered it. The delivery company received it in SFO, and was reluctant to deliver it to me right away — they wanted to wait an extra week...
[read more]
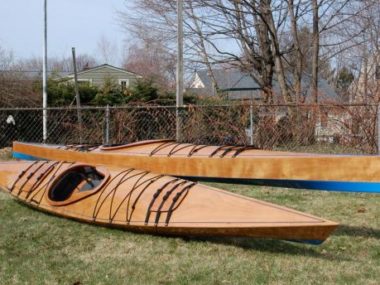
I’ve been wanting to build my own kayak for quite a while. Ideally I want to make a strip-style kayak; something out of locally sourced redwood would be awesome! For now, I decided to start...
[read more]
I wanted to touch up some of the areas next to my newly remodeled bathroom, and the laundry room needed a new utility sink. The plastic piece of crap I had was junk and I...
[read more]
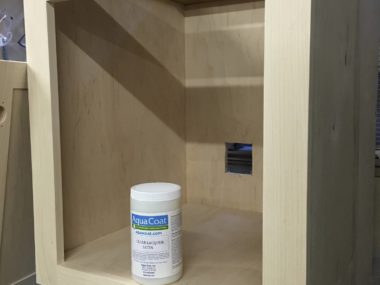
The next project after my bathroom vanity is a small utility sink cabinet made out of hard maple. Serendipitously I got a message from Aqua Coat asking to review their water based coating right when...
[read more]

