This project started out as a design exploration using “Surfaces” in Autodesk Fusion based around some rough sketches I did on paper. I wanted to create a bowl-like project that was challenging to build in...
[read more]
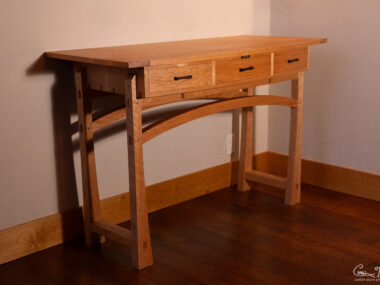
I’ve been wanting to build more furniture for our house, and I’ve long been inspired by seeing Michael Peckovich’s work, especially his Curved Entry Way Table that I saw in his book Foundations of Woodworking....
[read more]
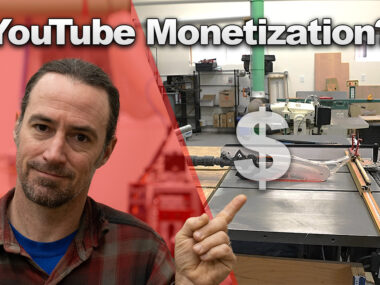
Hey all! I thought I’d do a video documenting how well my woodworking business is going, in particular now that I have over 10,000 subscribers on YouTube. Let me talk about my goals. I’m really...
[read more]
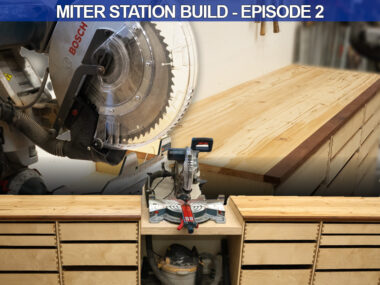
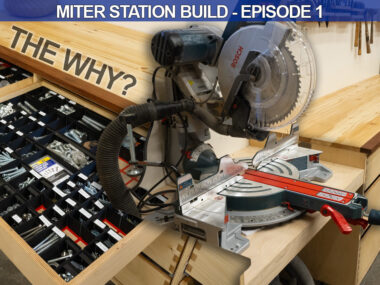
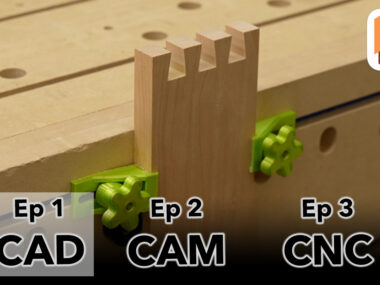
In my last blog post I discussed a bit about my miter station design ideas. I finished up a video where I discuss some of the overall CAD design concepts and how I did a...
[read more]
Every YouTuber will say their thing is “the best” or “ultimate” or whatever. It’s the bait to pull people in to watch their video, and I kind of have to do it too. The problem...
[read more]
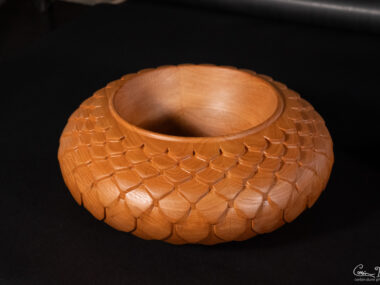
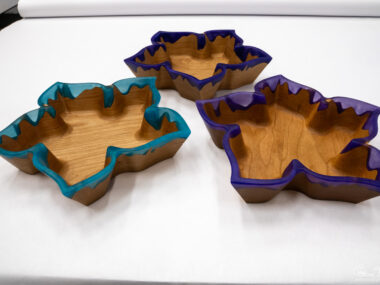
Well, my blog falls a bit behind, but a month ago I made this new bowl, which I call the “Dragon Scale Bowl”. Initially this idea started out as an exploration of “scales” using Rhino...
[read more]
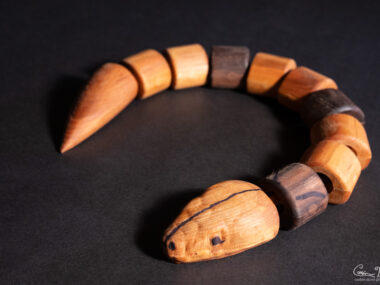
Video Link: https://youtu.be/4gjCOKrucIA My son’s 6th birthday was coming up, and it seems to be a modern kid’s party tradition for all the attendees to get a gift bag or something. I’ve previously 3d printed...
[read more]
I design a lot of my projects in Autodesk Fusion 360. Well, I guess it is just called “Fusion” now, which I think was a bad move by Autodesk to rename the product. People can...
[read more]
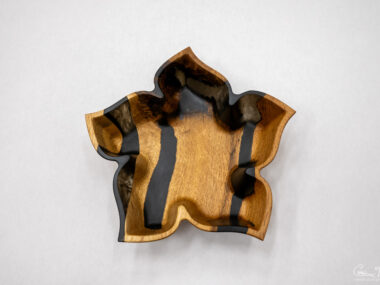
A while back I posted a new bowl design, which I call the “Five Petal Flower Bowl”. I keep messing up and writing “pedal” instead of “petal” — I guess I have mountain biking on...
[read more]
I just finished building a medicine cabinet for my bathroom. I wanted something that matched the mirror frame design that I did about a month ago. This project file is shared over on Corbin’s Workshop...
[read more]
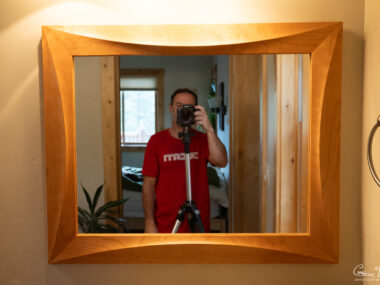
Yeah, I did spend $1100 to make two of these mirrors for my bathroom, but it was worth it! And it really wasn’t that much; the majority of the cost was purchasing software: Rhino. I...
[read more]
Oh boy! I kind of forgot to share this project on my blog. I wanted to make a new bowl design, and just play with some shapes in Fusion 360. Ahem…I mean, “Fusion”, as they...
[read more]