All posts in July, 2010

Plug Bug: With the hood
I ordered the wrong seal for the hood, but I finally got the new one and stuck it on. The car is looking great! It looks really high in the rear since there is no... [read more]
Jul
31
2010
Plug Bug: Luggage panel replaced
Note: this post is out of order; I did this quite a while ago, but our internet (Surfnet Wifi) has been down at home. The rear luggage floor, behind the rear seat, was rotten with... [read more]
Jul
31
2010
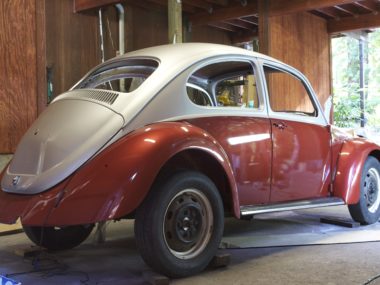
Plug Bug: Two tone bug
I finally pulled some pictures of the final painting of the car. No front picture yet, as I haven’t put on the hood (I bought the wrong seal). I’m quite happy with the result. Metallic... [read more]
Jul
14
2010
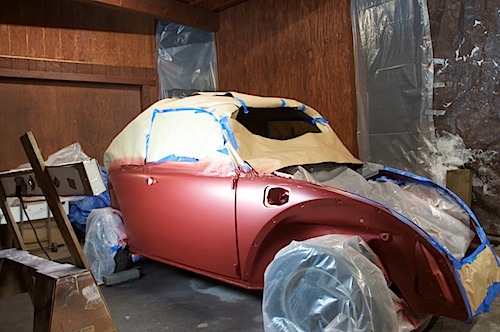
Plug Bug: Red Paint
I basically have two jobs right now; working at Apple by day, and being a car painter at night and on the weekends. I’ve been working really hard to get the primer all sanded smooth... [read more]
Jul
3
2010
As an Amazon Associate I earn from qualifying purchases.
(c) 2008-2026 Corbin Dunn
Subscribe to RSS feeds for entries.
53 queries. 0.333 seconds.