All posts in September, 2008
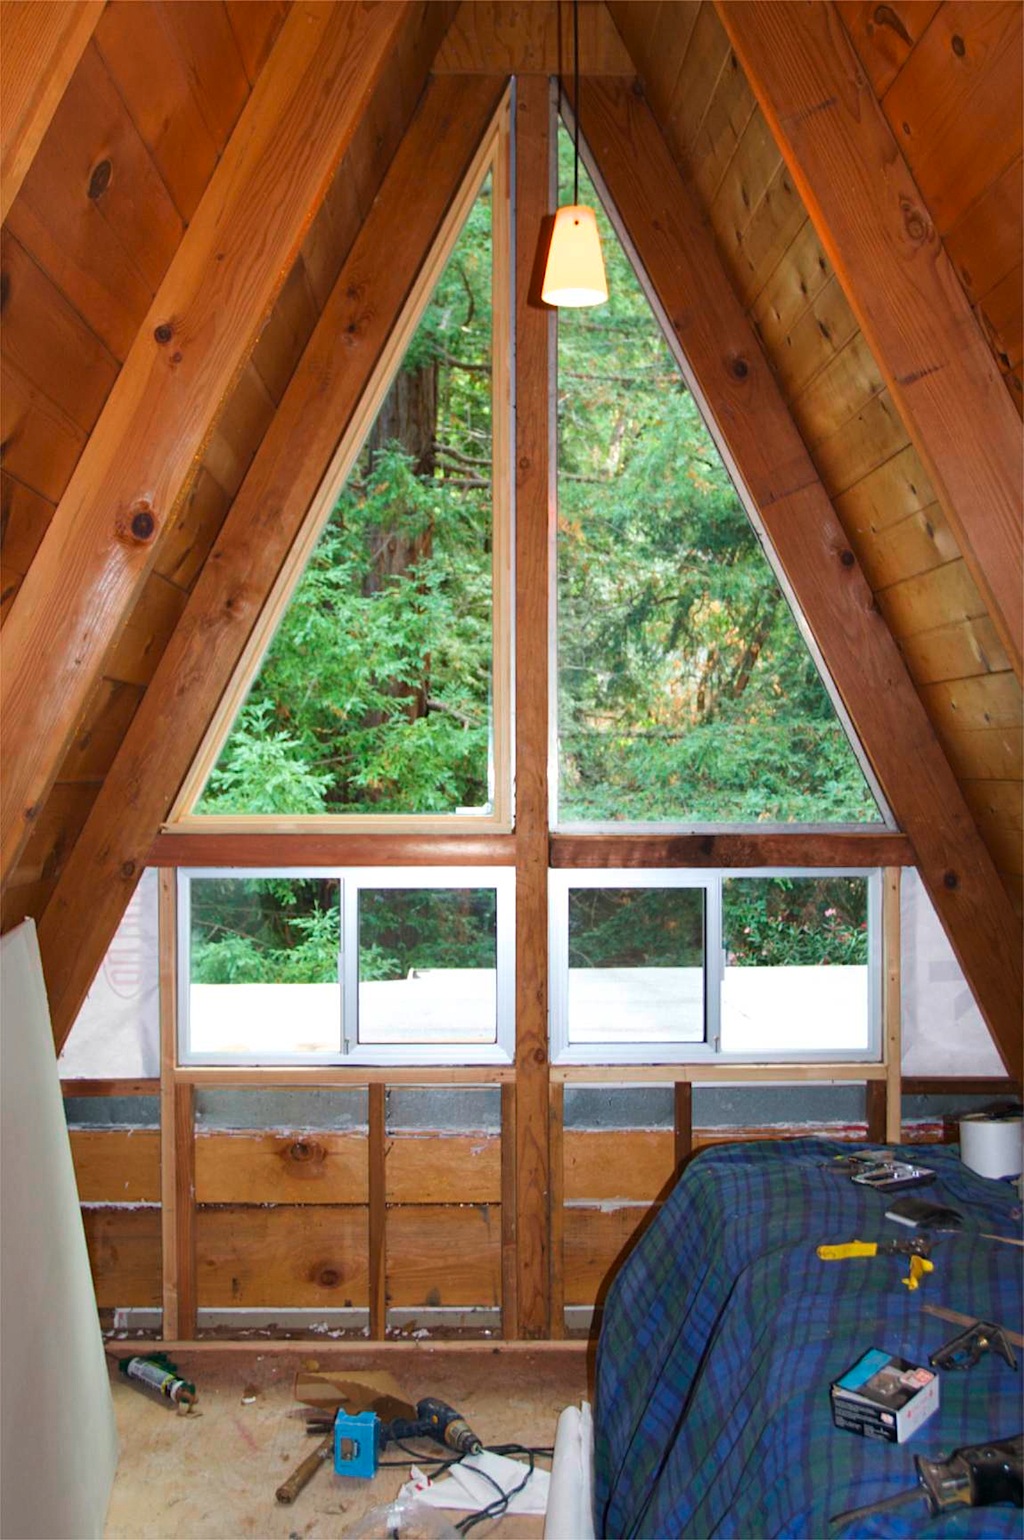
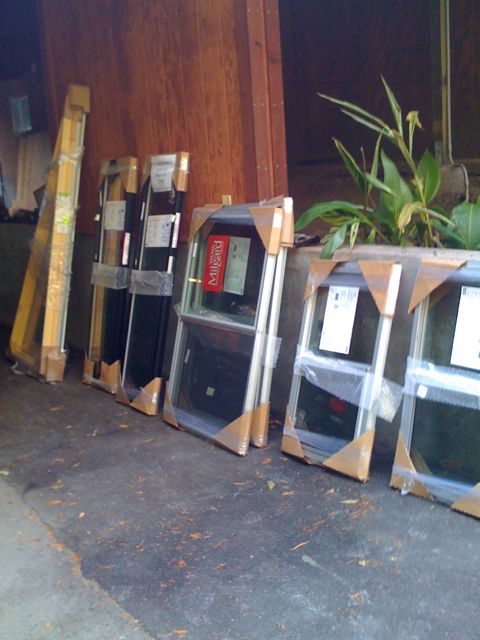
Project Hutchinson: Upstairs drywall and windows
I’ve been working quite a bit on our upstairs remodel project. I removed an old closet, and installed lighting in the ceiling. This helps tremendously with the look and feel of the room; it was... [read more]
Sep
28
2008
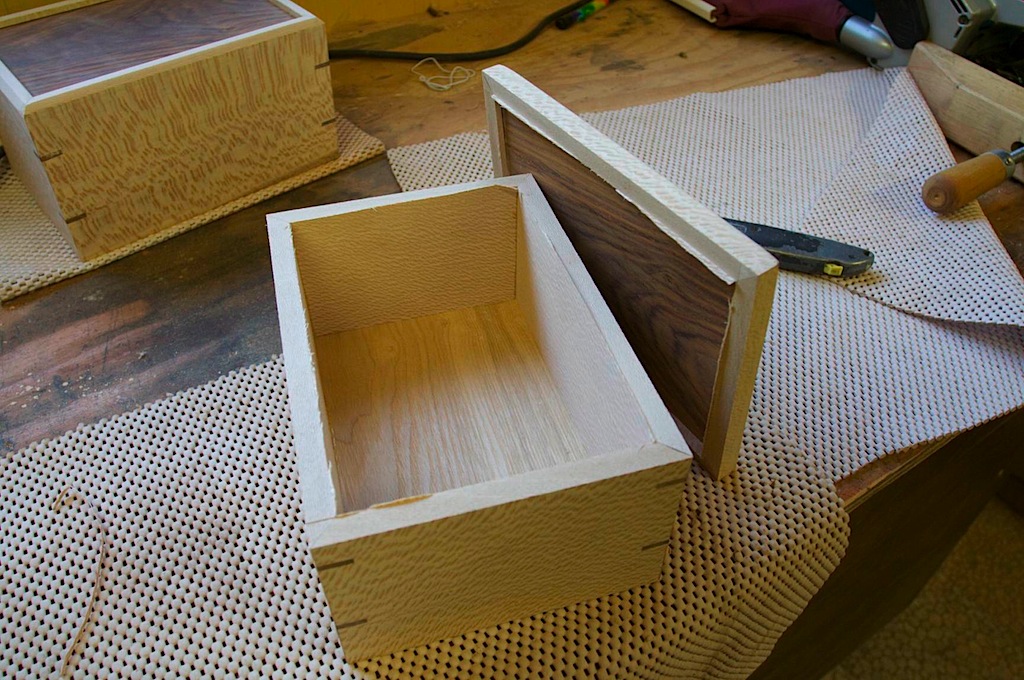
Woodworking: Wedding Boxes
I recently went to the weddings of a few of my friends. Last weekend Tom and Nancy had a “Wedding Camp” celebration, and two weeks ago Andy and Irene got married in their barn. Both... [read more]
Sep
22
2008


SPORE
I got a new video game for the Mac – spore! I really wanted to give it a try last night, but my DVD drive stopped working on my MacBook Pro. Luckily, there are known... [read more]
Sep
12
2008

Why the API? NSTableView -preparedCellAtColumn:row:
I think I’ll do a few articles on why certain API was introduced in Leopard. I’ll start with one of the new methods in NSTableView: /* Returns the fully prepared cell that the view will... [read more]
Sep
11
2008

As an Amazon Associate I earn from qualifying purchases.
(c) 2008-2026 Corbin Dunn
Subscribe to RSS feeds for entries.
54 queries. 1.471 seconds.