Making the Blue River Spalted Oak Coffee Table
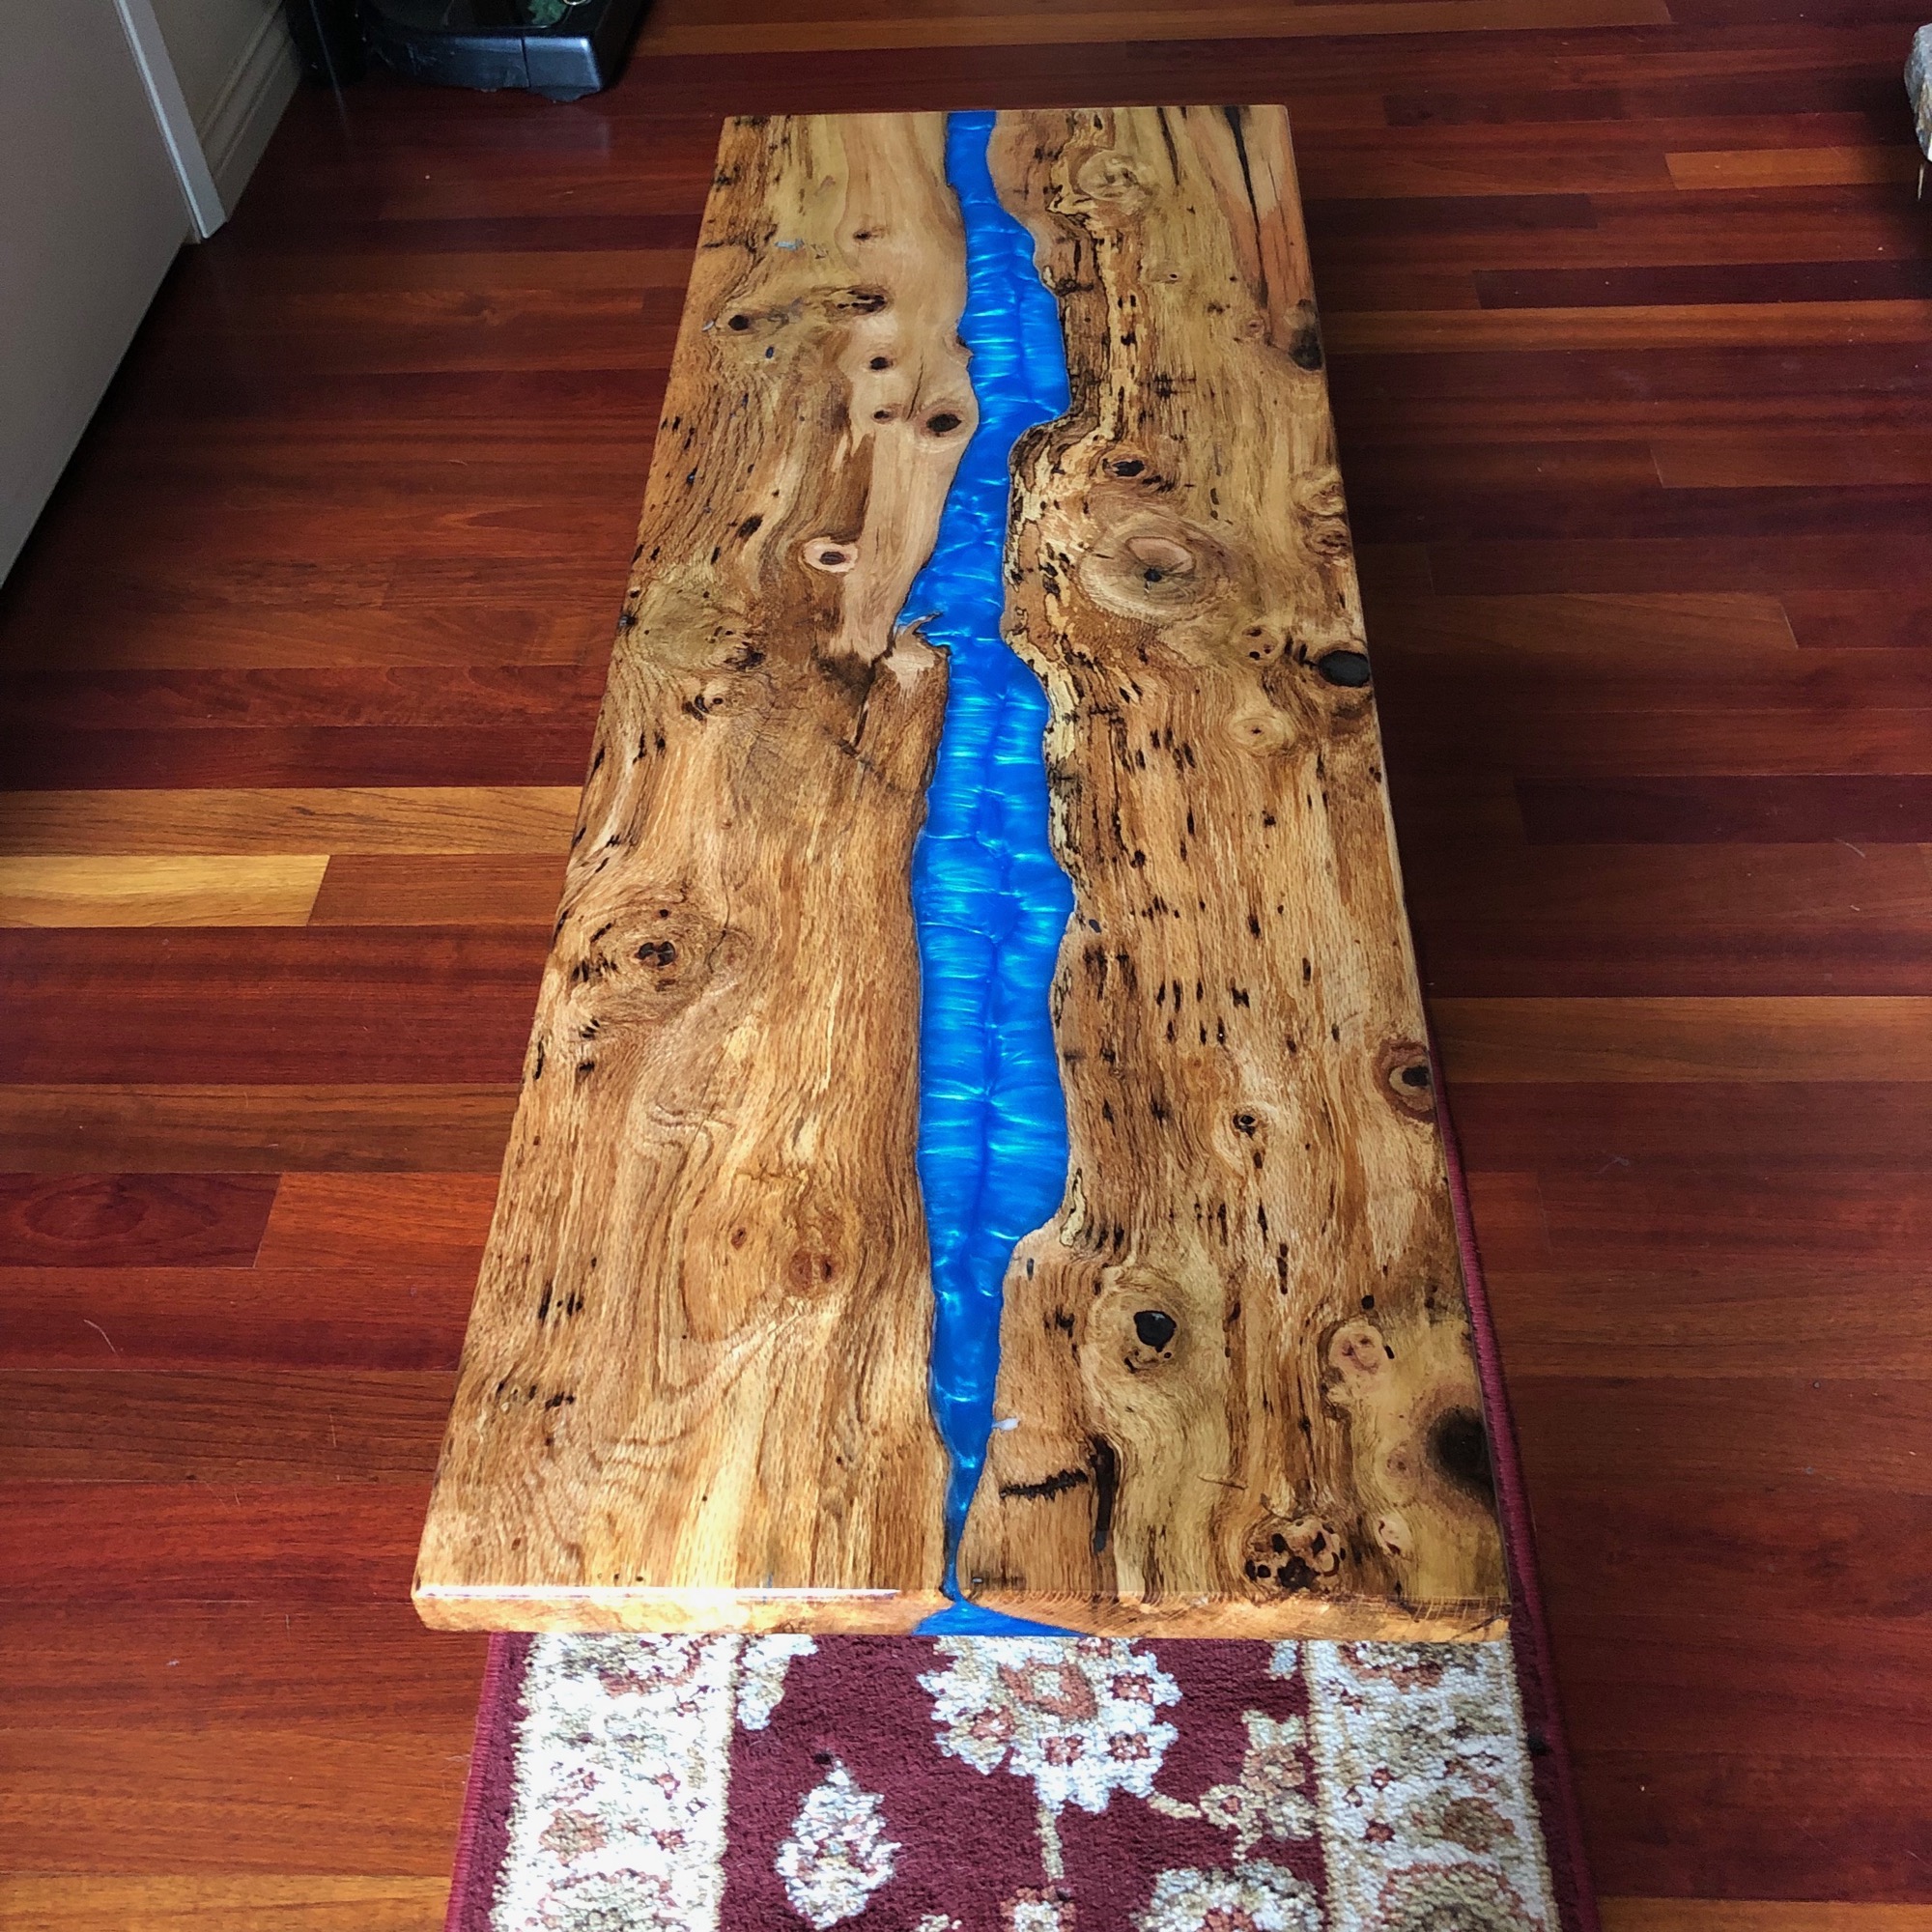
Let me go into a few details on how I made this coffee table. I’ve had it in the works for quite a while.
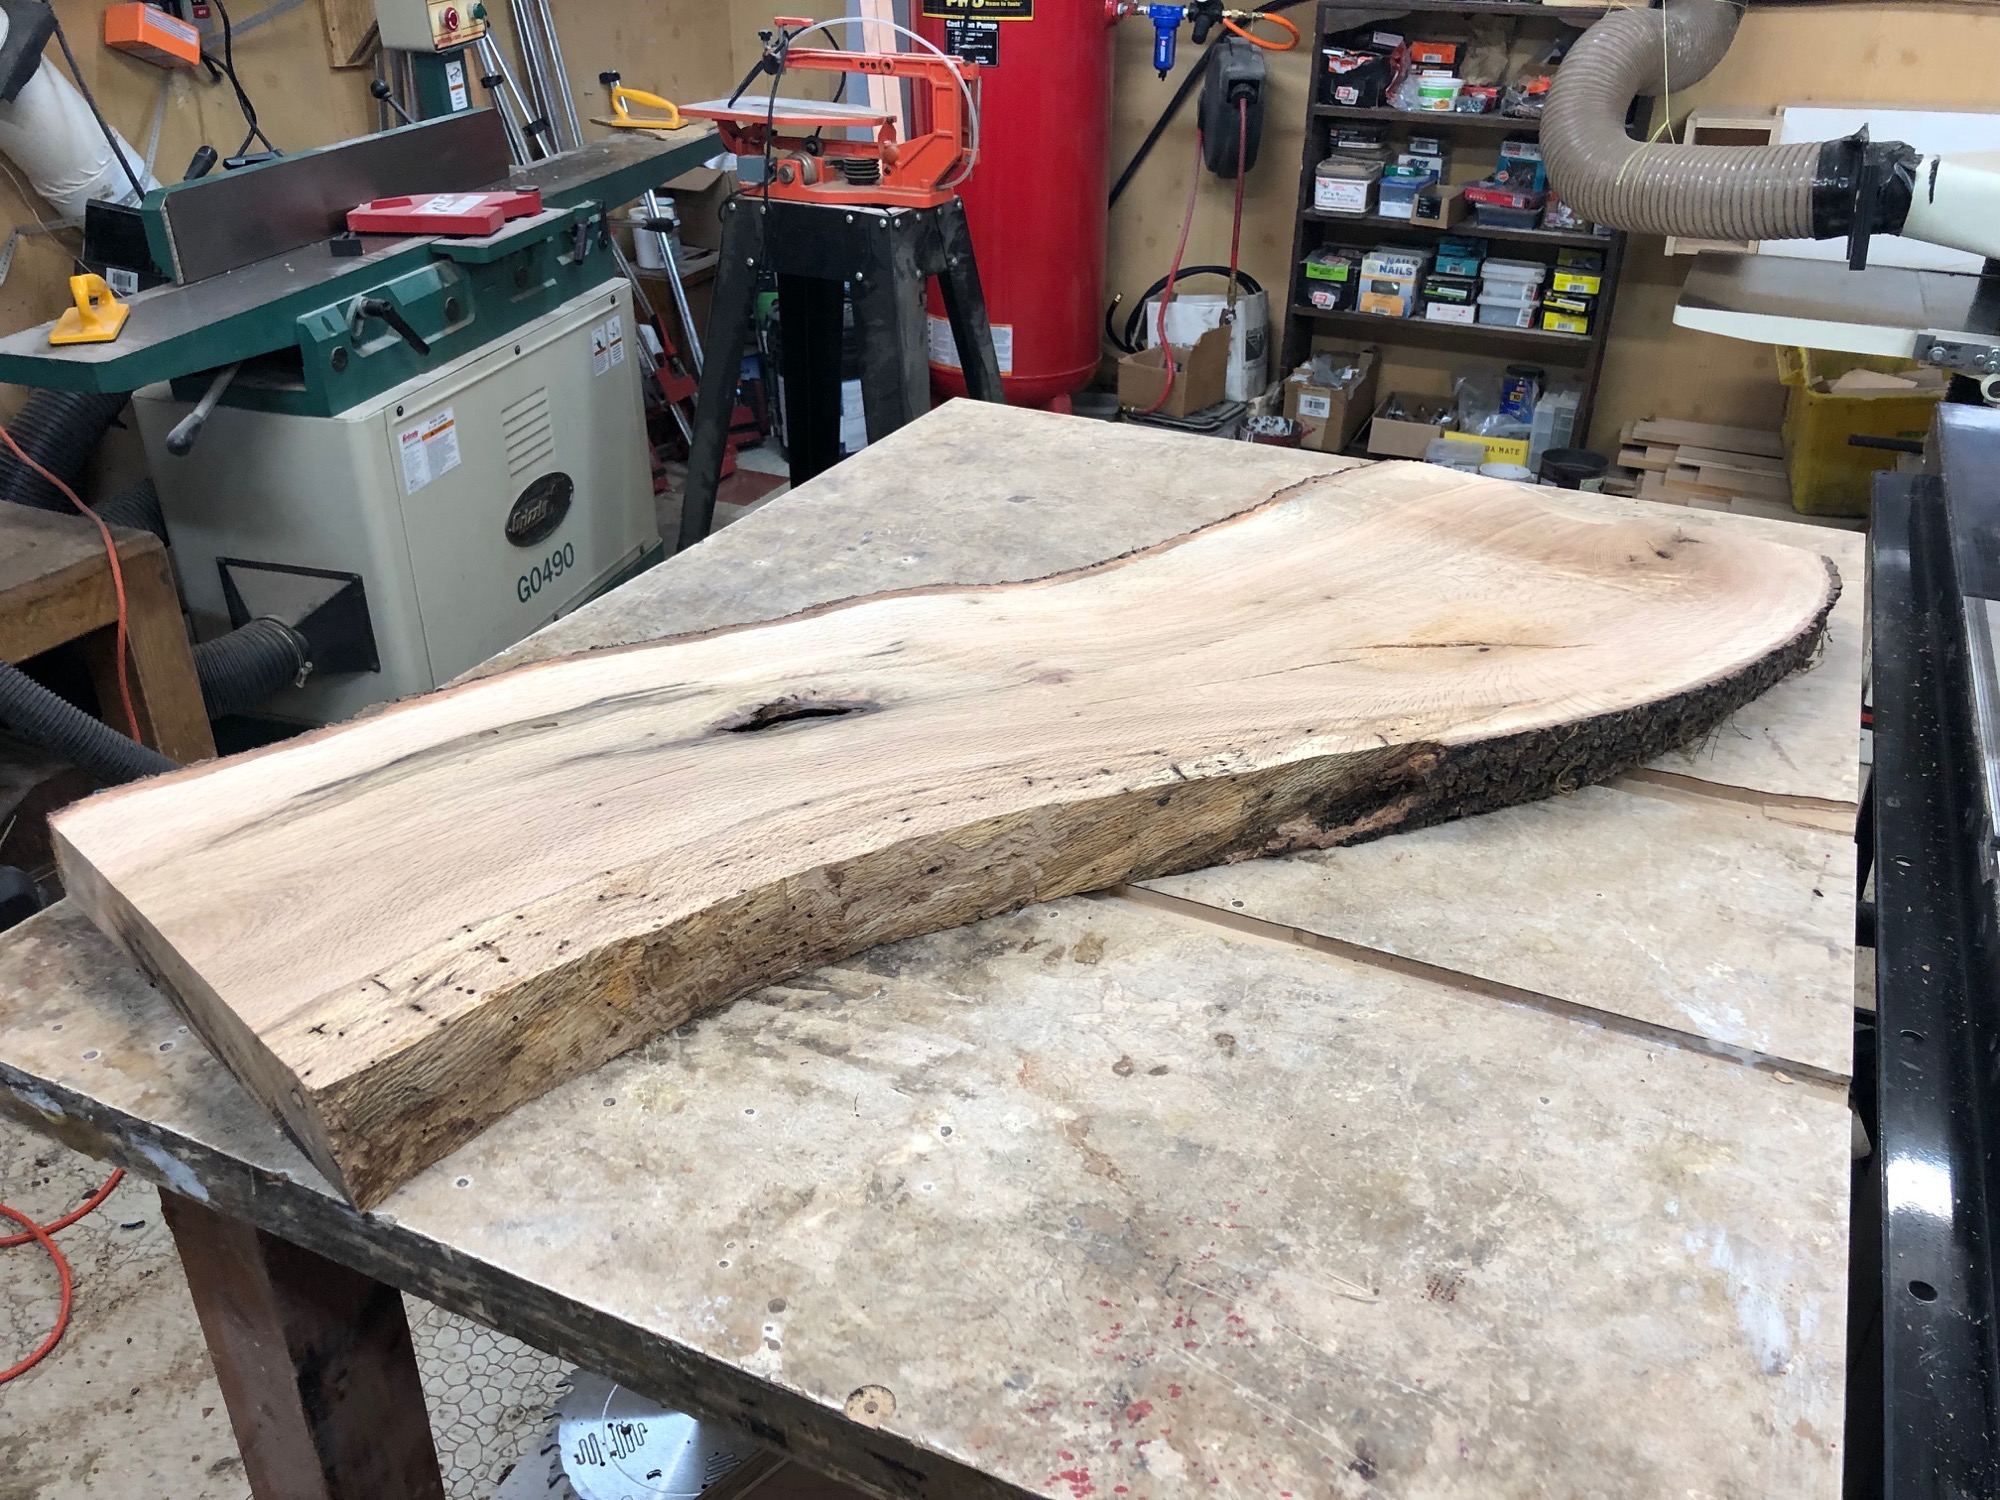
The process of making it started over a year ago when a large oak tree fell down on my neighbor’s property. I used my Alaskan mill to slab up the tree, and brought the slabs back to my house to let them dry in the garage. The garage environment made the slabs dry really slowly; probably too slow. Once I decided it was dry enough (via my crappy moisture meter), I used my Slab Leveling Router Jig to level both sides of the piece. This left me with this piece of wood:
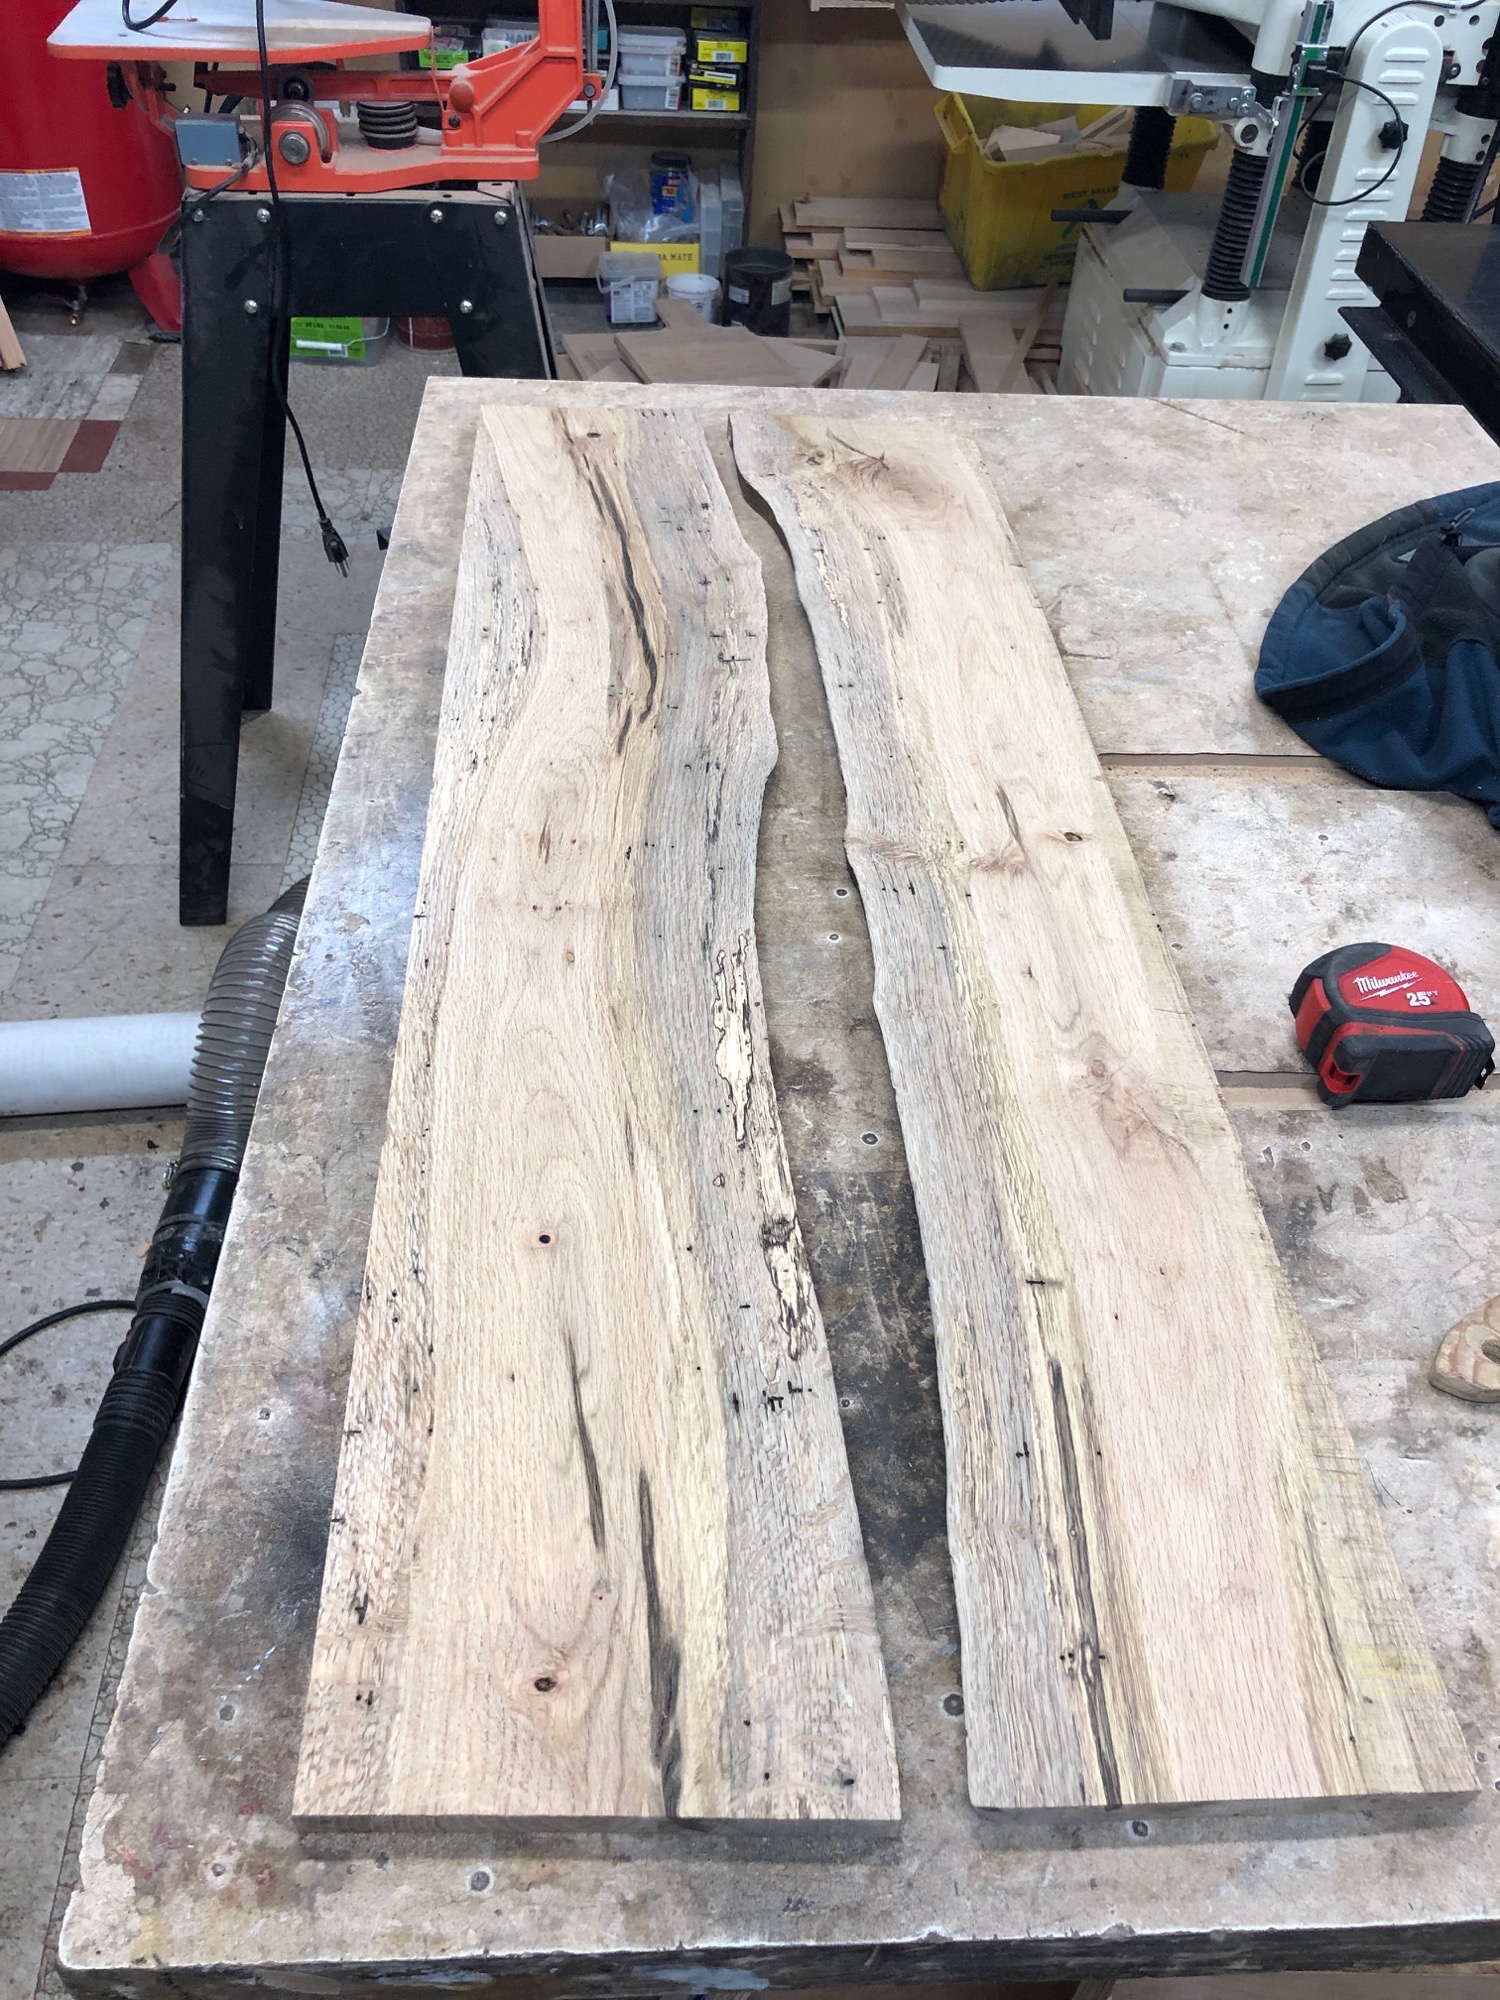
The next step was to cut the lumber down the middle and flip the live edges in on themselves. I didn’t take too many pictures; I was more focused on creating the piece than documenting how it was made. The picture below is from a different piece I did, but the concept is the same:
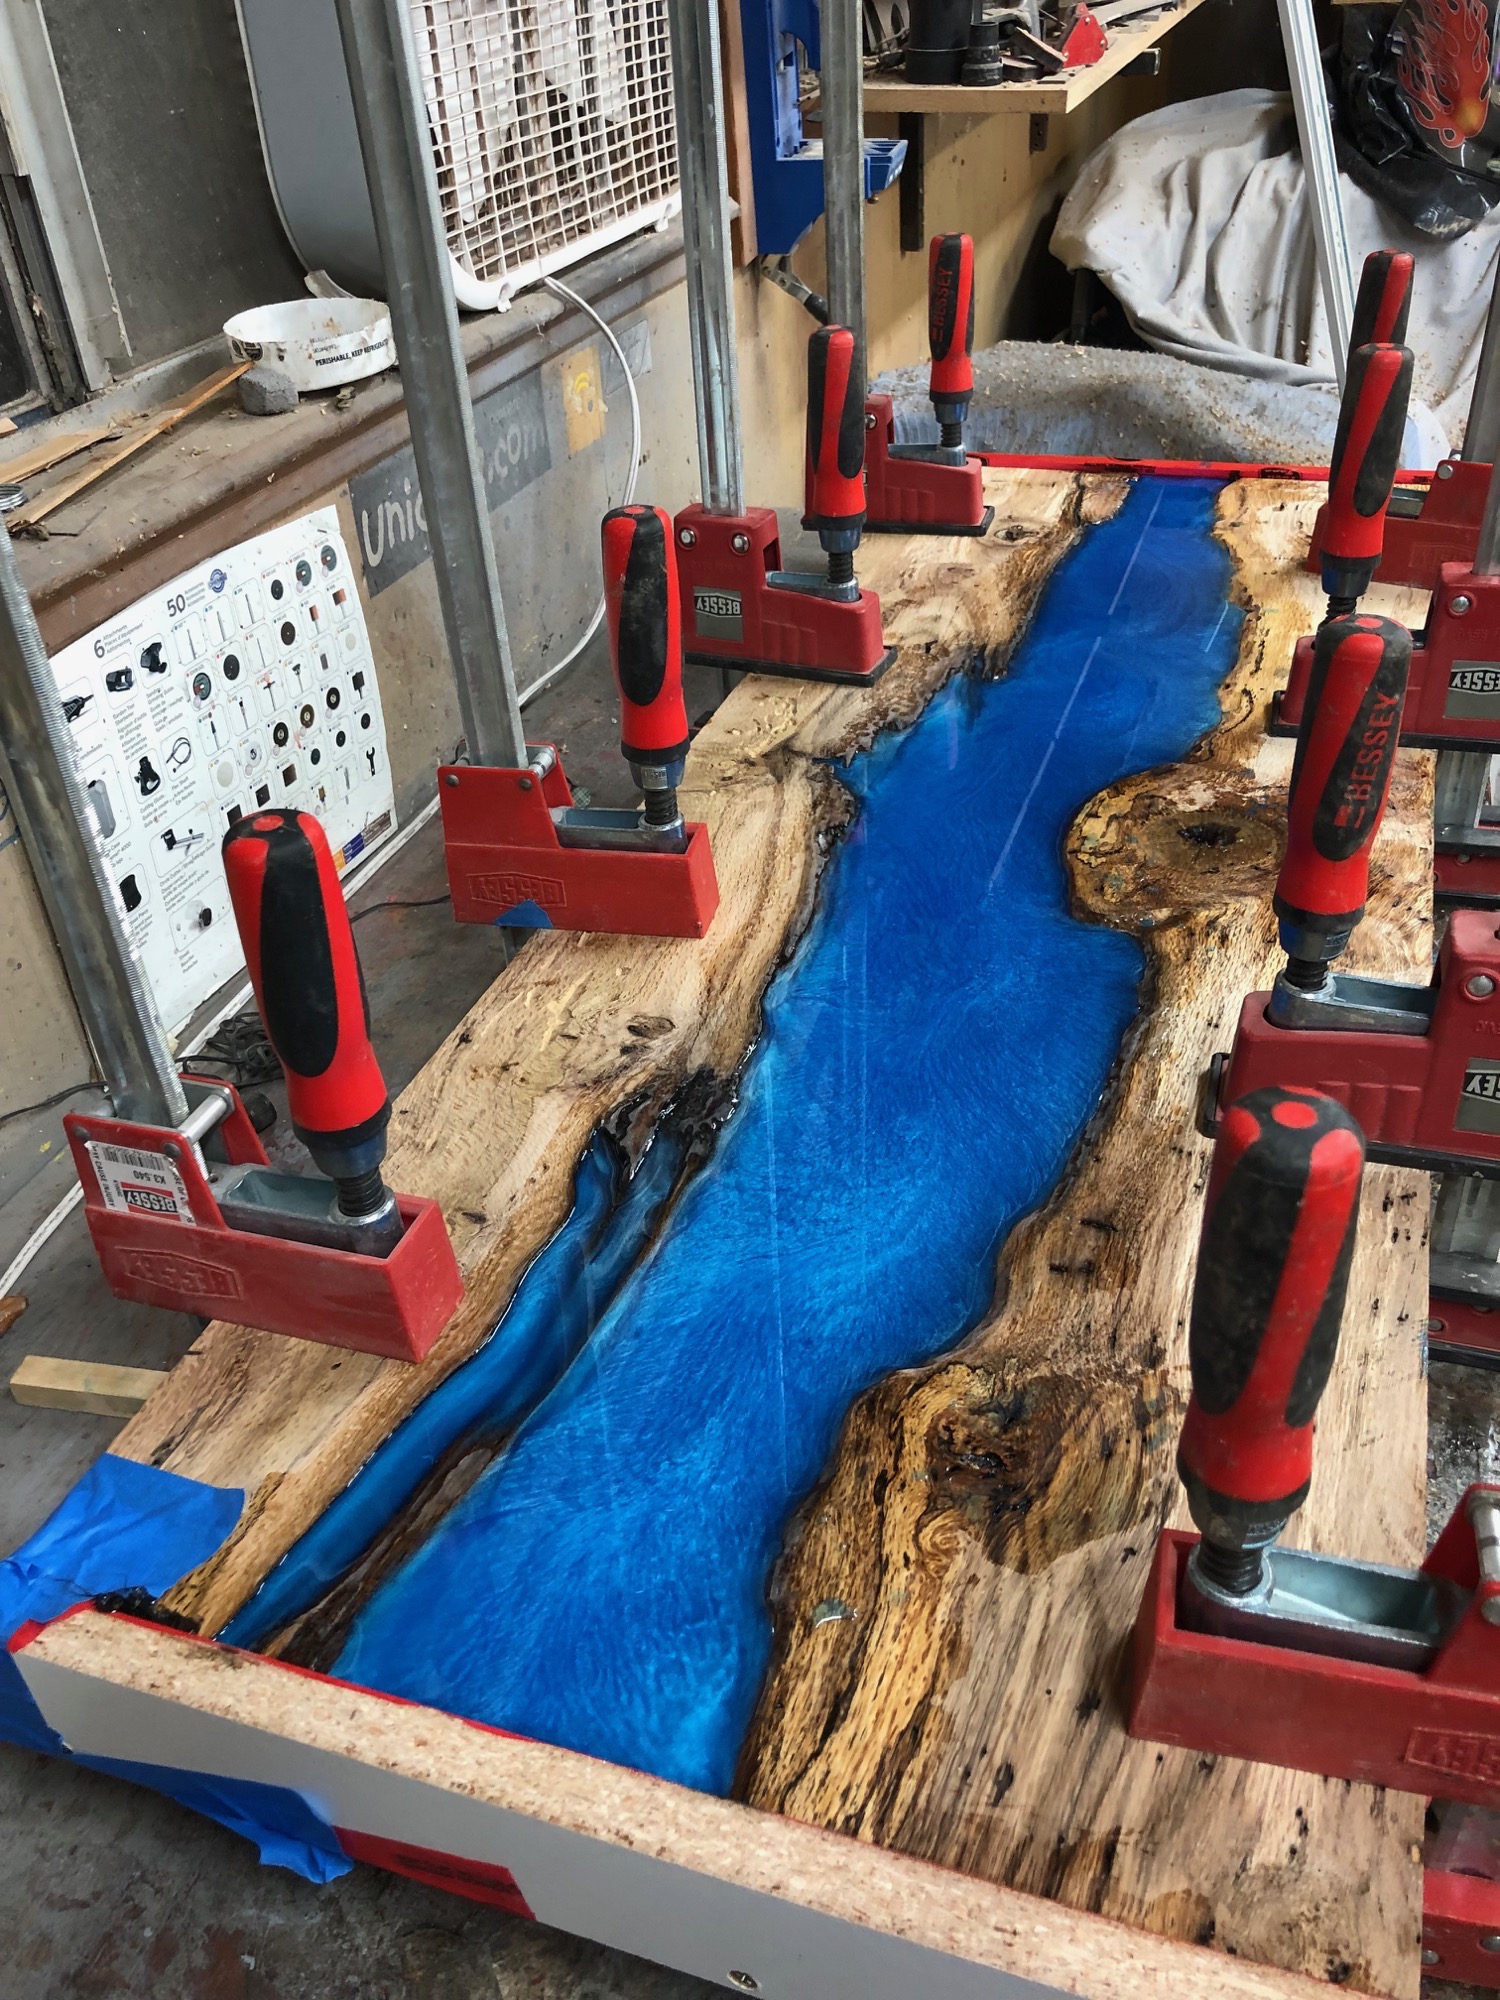
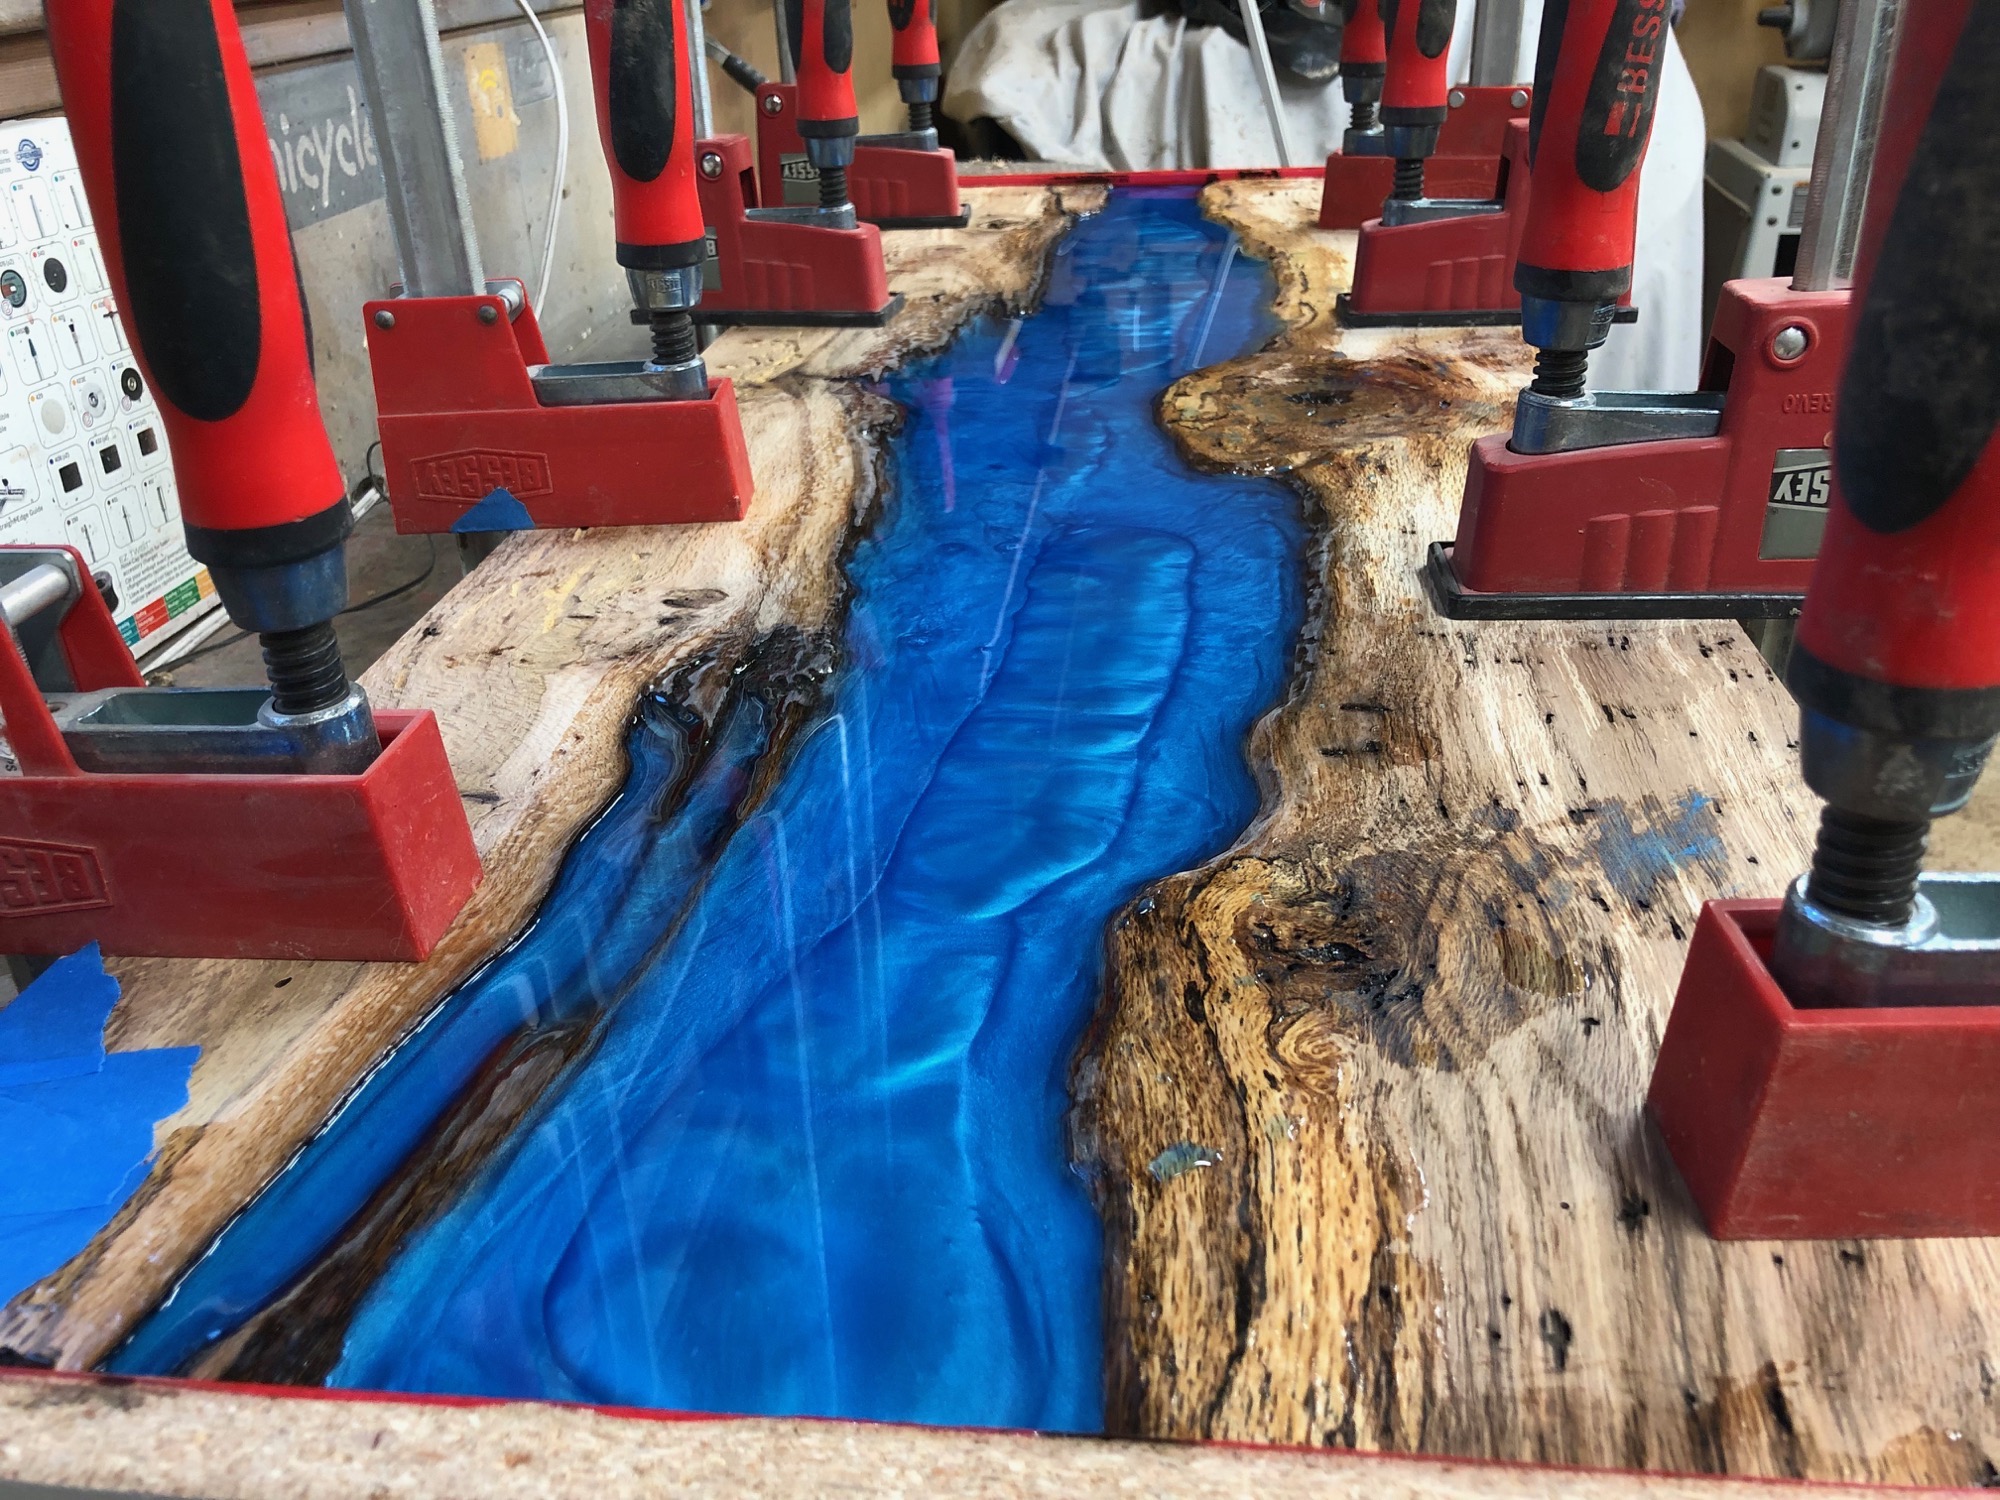
As usual, I made a mold to contain the epoxy and did a few seal coats to ensure no air bubbles escaped into the big river. I poured this table upside down; the wood you see on top will later be the bottom of the piece. In hindsight, I think I actually like the wide river portion better, but I didn’t swirl the epoxy to give it any effects, and liked the epoxy design on the final top better.
In the first photo you can see the epoxy after it was just poured. In the second photo you can see what it looks like after a bit of time; the heat generation creates a really cool effect which shows up the most on the bottom of the piece:
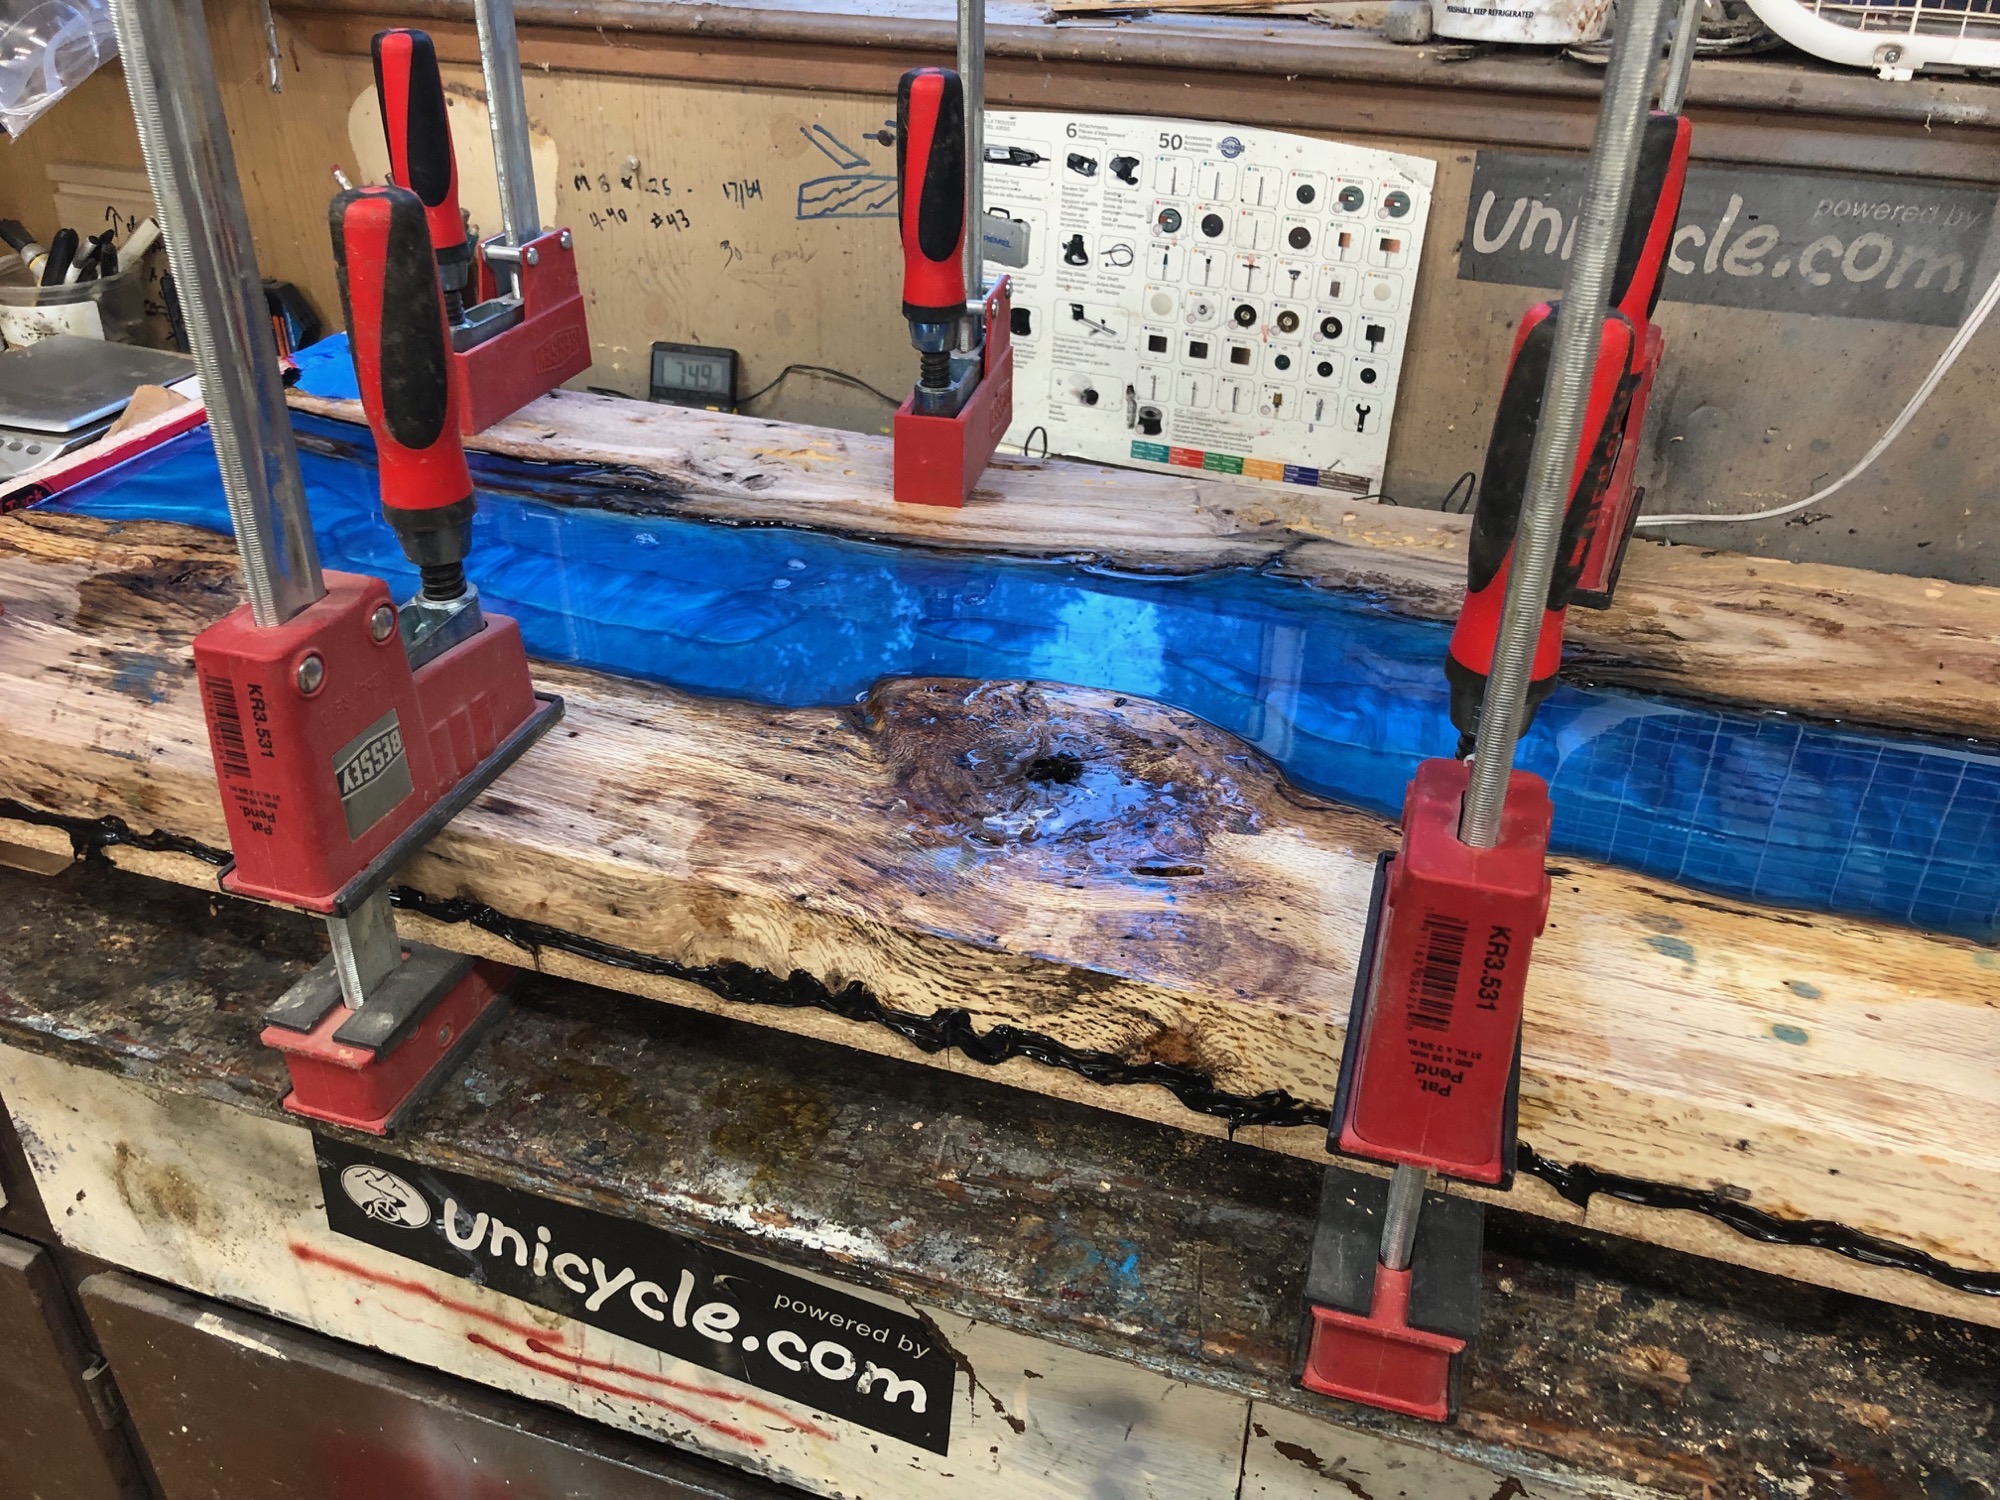
One new thing I attempted with this pour was to not create any sides on the mold. Instead, I sealed it really well with some black silicon sealant. This worked fairly well, but I did get some leakage at the edges, so I probably won’t do this approach again:
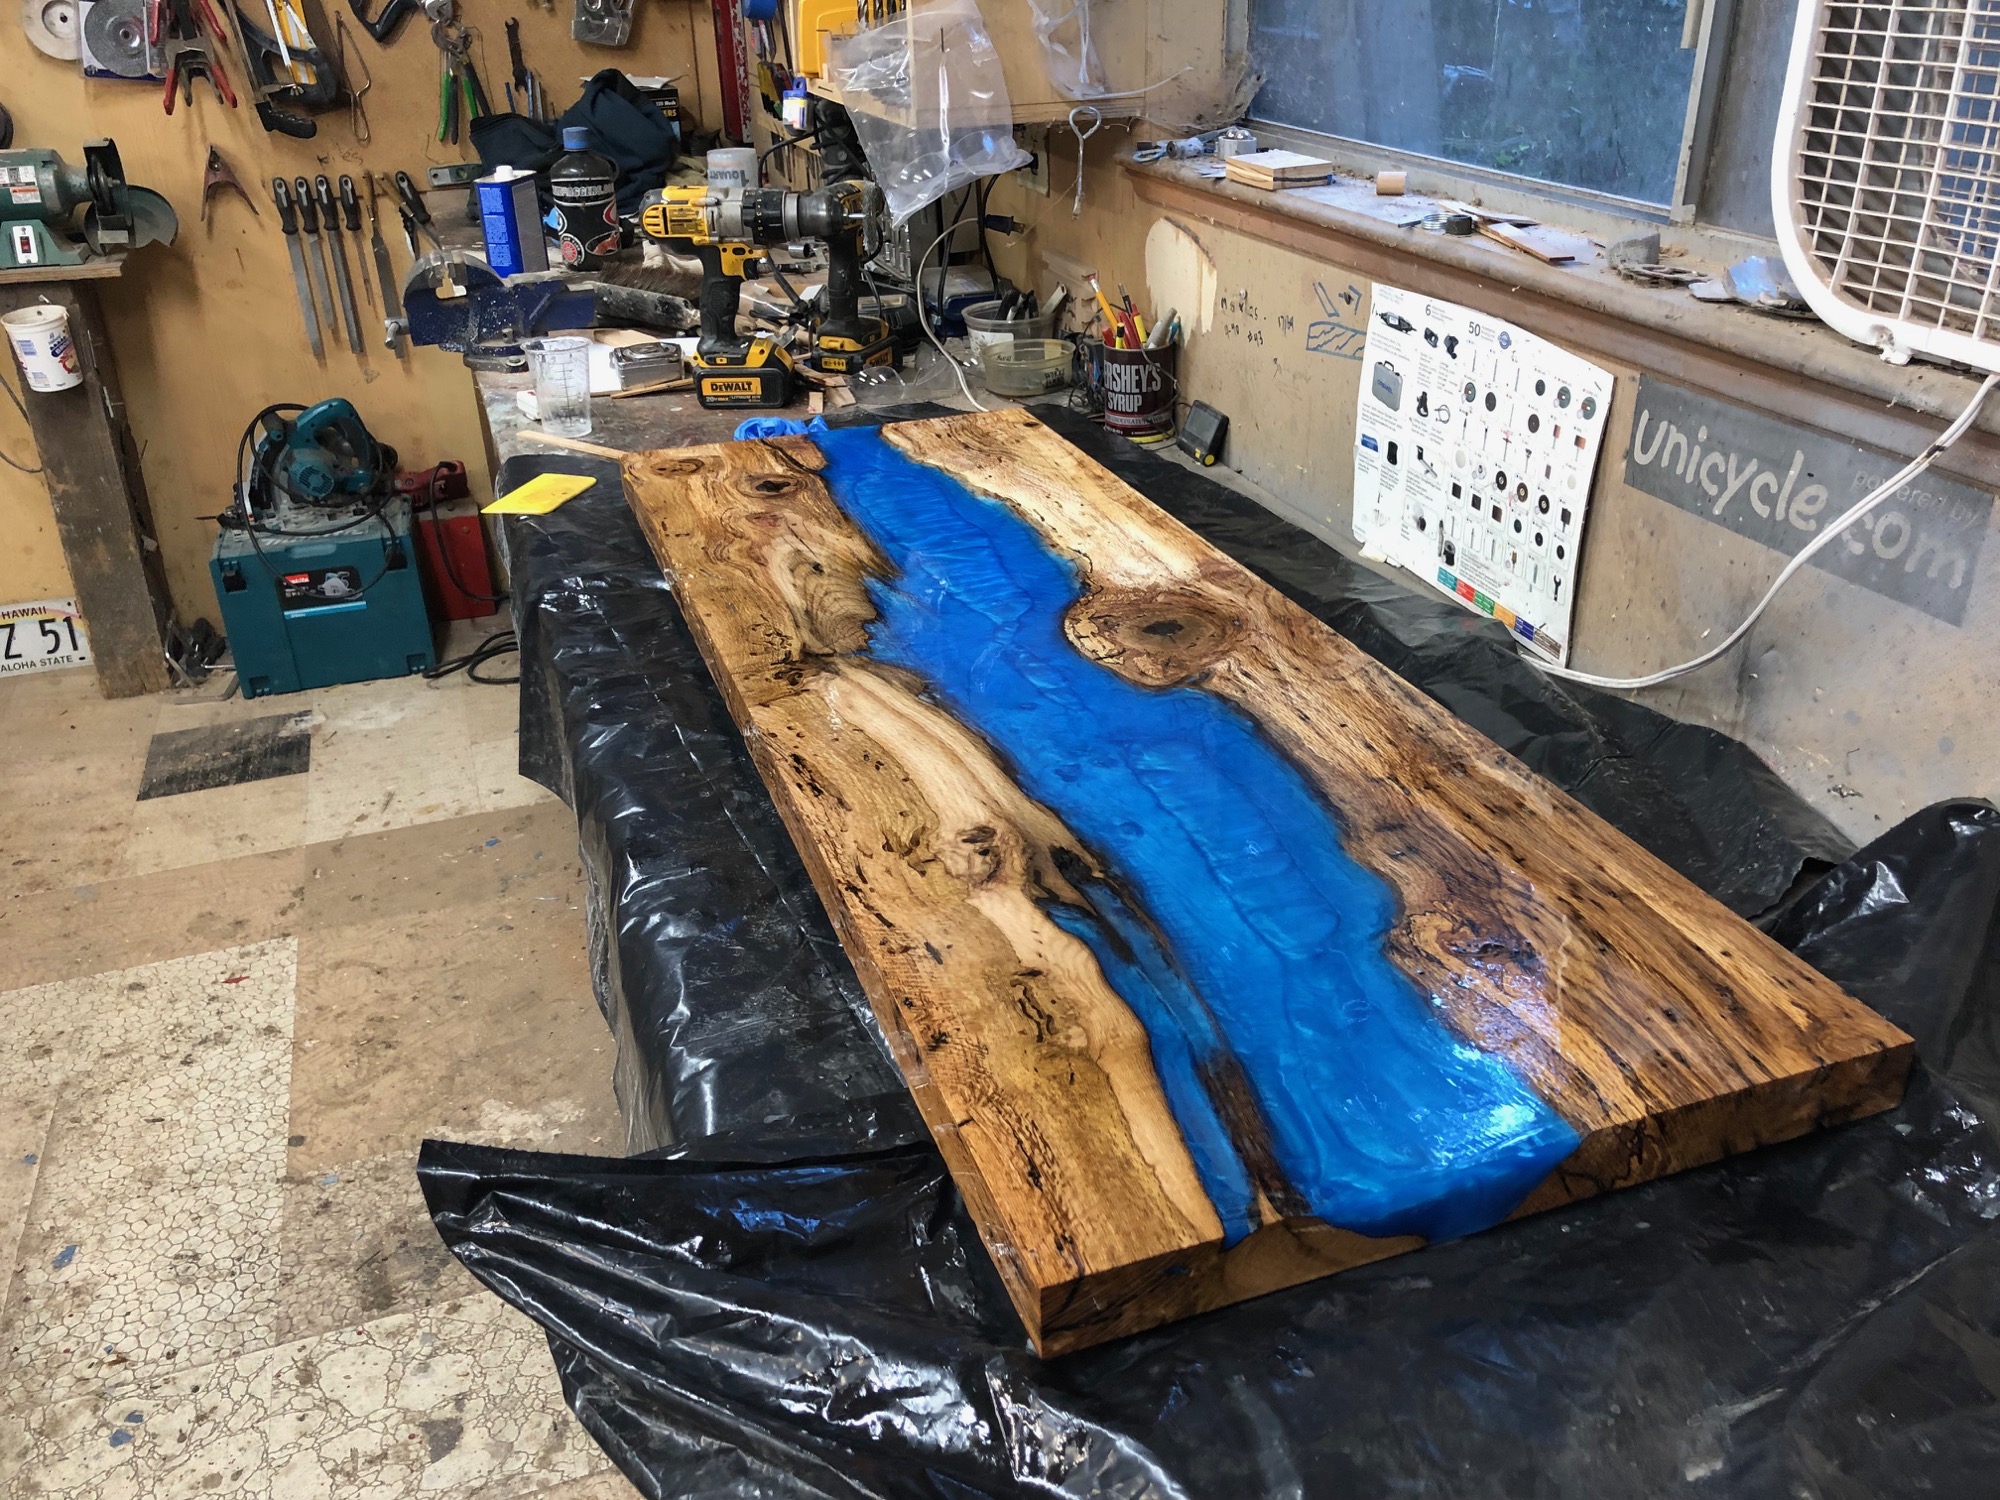
Here’s what the table looked like after I took it out of the mold. The view shown here became the bottom side, but shows how much epoxy the table required to get it filled:
I flipped table over and filled all the voids with a bunch of coats of clear epoxy. I also decided to just do several clear coats of epoxy to give it a high gloss finish. The process of doing this is fairly slow. I did two or three thin seal coats, and then two thicker final coats. I wasn’t quite happy with “last” final coat, and poured one more to make it perfectly level and remove all imperfections.
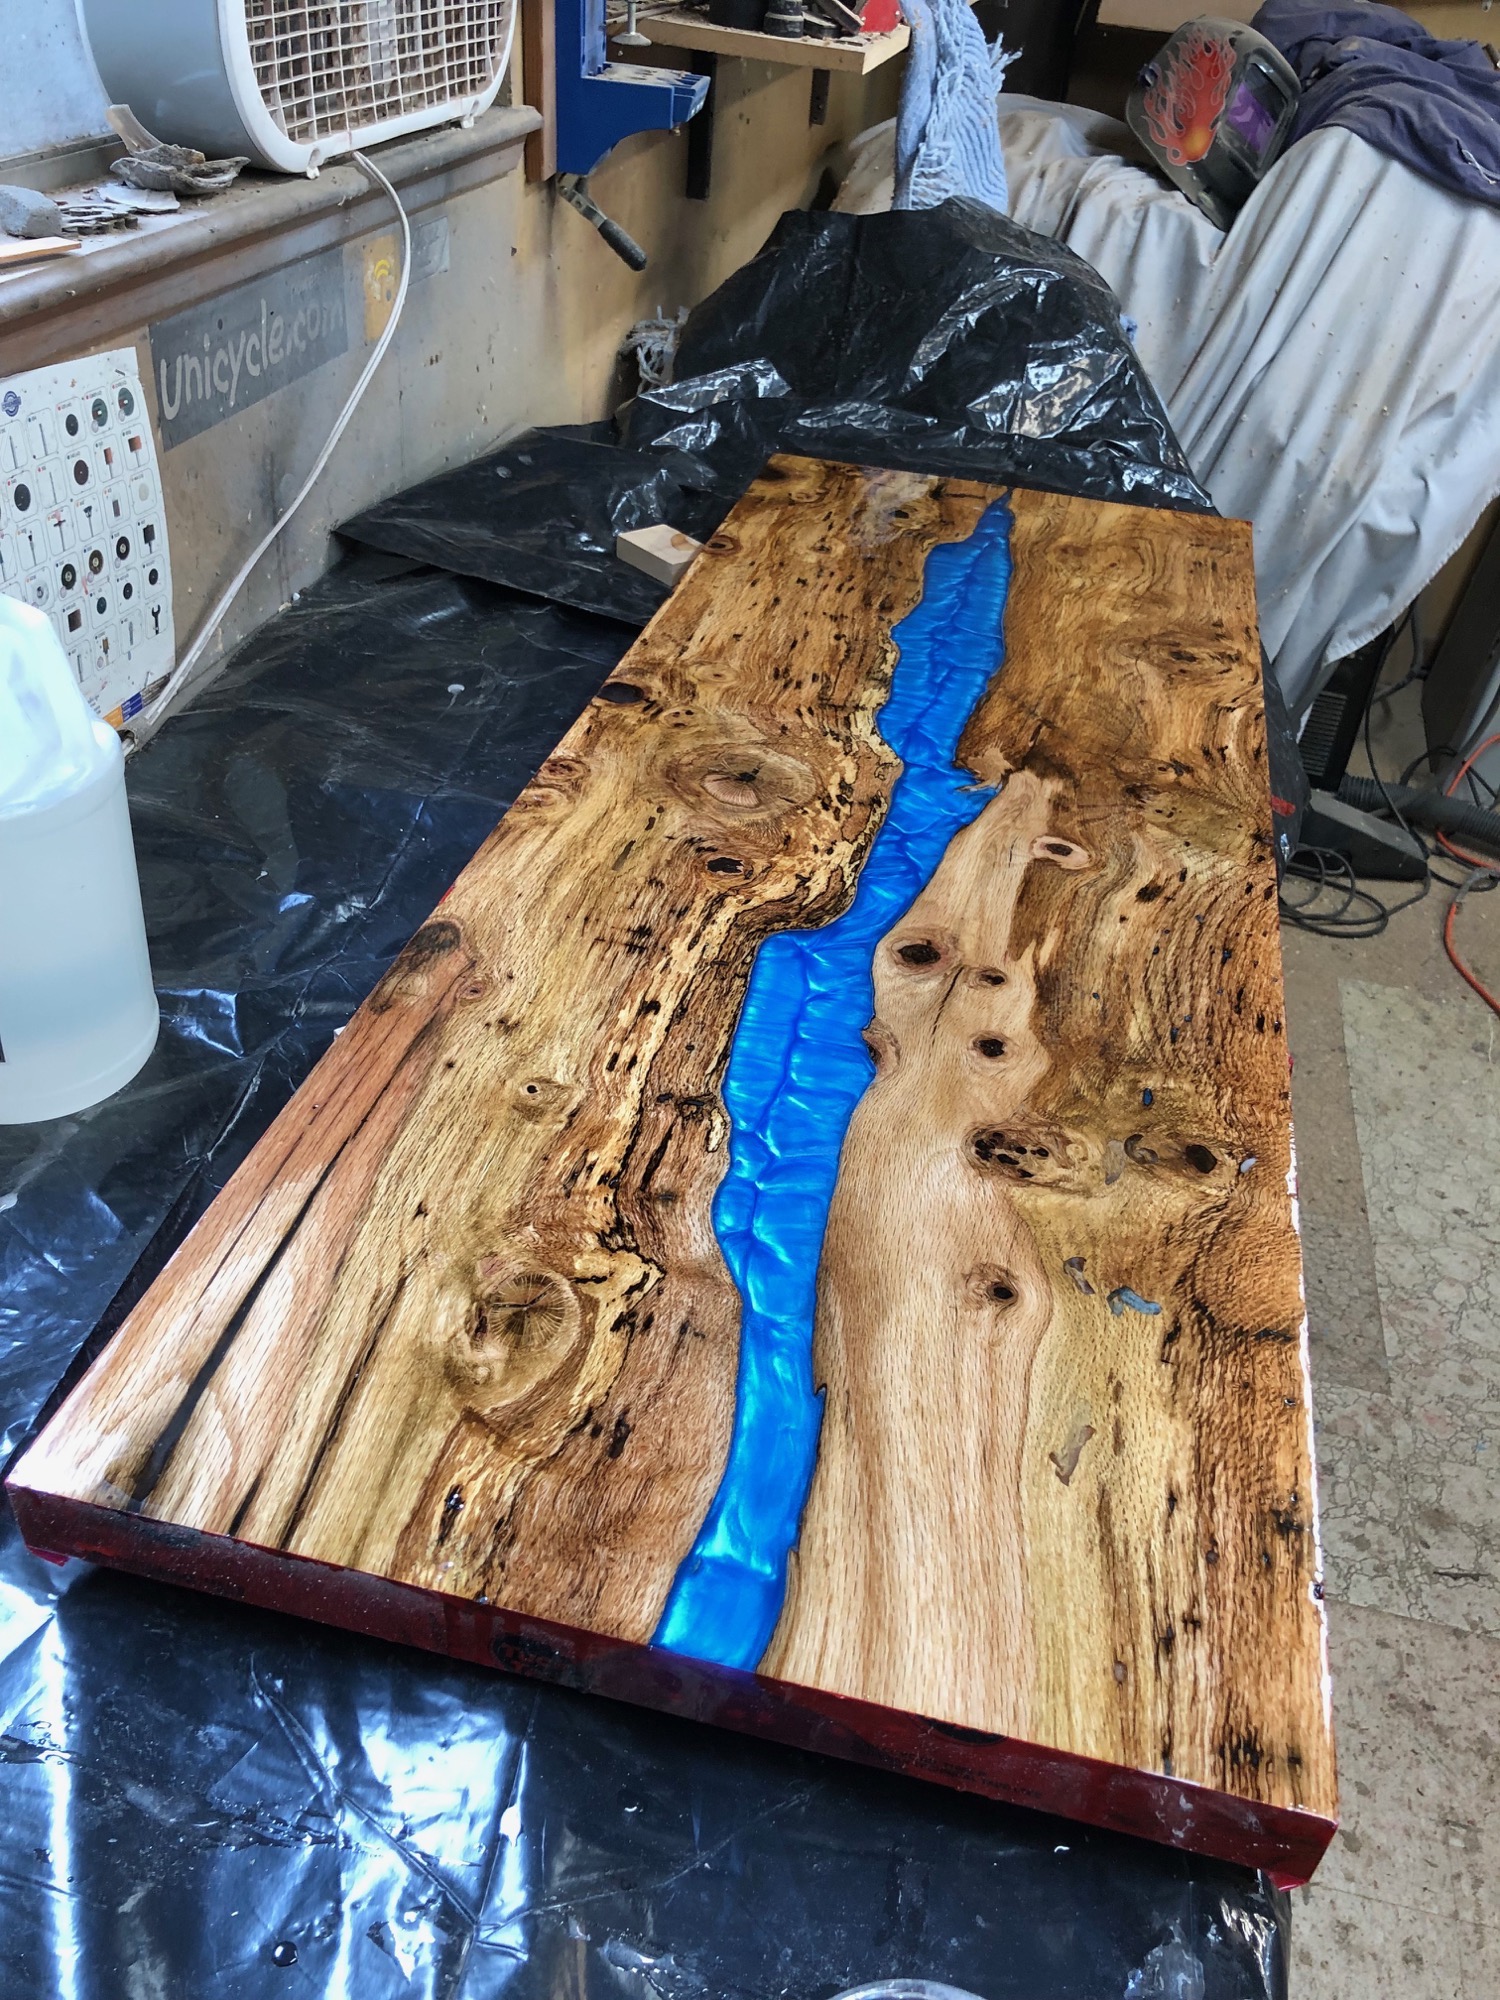
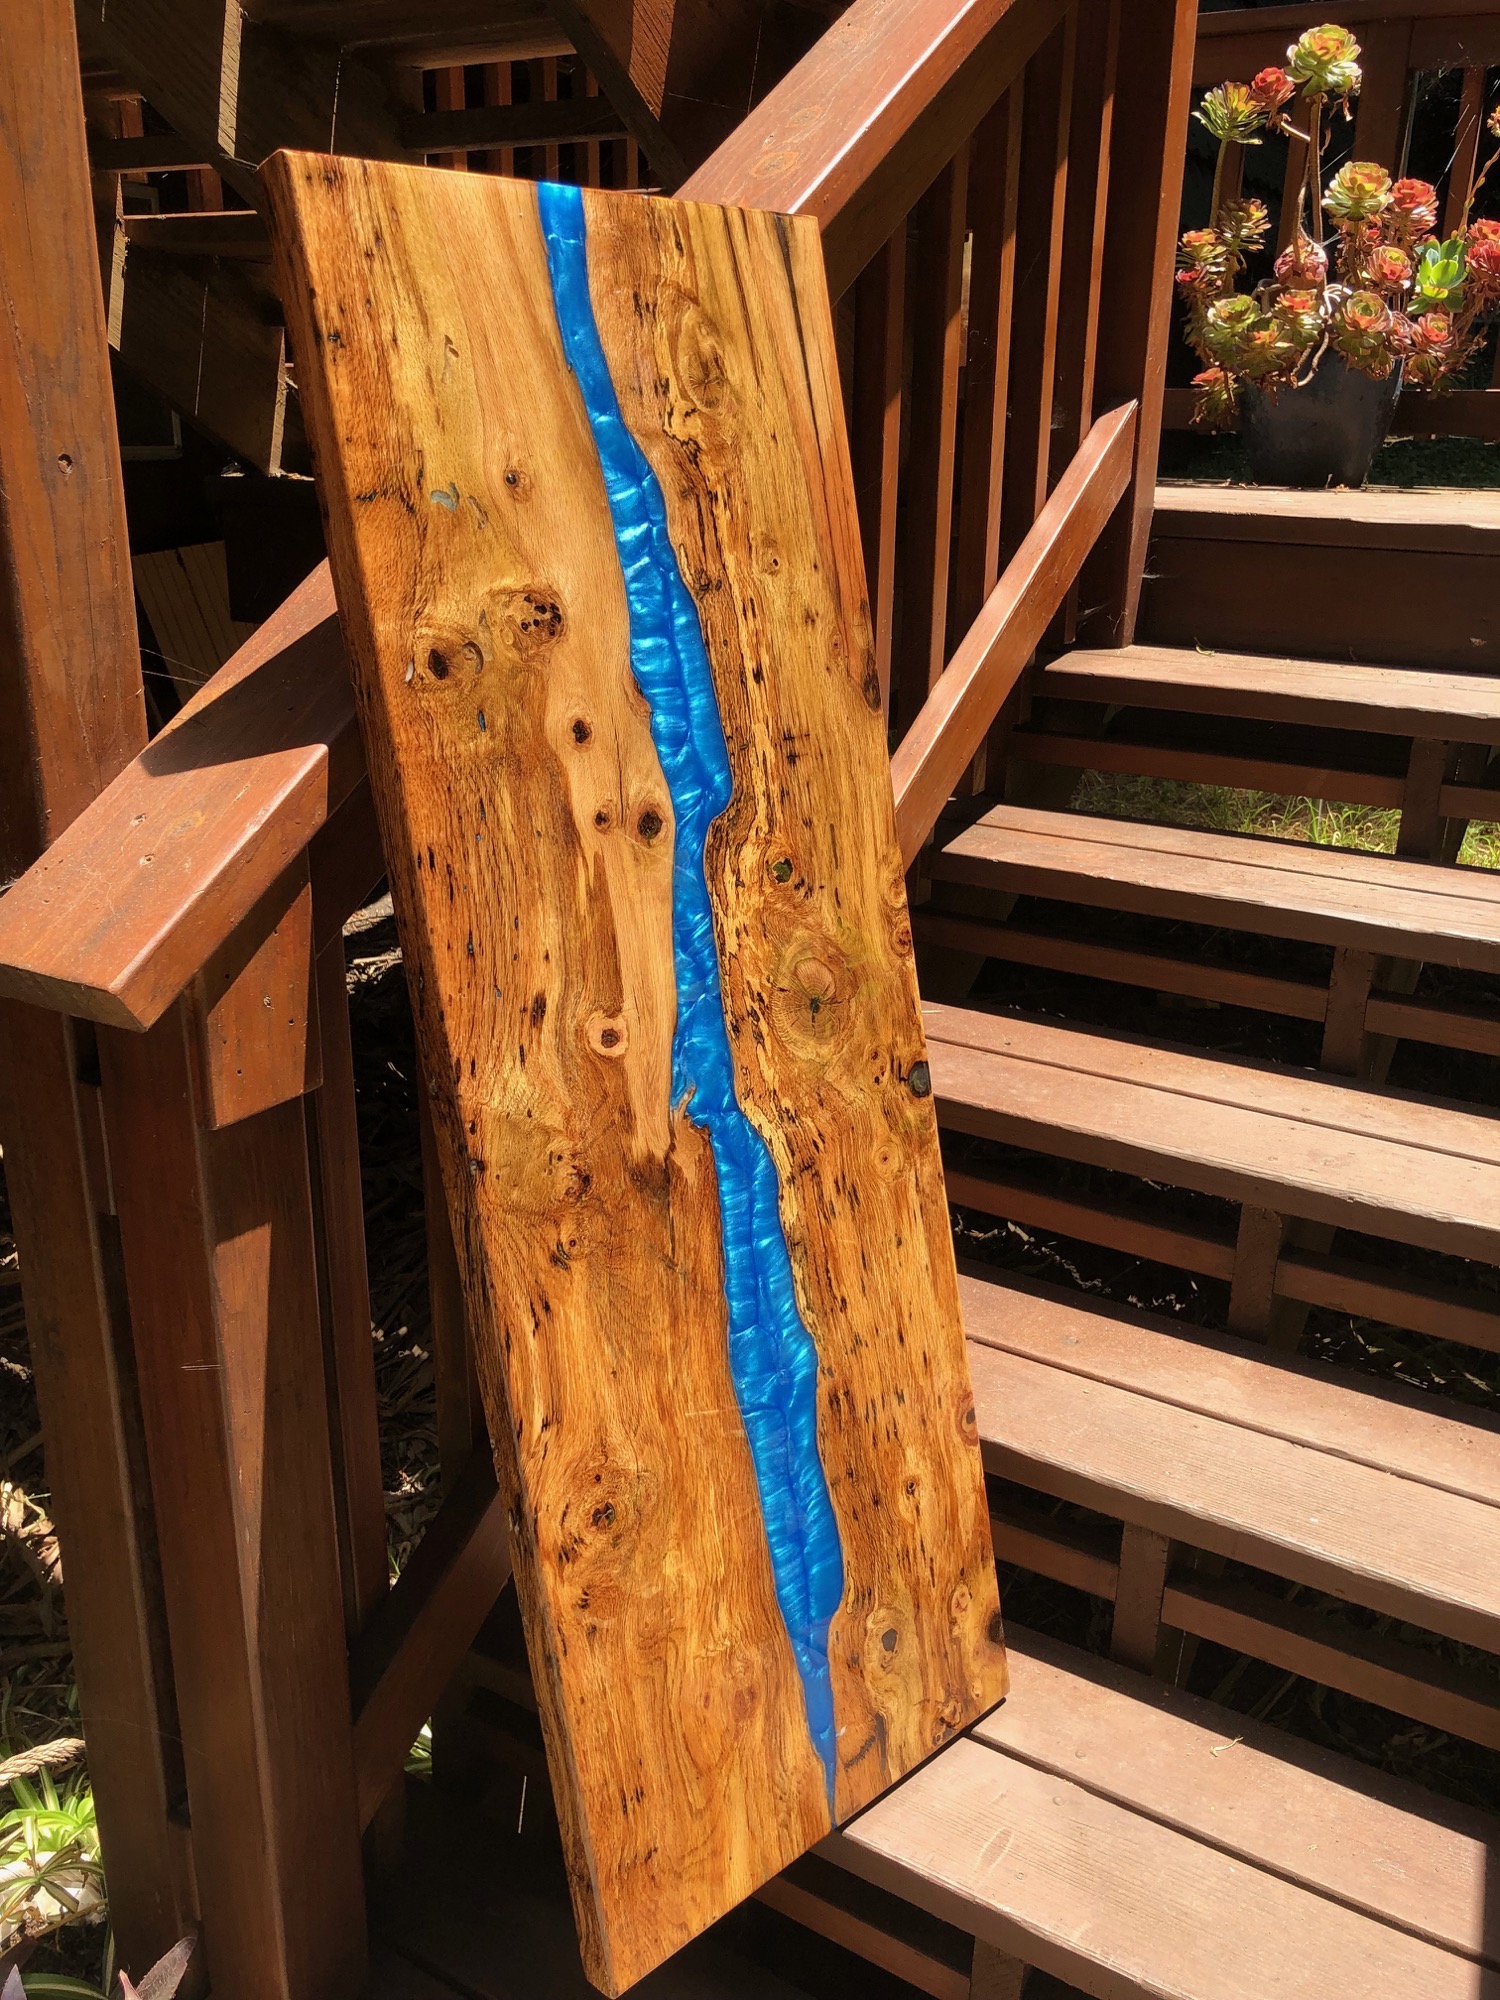
The top in the sun:
The next step was to cut up some metal for the legs and weld them together. Unfortunately I didn’t take any pictures of this process.



[…] few details of me making this table can be found on my blog at: Making River […]
[…] I’ve used this for several river tables, including my kitchen’s bar top some thick art blocks and a river table. […]
[…] few details of me making this table can be found on my blog at: Making River […]