Project Hutchinson
I think it will be interesting to document the process, and what better place than a blog? This is partially for myself/family, but anyone else who is interested can “watch the progressâ€.
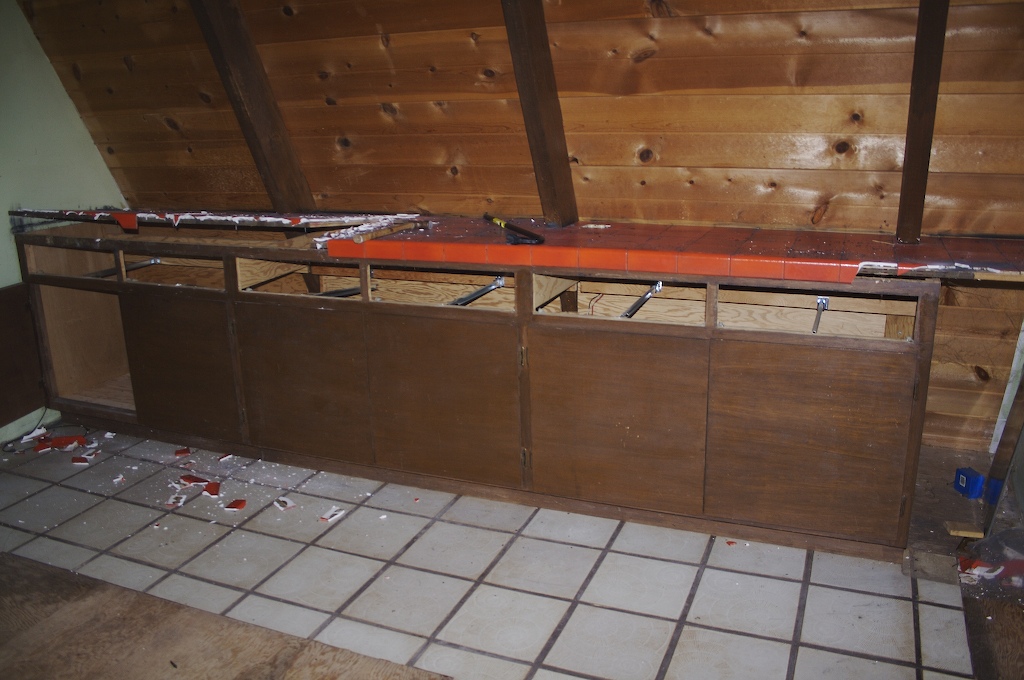
Ahh; okay, the current “entrance†is really the back door. The entrance was chopped when the deck was cut off before I bought the house. So, what you see here is the view from the back door “entranceâ€. The triangle frame on the left was a wall that I started to remove (I have yet to finish it). On the right is a strange protrusion, that doesn’t really need to be there. On the left in front of the triangle there was a long brown cupboard with red tile on the top (see next photo).

The first thing I did was to remove this red tile and dismantle the cupboards. I then rebuilt them in my garage, and they are now my work storage cupboards. I had to reinforce them, and rebuild the top with a new piece of 3/4“ plywood, but it worked great! (Garage picture will sometime be posted). I had to take the cupboards apart into small enough pieces to move by myself (I can’t wait until Louise is home to help).
In the first picture, I mentioned the â€weird protrusion“; this is the backside of it, as seen from the main living room. It is just strange, and kind of blocks the view. So…I removed it!
And here it is, gone. What a difference! It really opens up the whole room. Now, in the closet seen on the right, notice the white box that the black backpack is sitting on. That is part of the intake for the furnace (more on that later).
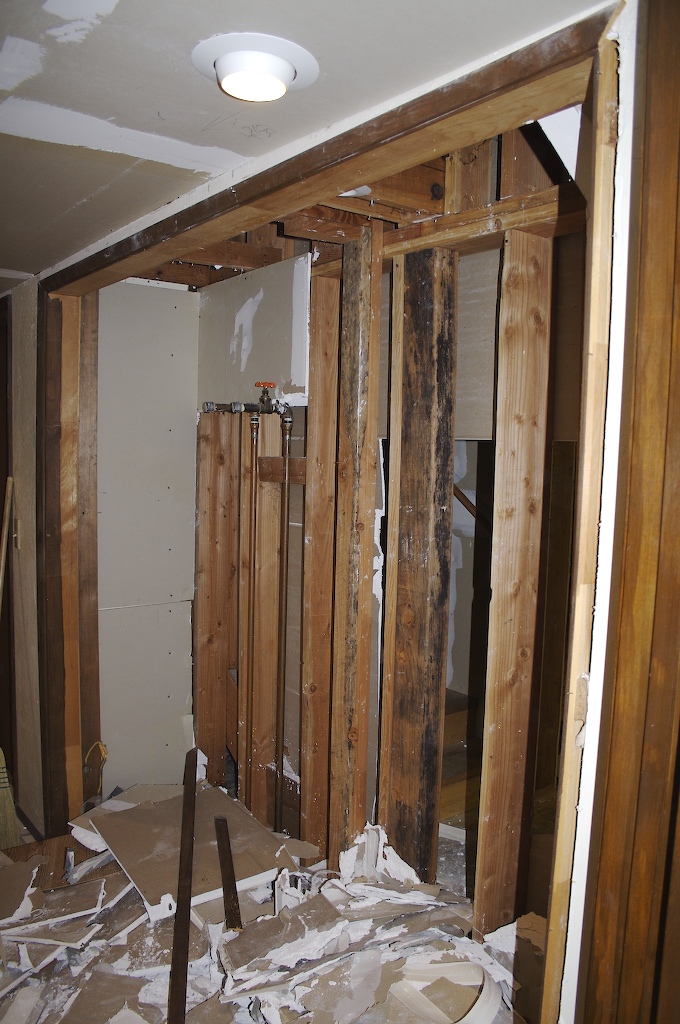
Okay — the way to get from the master bedroom to the living room, dining room, kitchen (all one area) is to make a big long trip around the U. So instead, Shane suggested putting a door in between, that also allows a shortcut to the upstairs. So, I hacked out the drywall to see if that would be feasible:
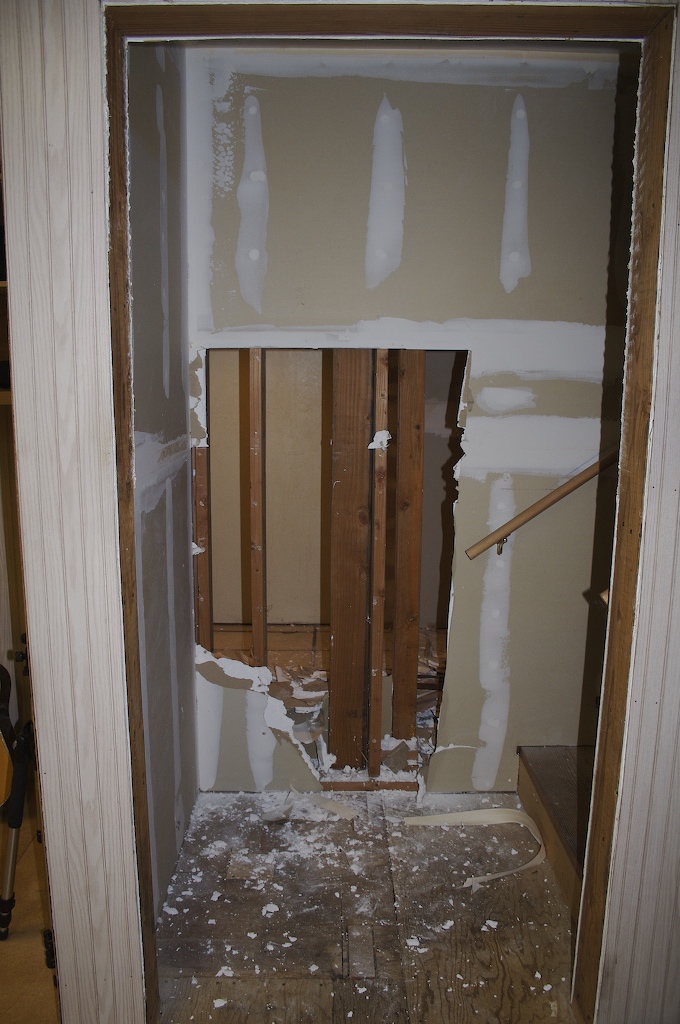
And, from the other side, it looks feasible. The prior owner was setting this closet up to contain a second water heater. I have no idea why. I need to cut the copper pipes, and cap them under the house (they are hard to see in the picture).
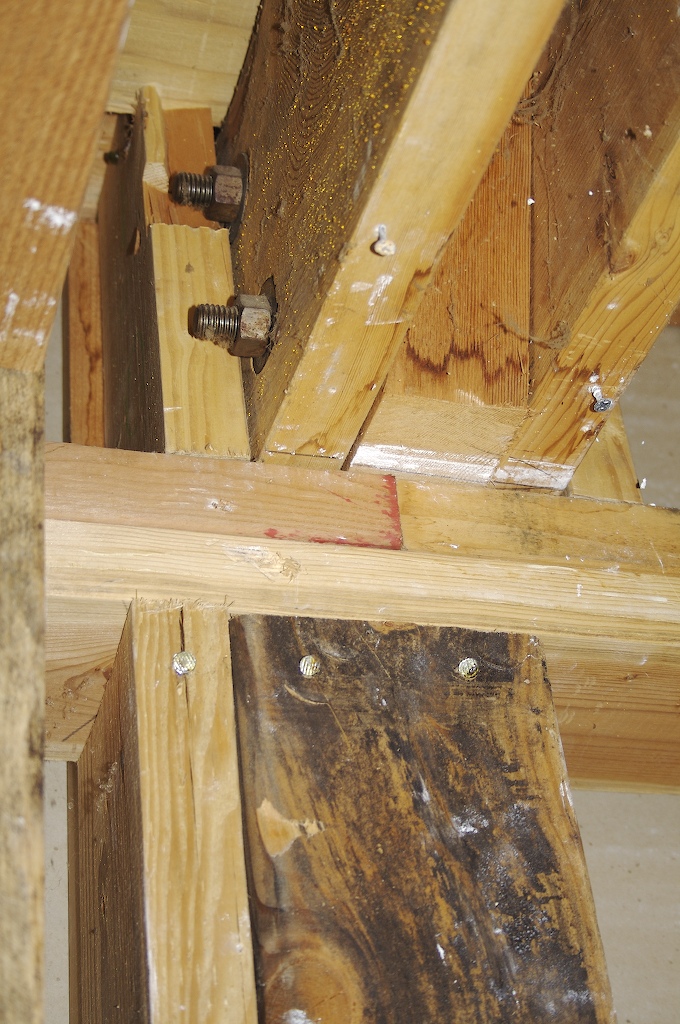
One of the tough parts about finishing this door is to support this beam with a proper header:
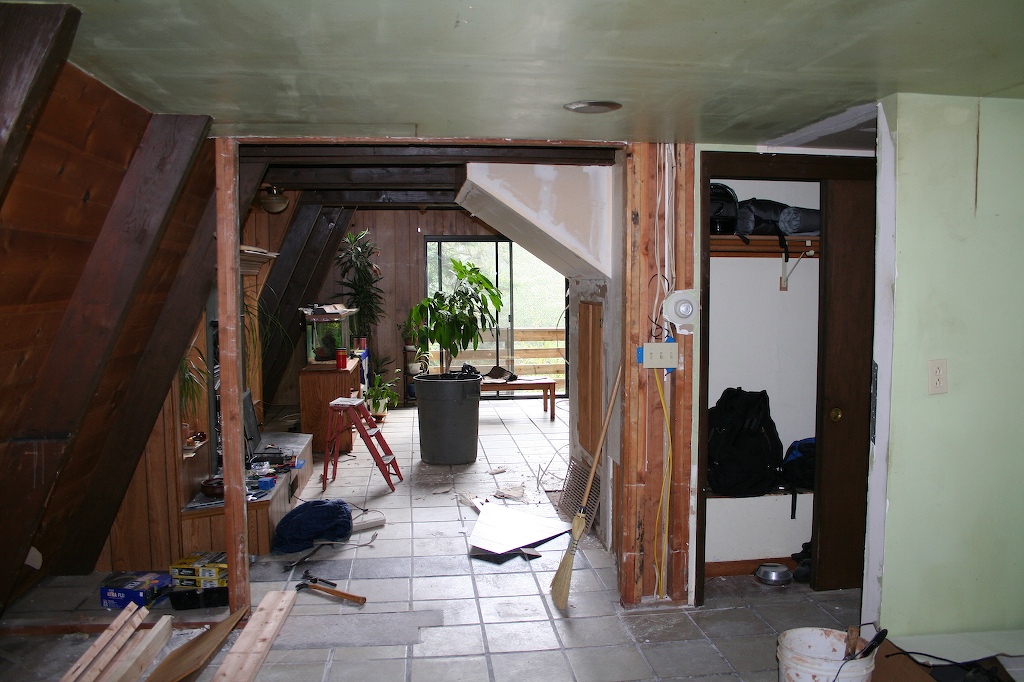
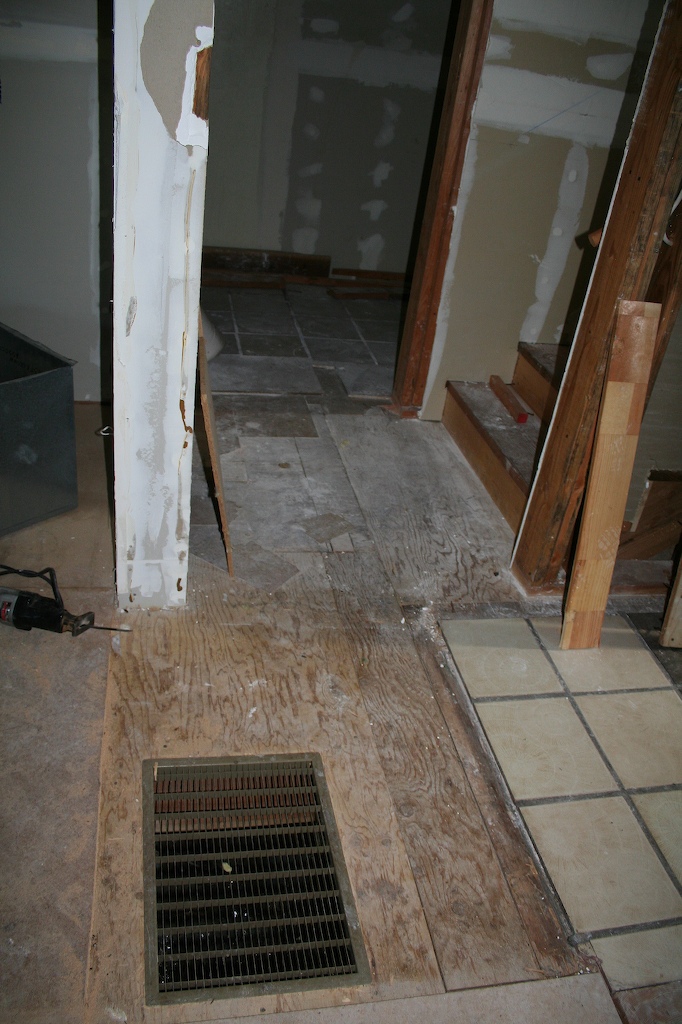
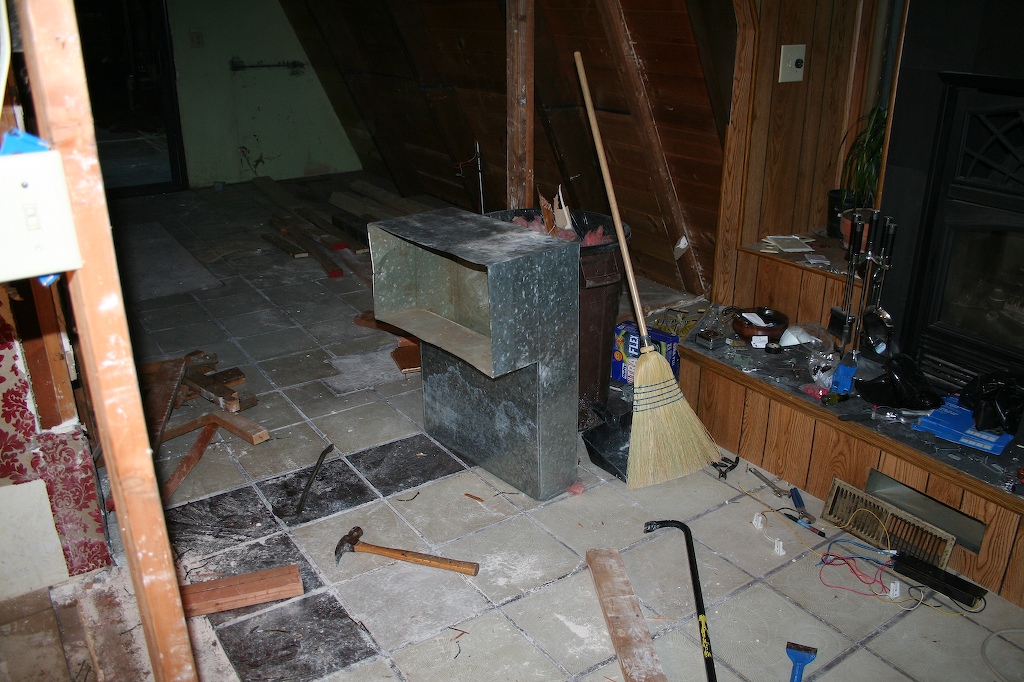
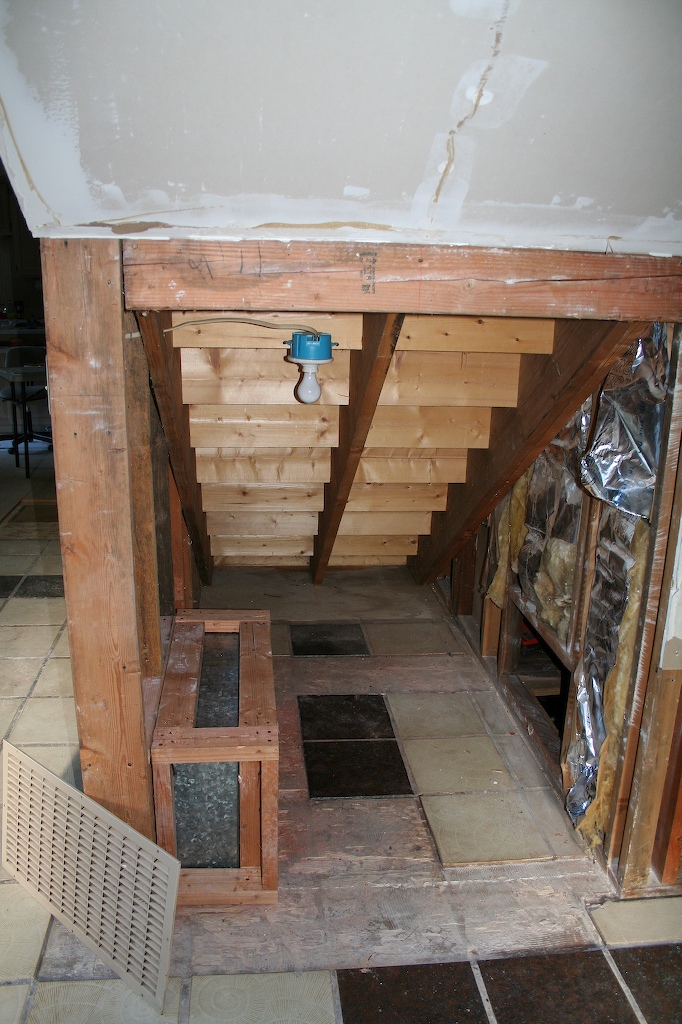
Here is the â€almost finished“ doorway (the furthest door is the one I put in). This is also looking at another problem — a darn intake vent for the second furnace on the ground! Ugg. I took it out, and you can see it sitting on the corner in the left, waiting its new home. The ducts are really dirty. I’ve been taking pieces out and washing them really well. In addition, I brought the hose underneath the house and sprayed some water through them. This way, they will be nice and clean and dust-free.
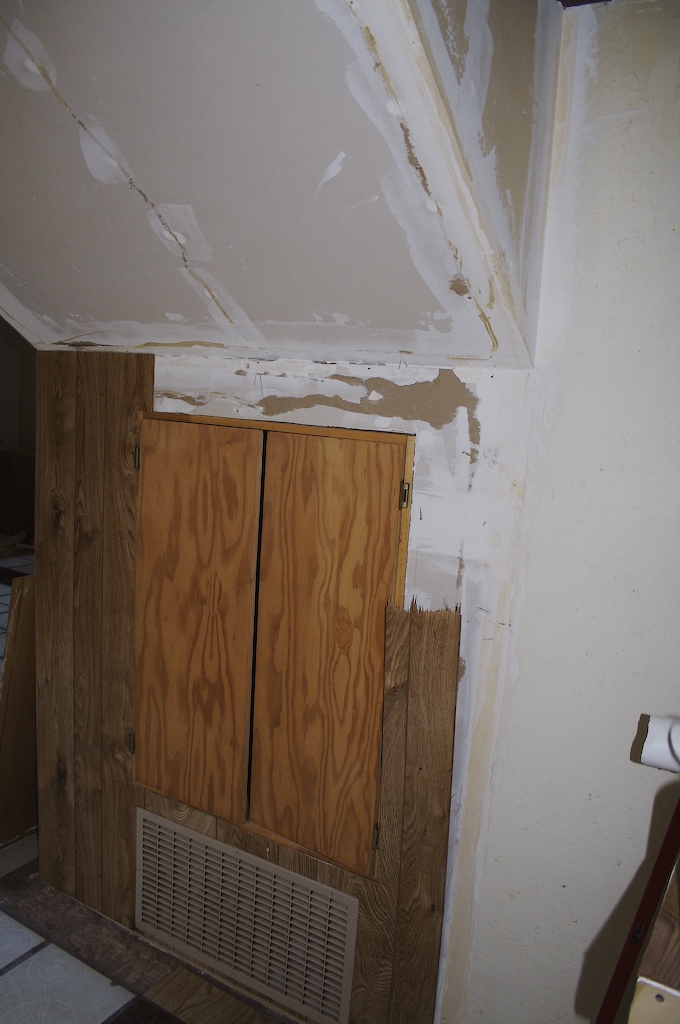
Here it is. You can see the cupboards are pulled out. I pulled off the ugly â€white wash oak“ fake paneling, and I’m going to drop 1/4†drywall over the exiting drywall to get some smooth walls going:
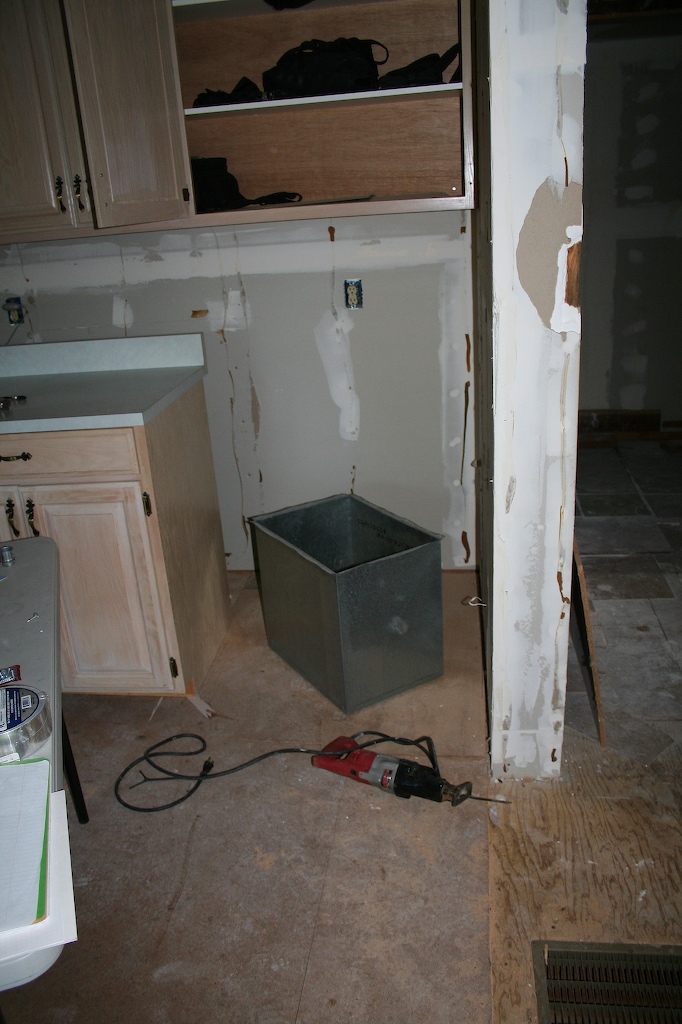
Here we see a mini-closet. In the bottom is a huge intake (“returnâ€) to one of the two furnaces in the “basementâ€. Several problems: The box for the intake is half-in the closet on the right hand side (not in picture) and takes up a lot of space. The box itself could be 1/4 the size that it is.
So, time to start house hacking. This is the other side, with the intake being on the right. I removed the drywall, dropped the box out from the closet and removed a bunch of wood where the box was located:
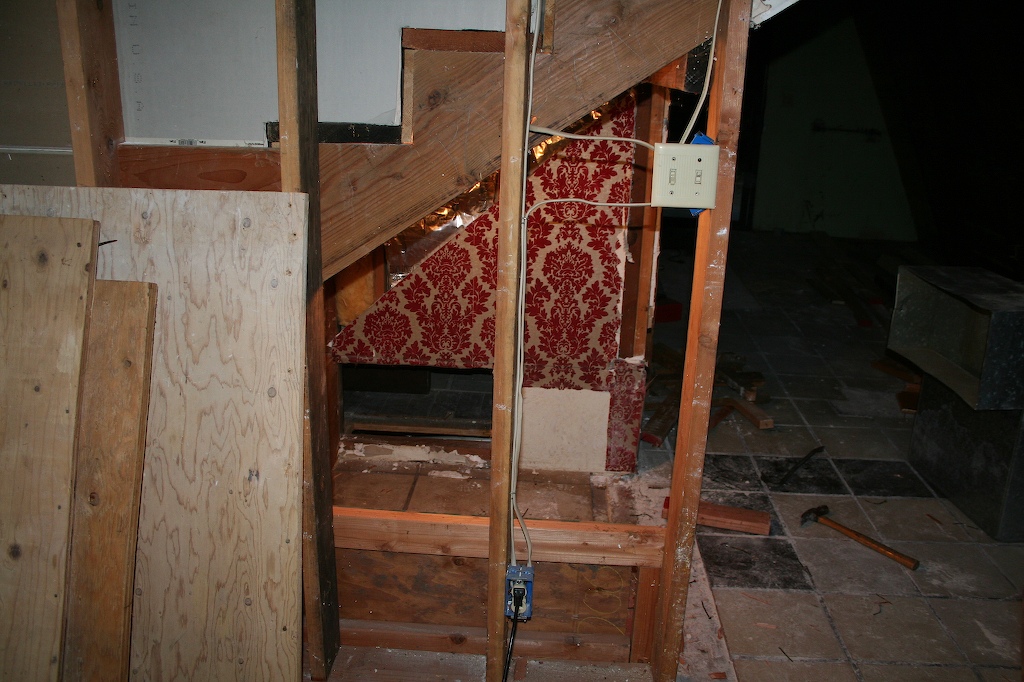
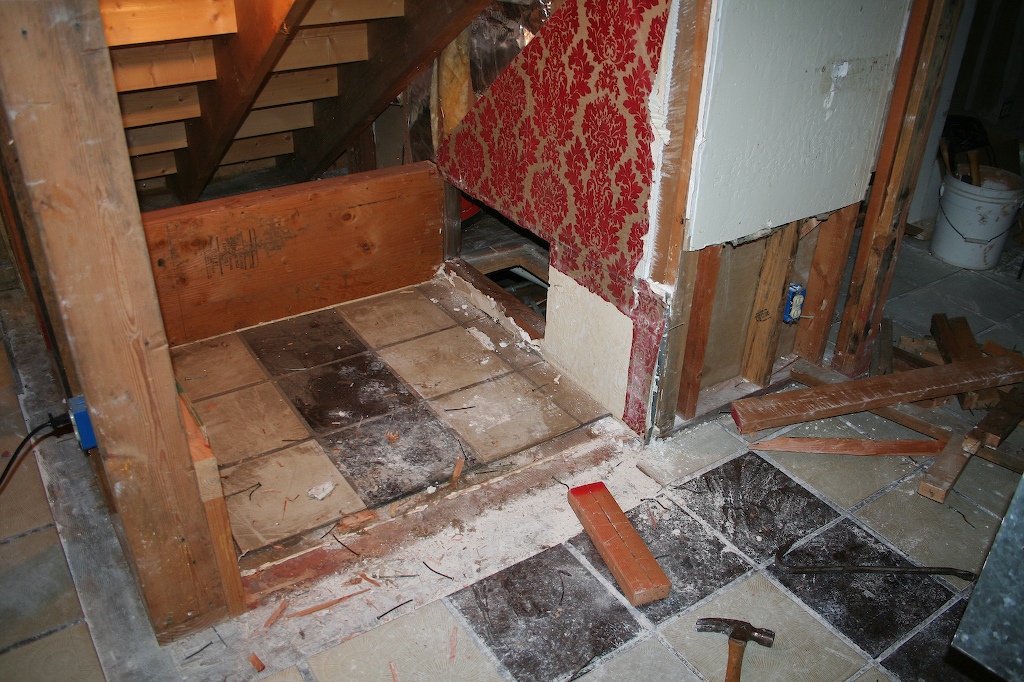
Looking directly at it makes it more clear. Look at that old old wallpaper! Crazy..it is felt. The hole in the wall on the right goes into the closet. You can see where the old intake box was; it extended from the hole in the wall to the white-drywall portion on the right, and covered the entire closet base. This raised the base of the closet about 18“, loosing a lot of space. It was probably easier for them to build this box under the stairs than it was to move the ducts (they may have been right — I haven’t finished the under house work yet).
here is the intake box. I had to saw-zall a new hole for it in the floor (after making sure it wouldn’t hit anything underneath), and drop it in, and then build a new box around it:
Here is the finished location of the box. It made a TON more room in this closet, and the closet to the right no longer is obstructed by it. I built the wooden box surrounding it, and I’ll drywall the interior in.
Living Room / Dining Room / Kitchen.
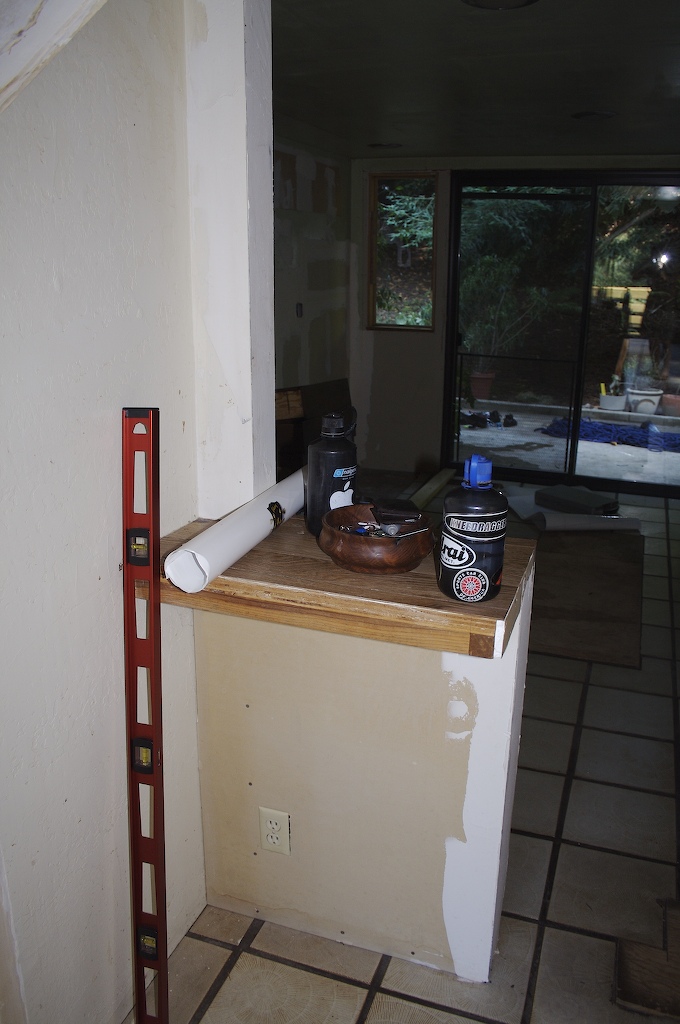
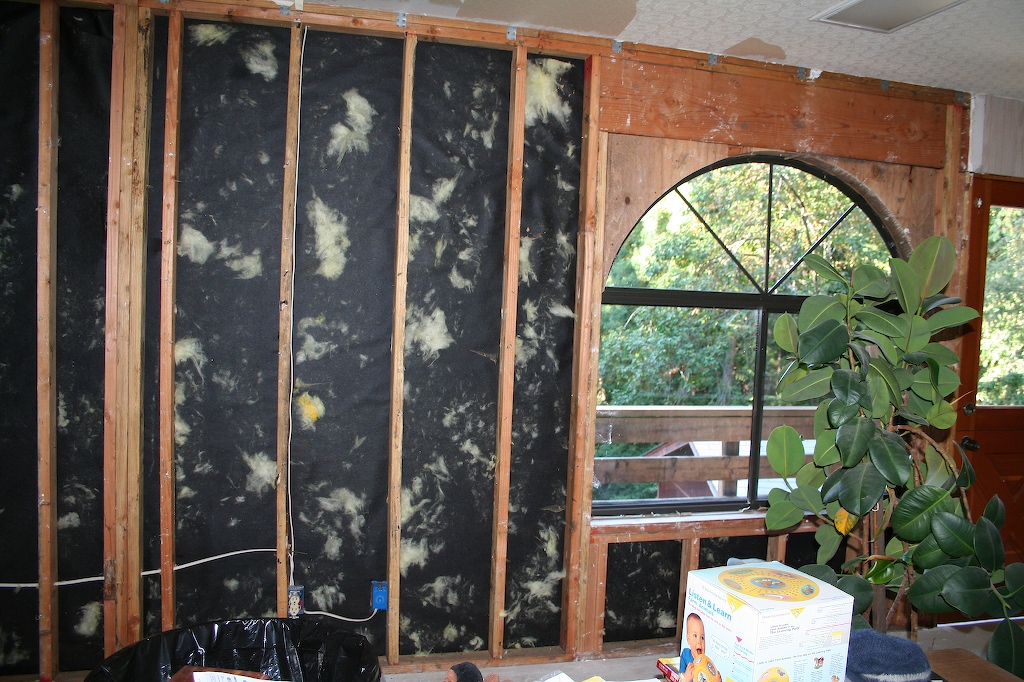
So, I can’t stand the round window. It looks lame to me, but Louise likes it. However..i’m vetoing her vote since she isn’t here yet ;). I’m going to get two nice 5′ x 6′ â€picture windows“ (non-opening) to drop in this wall, centered.
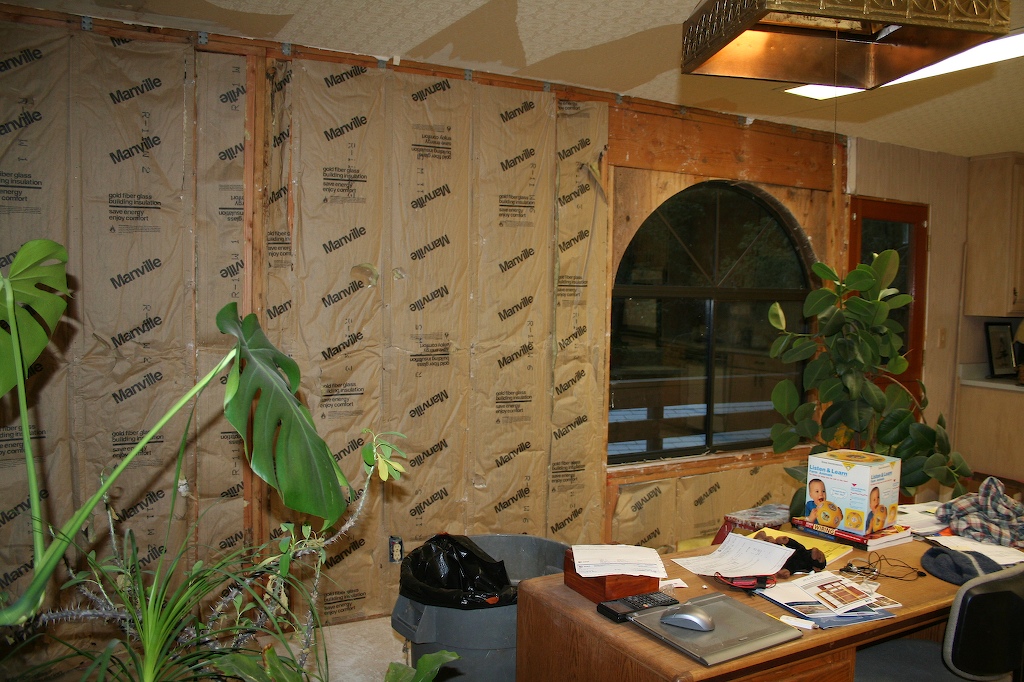
My dad pulled the drywall and insulation off. I initially was planning to put in the windows myself, but I think our contractor, Will Morse (a excellent contractor, highly recommended), will probably do it (and I’ll help a little bit). It is tricky and time consuming to rebuild the wall for new windows. The hardest part for me, by myself, would be to put in a new header (see the huge header above the ugly round window?). Also note the ugly wallpaper on the ceiling. That will be gone! Also — the white box (sitting on my desk). That is some baby-toy I found in the closet behind stuff. I also found about 8 keys in one wall.
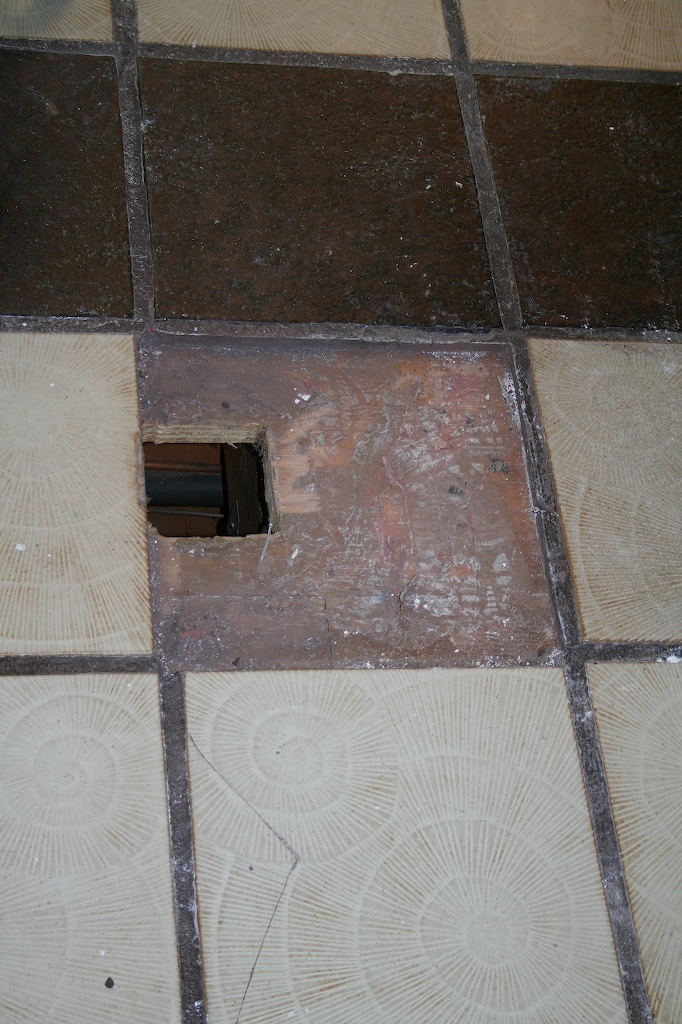
I moved three outlets off the floor and boxed off one. This involved breaking the tile (I’m going to rug over the tile, eventually), and moving the conduit underneath the house to be in a better spot. Then, drilling holes and installing the new wiring for the outlets in the walls. Sort of a pain, but well worth it for many reasons. One reason is that spilling water on the ground won’t go into the outlets (the old metal boxes were rusty, so this clearly happened before). In addition, the ground wasn’t hooked up on the outlets! How lazy was the last electrical guy? That is dangerous! The new ones are now properly grounded. I learned most electrical from â€Ultimate Guide to Wiring“, that I read a few weeks back. I also did do the wiring in my treehouse, but heck, that was 6 or 7 years ago.
Tractor work.
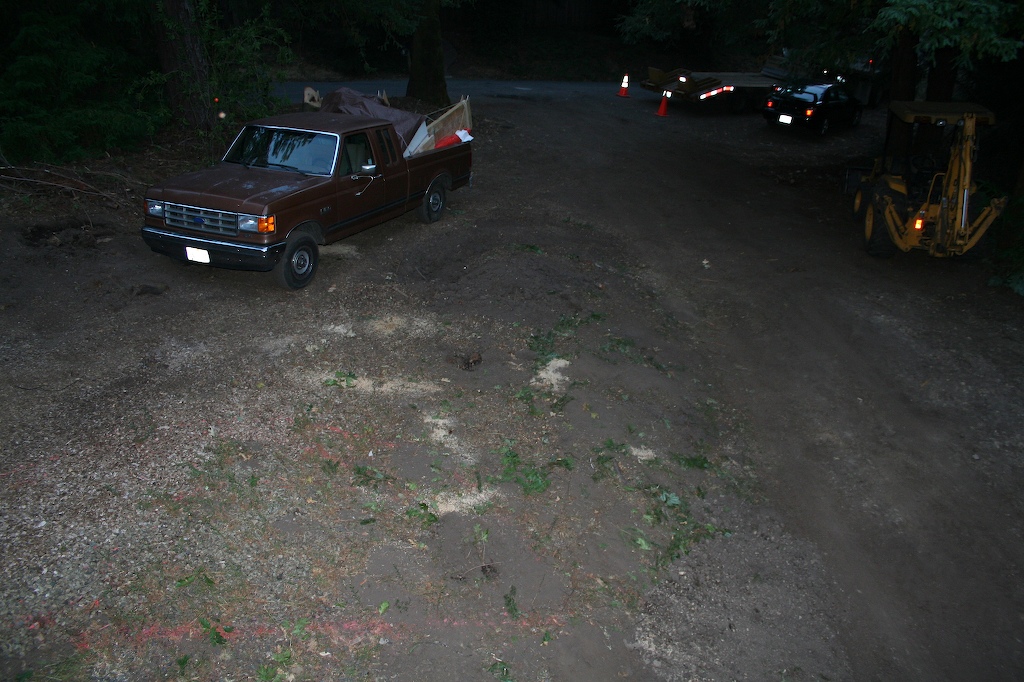
This weekend Will knew a tractor guy that could do the work on my driveway. So, on Saturday Chris Goodenough showed up (from Goodenough Underground — highly recommended) came up with his tractor to do some work. he scraped a lot of the stuff not seen in this picture. Speaking of which, in this picture you can see my â€new“ F150. An ’88, full of stuff for the pancake playhouse and the drive up to burning man coming up in a week. Hopefully I’ll have room for my own stuff in there! Right in front of the driver’s side door there used to be a small’ish pine tree. We cut that down, and the tractor pulled out the stump.
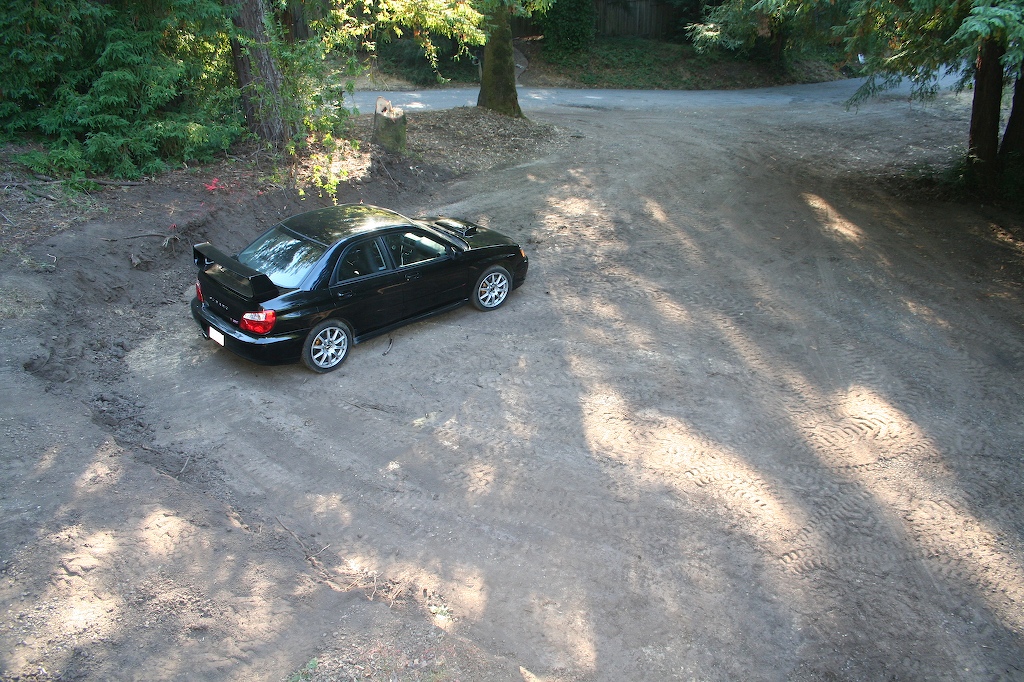
I figured it would be nice to have a turn around for the cars, so here you see my car parked where the truck was. You can also see another tree that we dropped on Saturday. I think it was an oak (black oak?) since it has acorns and stuff, but Will thinks it is something else. It is really good that we cut it down. It was rotten in the middle, and probably wouldn’t have stayed up much longer. It would have been really bad for it to drop down on the house/cars/deck. Maybe I can do a cool chain-saw carving with the stump that is left. The other side of the stump already looks â€interesting“. You have to see it to see what I mean. I now need to build a retaining wall for the dirt. The part by the house is going to be built by some pros.


I thought this was a construction project. All I see are walls with otherwise nice red flowery wallpaper getting torn down.
Your plants they need LOVE. I am sure they are suffering from the move and the dust and the broken pots that are too small.
I owe you some more work – Sunday’s are my day off. Call me. I know how to hang sheet rock, mud and tape, sand, paint, lay vinyl tile, etc.
Hey, you have a monstera deliciosa plant! They are so hot right now.
Glad to see the drywall up and textured and everything! What a drastic change from bare studs. But try to limit the brain damage with the glue remover you’re using on those tiles… You and Louise can’t afford to lose many more… I mean look what it’s doing to both of your hairdoos!