All posts in March, 2011
Some amazing treehouses
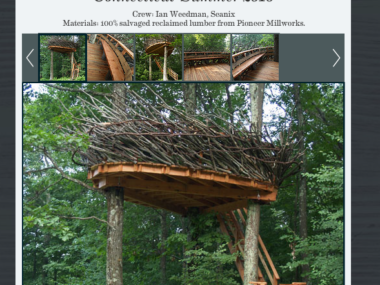
A friend pointed me to a link on MNN with some amazing treehouses. That led me to Romero Studios. They have built some quit amazing treehouse structures, such as the screen shot below. Check them... [read more]
Mar
31
2011
Shop Tour
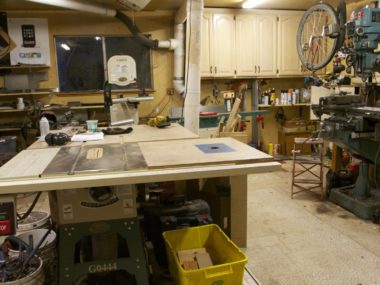
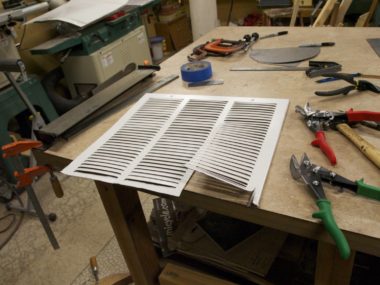
How about a tour of my garage shop? Grinder: Work desk and tools hanging on the wall: The fan in the window is used to exhaust fumes from welding and other things: Nuts, bolts and... [read more]
Mar
19
2011
Plug Bug: Water proofing the motor area
One of the problems with the electric motor is that it is exposed to the elements underneath the car. I don’t want to get water in my Warp9 and have it fry, so I needed... [read more]
Mar
18
2011
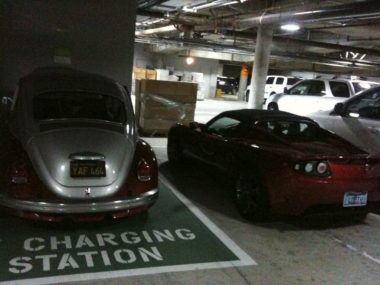
Bug + Tesla
I don’t think I posted this to my blog…my caption was “Sorry Tesla, I got to the Charging Station first!” \
Mar
15
2011
Plug Bug: Drive to work data
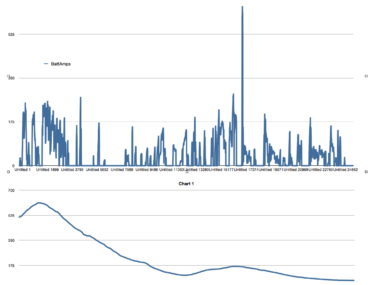
My drive home includes ~1900′ of elevation gain, which takes a lot of energy. The car averaged 322 watt-hours/mile. So, what does the data look like coming too work where I drive *down* highway 17?... [read more]
Mar
10
2011
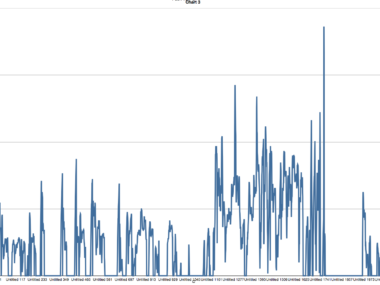
Plug Bug: analyzing data
I finally have the car running again! I got the controller back from Netgain Controls with an upgraded motherboard to fix some issues I was seeing. My Interface Module was also fixed to report the... [read more]
Mar
8
2011

Treehouse Fall Down – Video
This is a follow up to the last post where I posted pictures.
Mar
6
2011

Treehouse Fall Down – Pictures
The main part of my old treehouse fell down quite some time ago. however, the walls were left standing until a while ago when they finally fell too. Here’s a few pictures. I’ll post a... [read more]
Mar
5
2011
As an Amazon Associate I earn from qualifying purchases.
(c) 2008-2026 Corbin Dunn
Subscribe to RSS feeds for entries.
53 queries. 0.283 seconds.