Hey Everyone! I’ve reorganized a lot of information on my site to make things easier to find. Here are all woodworking plans (SketchUp files) for you to download: Woodworking Plans by Corbin Dunn
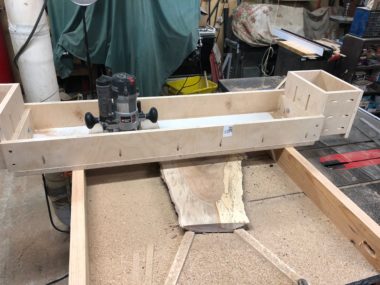
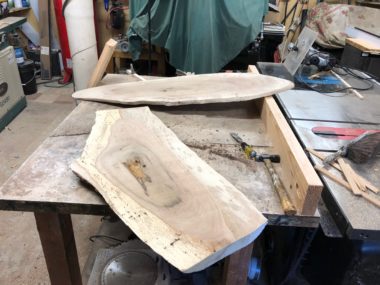
I’ve got a ton of oak slabs from a tree I milled, and I need a good jig to flatten them. I recalled reading a Fine Woodworking article where Nick Offerman made a jig, and...
[read more]
I made a router jig for flattening large slabs. It is based off of Nick Offerman’s design that I saw in an issue of Fine Woodworking a few years ago. I’ll draw up the dimensions...
[read more]
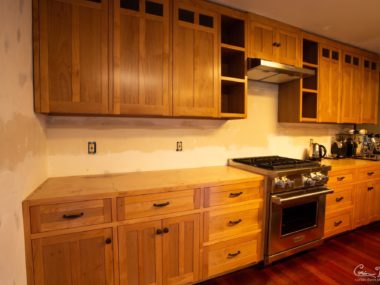
My kitchen remodel is going slow, but I finally got to the point where I could install some of the cabinets! Next up will be a concrete countertop.
I’m remodeling my kitchen and building new cabinets out of alder wood. I like to remember what I did, so I’ll write up some details for the next wood working project I tackle. The first...
[read more]
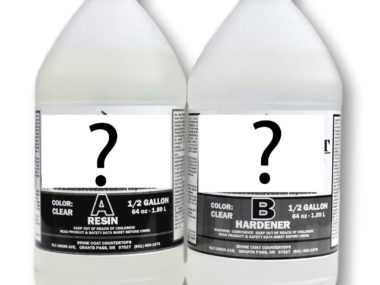
This page is specifically for the Epoxy resin ideas & advice group. The admin’s don’t want affiliate links, so I removed them. For more complete product links and more detailed info visit my other post: epoxy manufacturers and...
[read more]
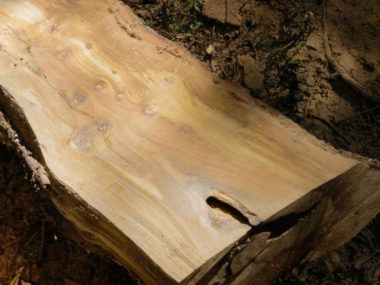
Hey guys! In this "adventures of Corbin" episode I'm using my Alaskan Mill to make my own oak wood slabs! Check it out in case you are interested in doing it yourself, as I go over the basics on what I did. A pretty large oak tree fell down on my property last summer, and I wanted to see if I could get some usable wood of it. This is my second time using an alaskan mill, and it is a lot of hard work, but good fun. If you liked the video, subscribe! It encourages me to make more cool films.
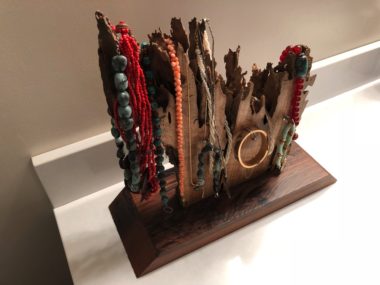
My wife requested one thing for Christmas: a custom made jewelry rack. Originally I was thinking of welding something together out of old gears and sprockets, but the power went out right when I was...
[read more]
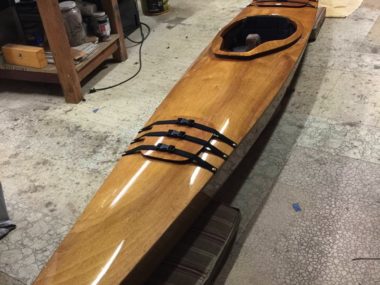
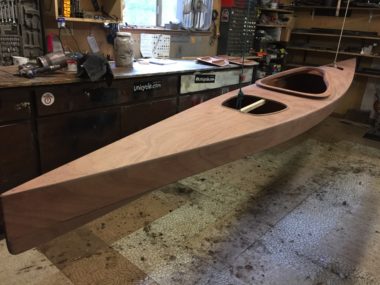
In October 2016 I got a wooden kayak kit. In February 2017 it finally hit the water! It took a little longer than I expected, but I’m happy with the result! Here I am taking...
[read more]
Happy days are here! Actually, most all my days are happy days, but the kayak is done! I installed the seat and hatch straps. The seat is just some foam glued in, and in the...
[read more]
I did some wet sanding on the kayak after the first coat. The directions say to use 400 grit, but I wet sanded the first two coats with 320, and then switched to 400 for...
[read more]
I was gone for a few weeks in Japan, so progress on the kayak has been slow. I’m back to doing some work on it. First I had to sand it a ton. 80 grit,...
[read more]