Part 2: The DIY Solar Install
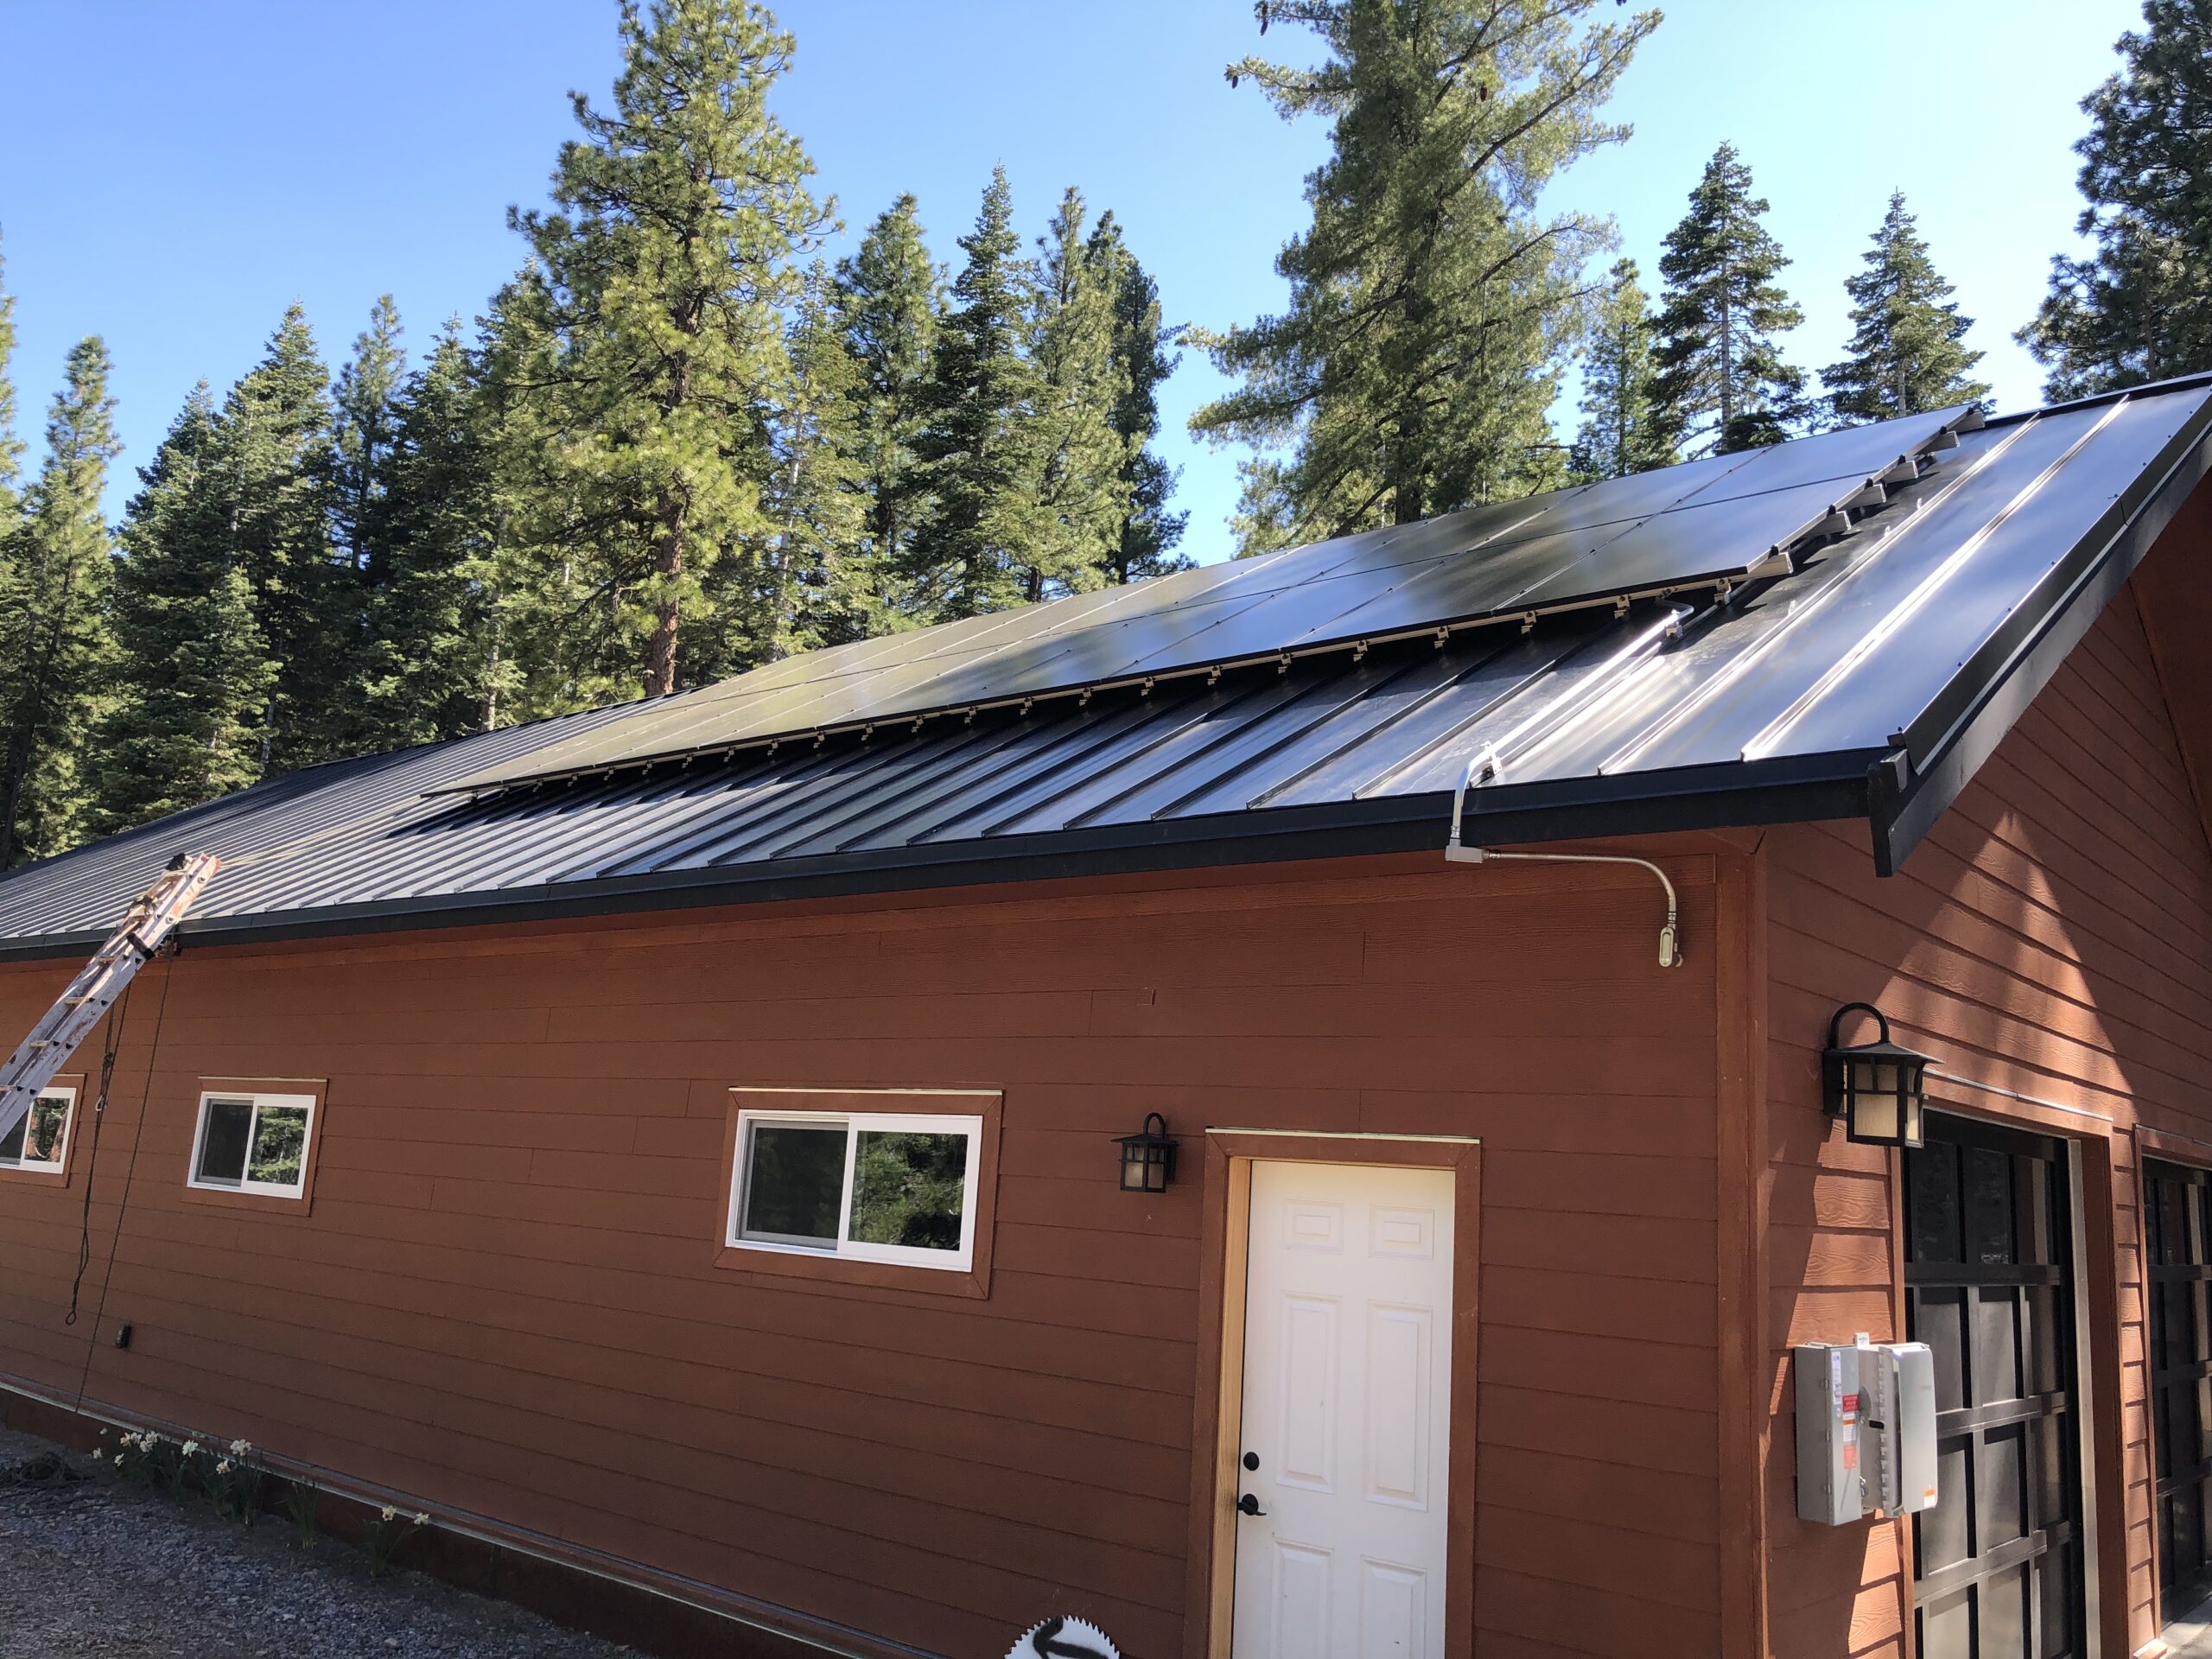
In Part 1 of the DIY Solar Install I talked about some of our decisions on why to go DIY. It really came down to cost, and I’ll talk about my total spend in a bit. Here’s a shot of the panels completed on one side:
First off, Liberty Utilities, our electric company, requires pre-approval before you do anything. This was easy to do with their online system, which calculates your estimated production based on your estimates of shading throughout the year. They also won’t allow you to build a system that would produce more electricity than what you could use in a year; I don’t think they want to be on the hook for paying you for it.
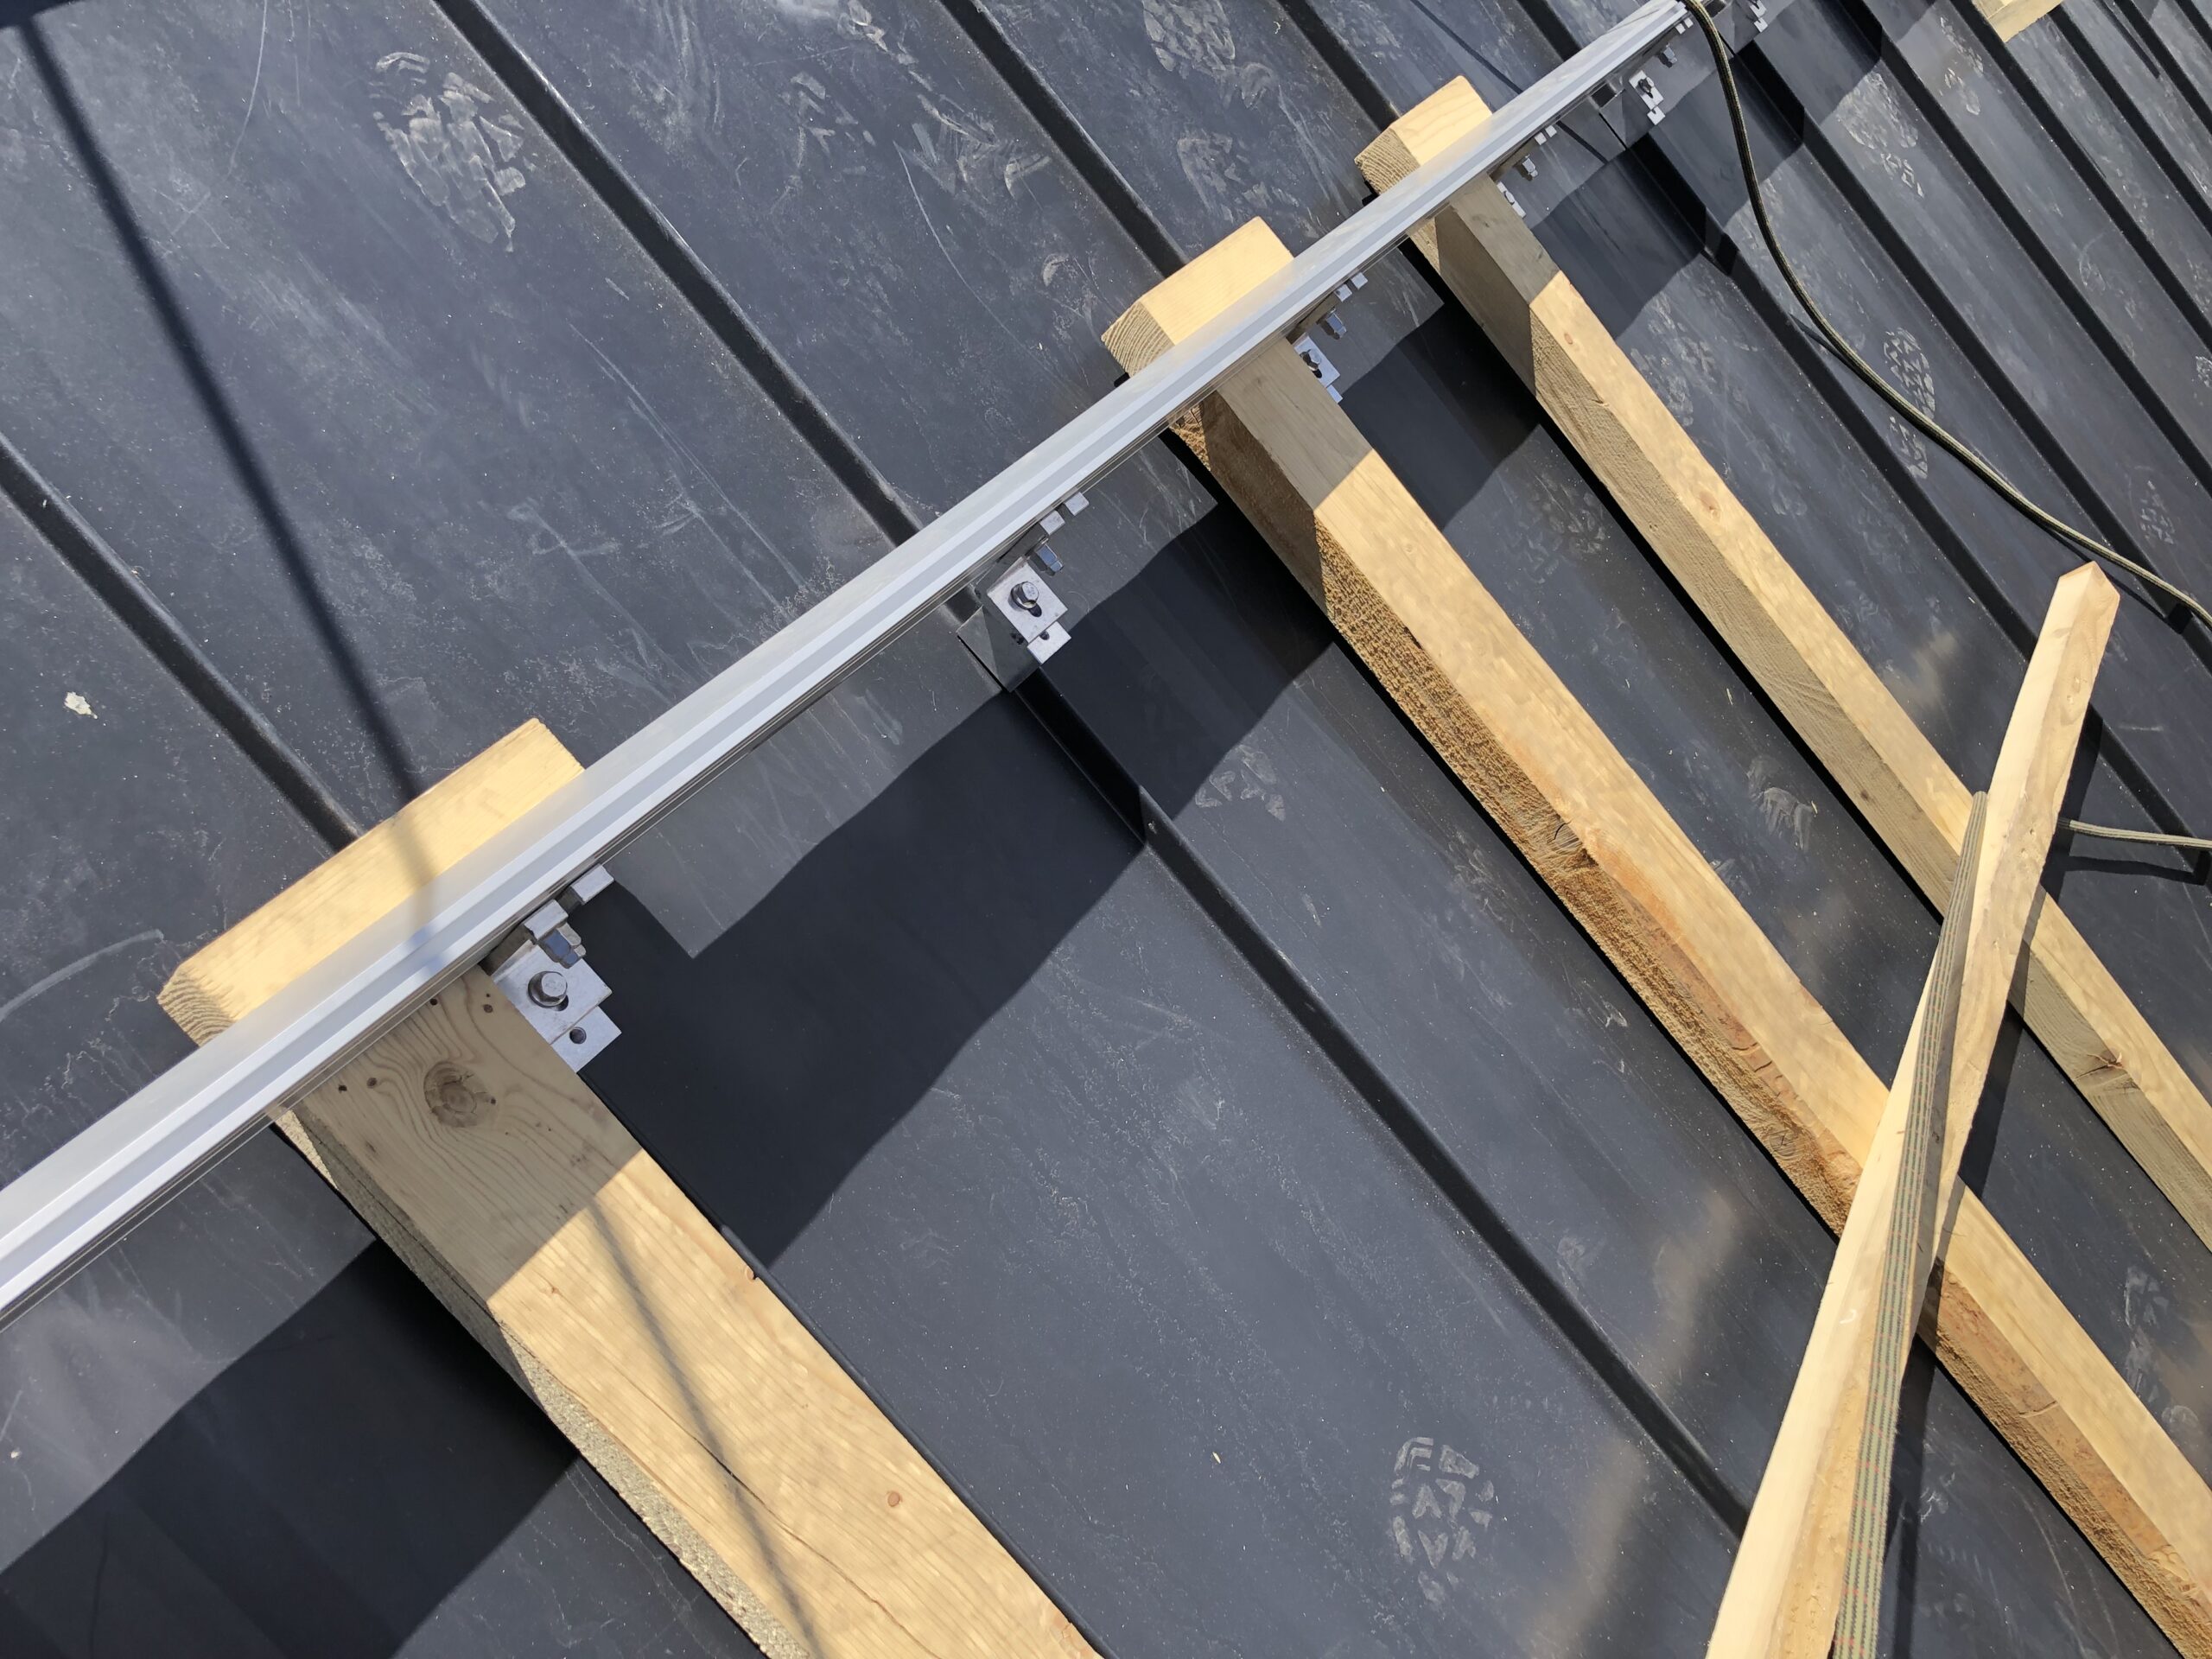
My county requires engineer stamped plans to get a solar permit if you are above 4,000′, and we are at around 6,600′, so that meant I had to get stamped plans. I paid Tandem Solar $700 to get the plans, and it took a while to get everything figured out. The engineer spec’ed an S5 metal roof clamp on every seam…every 16″, which was a bit overkill (the inspector even said so), but I had to go with it. The problem is our snow load is so high that a lot of the equipment isn’t officially rated for the potential weight. This cost me an extra $1,000 alone in parts, and a bunch more install time. In practice, it won’t ever be a big deal because the snow always slips off the sloped surface within a few days, and doesn’t build up.
Once everything was approved, I ordered $25,000 worth of materials from Tandem Solar and it arrived on Earth Day 2024.
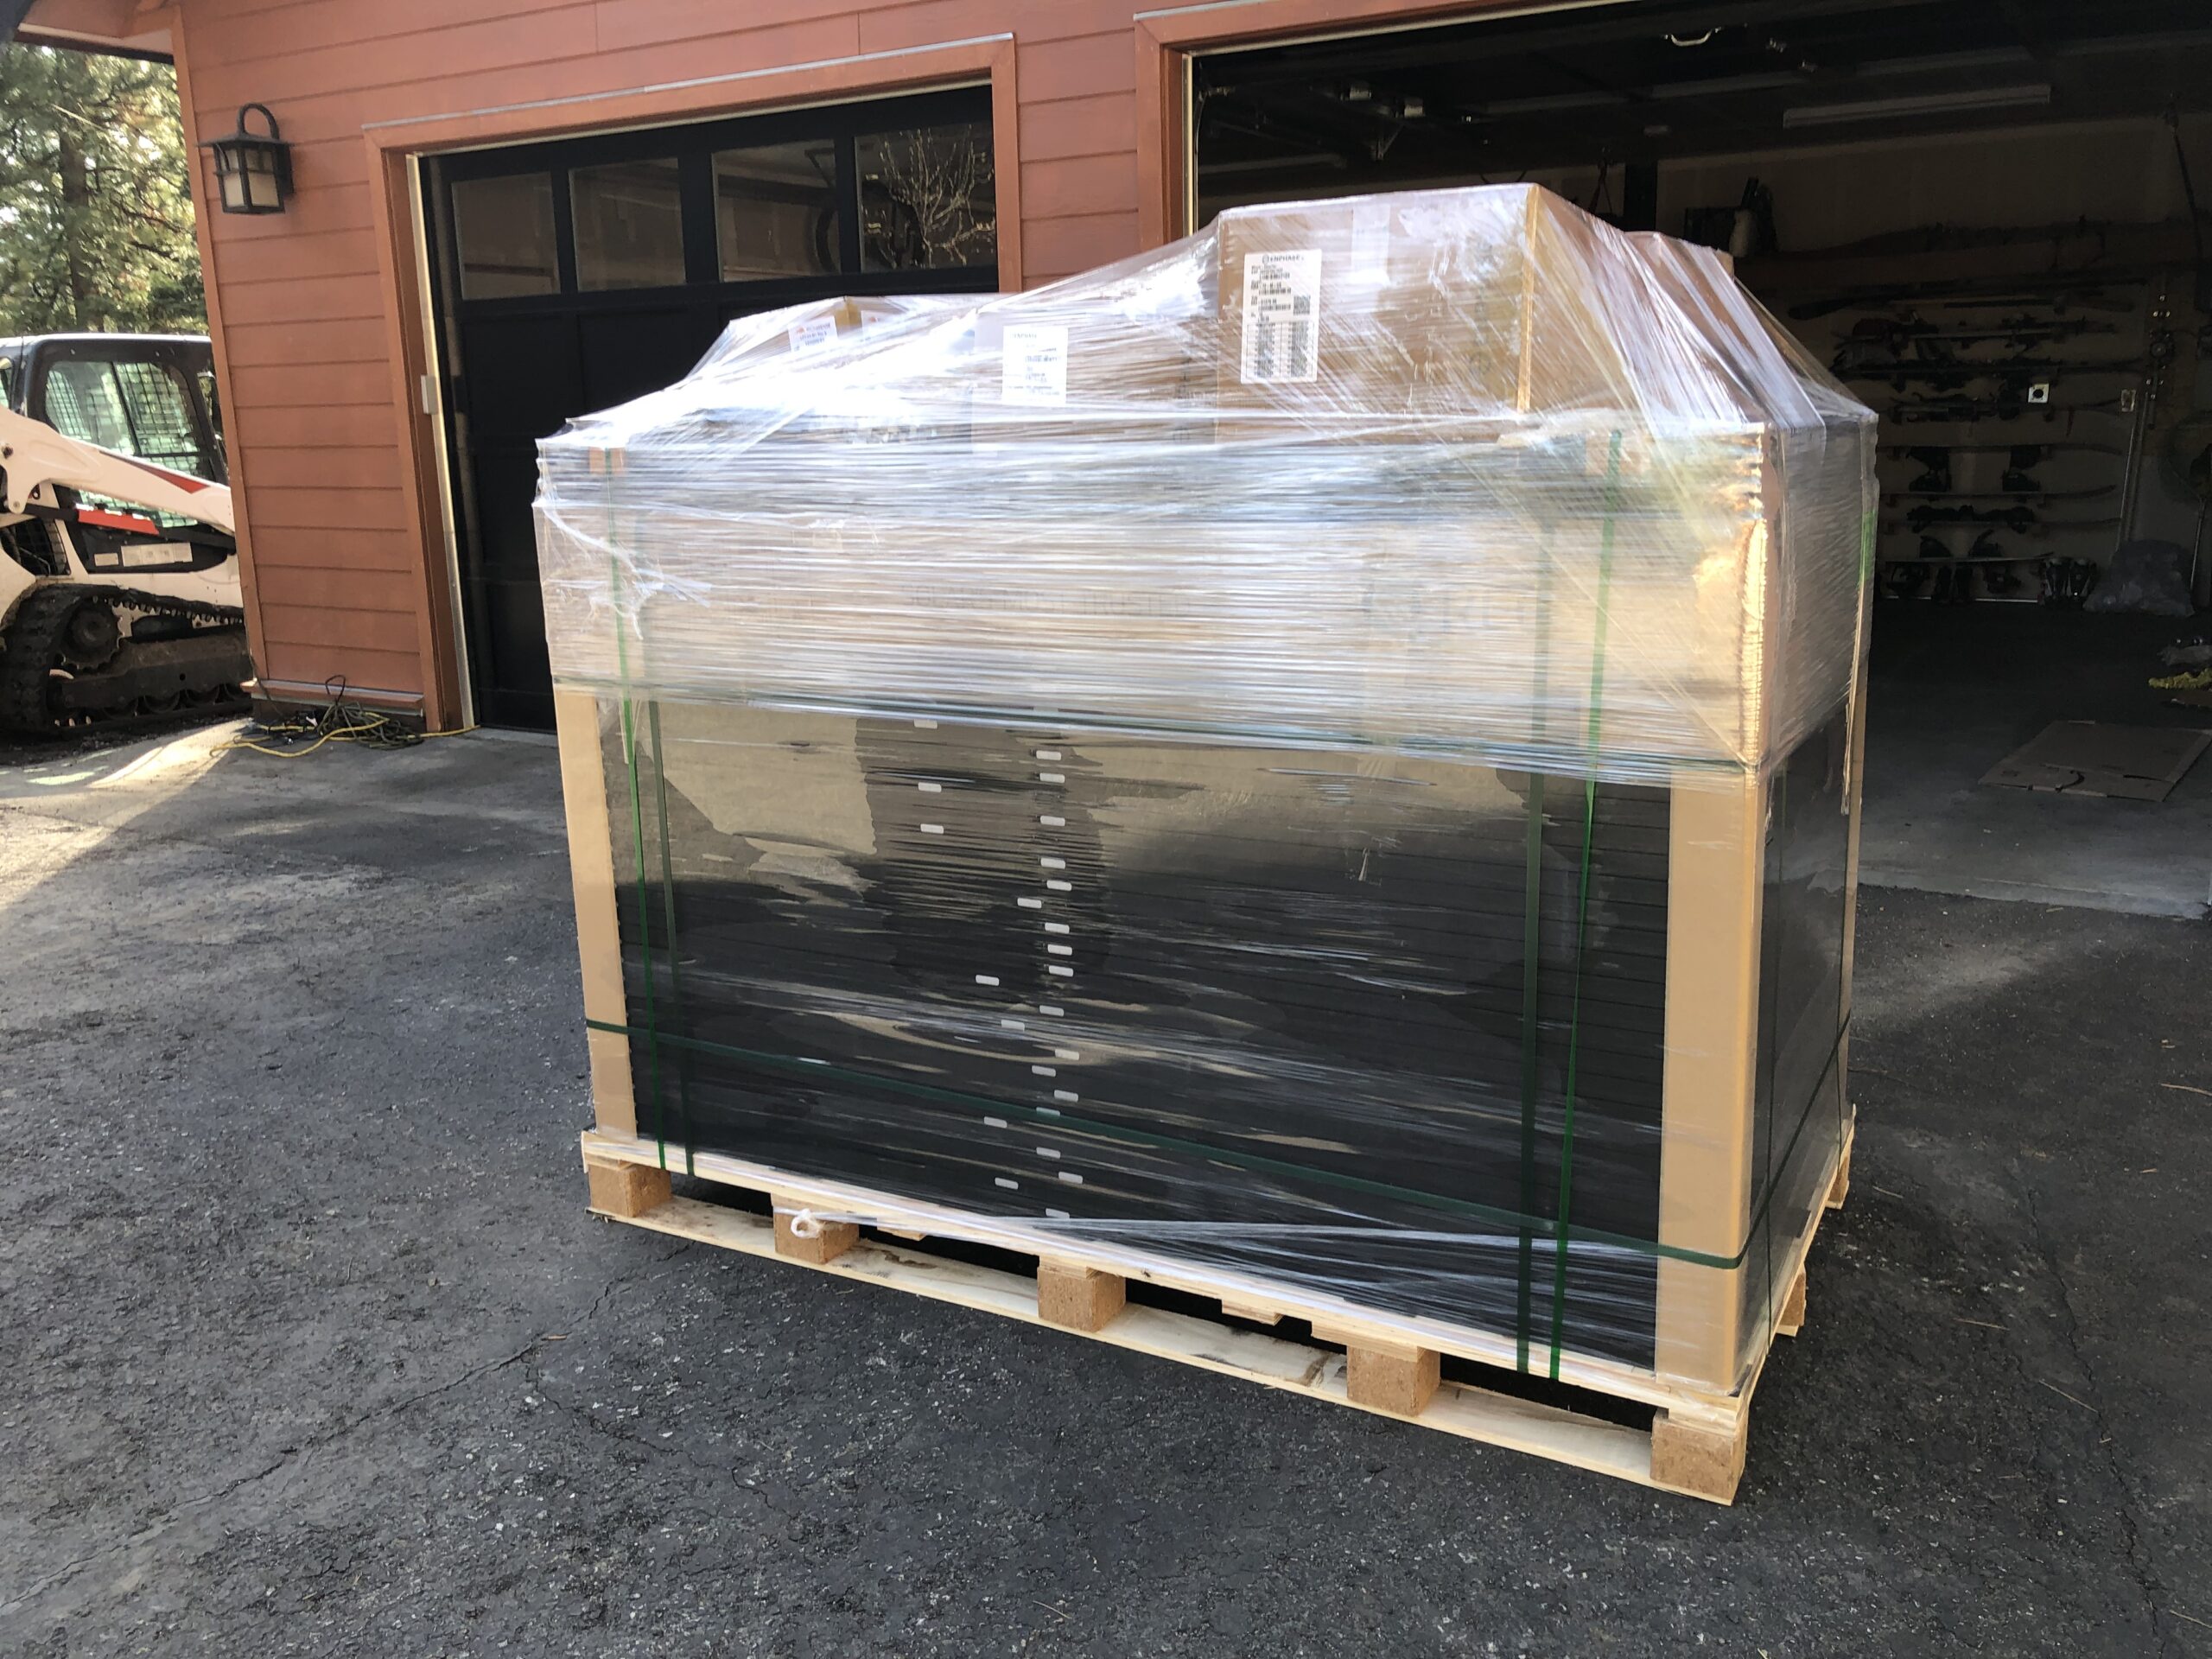
A box truck dropped it off at my driveway bottom, and I carefully drove it up the hill to the house with our Bobcat…going super slow to make sure I didn’t drop or crack anything.
Lexi helped me get some ropes around the top of the shop, and I tied one end off on the truck as an anchor. My friend Ben loaned me some roofing safety equipment, but in the end I preferred an old climbing rope and gri-gri.
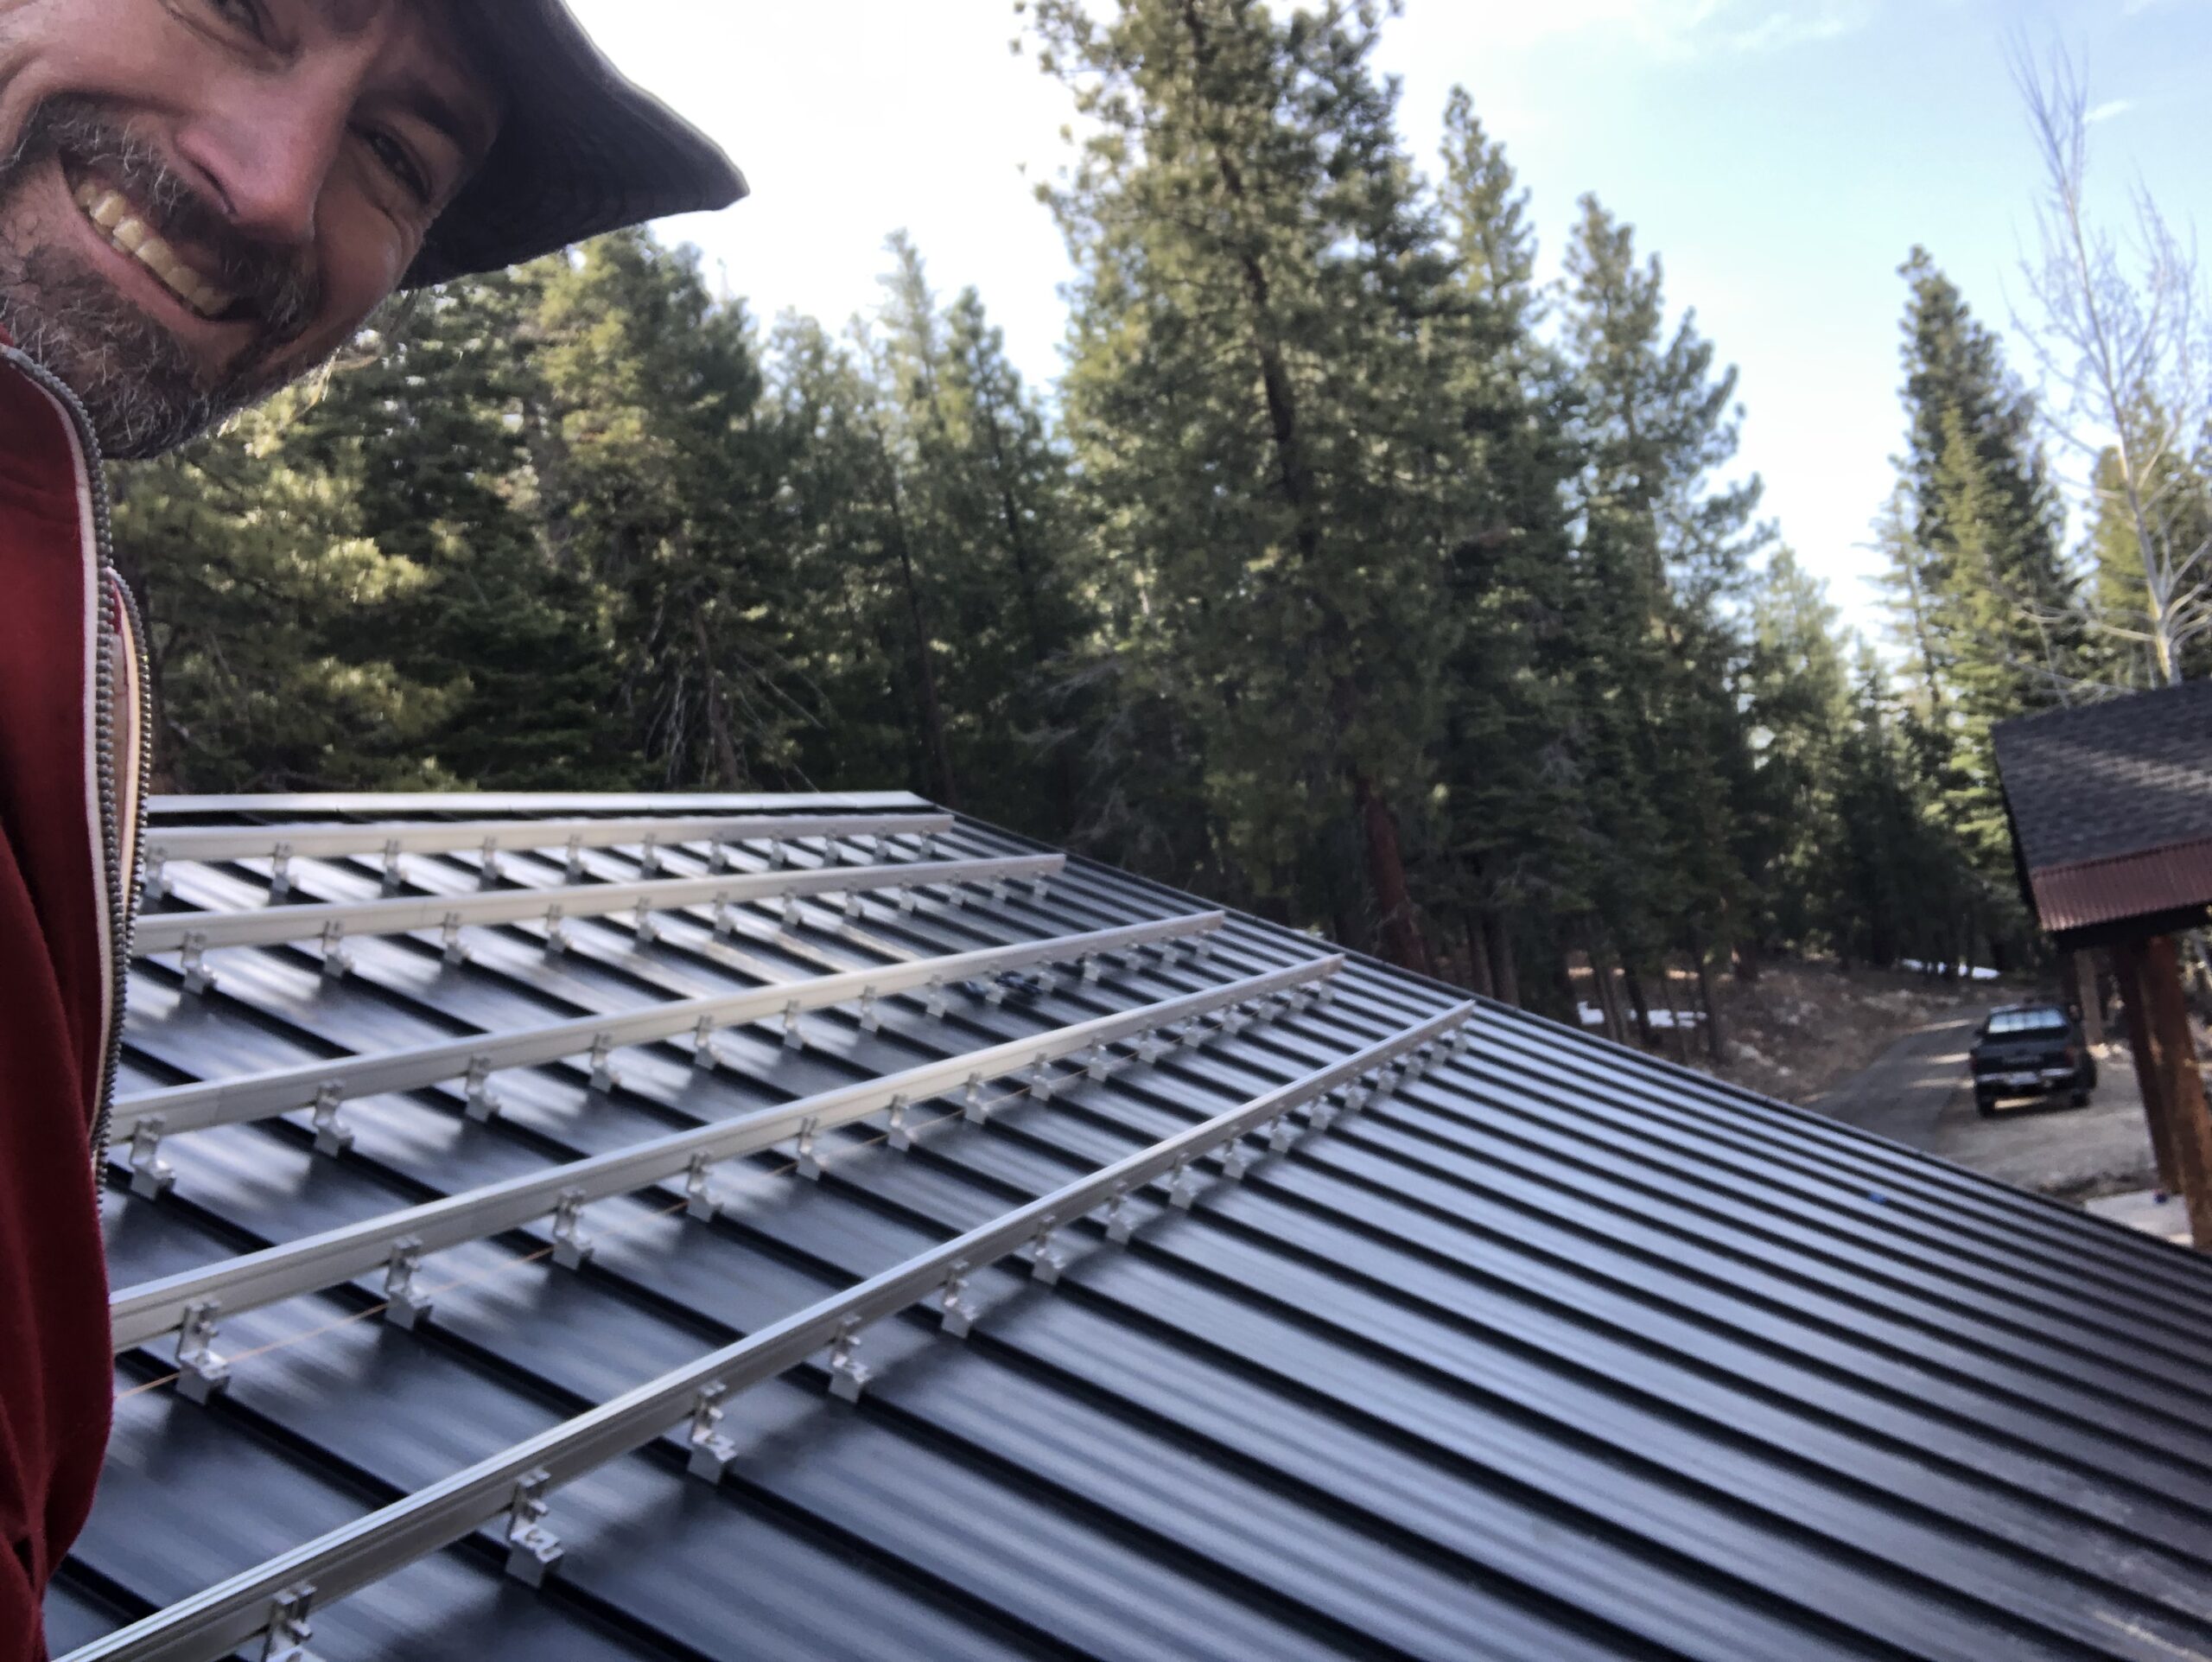
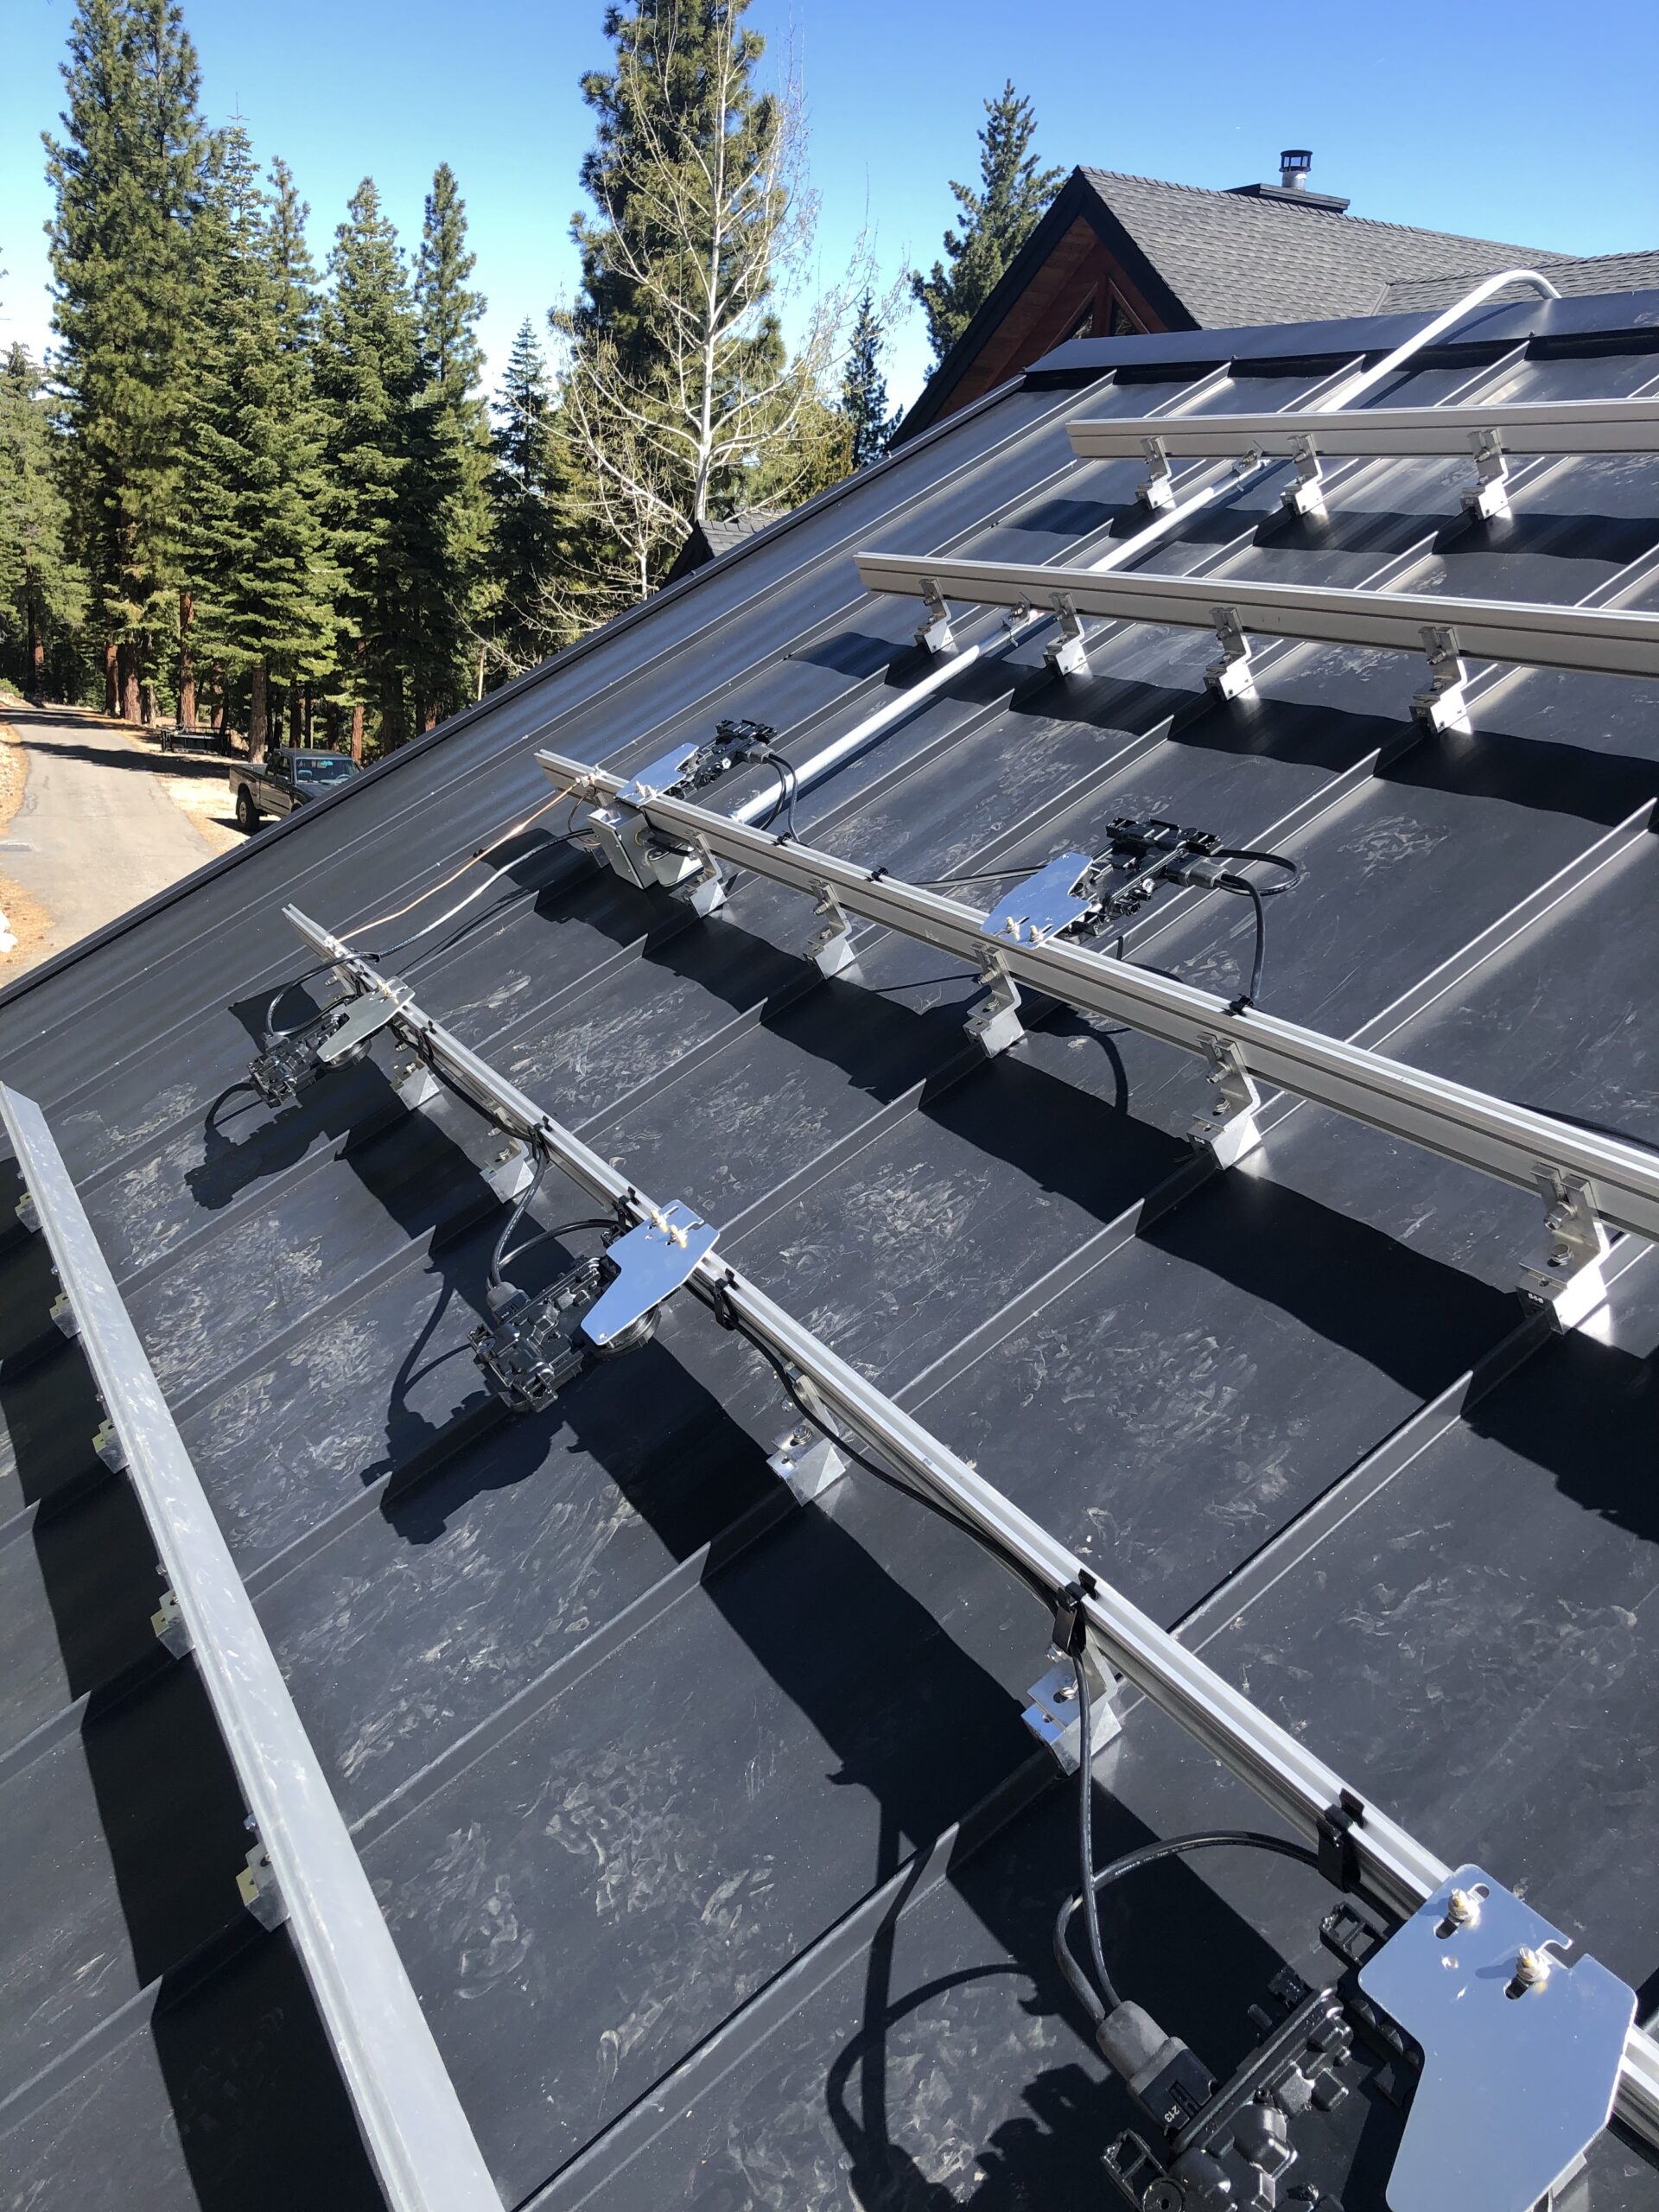
I made my own position layout for the rails based on the roof setbacks: 18″ from the ridge and 36″ from the side, and considered the area where REC recommended clamping the panels down when using 3-rails per panel. Three rails are common in snow ladder areas, but down lower two rails are generally used. Once the rails were up I could use them as an anchor point for my rope.
Ironridge, who makes the rails and panel attachment mechanisms, has a pretty slick design system on their website. I used it to generate an initial rough bill of materials and to figure out everything I would need.
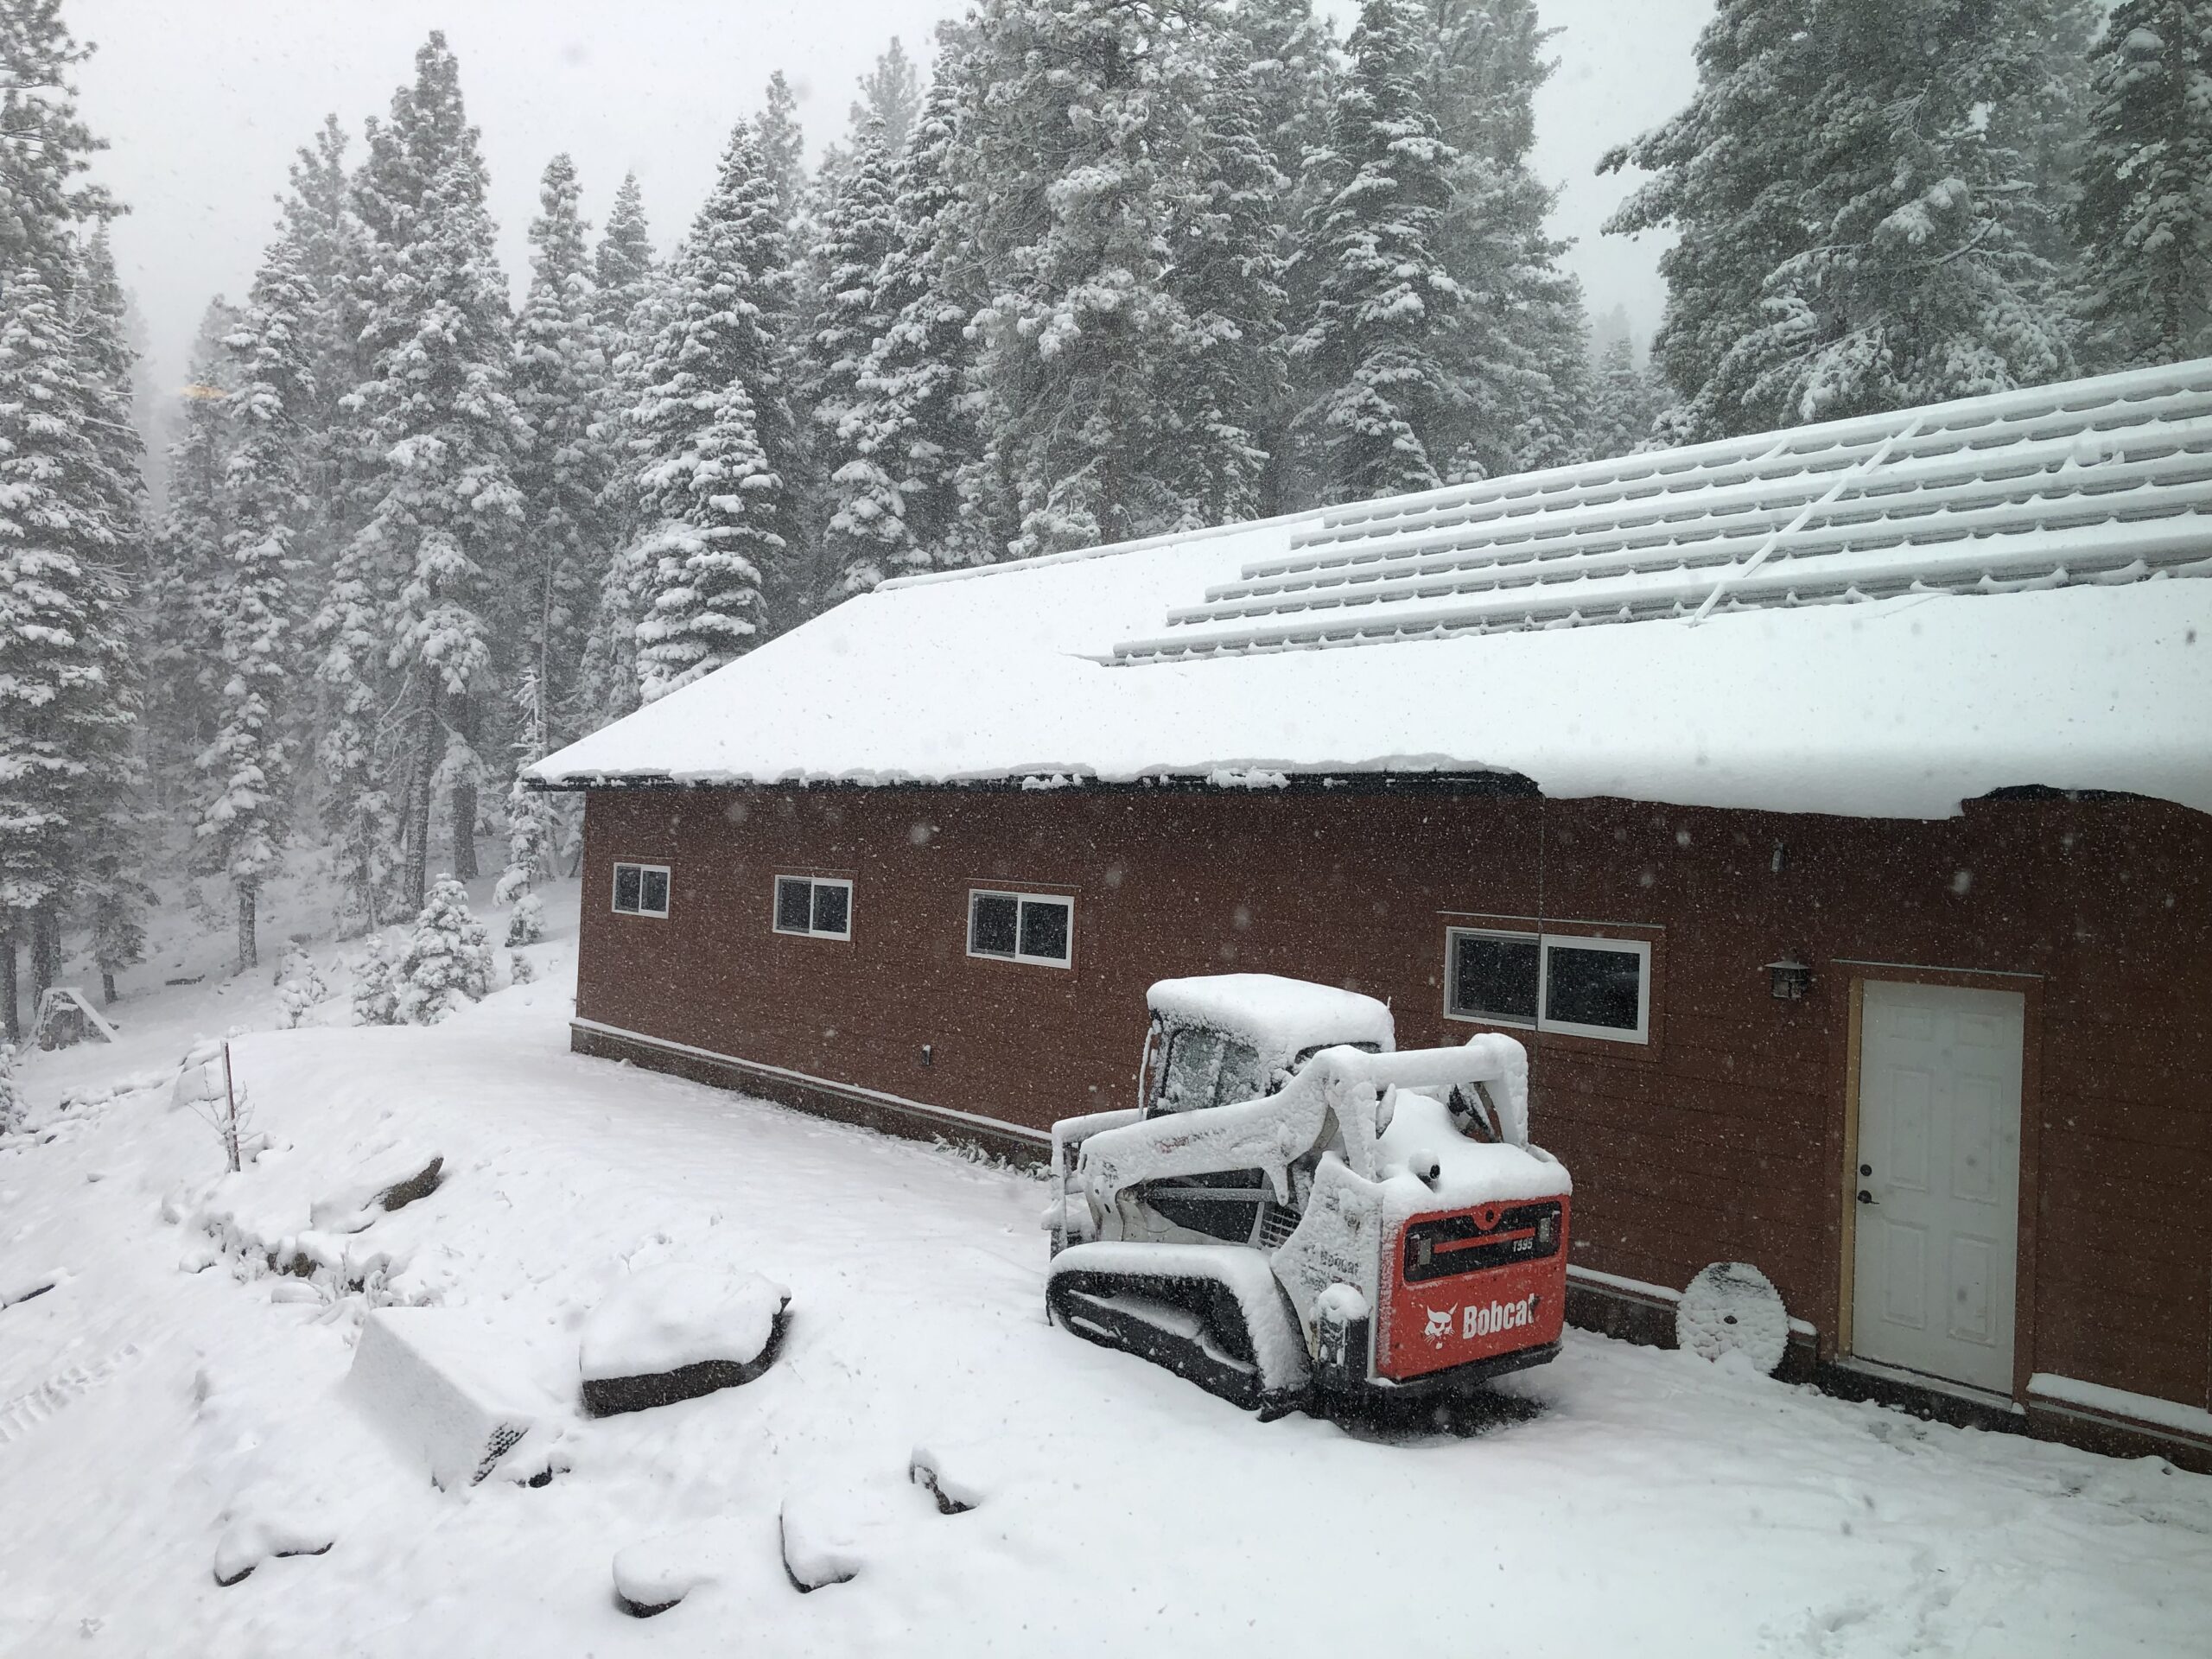
Speaking of snow, it snowed twice in May while I was working on this project. That set me back a few days on getting stuff done.
The S5 standing seam roof clamps avoid any penetrations into the roof, and I decided to not cut a hole for the conduit, and instead run it over the edge. I didn’t want to give it a reason to have a leak in the future.
As I talked about earlier, I went with REC 410 panels and opted for Enphase micro inverters: IQ8-A. I should have gotten some higher output inverters, but it may not have been necessary given the amount of shading I will get.
The hardest part was figuring out where all the conduit should go, and bending it into shape. There’s a lot of flexibility where you can put things, and I wanted to keep the wire runs as short as possible. I also changed my mind at one point, and had to move some things around. The county (maybe NEC code too, but I’m not sure) requires a lever-style quick disconnect, usually within 10′ of the meter. My meter is 500′ away at the bottom of my hill, so I put it on the front of the shop. I wanted it to be easy to turn off in an emergency, but honestly, the Enphase micro-inverters will almost instantly stop generating power when the main house power is out, and they are pretty darn safe.
After all the conduit was done, I ran the appropriate 10 gauge wire through it and could setup the Enphase wiring. I did this by first placing the micro-inverters on the rails, and then securing the wiring up tight against the rails with clips.
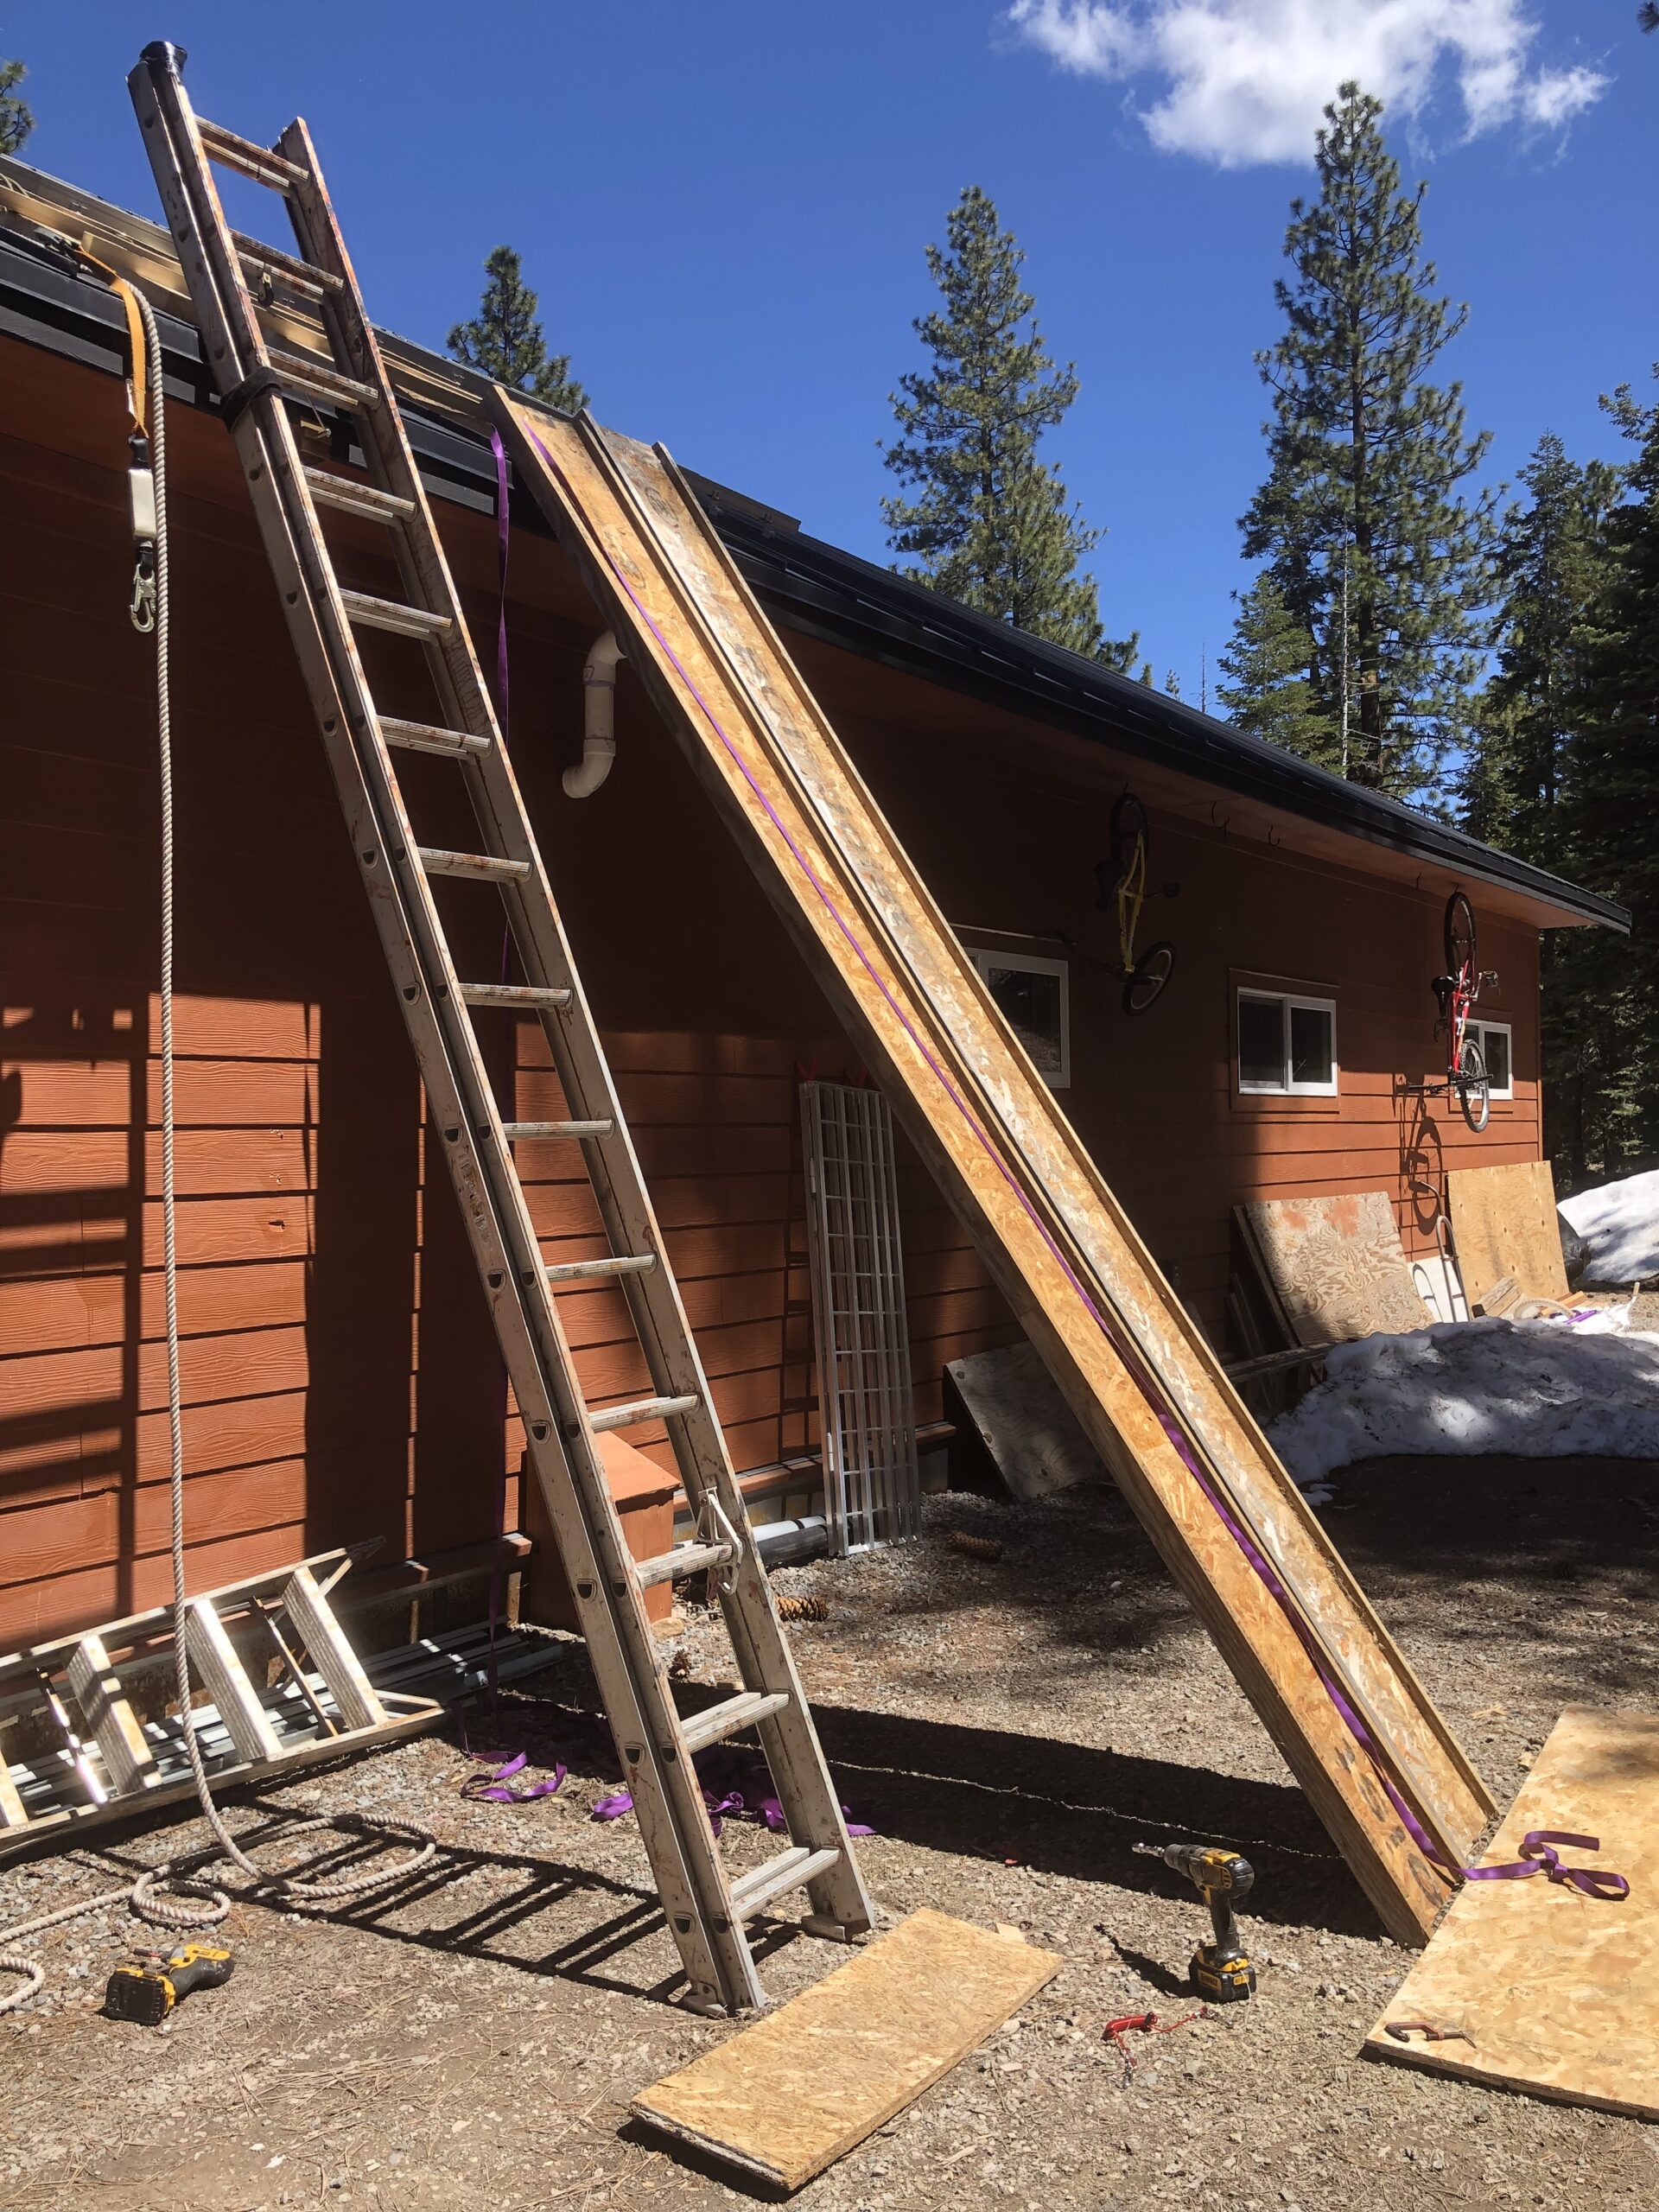
Then it was onto the panel install. The metal roof was incredibly slippery, and there was a good 70″ to 75″ from the ladder to the first rail. I wanted something to stand on and get grip, but also a place to stage the panels. I built a wooden landing pad that simply hooked onto the bottom of the rails. This was much easier to walk on, and the horizontal pieces allowed me to set the panels down on my way up.

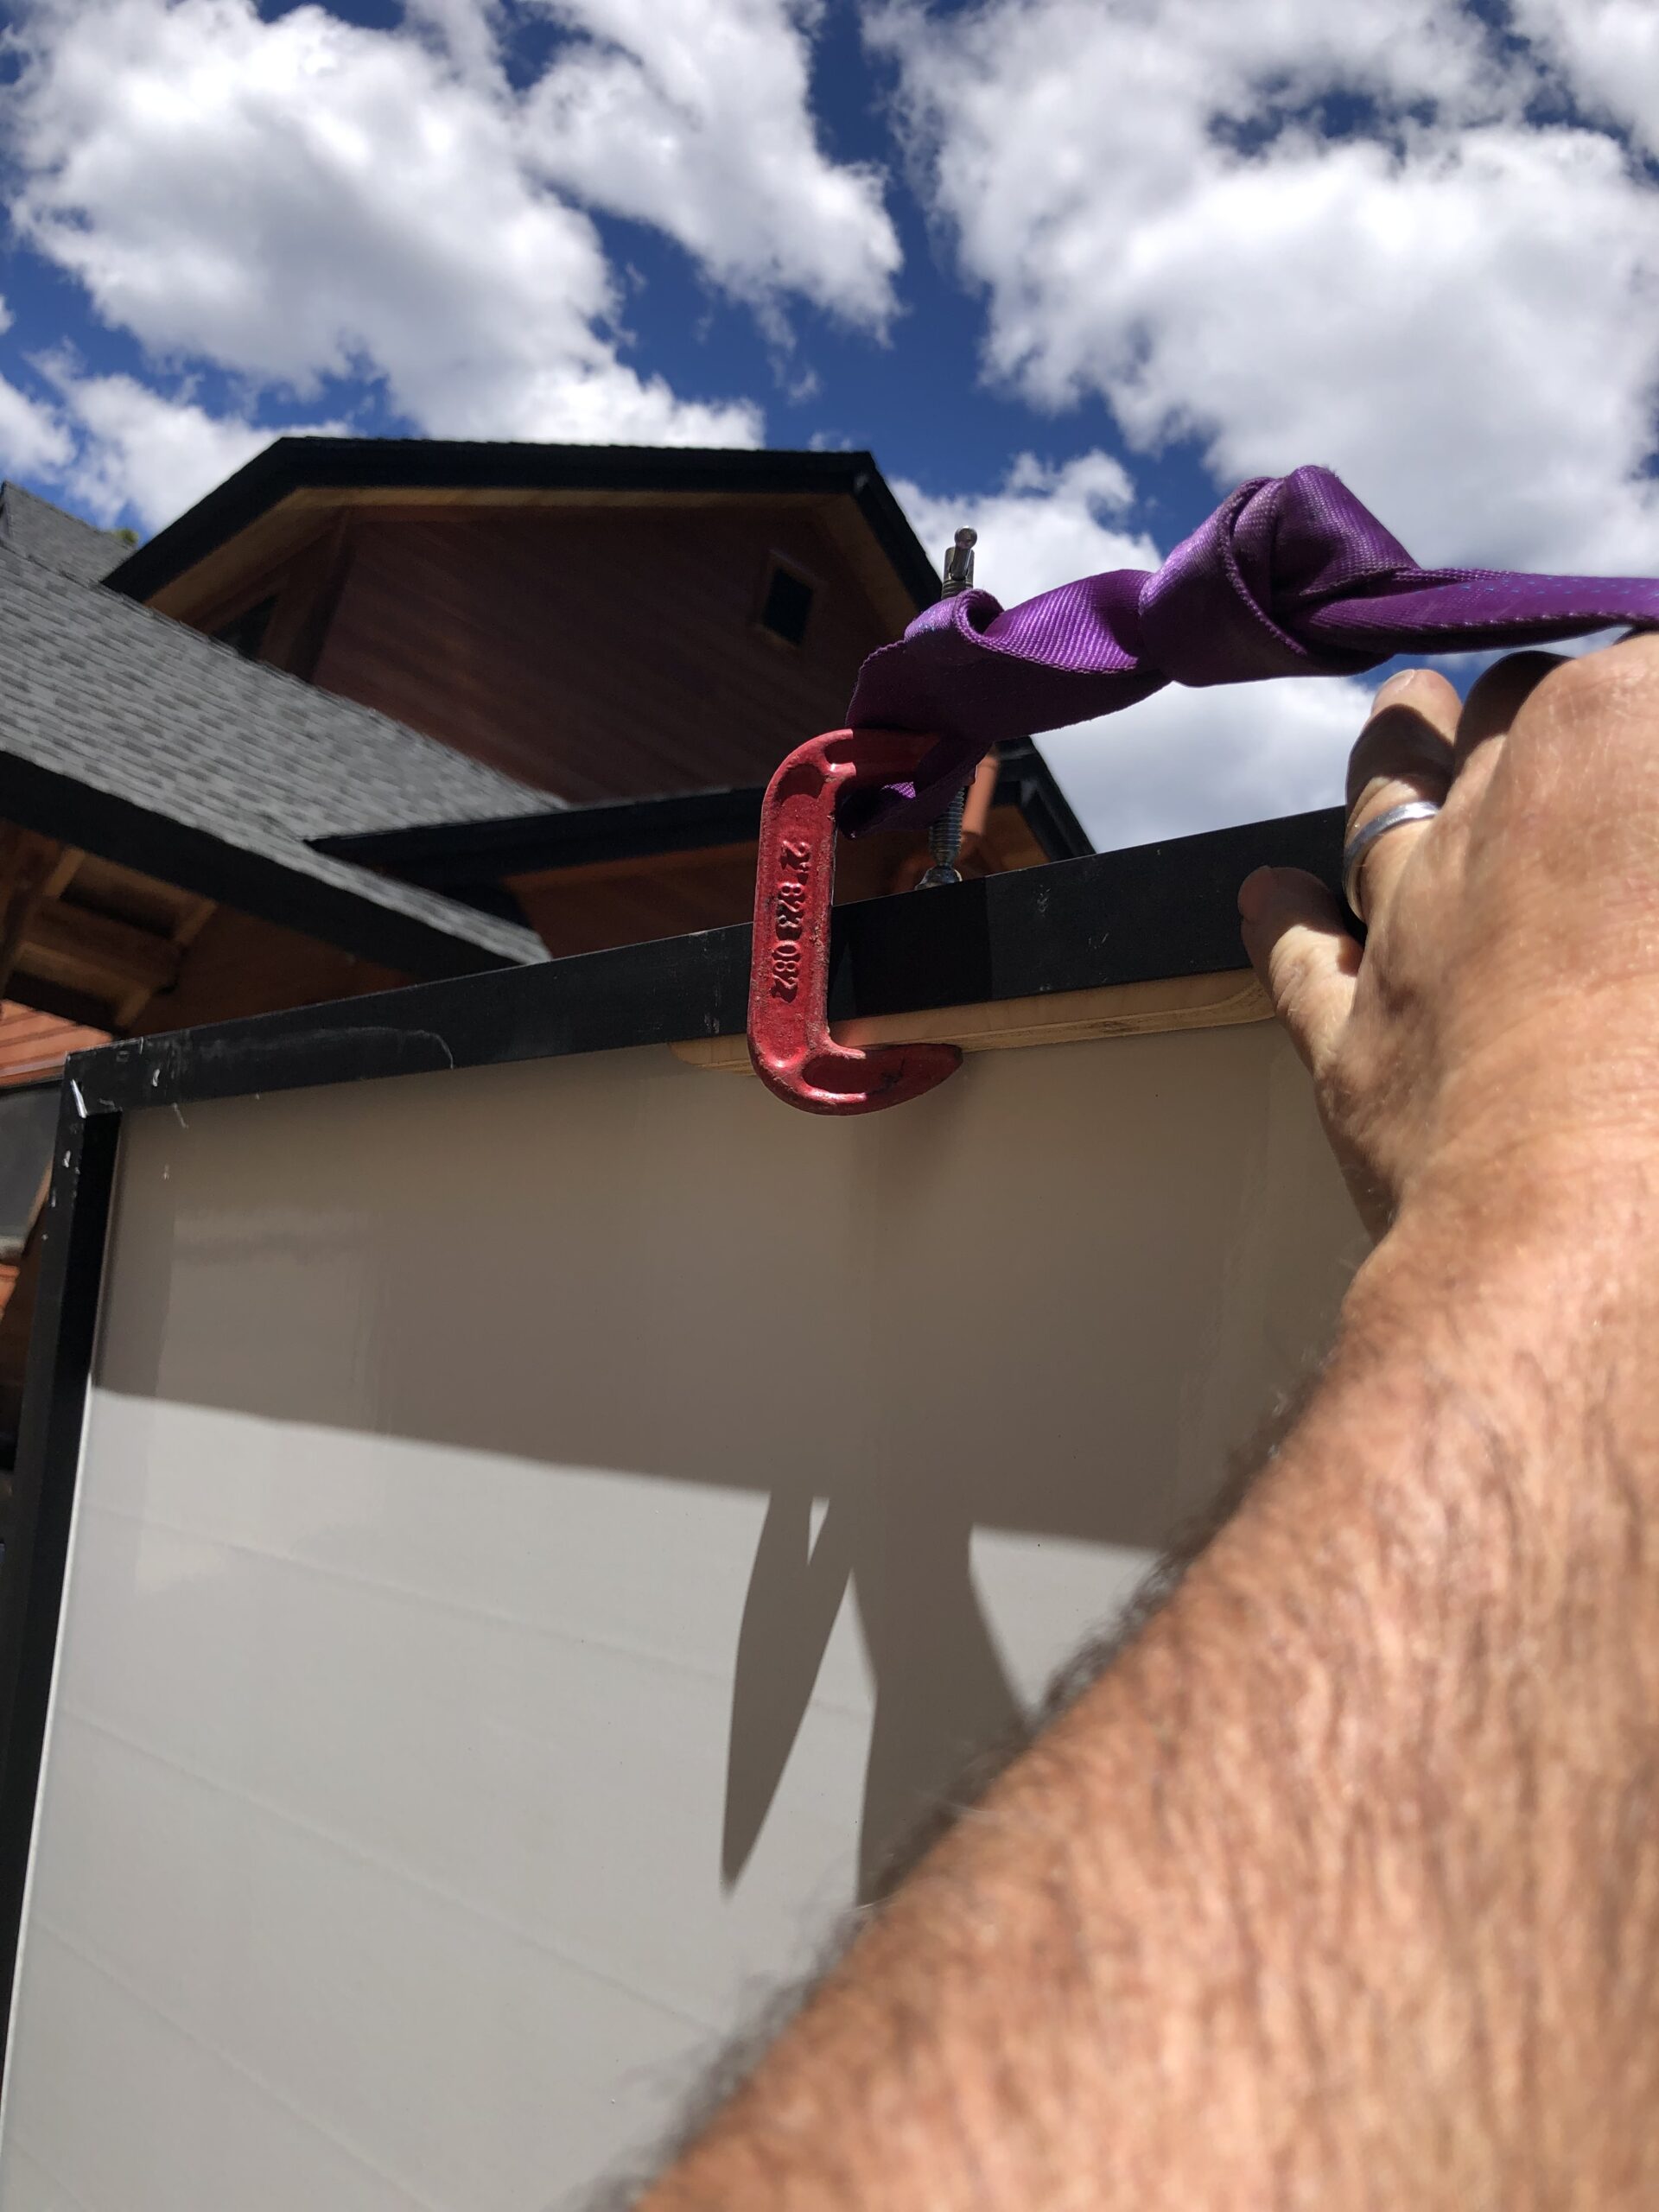
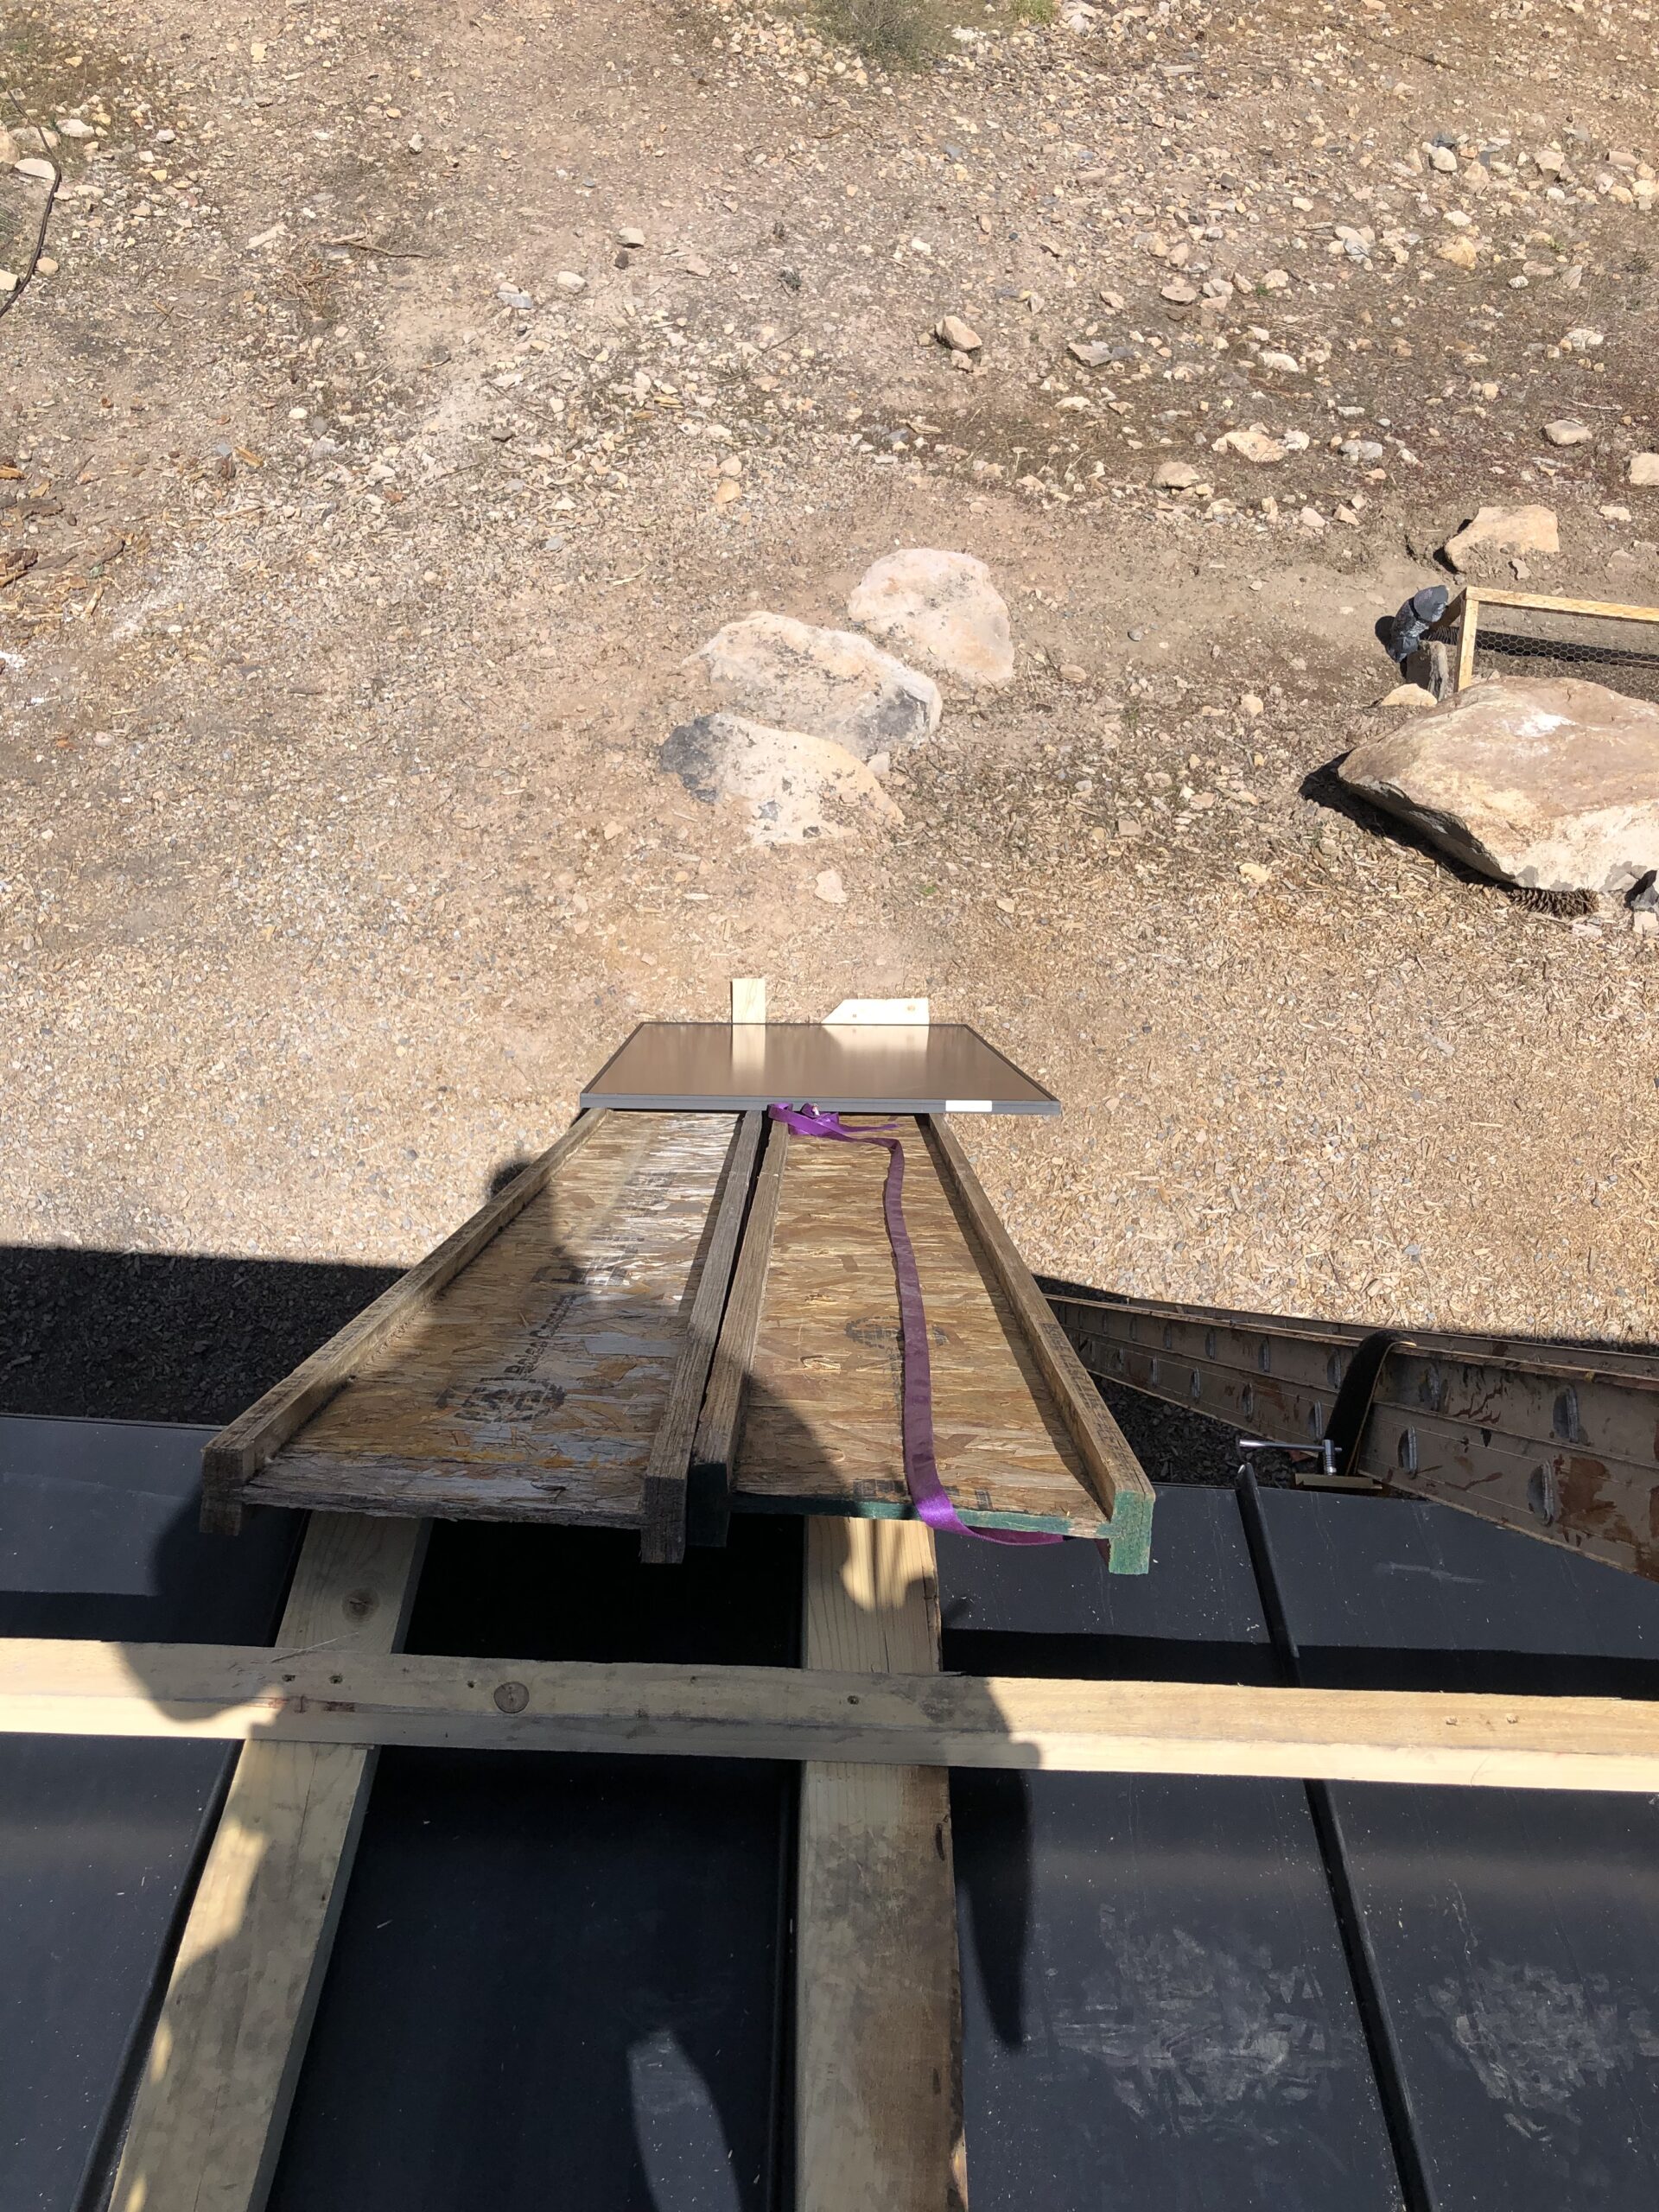
My neighbor and friend Jake came over to help me get started. His buddy Alex recently did a solar install, and Alex suggested making a ramp to get the panels on the roof. He was pulling them up with a rope attached to the panel with a C-clamp, and this idea worked great! I used some old wood I-beams from the garage build that I had laying around. Jake helped me get about four panels up, and this really helped me get going.
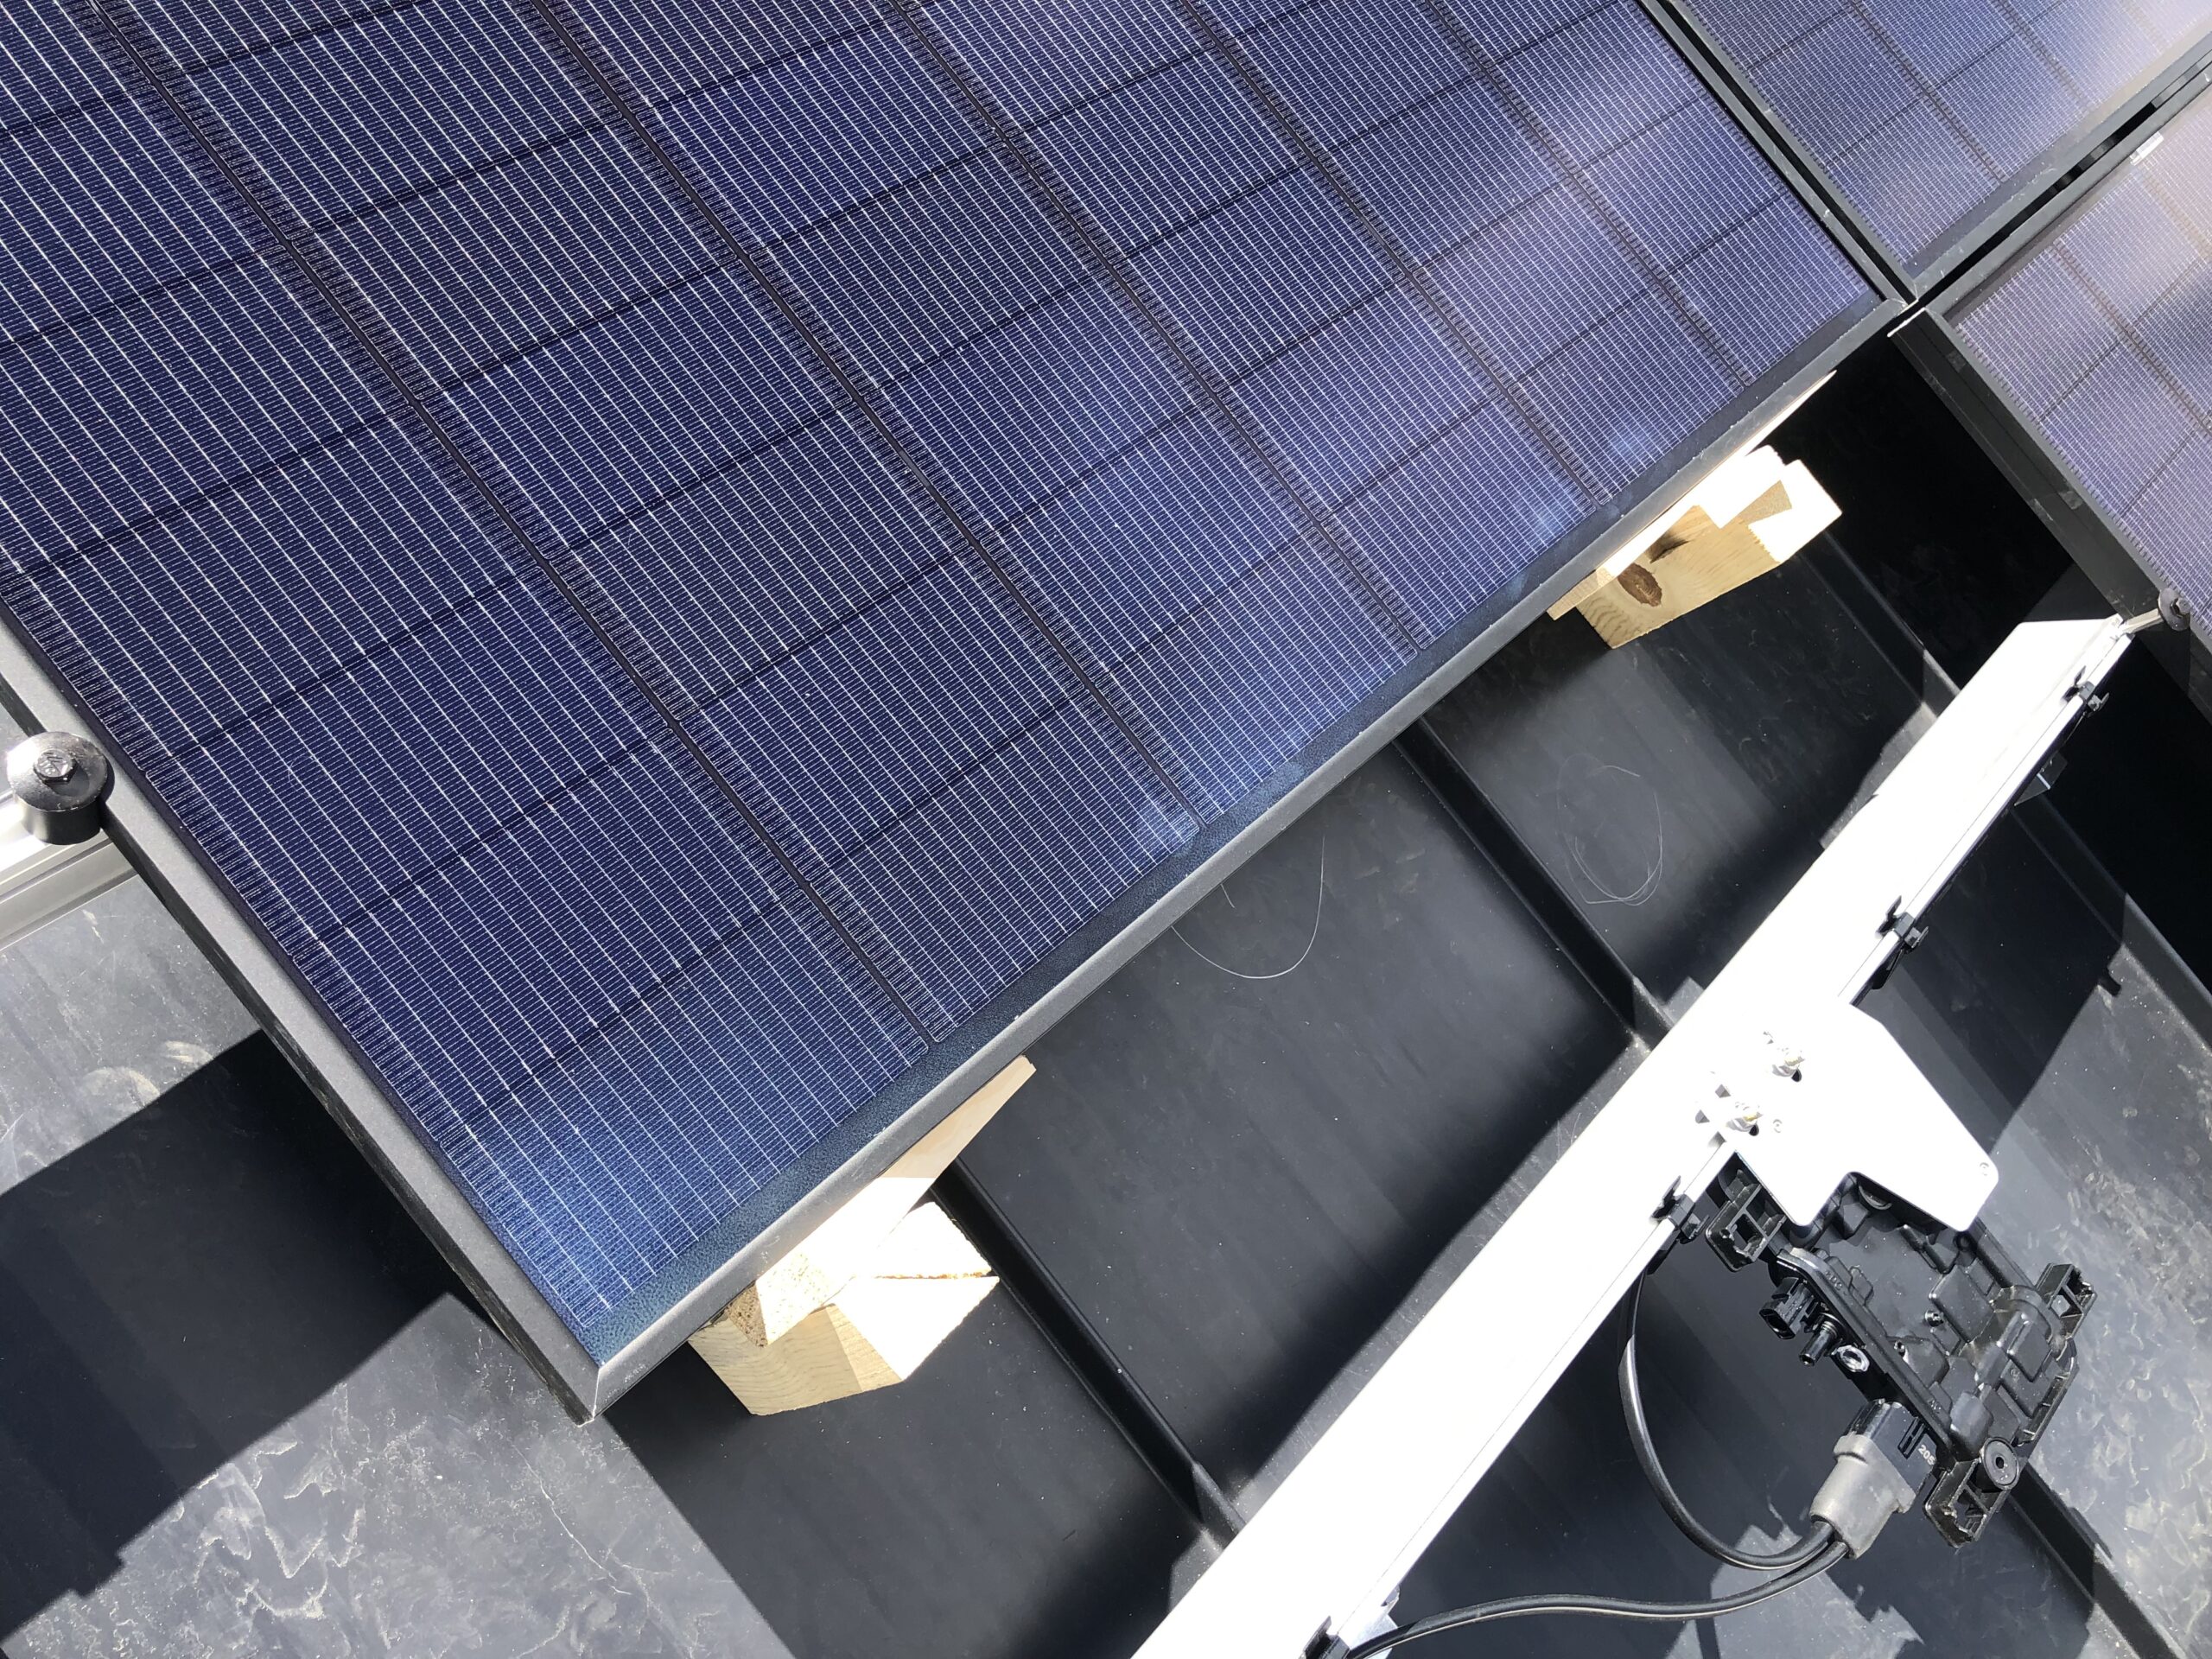
After Jake went home, I had to come up with a way to stage he panels by myself. My solution for this was to create a jig to hold the bottom of the panels. The jig was a simple “J” shape that I could slip under the rails and hold the bottom of a panel in place while I hooked up the wires and screwed it down. Adjustments were pretty easy by simply shimming the panels up a bit to get them all nicely aligned. This worked really well!

At this point, stuff was moving pretty slow by myself, and my friend Dan came over to help me install some of them. He used to be a professional solar installer, and he is also incredibly strong. So Dan would just grab a panel and walk it up the stairs. Between me and him, we could pretty quickly get the rest of the panels done on one side in just a few hours. I still had to do the other side, as my design was split on two roof planes, and the next few days were a holiday weekend where we both had to take a break.
Roll around to Monday, and I started the DIY install on the other side by myself. I got all the panels up except the last two, and Dan came over after work and helped me get those installed and to setup the system.
Our local inspector only comes to town two days a week, and on that Thursday he came for the inspection. He noted a few things I did wrong: I was missing one sticker on my main panel, the back feed breaker location wasn’t at the top of the panel for heat dissipation, and some of the wires were hanging a little low on one side. These things were all easy for me to quickly address, so he passed the inspection. At that point I could request Liberty to swap out my meter for a bi-directional one…and currently I’m two weeks later just waiting for that to happen before I can turn it on!
Update: So, how much did it cost me? About $26,000 for materials from Tandem Solar, and then another $2400 for conduit, wiring, boxes, etc. The total was $28,400. Still less than any quote I received, but far more than I was hoping.


