Video: How to Make a CNC Spoilboard
Video link: The Ultimate CNC Spoilboard – over on YouTube.
A lot of the base footage for this video was filmed when I built my CNC machine back in January and February of 2023. I wanted to make a video that really described all my considerations for how I designed the spoilboard. I’ve seen a lot of other designs, in particular one by Jay Bates, which are great, but quite expensive to build. He also charges $20 for his CNC file, whereas I wanted to share my Fusion 360 file for free so others could build upon the idea without having a big upfront cost.
This video took me a ton of time to make. I’m not talking about the time I spent filming while making the spoil board, but the post-production time. First I went back to my original design and modified it to make it a little easier to make and more generic. My CNC table isn’t a full 8′ long, and I wanted something that was based on a full 8′ by 4′ sheet of MDF. Editing the Fusion 360 file took me quite a few hours. I then went back to my shop and filmed me talking a ton about everything I did, and this took a full day to do. Editing all the footage took another two days. And then all the time to upload everything and fill out descriptions and text. I like sharing information, so I hope people appreciate all the effort I put into some of my videos.
You can download the Fusion 360 CAD file at Corbin’s Workshop: Avid CNC Spoilboard CAD File in Fusion 360
I talk a lot about my design decisions in the video, but I’ll recap a few here for those who would rather quickly read something instead of watching a long video.
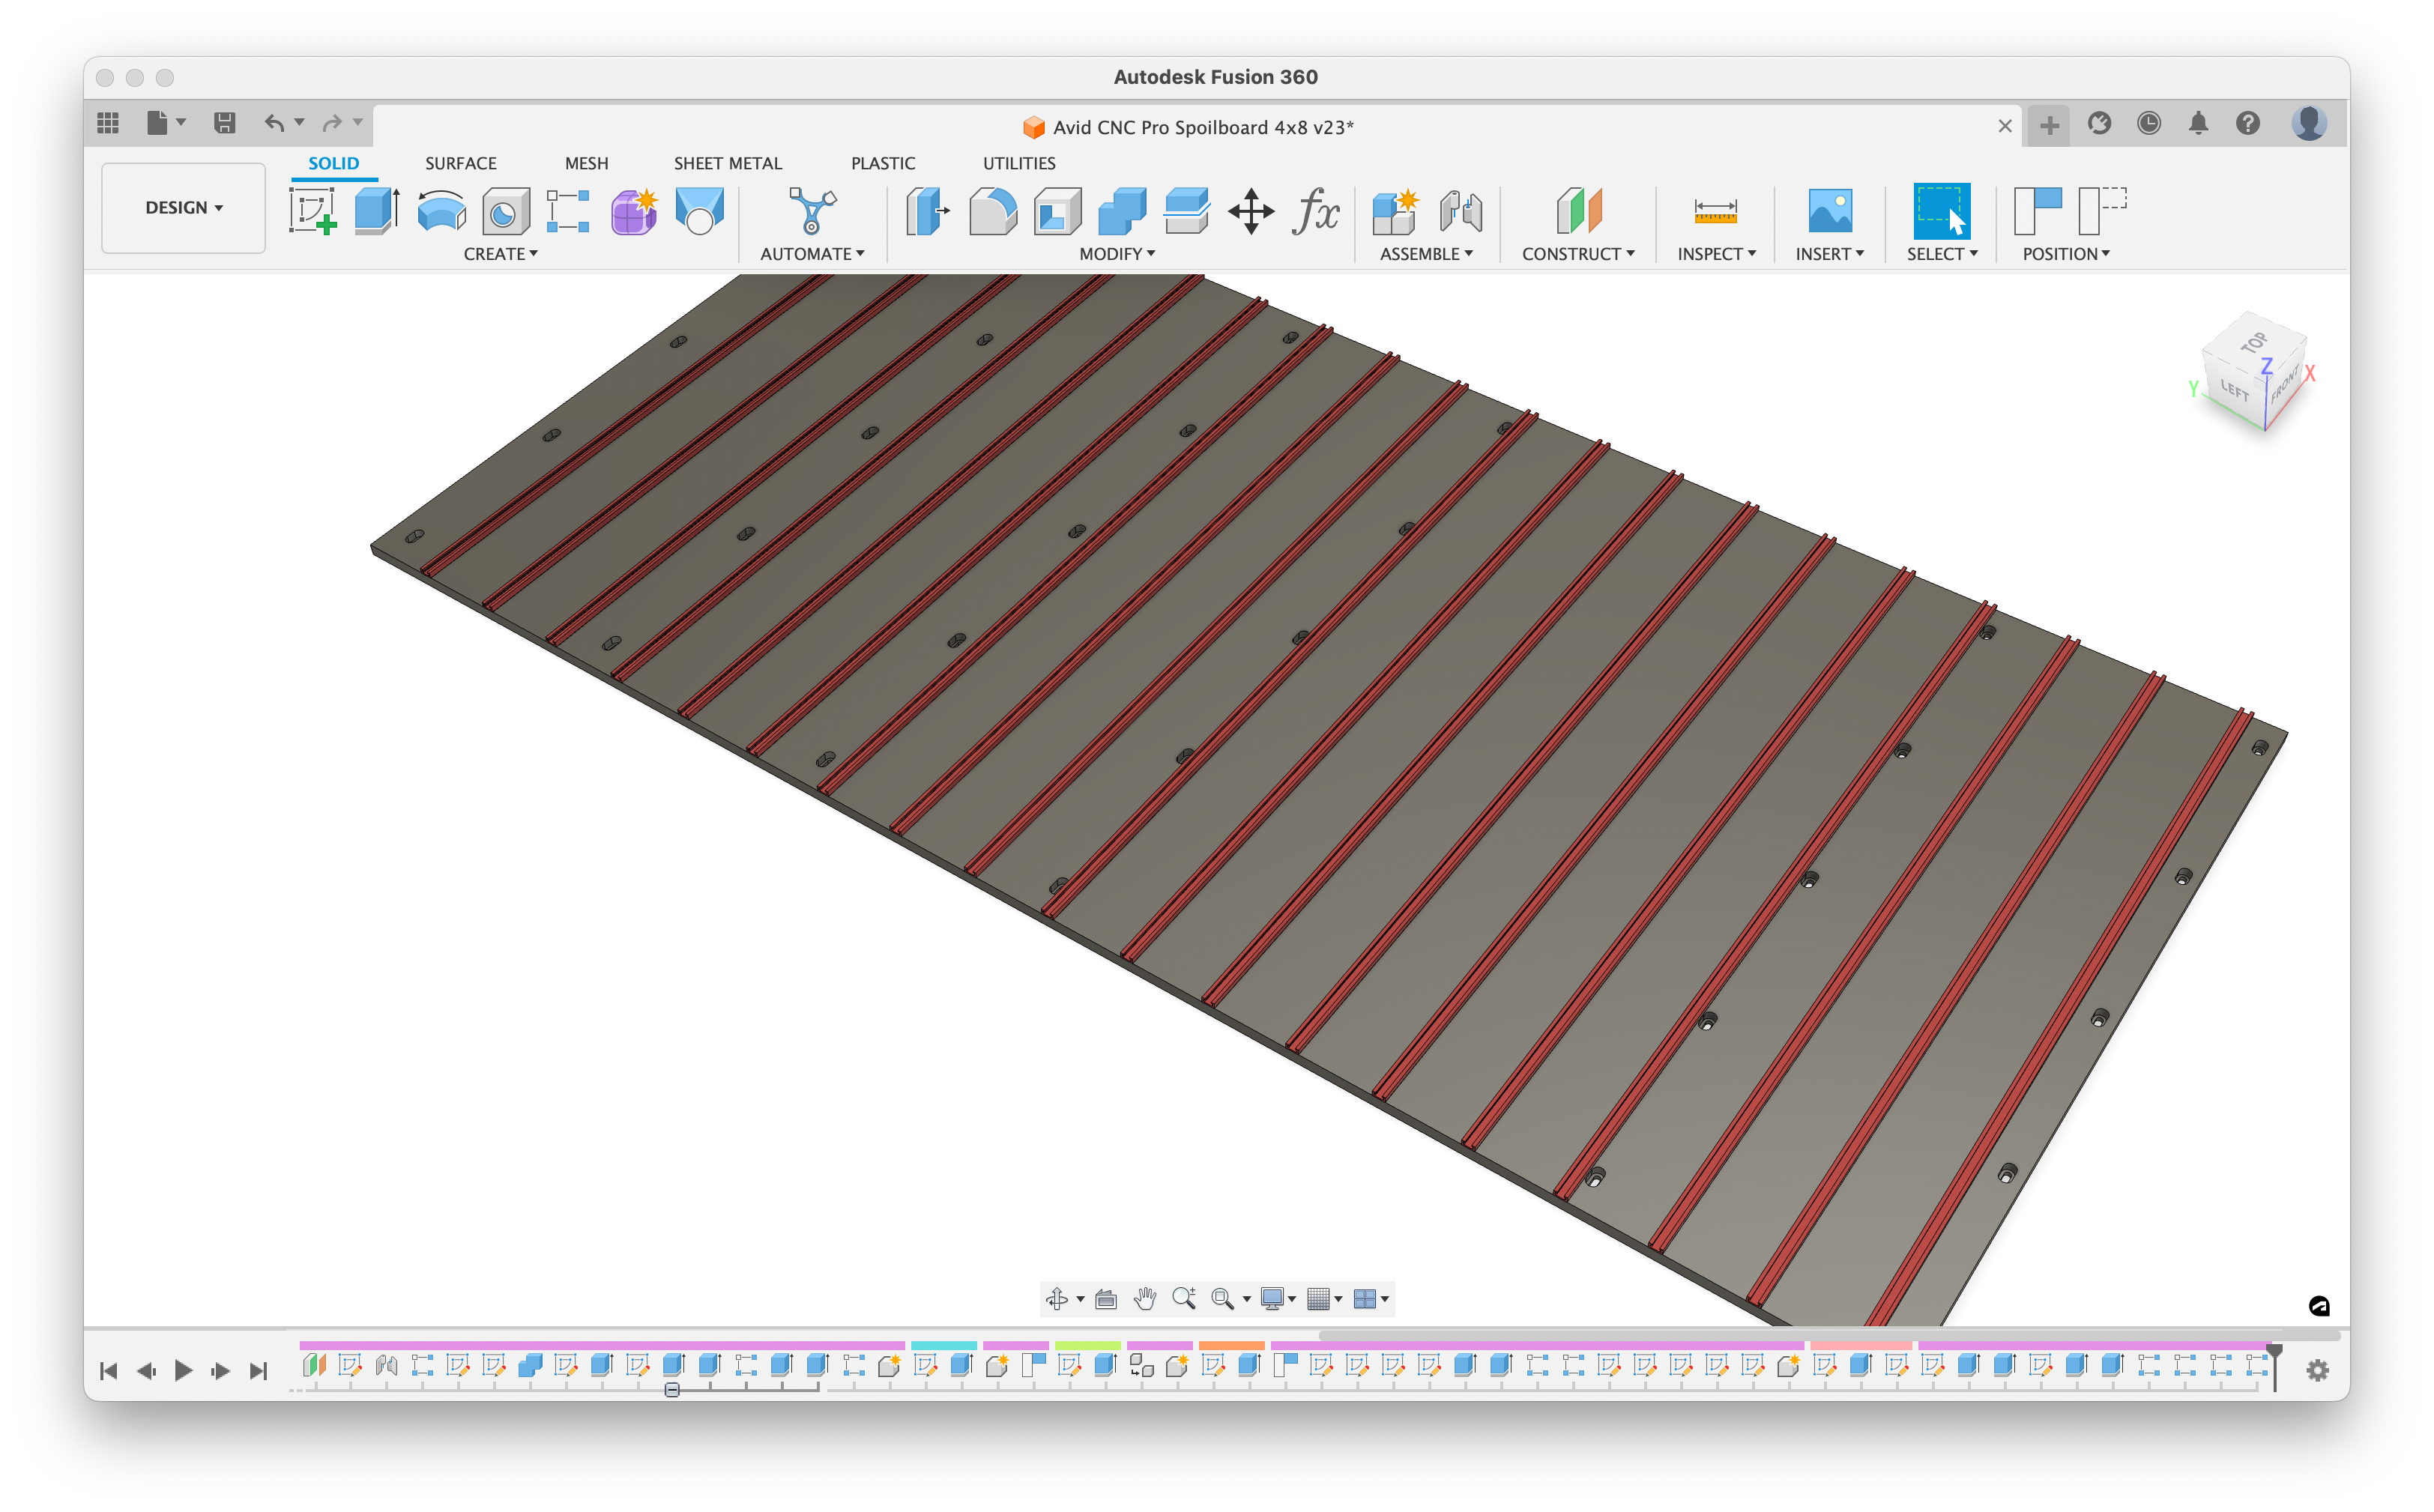
I wanted the design to use as few sheets of MDF as possible. Every sheet of MDF limits the height under the gantry for projects, and I want to cut big things. I sometimes use a mini-spoil board to machine my salad bowls, and I’m really close to maxing out the 8″ gantry when doing a 5″ tall bowl.
Another goal was to keep the cost down. A lot of people use double t-tracks, which are really expensive. They allow you to bolt down the bottom of the t-track and prevent absolutely any pull out from happening. I did some tests, and I didn’t think this was necessary if you overlap the top sheet of MDF over the t-track. So, I can use a cheaper t-track and save a lot in the overall cost. Some people even omit the t-tracks entirely, as the MDF is strong enough to not pull out. I purchased ZokMok t-tracks from Amazon, for about $10.50 per 4′ section.
One great thing that Jay did was 20mm dog holes. I did a similar layout, based on a 5″ and 10″ spacing. I did manage to find some cheaper dogs from Precision Dogs. The quality seems great. There really isn’t much to get wrong about a dog, especially if you churning them out on a CNC metal lathe.


Having a lot of dog holes allows me to easily setup multiple work stations. I’ve been taking advantage of work offsets in Mach 4, and this has worked out awesome. I wish Mach 4 had a way adding a label to a particular offset, and I’ve thought about customizing the screen set to allow me to do this. Currently I write down everything in a text file.
Right now I’m working on a new hexagonal salad bowl! I can’t wait till it is done….assuming it actually does work to machine it.