Drywall Finish, Painting & Lights – The Truckee Workshop Part 18
There has been a lot of details left to finish my workshop. If you are just jumping in to this, check out my overview of all the posts on how I built this shop: the Truckee Workshop. In the last post, I talked about how I got the drywall installed. At this point in the project I was way over budget, and the quote to finish the drywall was more than I could swallow. So, I opted to do some smooth wall texturing on the inside of the building.
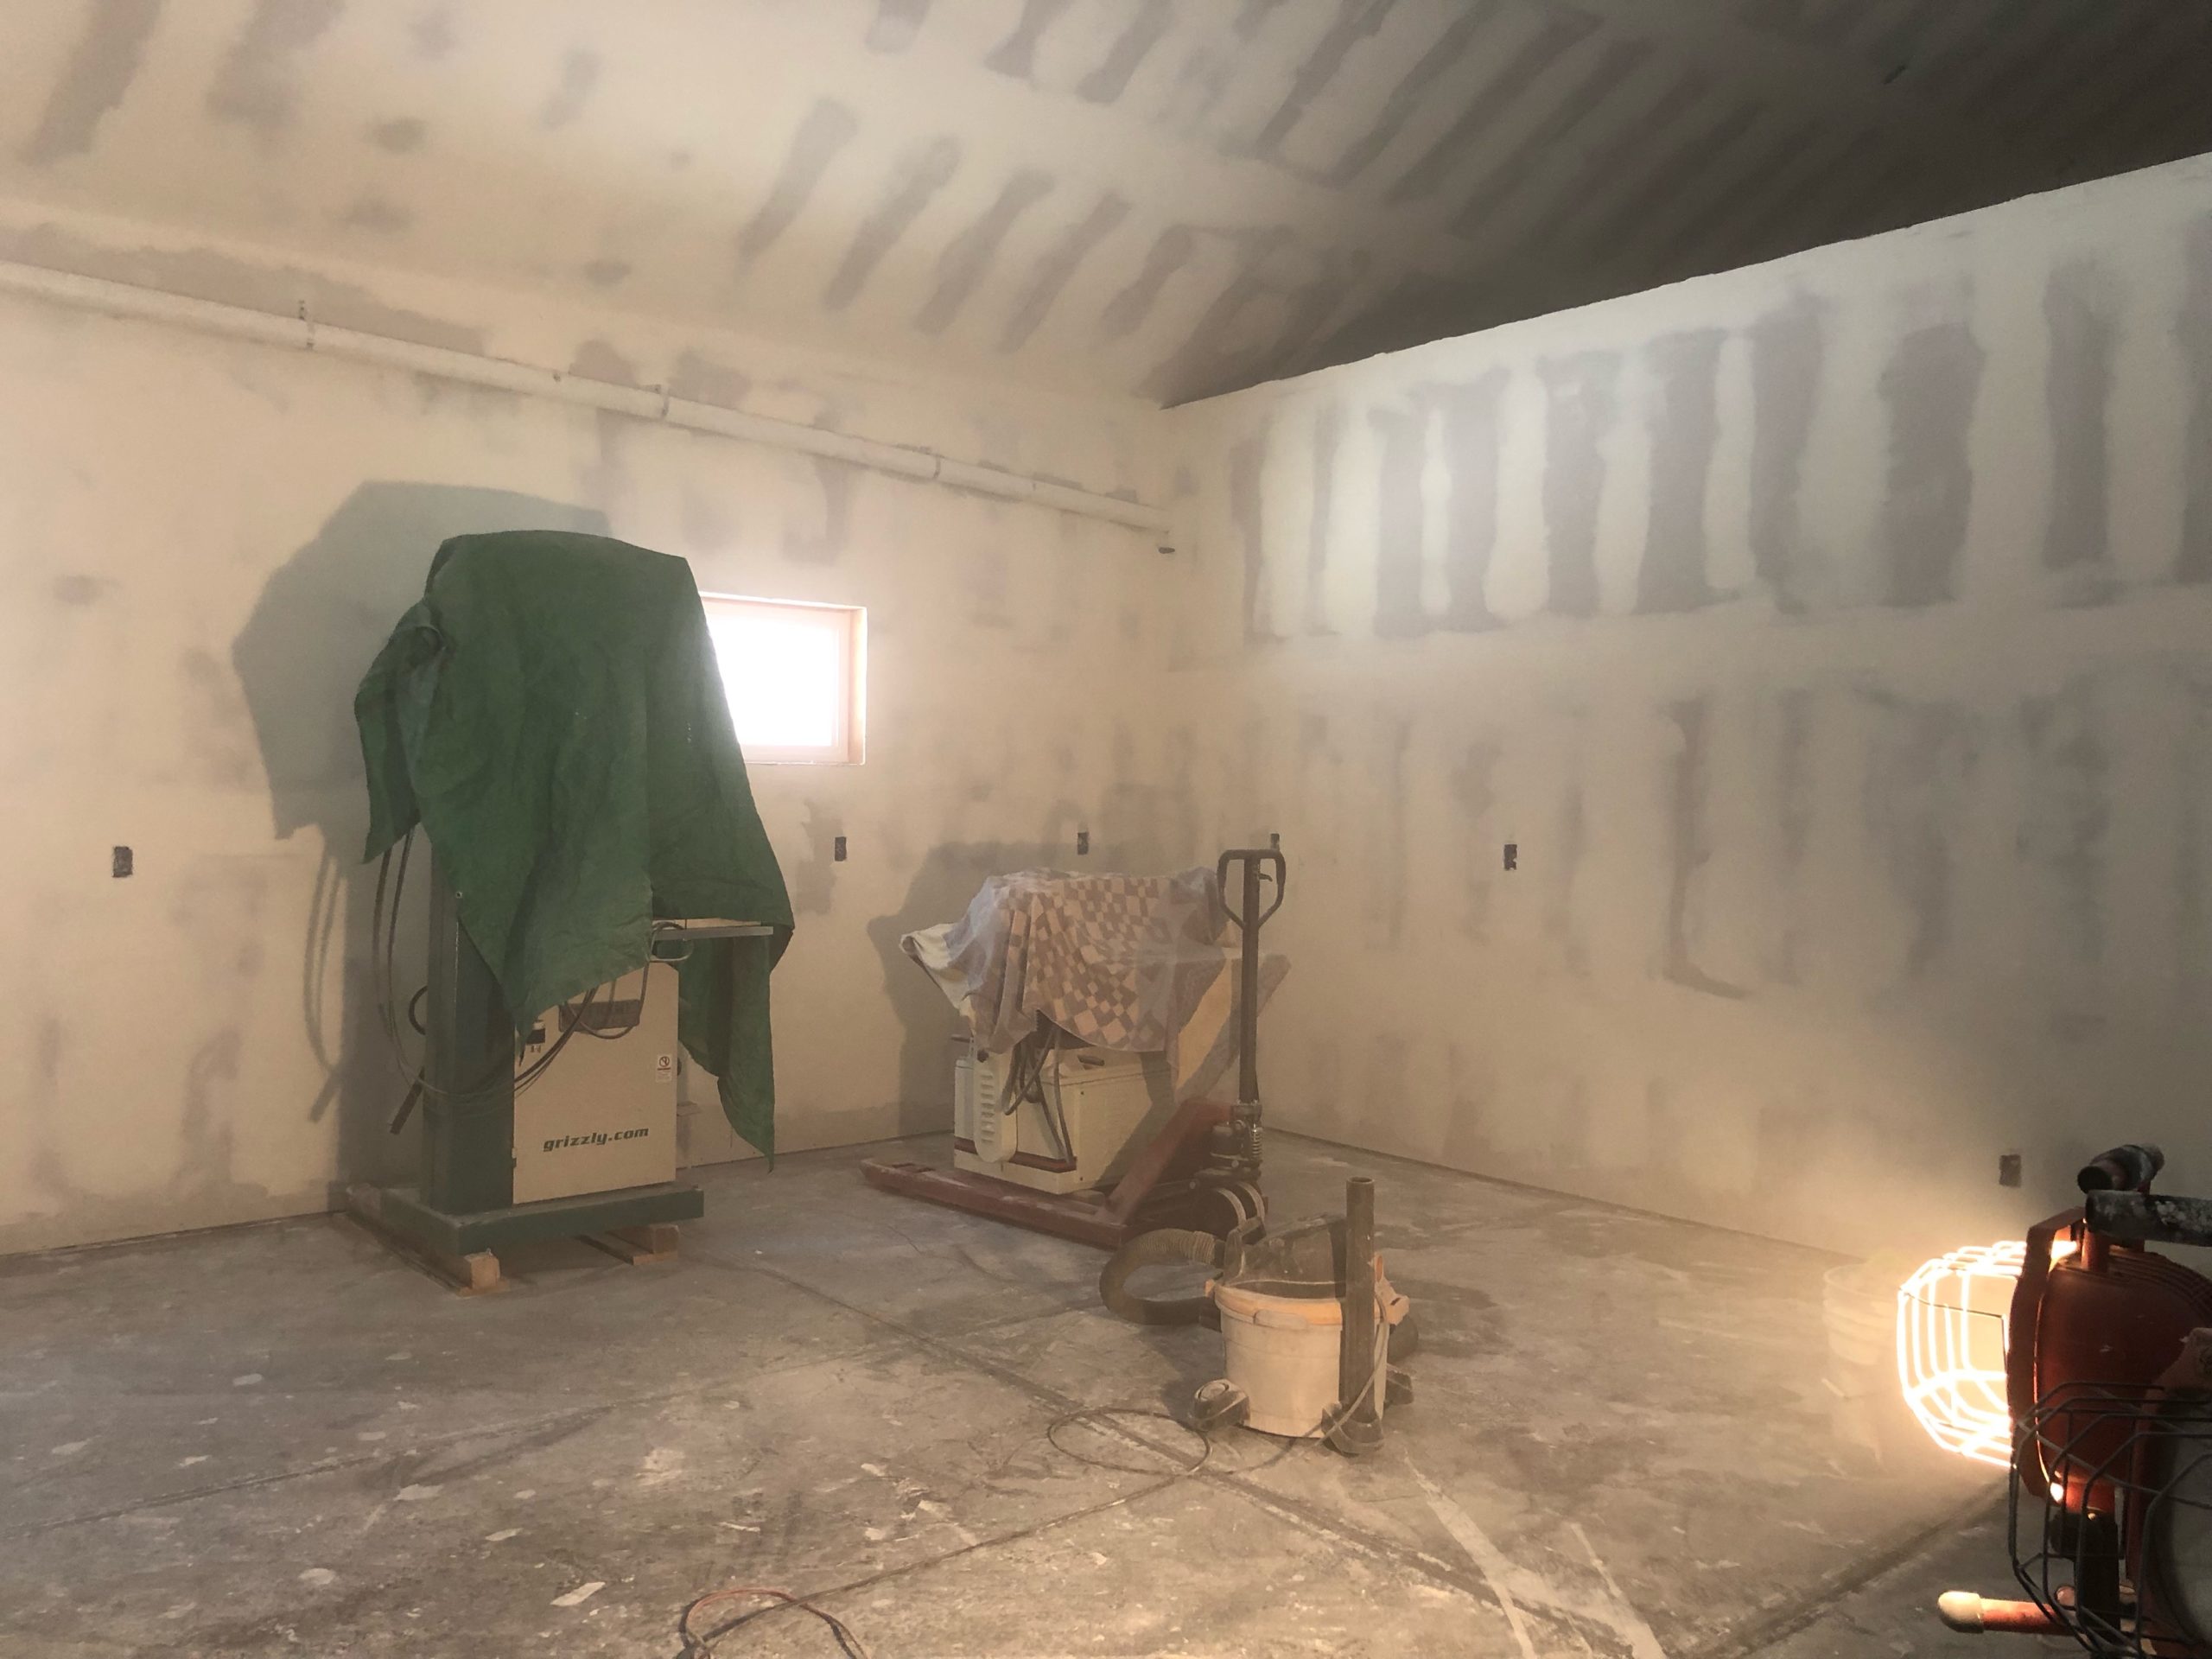
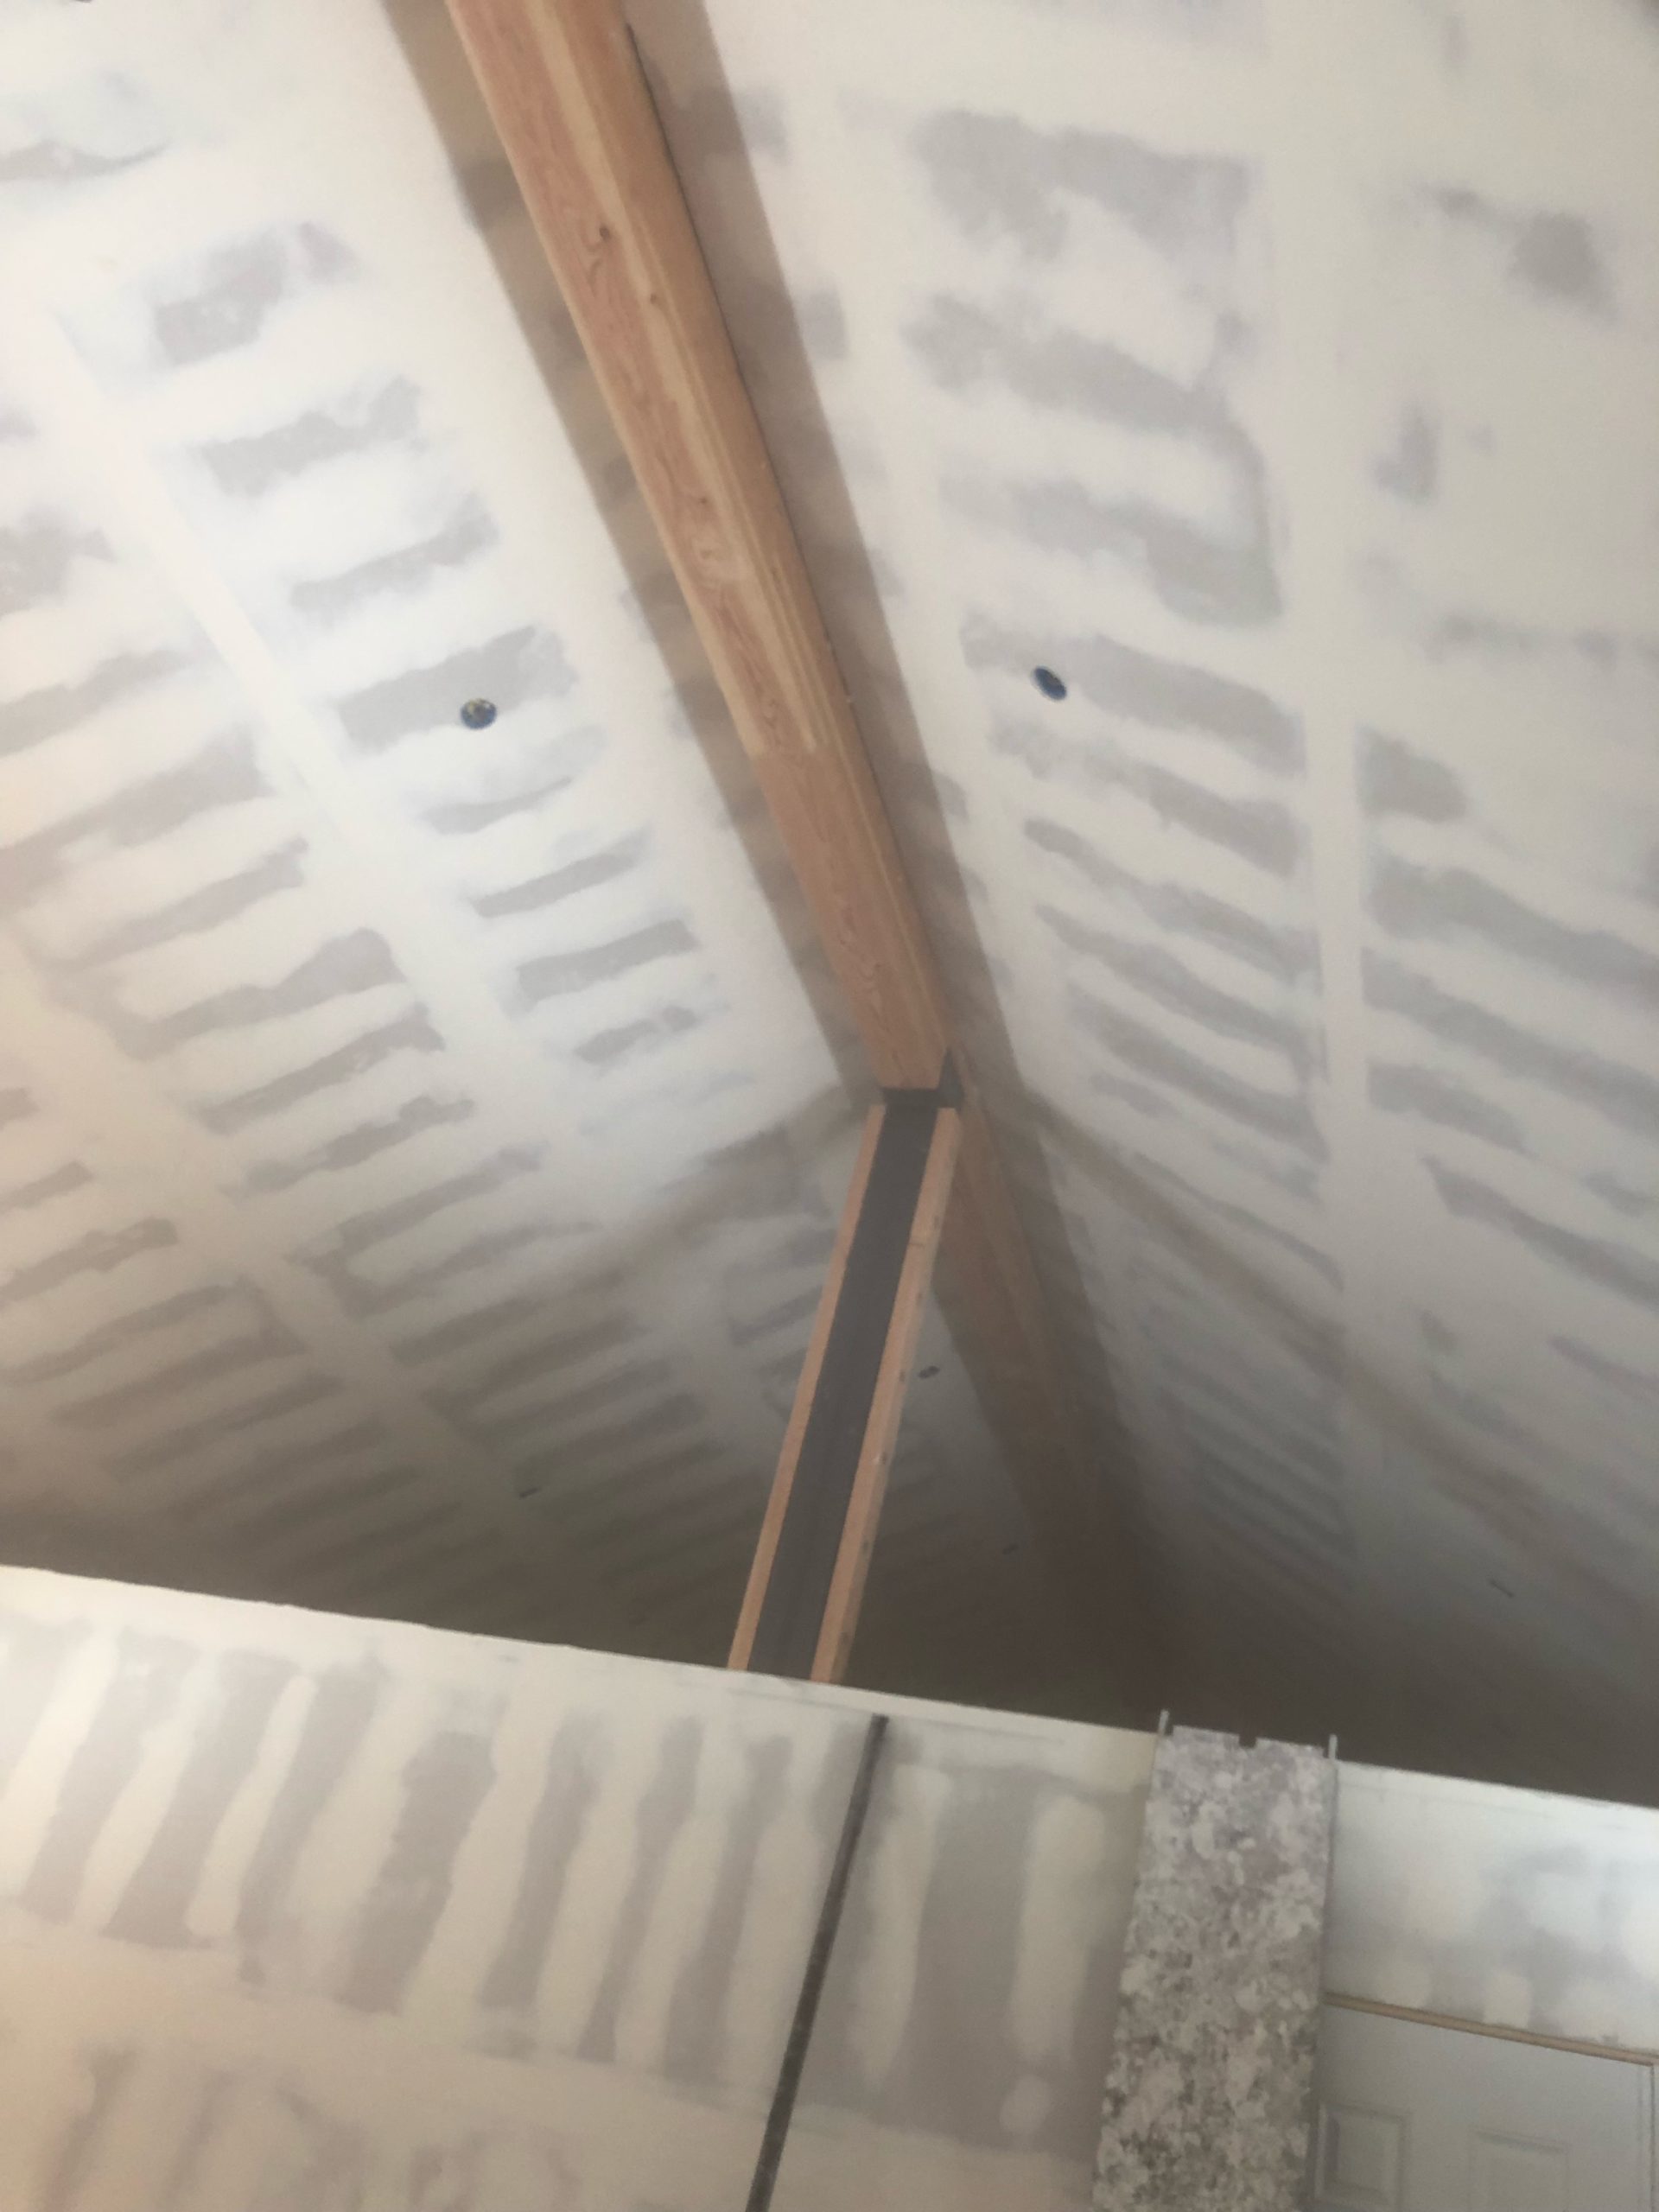
I did one coat of drywall mud, sanded it down with 100 grit, blew off the dust with my air compressor, did a second coat of mud extending the first a little further, sanded again with 100 or 120, and blew off the dust one final time. I could have gone back and fixed up a few little nicks and dings, but I didn’t feel like doing it. After all, it is just a workshop, and it is going to get beat up. I find “mudding” pretty enjoyable, but my wrists start to give me trouble after a while. The sanding took forever and was the part I liked the least.
I bought two 5 gallon buckets of primer from Ace and started painting. I should have taken the time to drive to Home Depot in Reno, as I later learned the primer was quite a bit cheaper from the big box store. I also decided to buy paint from Home Depot; they saved me enough money to make the drive from Truckee worth it — especially in the electric car. It is about 52 miles round trip from my house. At around 300 Wh/mile it takes 15.6 kWhr of energy to make the trip. At about $0.18 per kWhr that is about $2.80 for the entire trip — well, probably a bit more given the charger isn’t 100% efficient, but still way cheaper than what it would cost to drive my gas guzzling truck. In the truck, at ~18 mpg, and $5/gallon in diesel (it is probably more), I’m looking at $14+ for the trip. And the truck might be pulling 15 mpg…depending on various driving conditions.
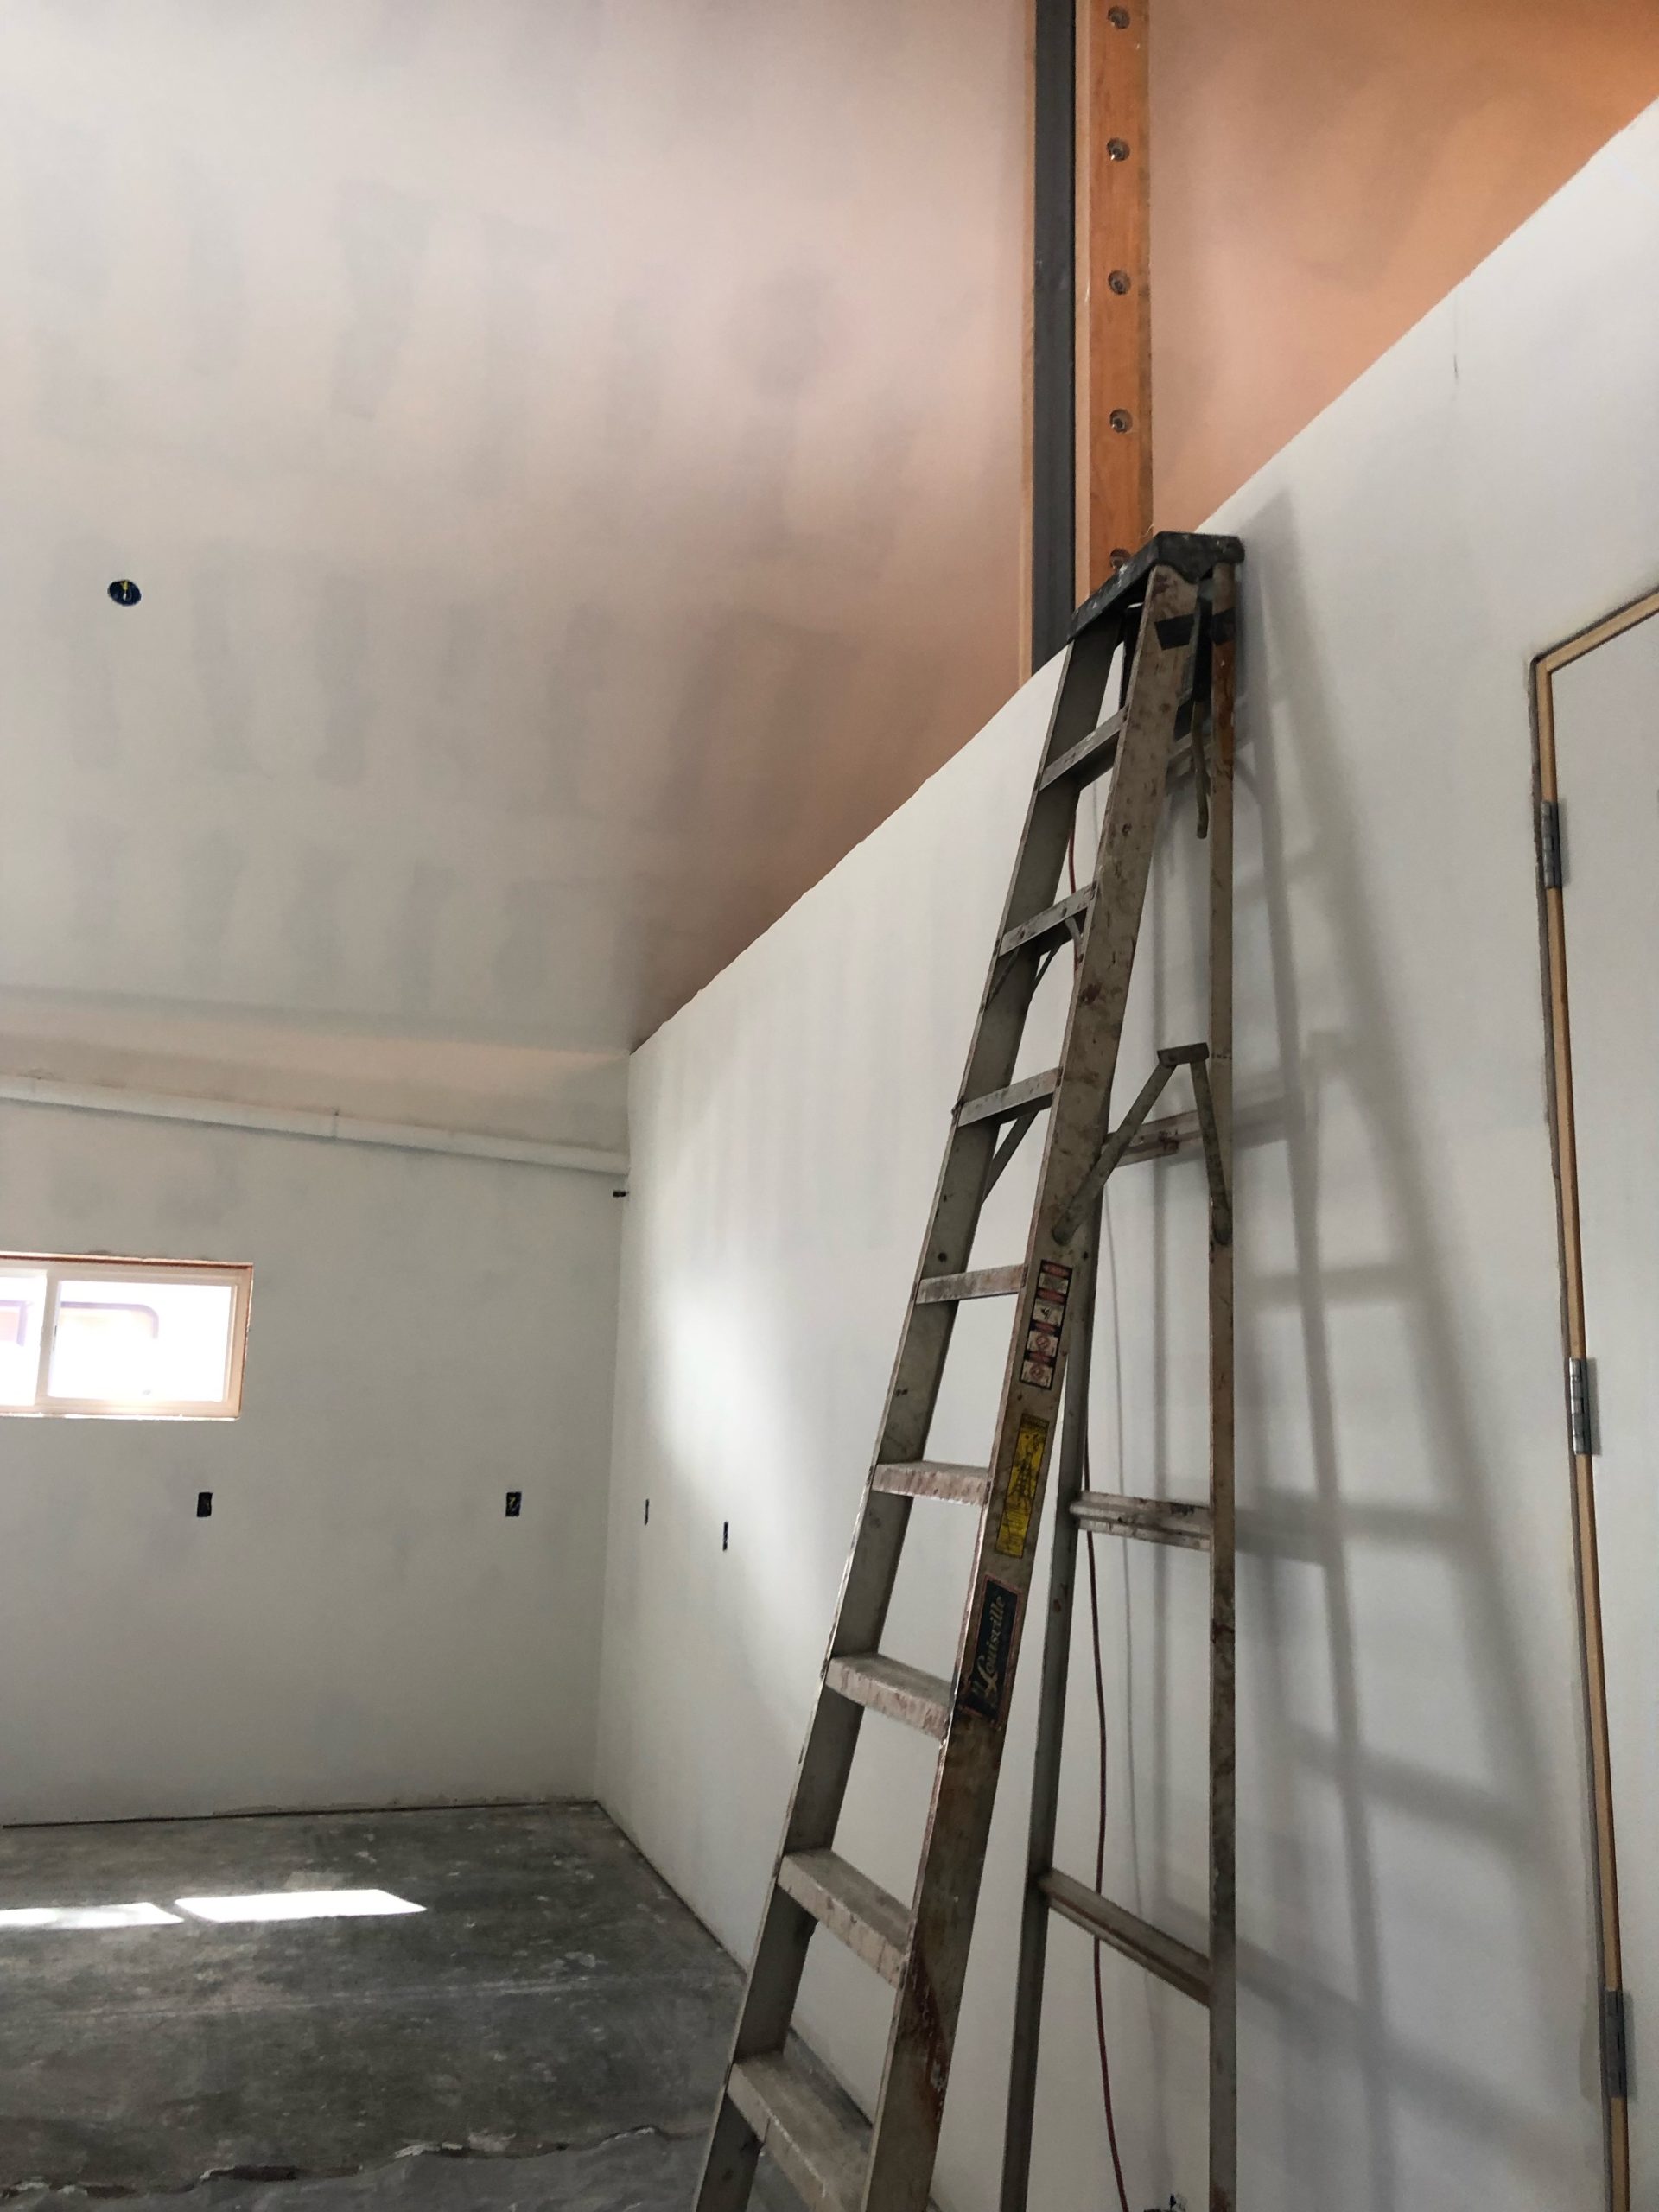
I painted the walls a basic off white; “Swiss Coffee” from Home Depot with their Behr Marquee paint. I did not want to have to do two coats, and some of the Ace paint might have required it, but the Behr paint went on fine with one coat. I think the primer helped a lot, and this paint did have some “primer” in it according to the sales people.
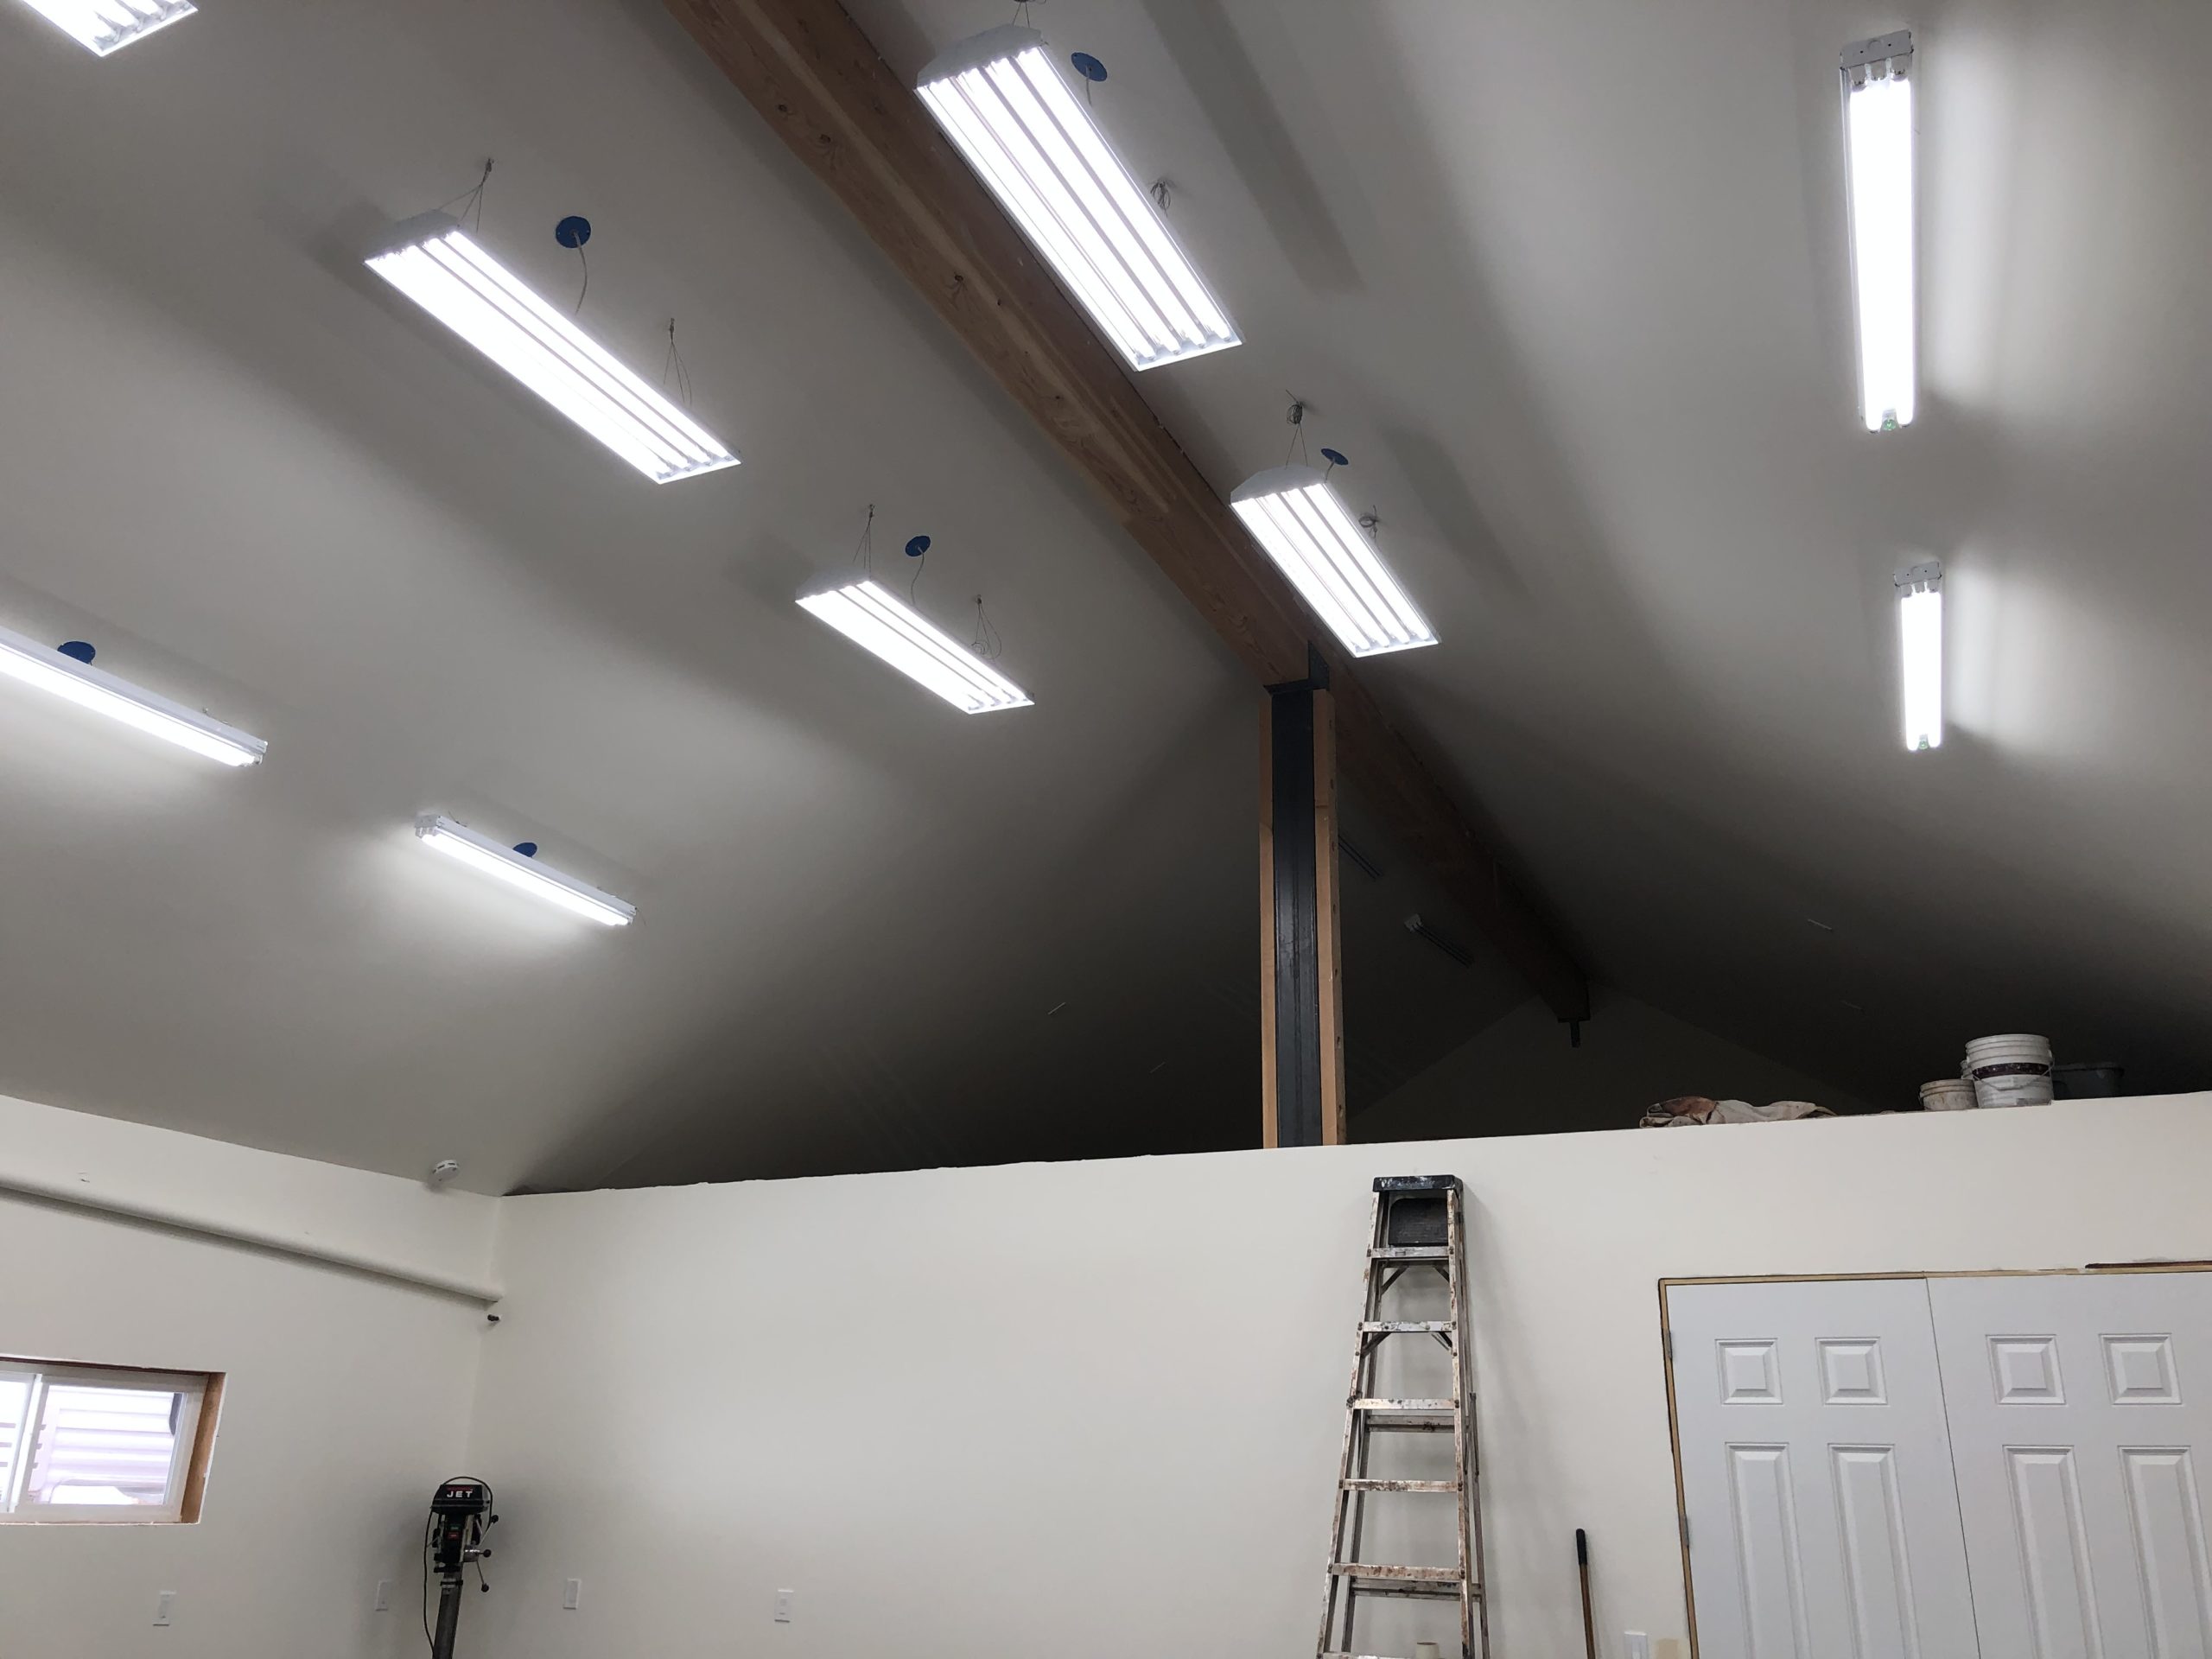
One I had the ceiling painted I started to install the lights. I discussed my lighting plan in a prior post: designing workshop lighting. I was curious if what I designed would work out. I hung the lights from the ceiling and used a little bit of romex to reach the light.
Now…the American made “Prime Lights” from Austin Texas had several quality issues. One of the 3-lamp “bolt” lights was missing a dummy tombstone. No big deal; they are going to send me another one. But one of the expensive 4-lamp “stingray” lights was flipping my breaker. I figured I had done something wrong…which would be strange because wiring is easy…but all my wiring looked okay. I took apart the lamp, and found that it was completely mis-wired at the factory! Take a look at the pictures below; the one on the left is wrong — the black and white wires are hardwired together on he two middle connections. The photo on the right is after I fixed it; the whites are on one side, and the blacks are on the other. I was shocked that they made such a bad mistake!


I actually had another problem where one of the connectors was wired backwards. I had to snip it off and wire-nut the connector to fix the issue. I’m surprised I encountered so many quality control issues. Given the high price of “Prime Lights” they should have had better quality control.
Despite the problems, the actual lighting is awesome! It is so bright in the shop with virtually no shadows. In fact, I only installed two of the three lamps in the bottom row of lights, as I thought it was excessively bright. I originally was going to put the lights on two switches — half the lamps on one switch and the other half on another switch, but I ended up getting lazy and putting them all on one circuit. I think one switch is a good idea; in general I just want to turn on one switch, and I think if I had two I would have just turned them both on all the time. So, I still think this was a good idea, but my lighting lumens might have been overkill. I will know for sure a bit more when I start doing actual work and video recording.
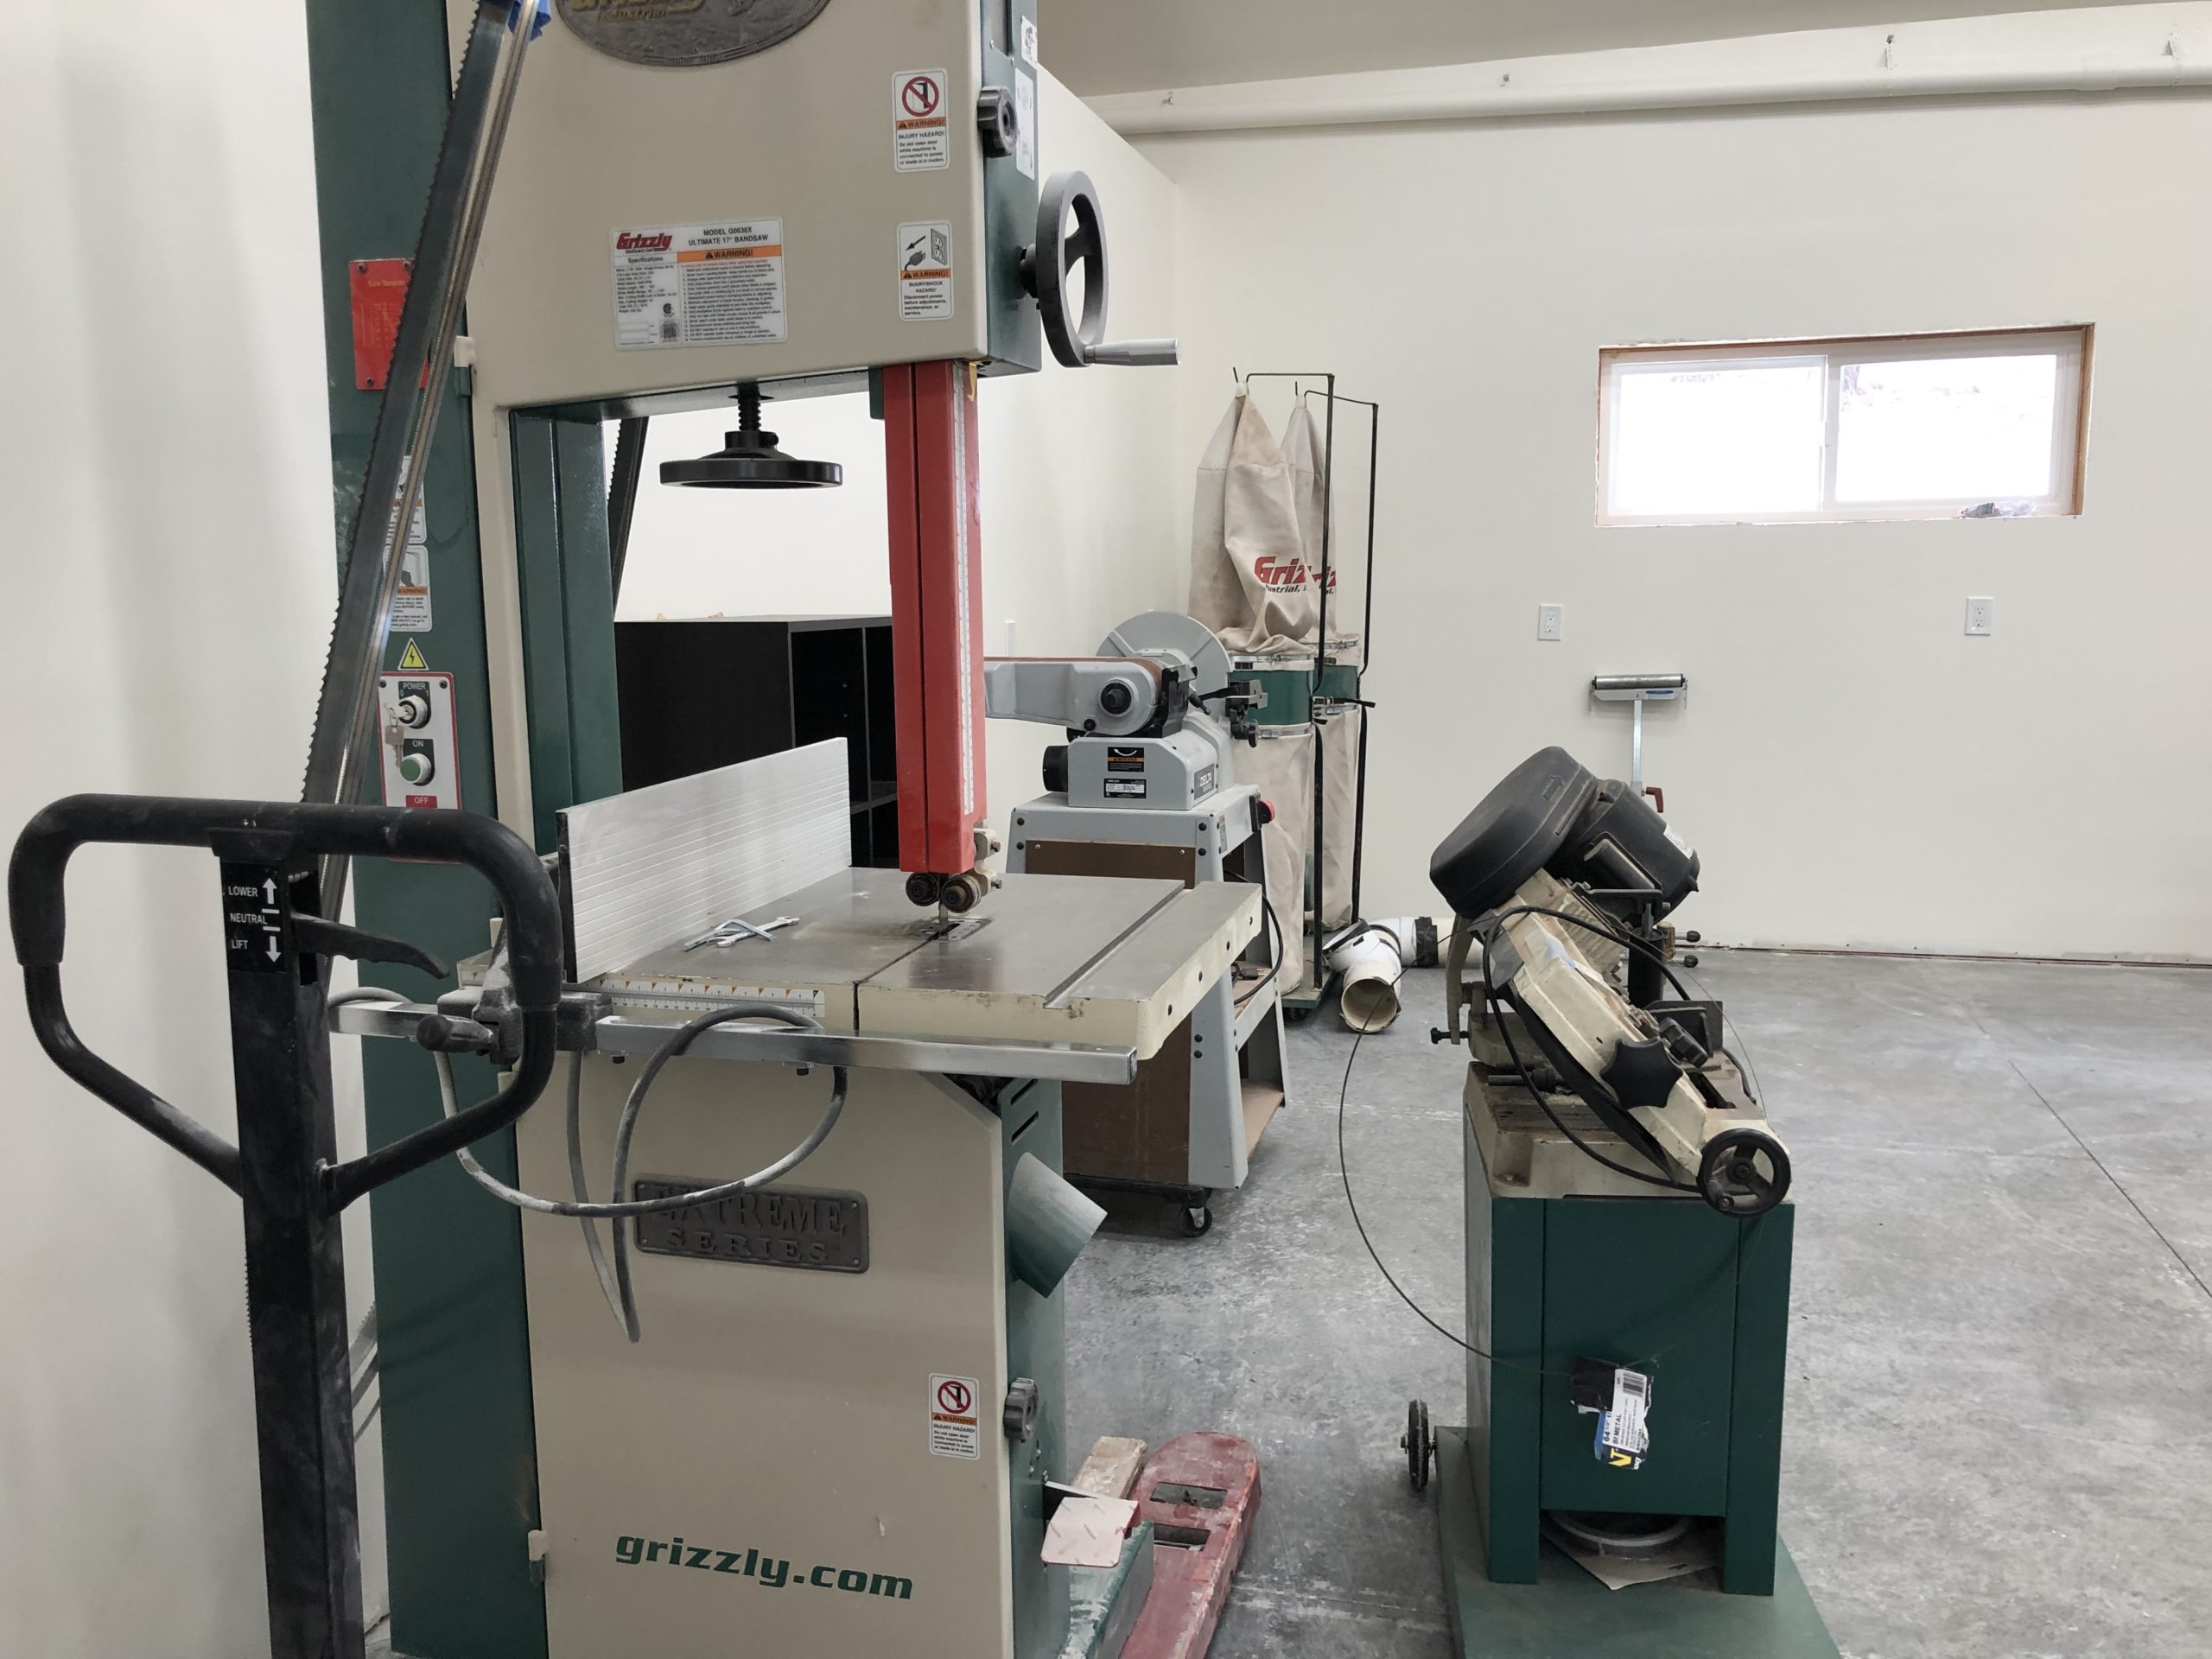
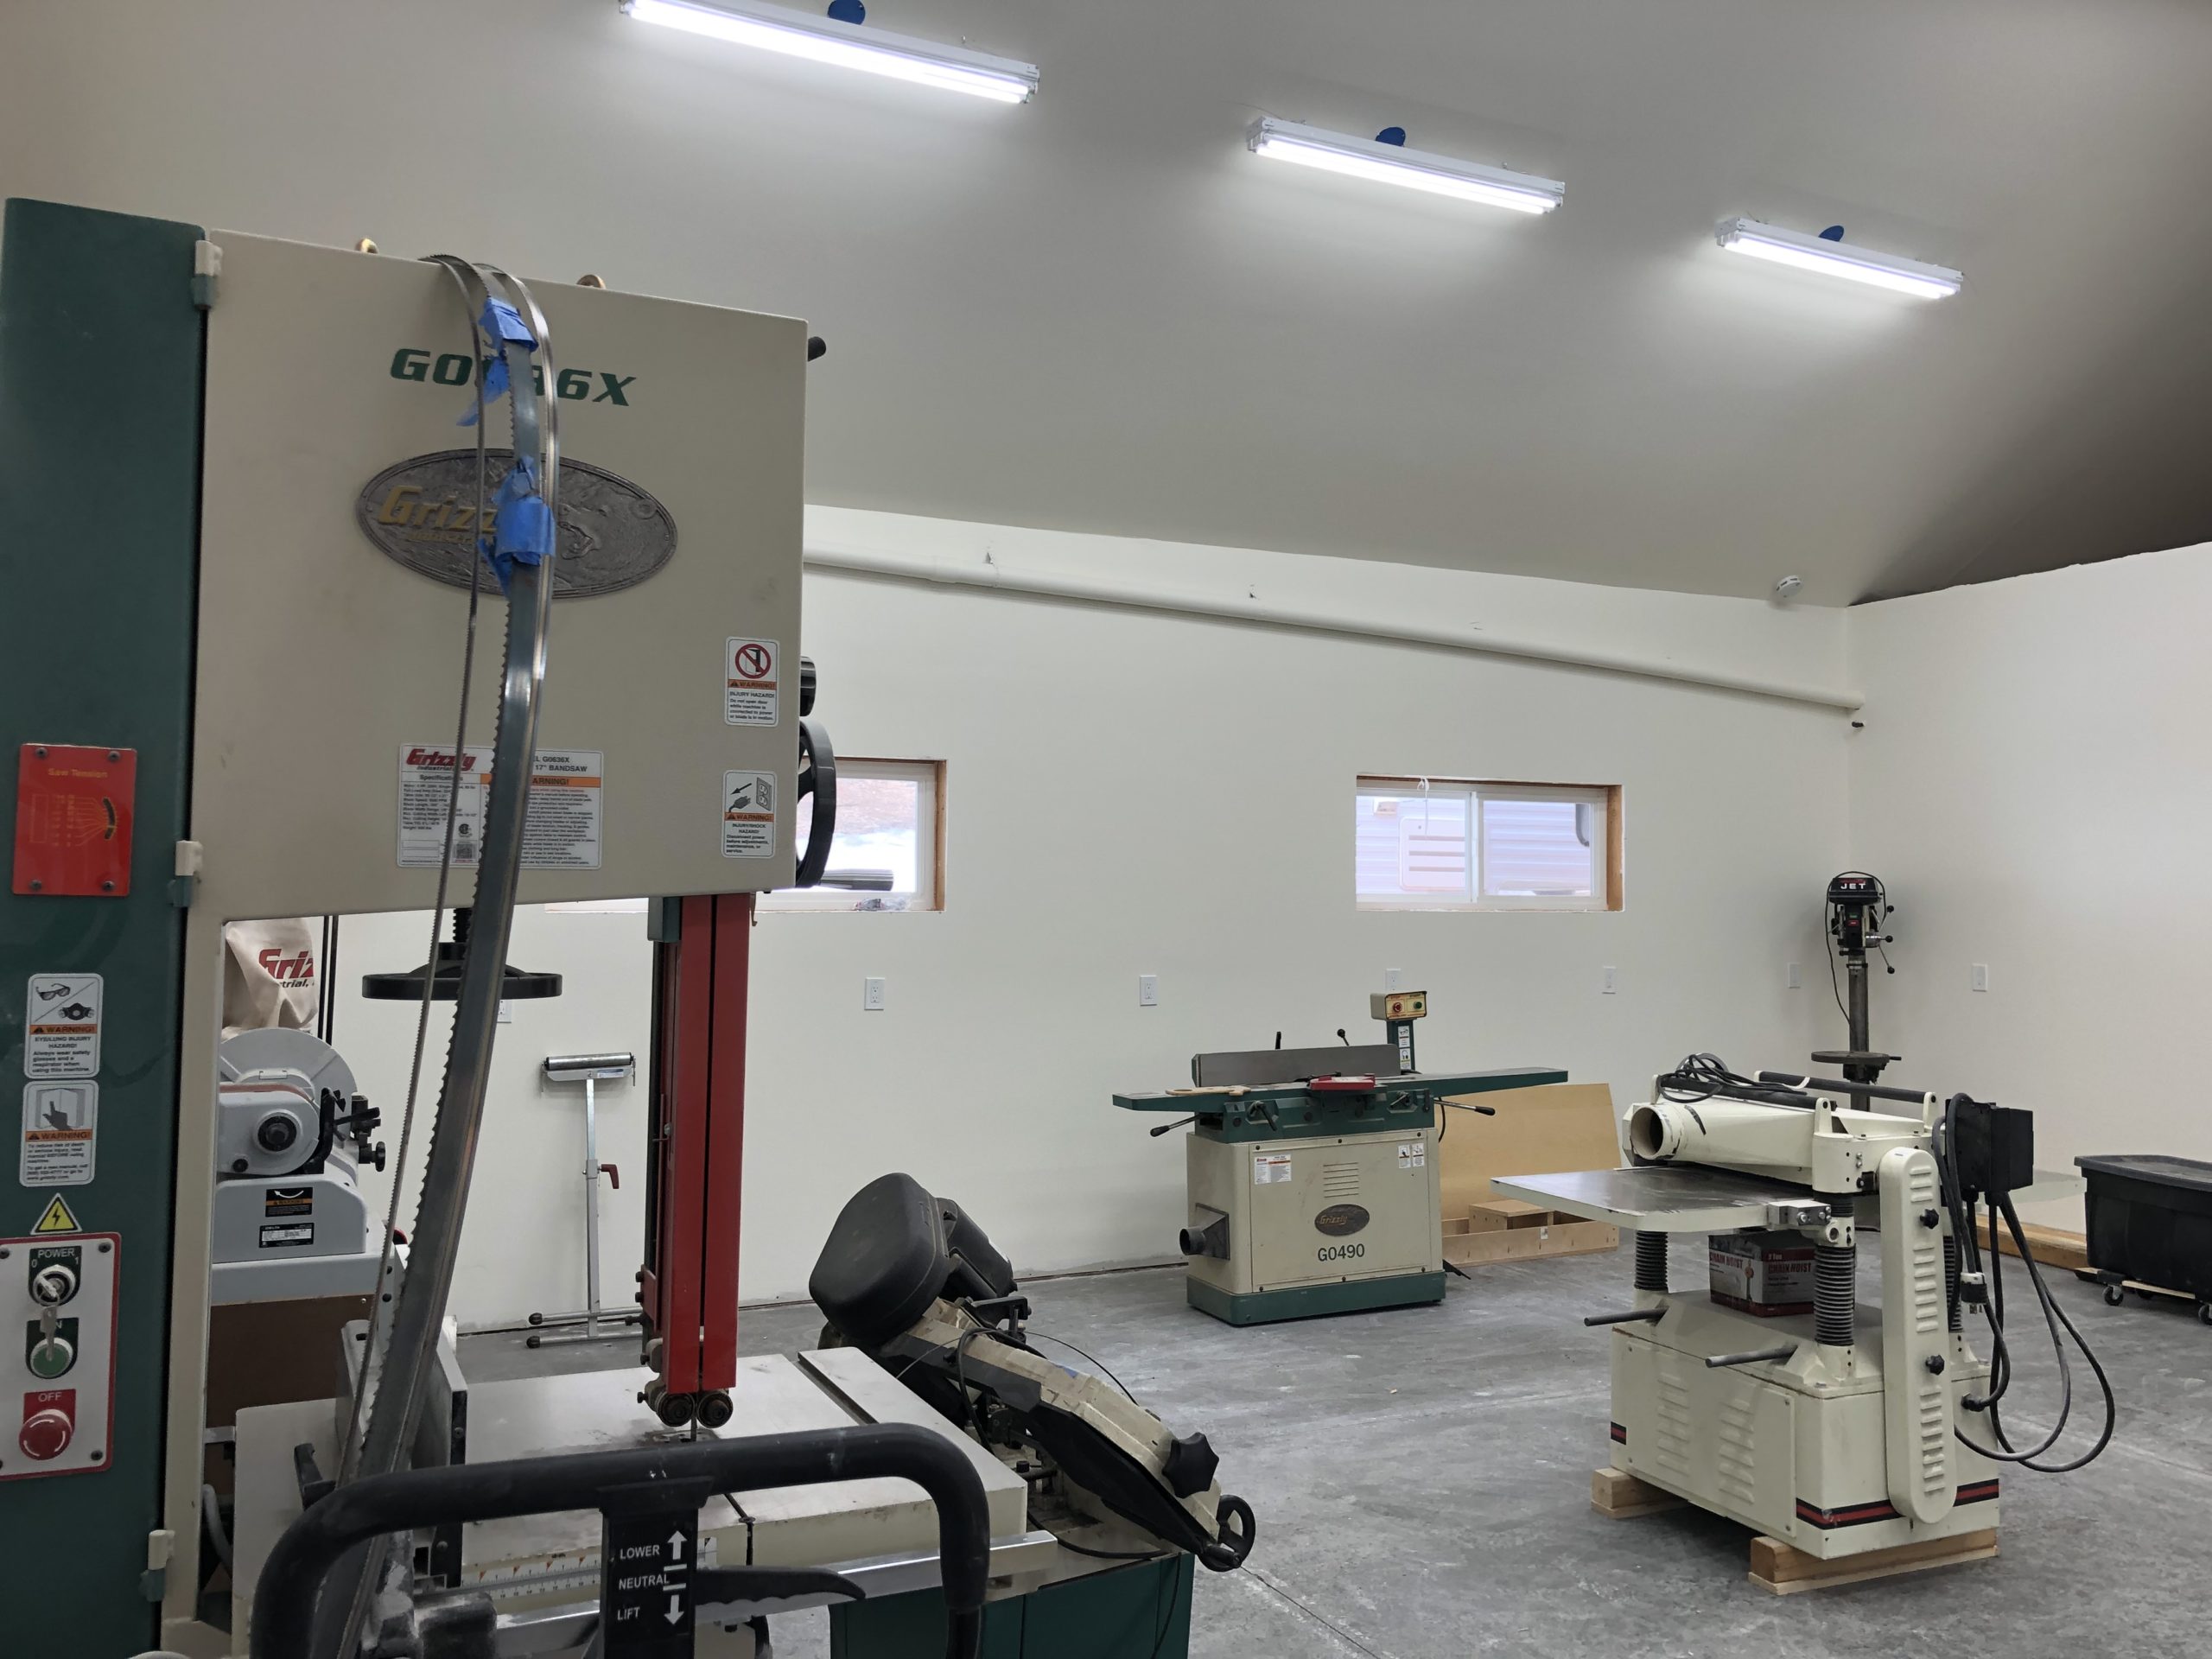
The shop is getting close to being done! I’m starting to place machines and figure out final details….but as of today I haven’t passed my final inspection yet (more on that later!)


