Electrical – The Truckee Workshop Part 14
In my last post I discussed what workshop lights I was going to use to get the right amount of lumens per square foot. That was necessary in order to layout the electrical wiring inside the walls.
If you are just jumping in, check out all my posts in chronological order for me building my workshop: Truckee Workshop 2021
First off all, I had to figure out some goals for how to wire my workshop. Here are the important questions I asked myself.
Workshop Wiring Questions
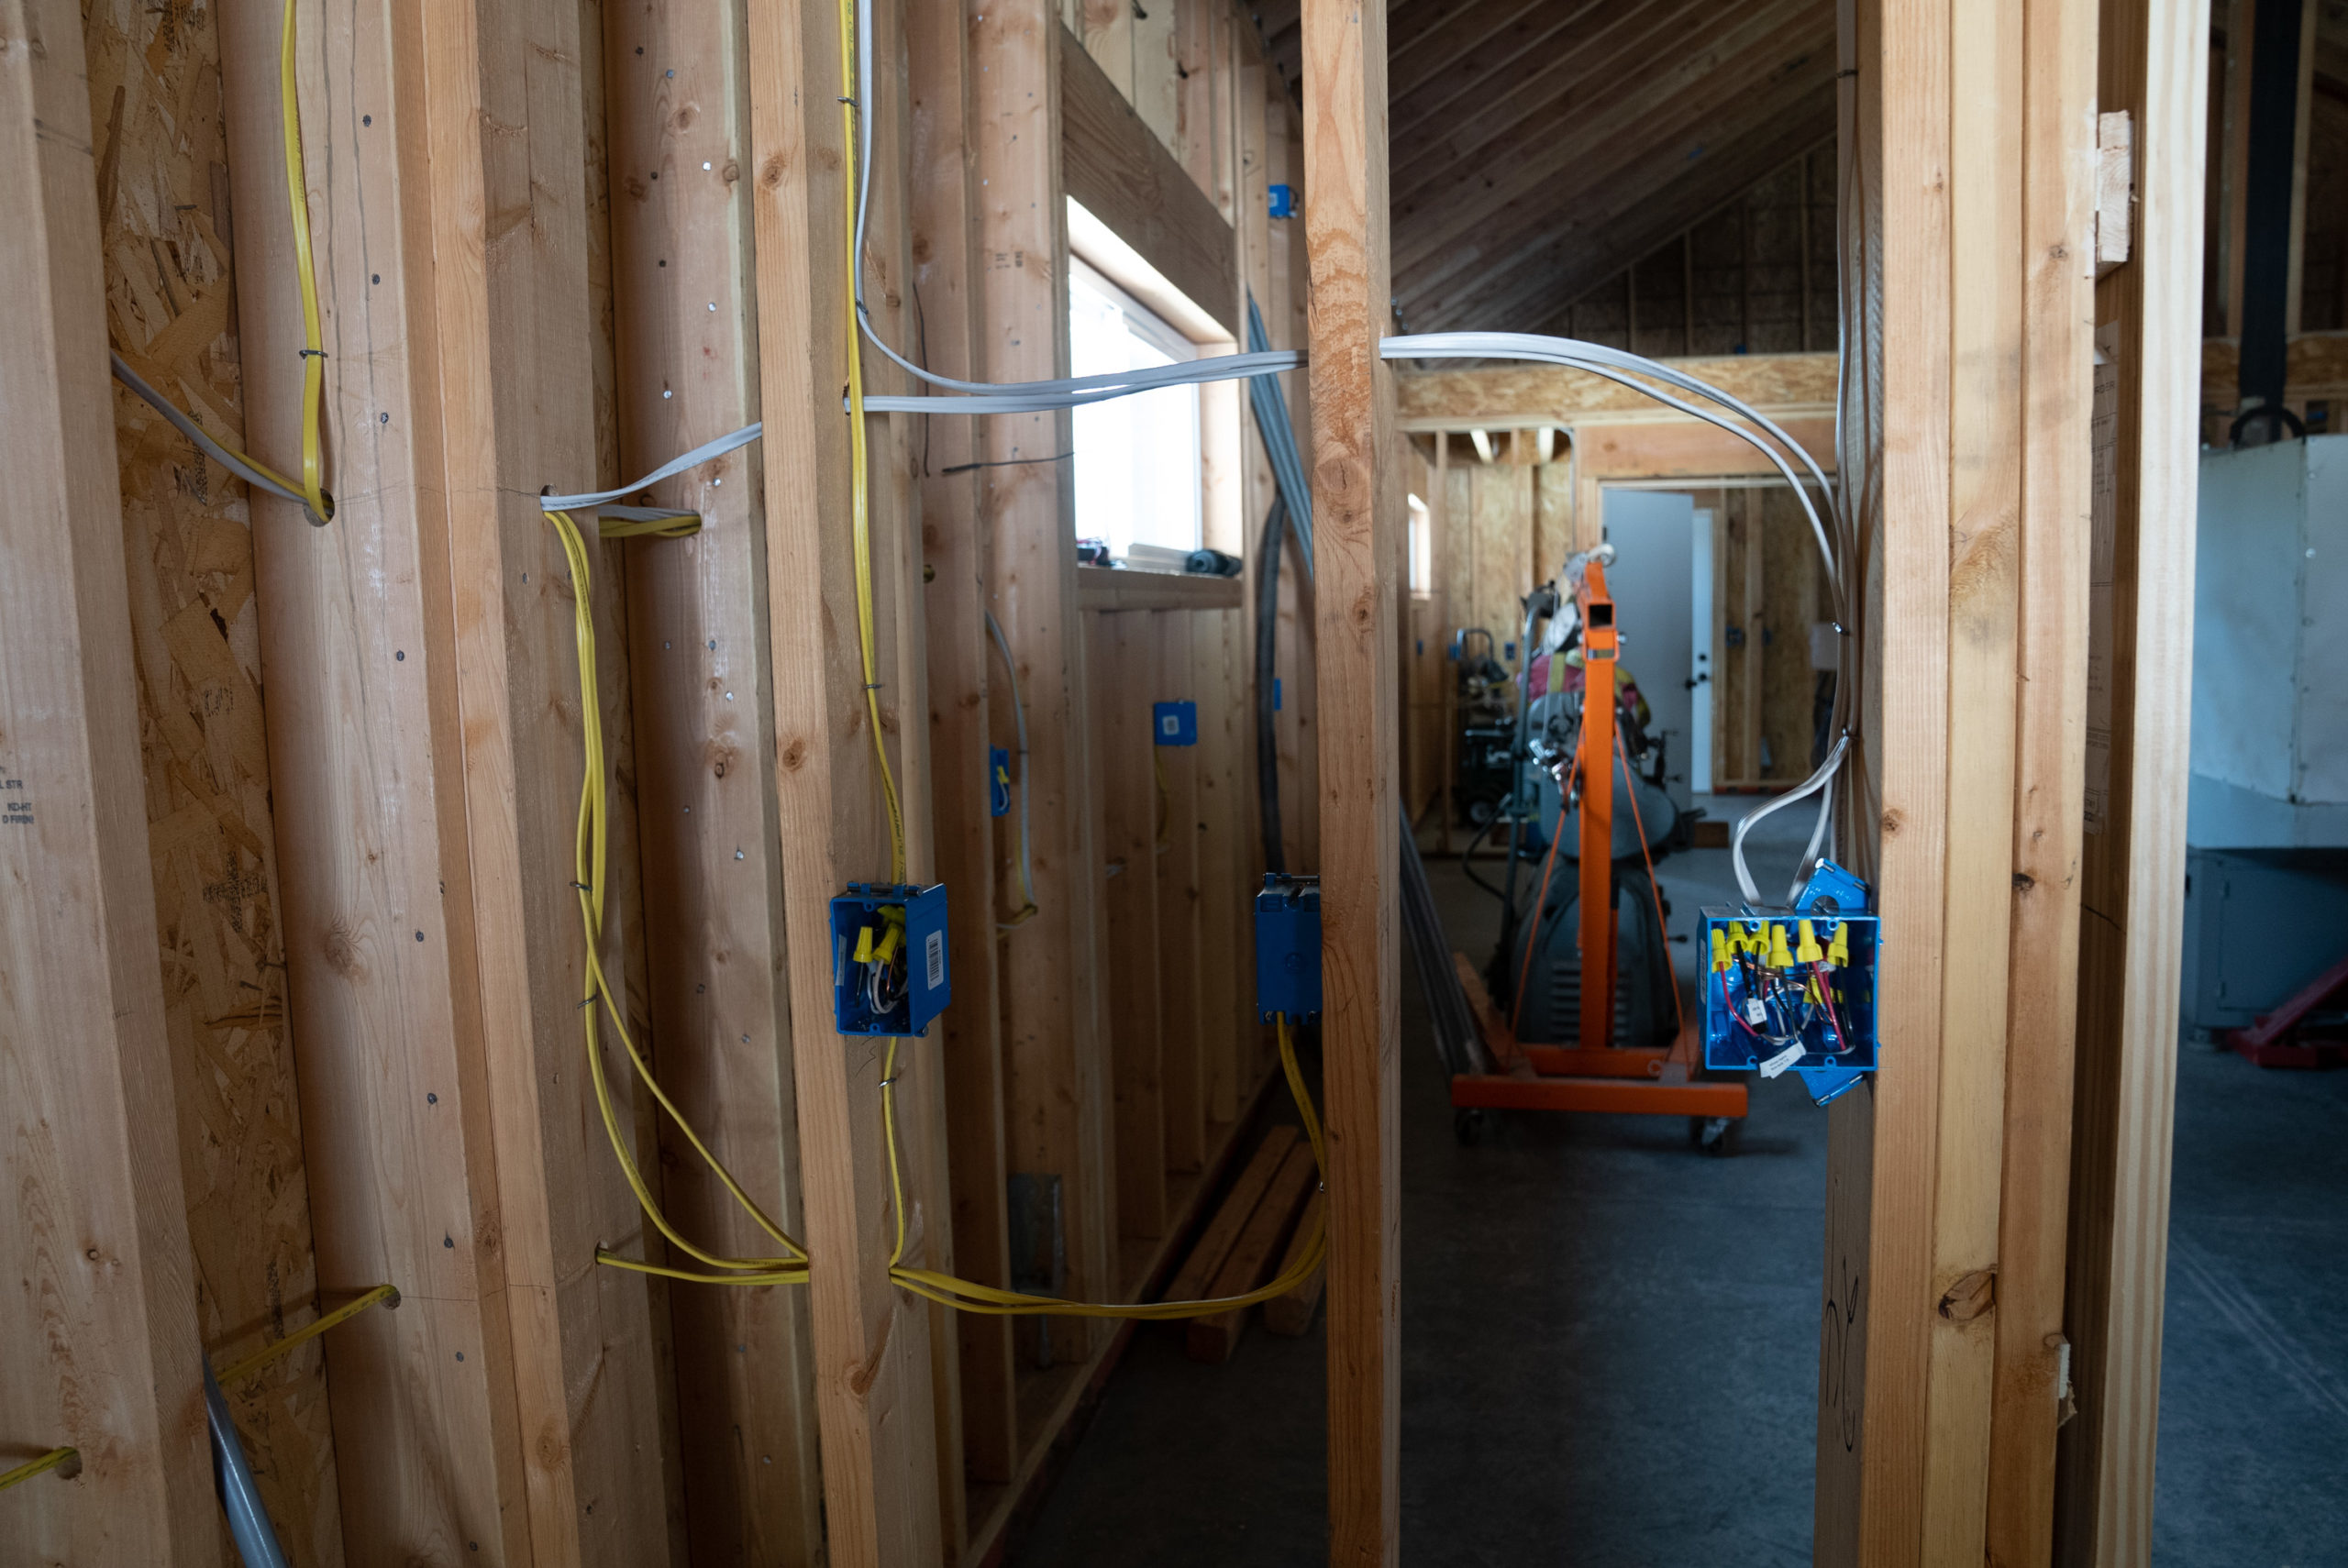
What wiring size and breaker? 12 gauge with 20 amp breakers for 120 volts. This was an easy decision. I did use 14 gauge for my lighting circuits, which don’t share any wiring with the outlets.
What height do you put the outlets for a shop? I put mine at about 42″ to the bottom of the outlet, or roughly 48″ to the top of the outlet. I wanted them above any benches, but not excessively high. A lot of people tend to put the bottom of the outlet at 48″; this is so they can through a 4′ sheet of plywood against the wall and it won’t cover up the outlet. I considered this, but thought the height was too high, and didn’t do it.
How often should you space the outlets? I opted to put an outlet every 4′-5′; this is tighter than what is required by code, and gives me a lot of outlets. This also relates to the height I decided upon; if a piece of plywood obscures one outlet that isn’t a big deal because there will be another one fairly close by.
How many outlets per breaker? Around 8 outlets per breaker, but maybe as few as 5 and up to 10. Residential NEC code doesn’t limit the amount, for commercial NEC basically limits it to 10 when you do the math and account for 80% load assuming 180 watts per outlet, and a 20 amp breaker on 12 gauge. My reasoning on having a relatively lot of outlets per breaker comes from several considerations: I’ll be working solo in the shop, so I won’t be using a lot of machines at once. I’ll have dedicated wiring for my big machines. And the next item:
Should you stagger the outlets? Yes! In other words, every other outlet is on a different circuit. This means if I am pulling a lot of amps from one outlet and need more power for another tool, I can simply plug into the next outlet and it will be on a different circuit. This required a lot of extra wiring, as I had to double it up in the walls to do this, but I think it will be worth it.
Should lights be on a different circuit? I decided to put the lights on a dedicated circuit. I didn’t want to have any dimming or flickering when I turned on machines due to them sharing the same wiring. I also used 14 gauge for the lights, as it was cheaper — especially when I had to use 3-wire for my 3-way switches.
What sub panel size? I used a 200 amp sub panel, but it is fed off a 125 amp breaker. It was difficult to run wiring from the house’s main panel to the garage, due to it being on the opposite side of the house and not having a crawl space. I had to run the wiring in the ceiling gap between two levels of the house, and had an electrician help me figure out the best way to do it. He suggested going to 125 amps, because it let me use 2 gauge wiring; he said it was hard to work with thicker wiring simply because it would be difficult to attach it to the breaker, pull it, etc. It was also hard to get thicker copper, stupidly expensive, and he didn’t like aluminum. At time, it all seemed fine to me, but I think I should have just used thicker/cheaper aluminum and solved the problems on how to attach it. I’m hoping that the 125 amps isn’t limiting in the future, especially when charging a car and simultaneously using the shop tools. I did have an issue with the electrician; he charged “time and materials” but marked up his materials something like 80% over retail, even after fist discussing the prices of copper — both before the job and before he purchased it.
What about 220? I only put 110 wiring in my walls, except for two 50 amp 220 volt circuits in the garage for car charging. I always seem to change my mind about machine placement, and my plan is to run conduit above the walls dedicated for individual machines after I place them.
—
I’m not going to go into detail about the specifics of wiring, as I’m not an electrician, but I do have a lot of experience working with house wiring. I had to refresh my memory on some of the basic code requirements, such as how to calculate the maximum wire amount per box and how far back the wire should be nailed and where. I also referenced an electrical book I had to remember how to do 3-way switches. Outlets in the garage portion all have to be GFCI protected; I opted to do this with one GFCI outlet providing the protection to 3-4 more outlets downstream. The other way would be to use a GFCI breaker, generally that is more expensive.
Take Photos!
After I got all the wiring done, I went around and took detailed pictures of all the wiring in the walls. I also did a video walk through where I discussed to myself what I did. Eventually, in the future, I’m sure I’ll change something in the garage and need to know this information.
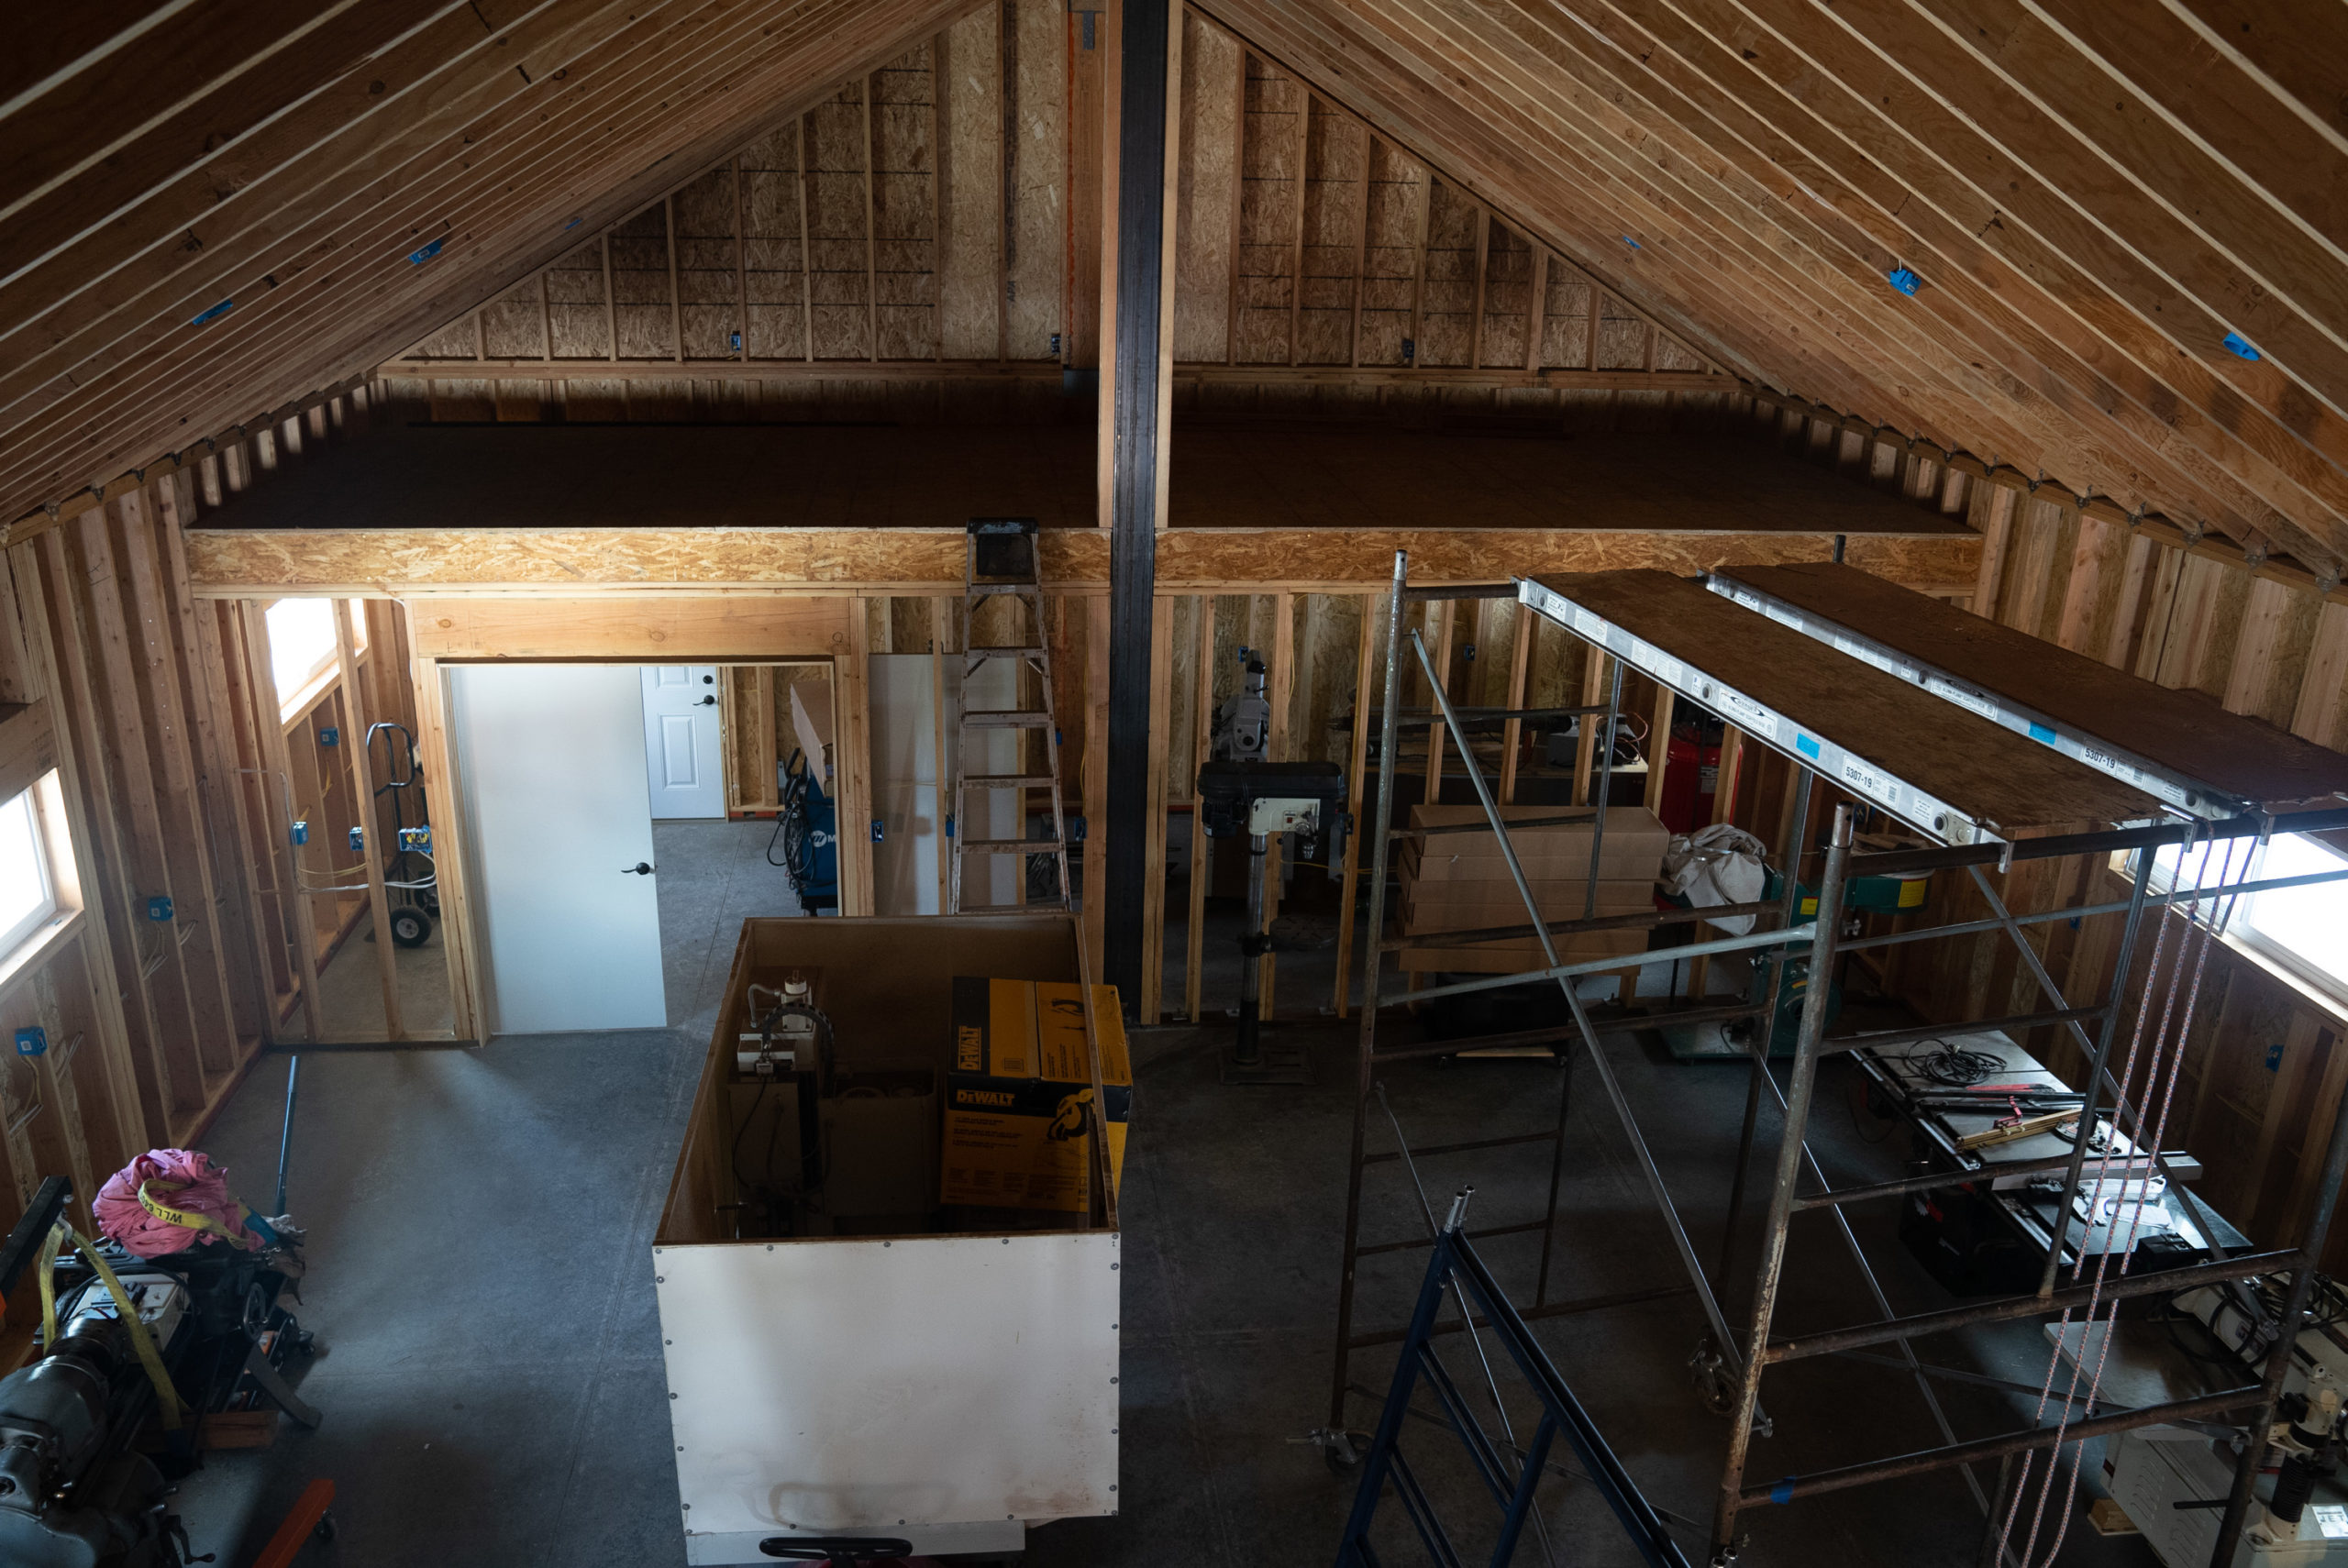
After I did the electrical I got an inspection, and then could proceed onto the next step of insulating the workshop & garage.


[…] The next post in this series is all about how I wired the electrical for my shop. […]
[…] the previous post, I discussed my shop electrical wiring decisions. If you are jumping in here, be sure to check out all the posts on the entire Truckee Workshop […]