Exterior Prep and Wrap – Truckee Workshop Part 11
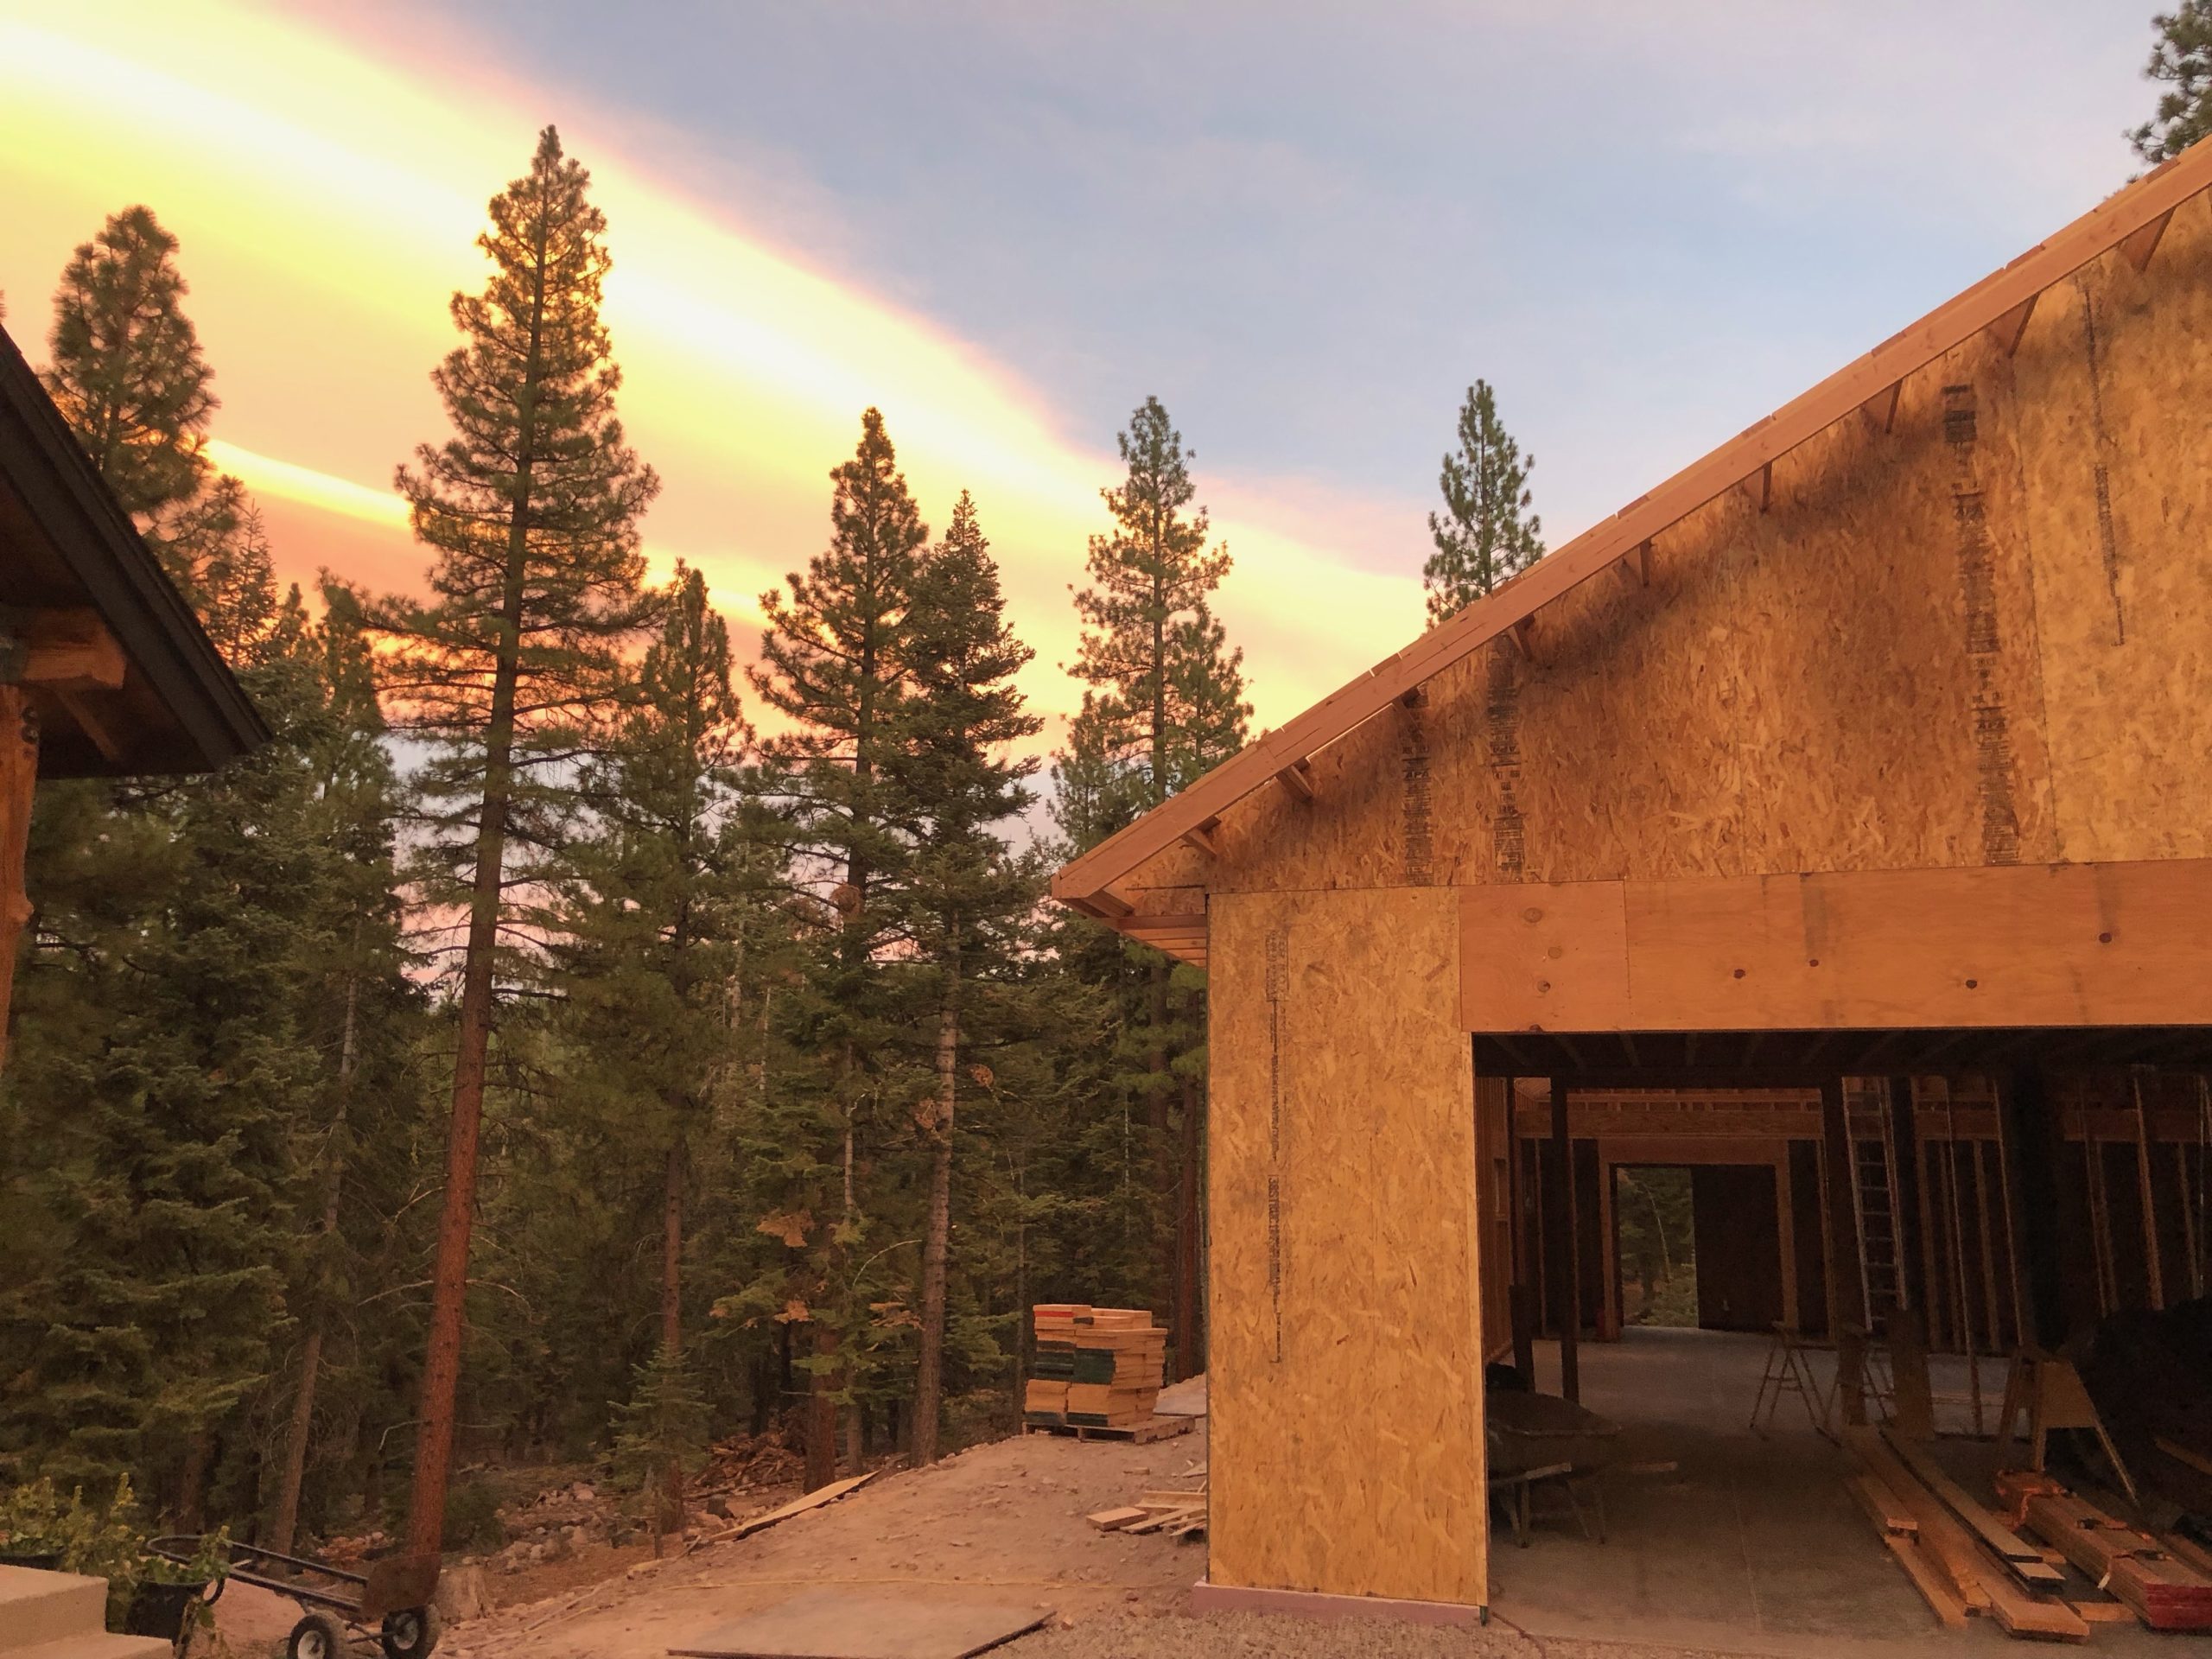
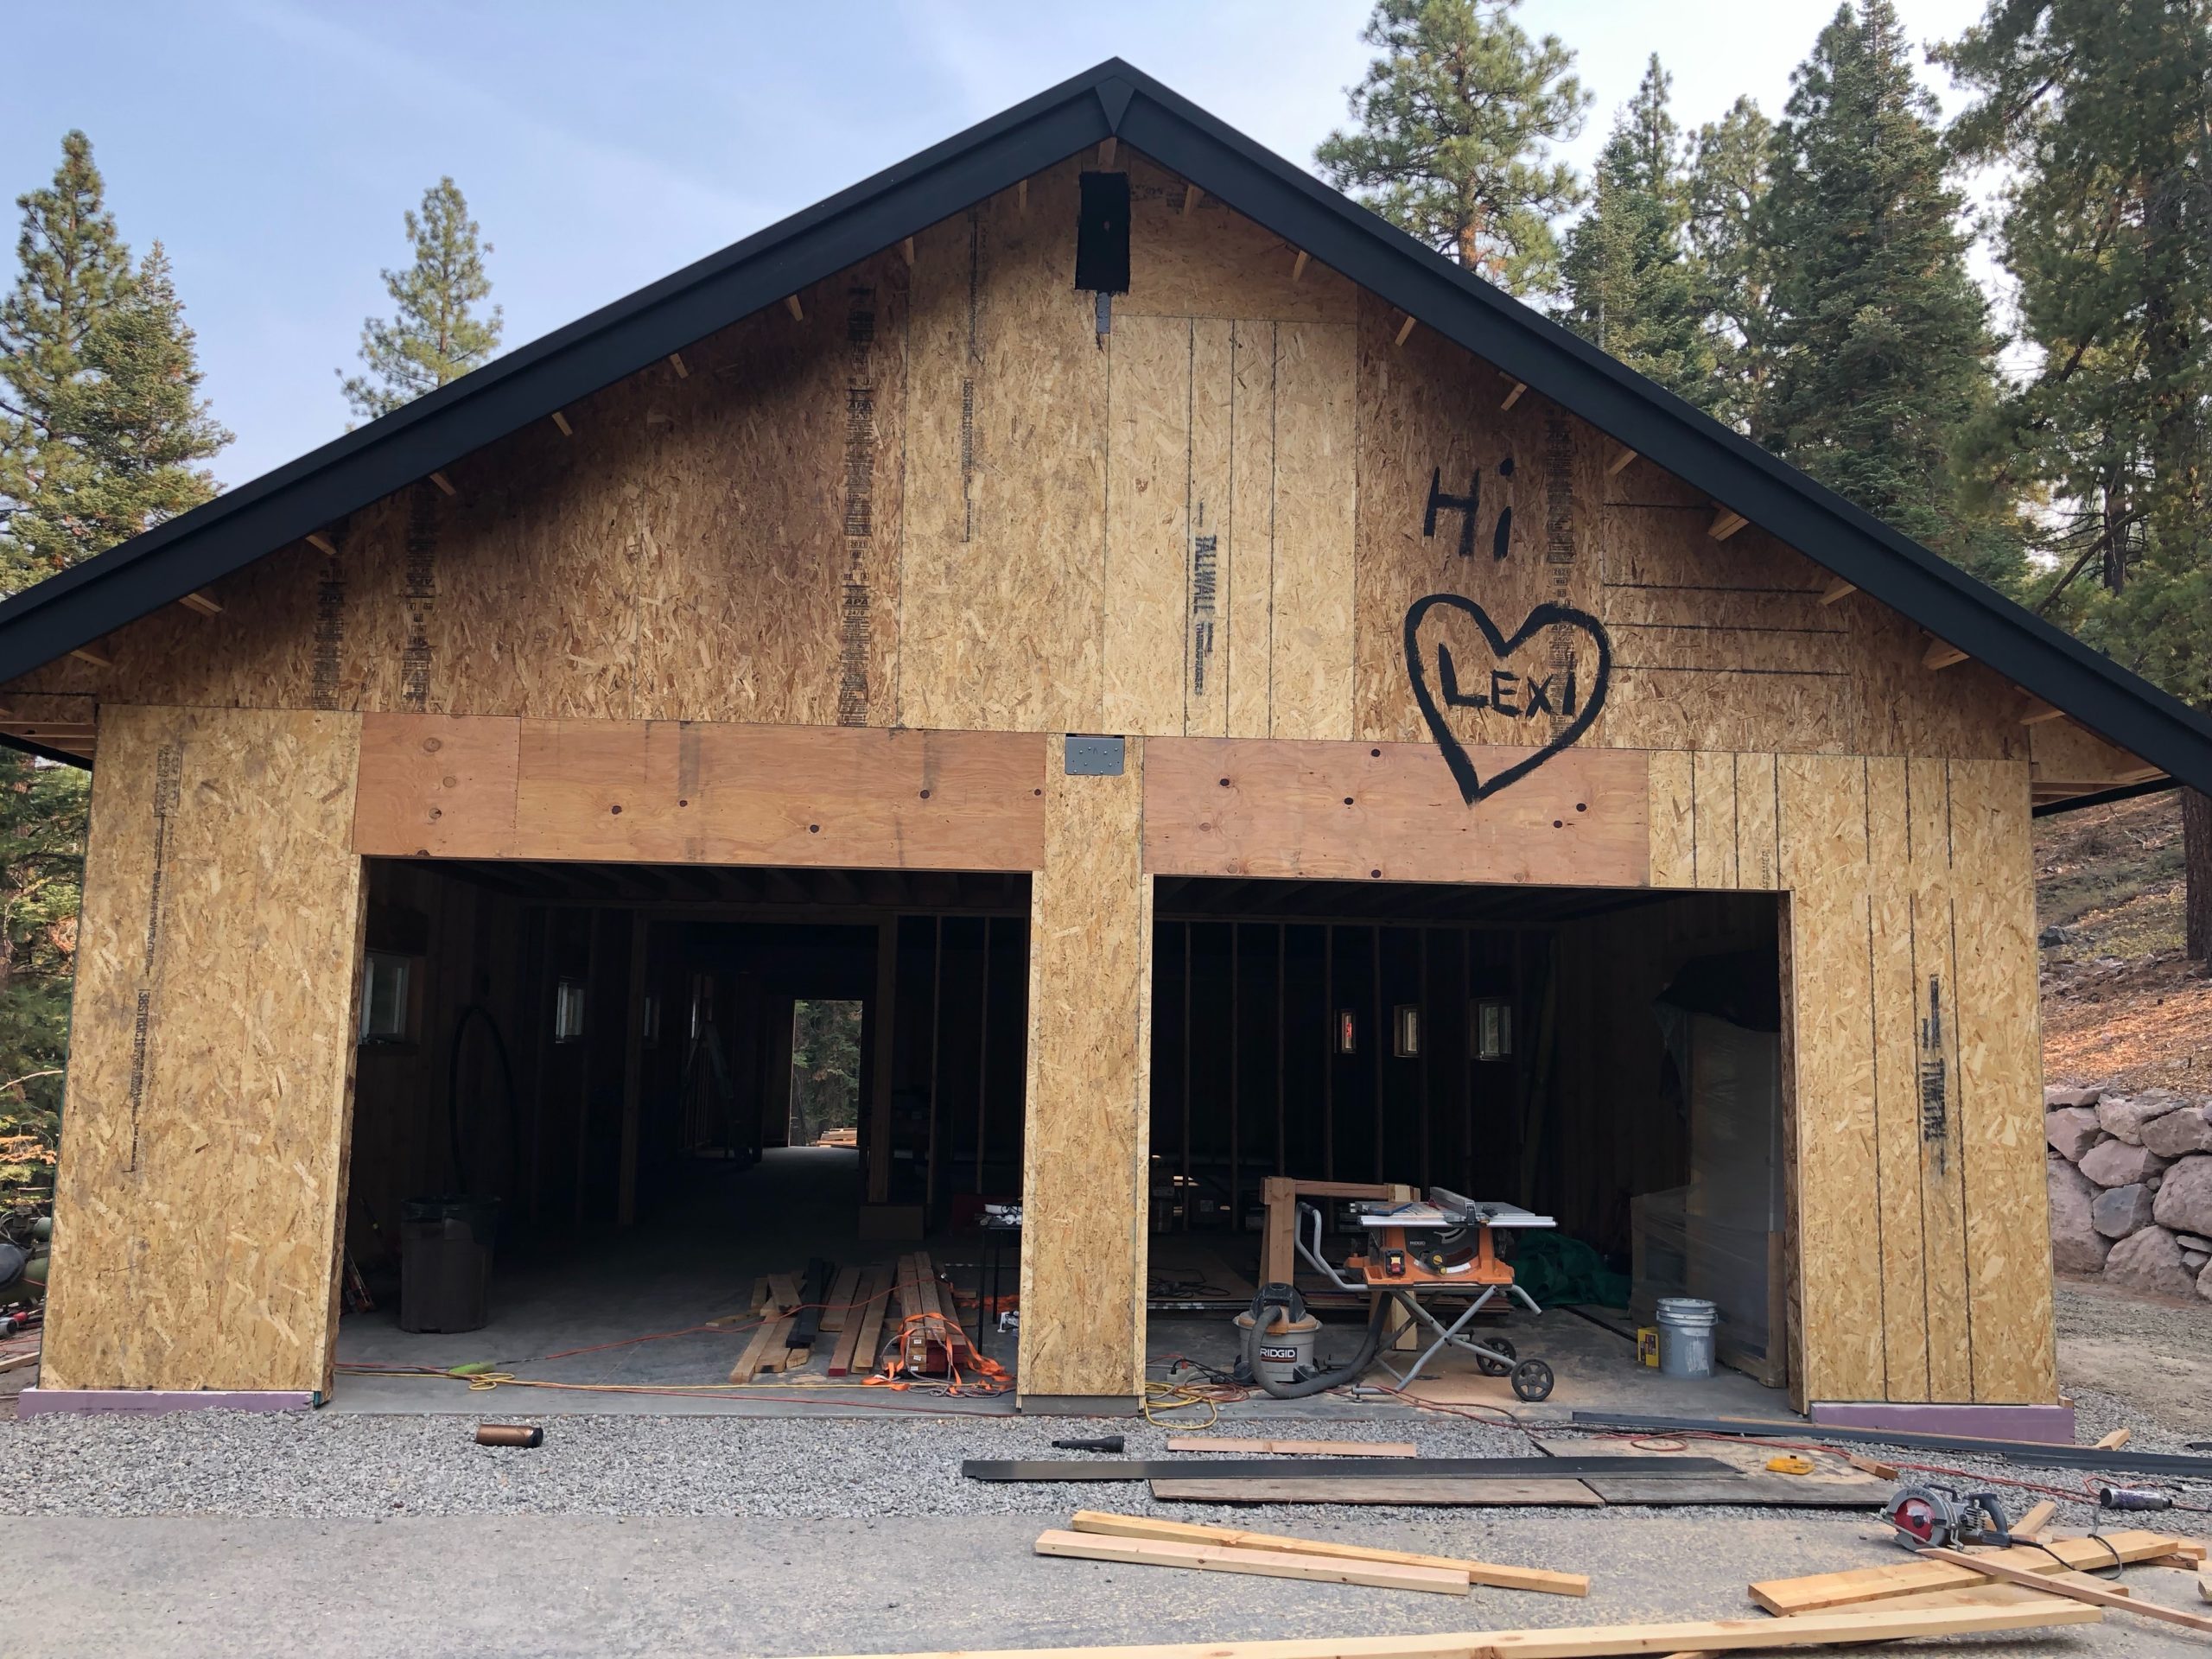
In the last post I wrote about how me and the crew got the building semi-roofed; the OSB sheathing covered most stuff and would keep out most rain. It did rain a bit and test the system; most the water was kept out, but spots leaked in between the gaps. You don’t install OSB butted up against each sheet; it has to have a bit of a gap between each sheet to accommodate for expansion. Or, at least I think that is why the manufacture said to do it, and it does kind of make sense.
At this point I started working solo. I really liked having the help, but I couldn’t afford to keep paying the guys and I had to save some money. The building was already way over budget — double what I expected at that point, and I had a lot more stuff I needed to spend money on. If you want to know costs, email me and I’ll tell you.
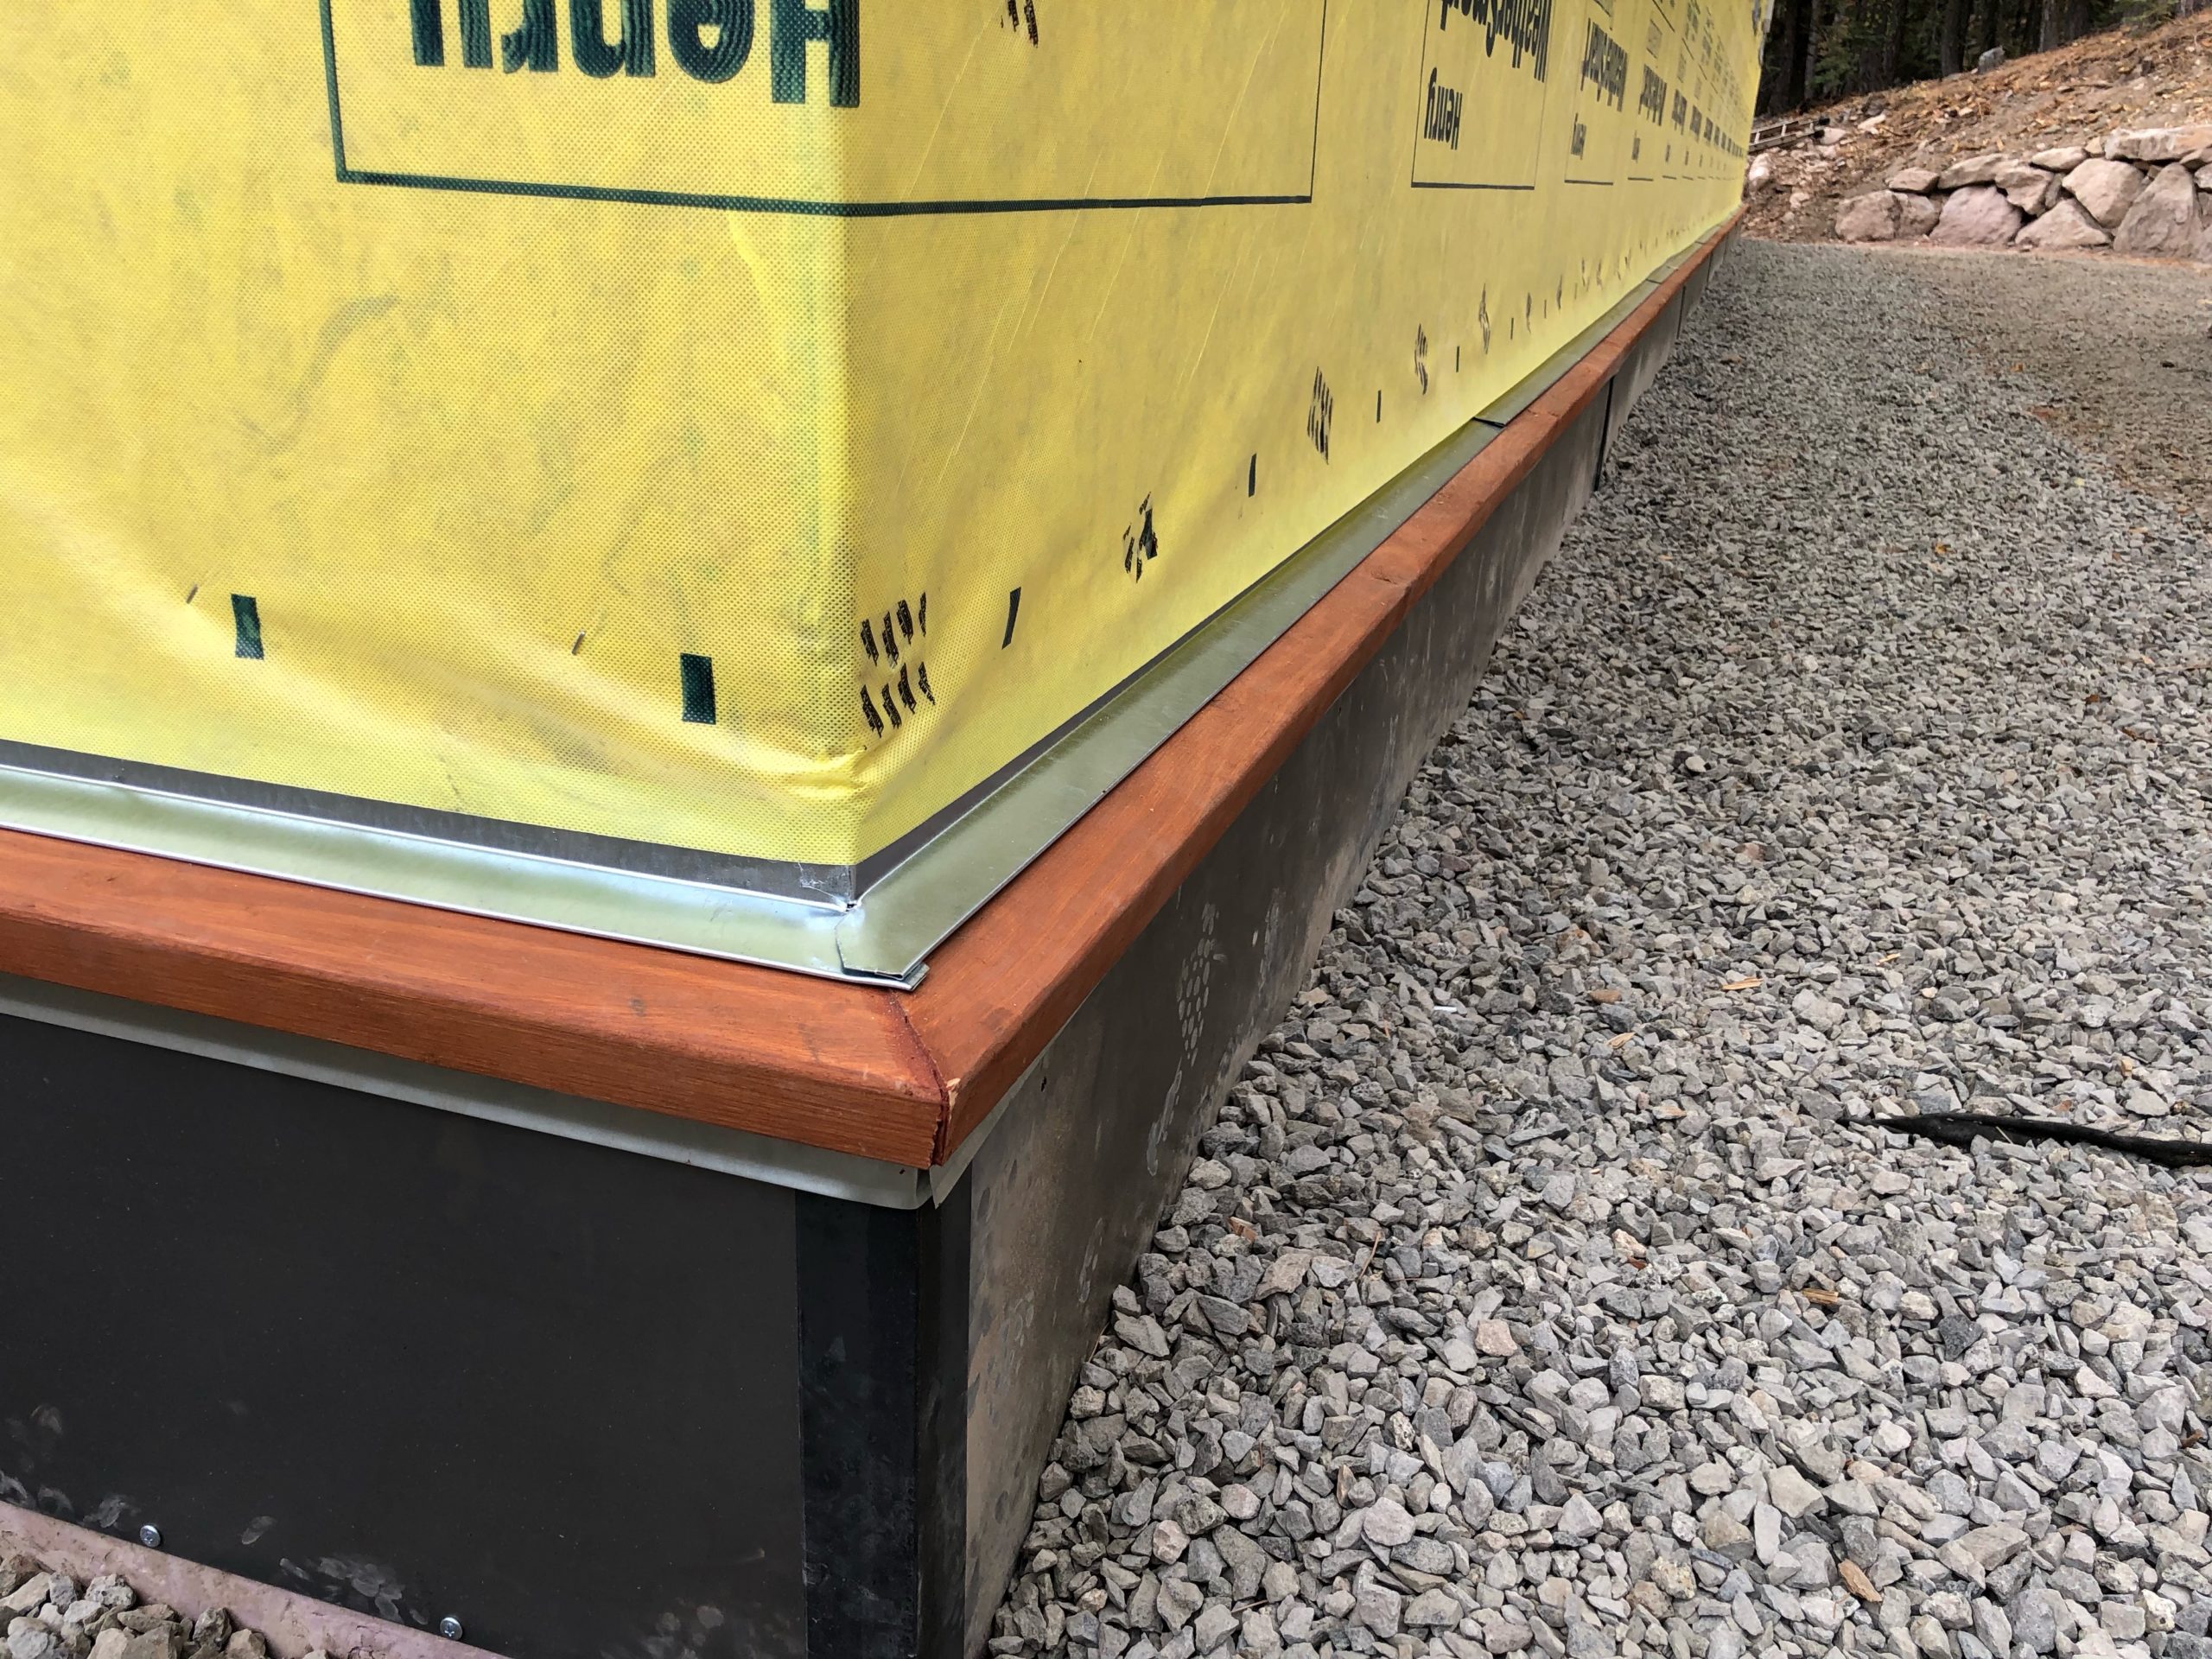
At this point I could start covering up the exterior. I started working on the bottom up, which meant protecting the foam board that was surrounding the concrete slab. Code requires foamboard to somehow to be covered up; either with stucco or some other material. I heard stucco isn’t great as it wears away with time, but it would have been really cheap and quick to do. I also had to figure out someway to transition from the 2″ foamboard to the thinner siding, and make it properly shed water. I opted to cover the foamboard with Corten steel; a product that is designed to rust. I first nailed on a piece ripped piece of 2x to the edge in order to give me something to attach the steel onto. I then dug out the dirt around the foundation about a foot, and dropped in some pieces of corten. The overlapping gaps were surrounded with 1/8″ flat stock steel and the corners had angle iron. In hindsight, I really liked this look and I wish I would have went up the wall about 3-4′ with the steel. It would have looked really cool, and matched the house’s design a bit more, which has rusted corrugated steel for the first 3-4′.
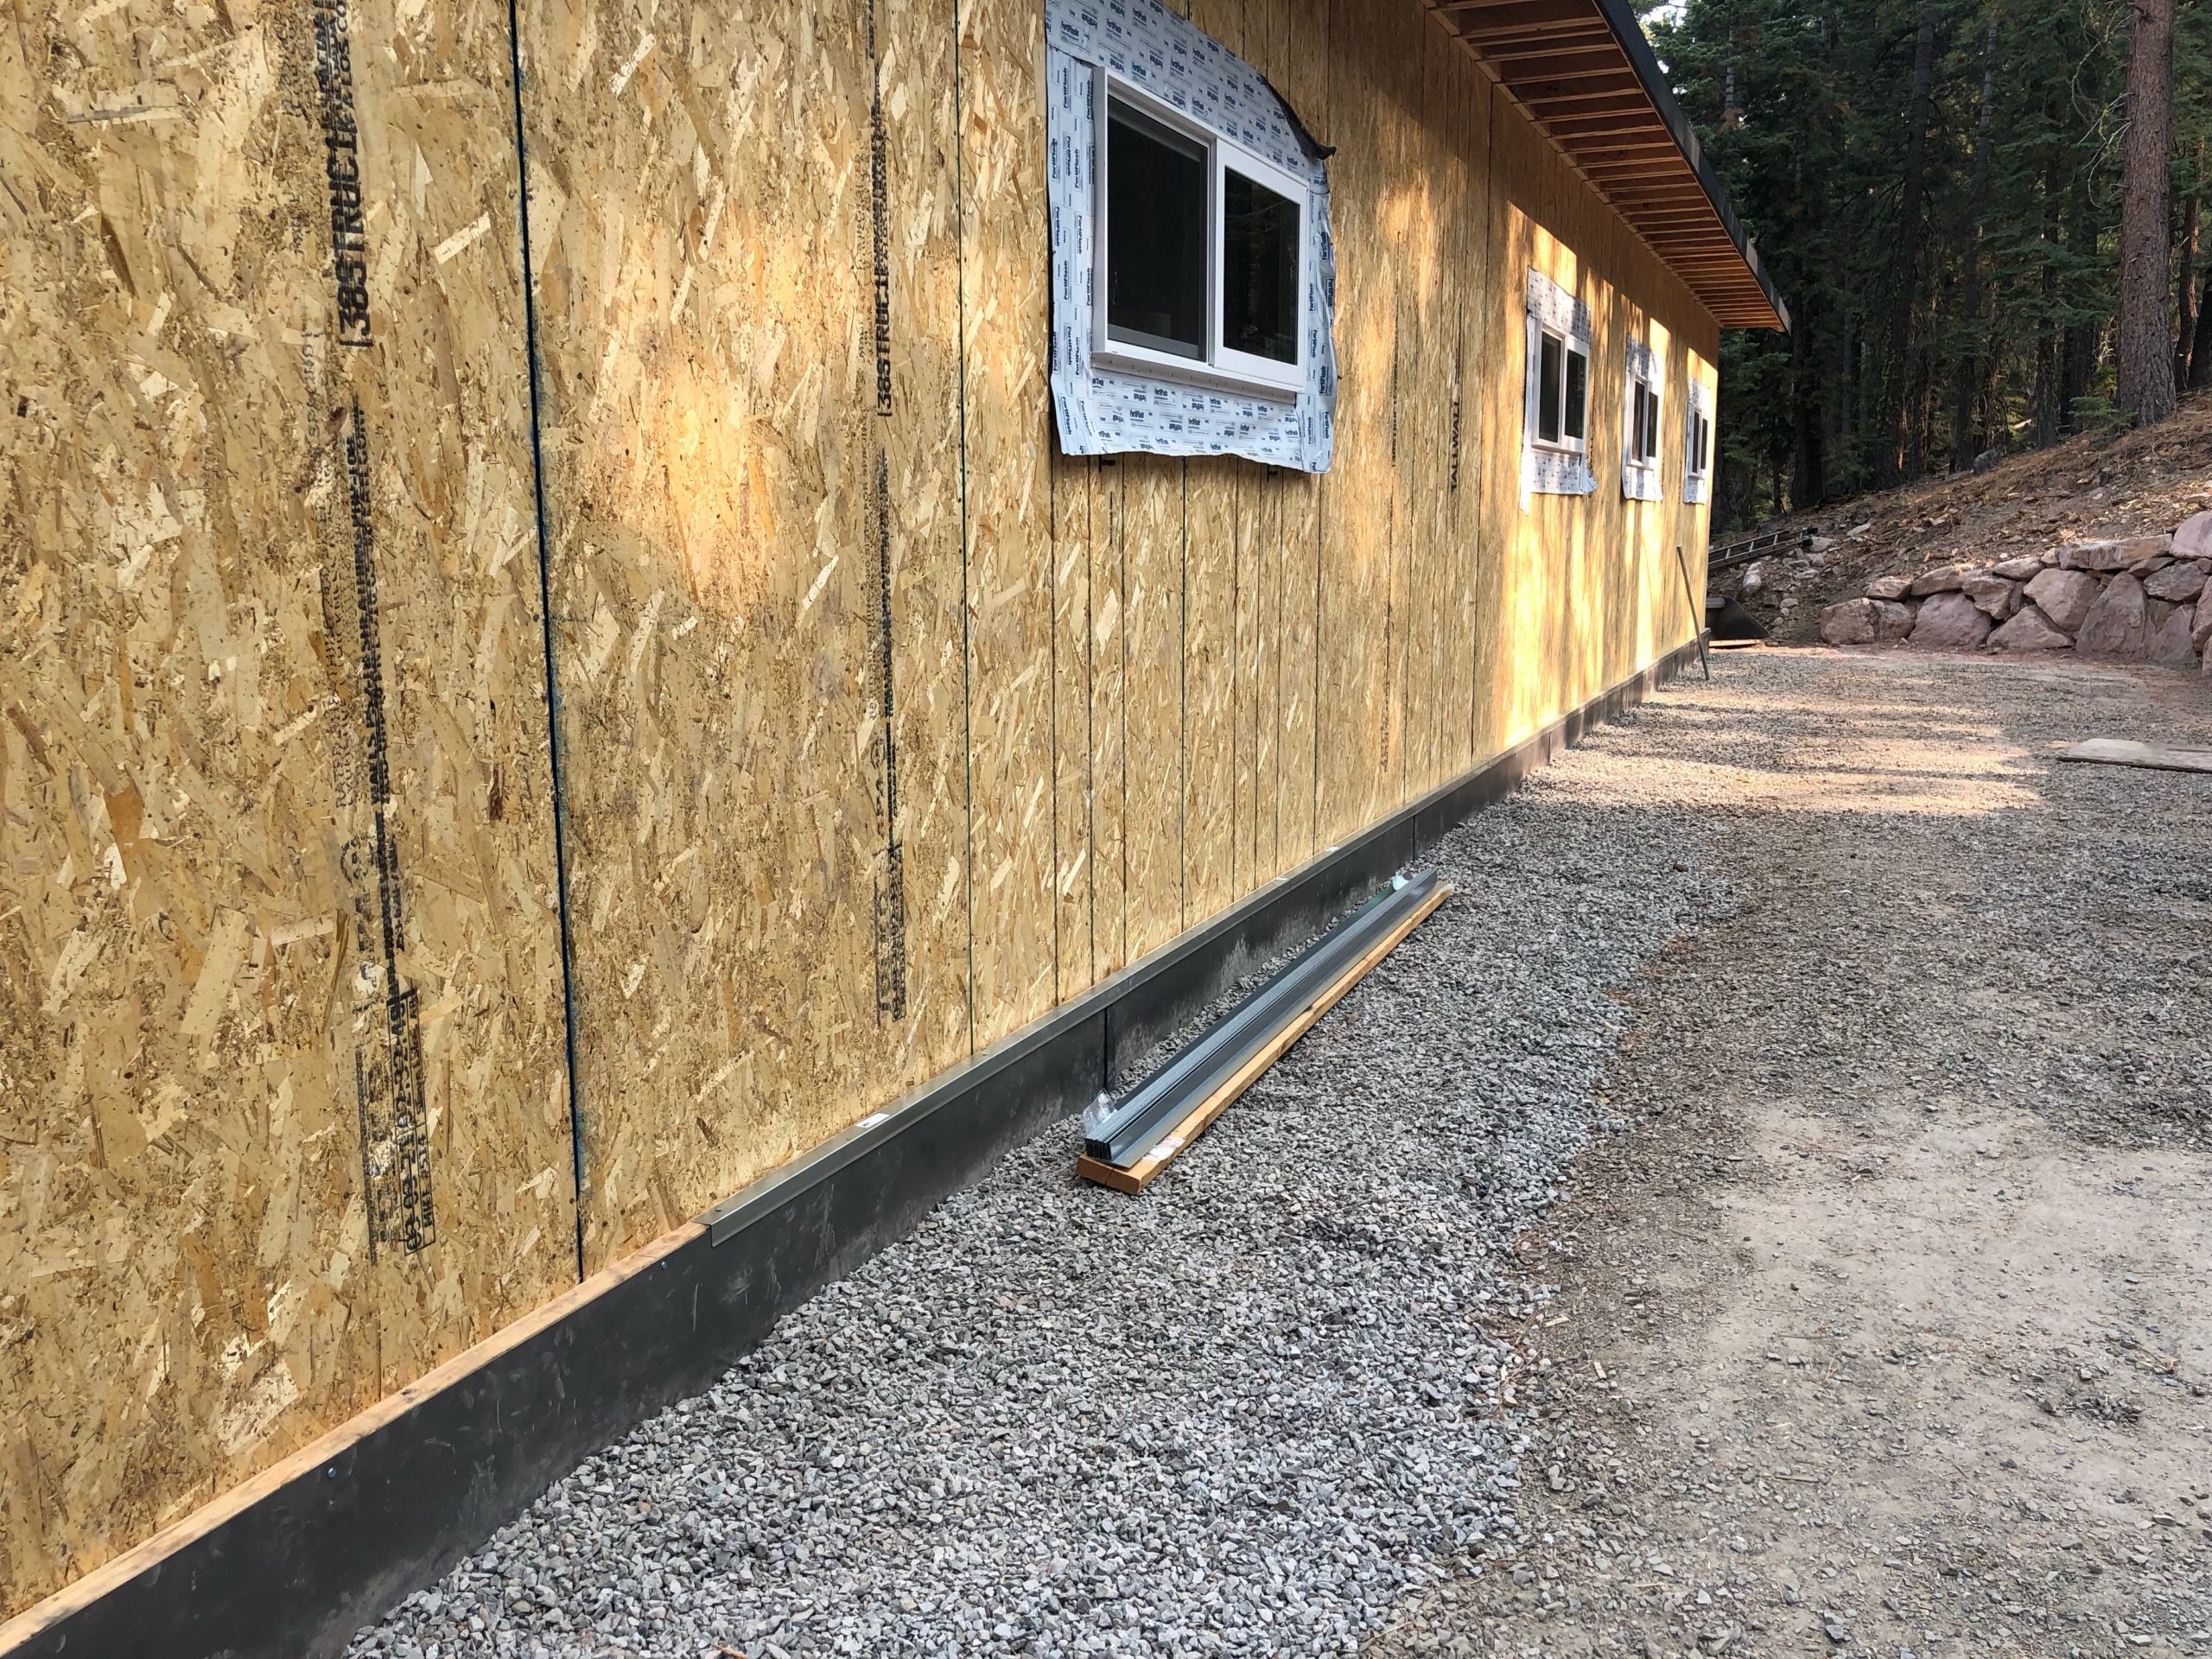
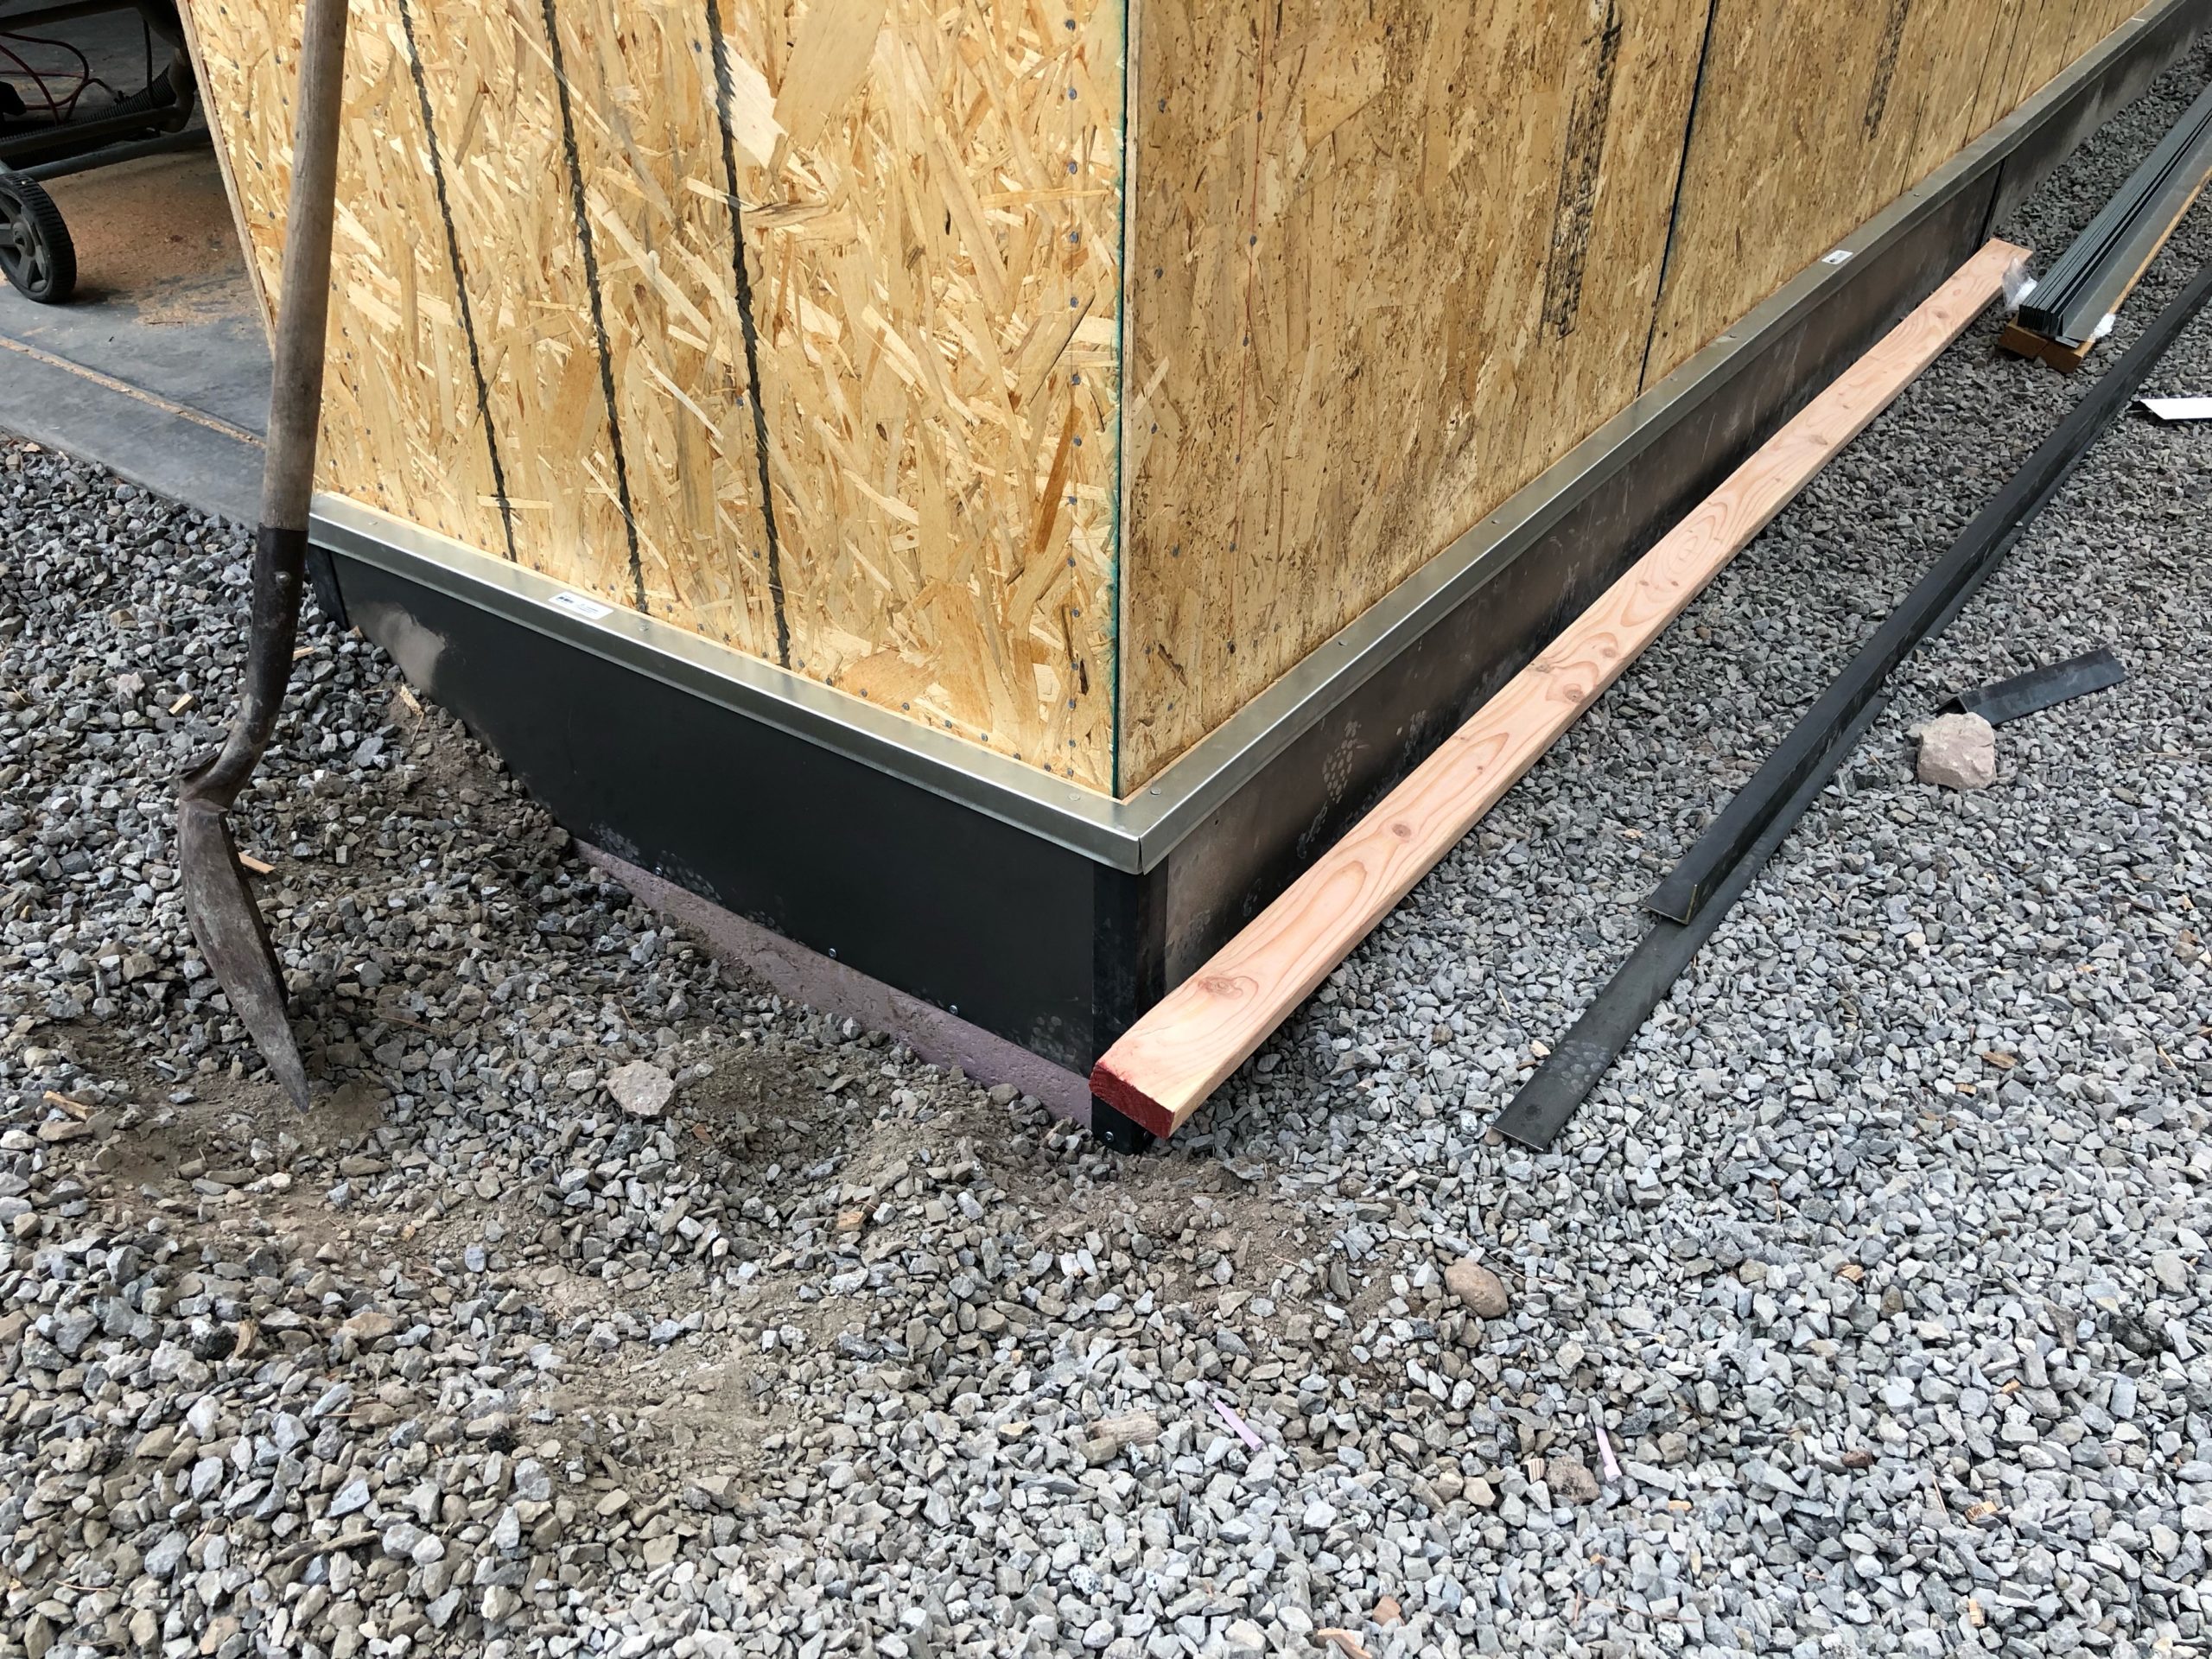
I added some simple roof flashing over the pieces to aid water flow; this proyle ofzbably wasn’t necessary due to the next steps I did, but I wanted to ensure I never had water issues. Snow will probably pile up on the sides, and I don’t want to have it slowly melt and flow into the wood. My plan was also to match the style of the main house, which had a 2x on top of the steel lower portion. I ripped a 2×4 to have the required angle based on the houses’s design, and ripped a trip edge on the bottom of that. I then pre-stained this piece, and screwed it on, as seen in the next photos. I had to put some flashing on top of this for water to properly flow off; I had to get this custom made from a sheet metal company in Reno.
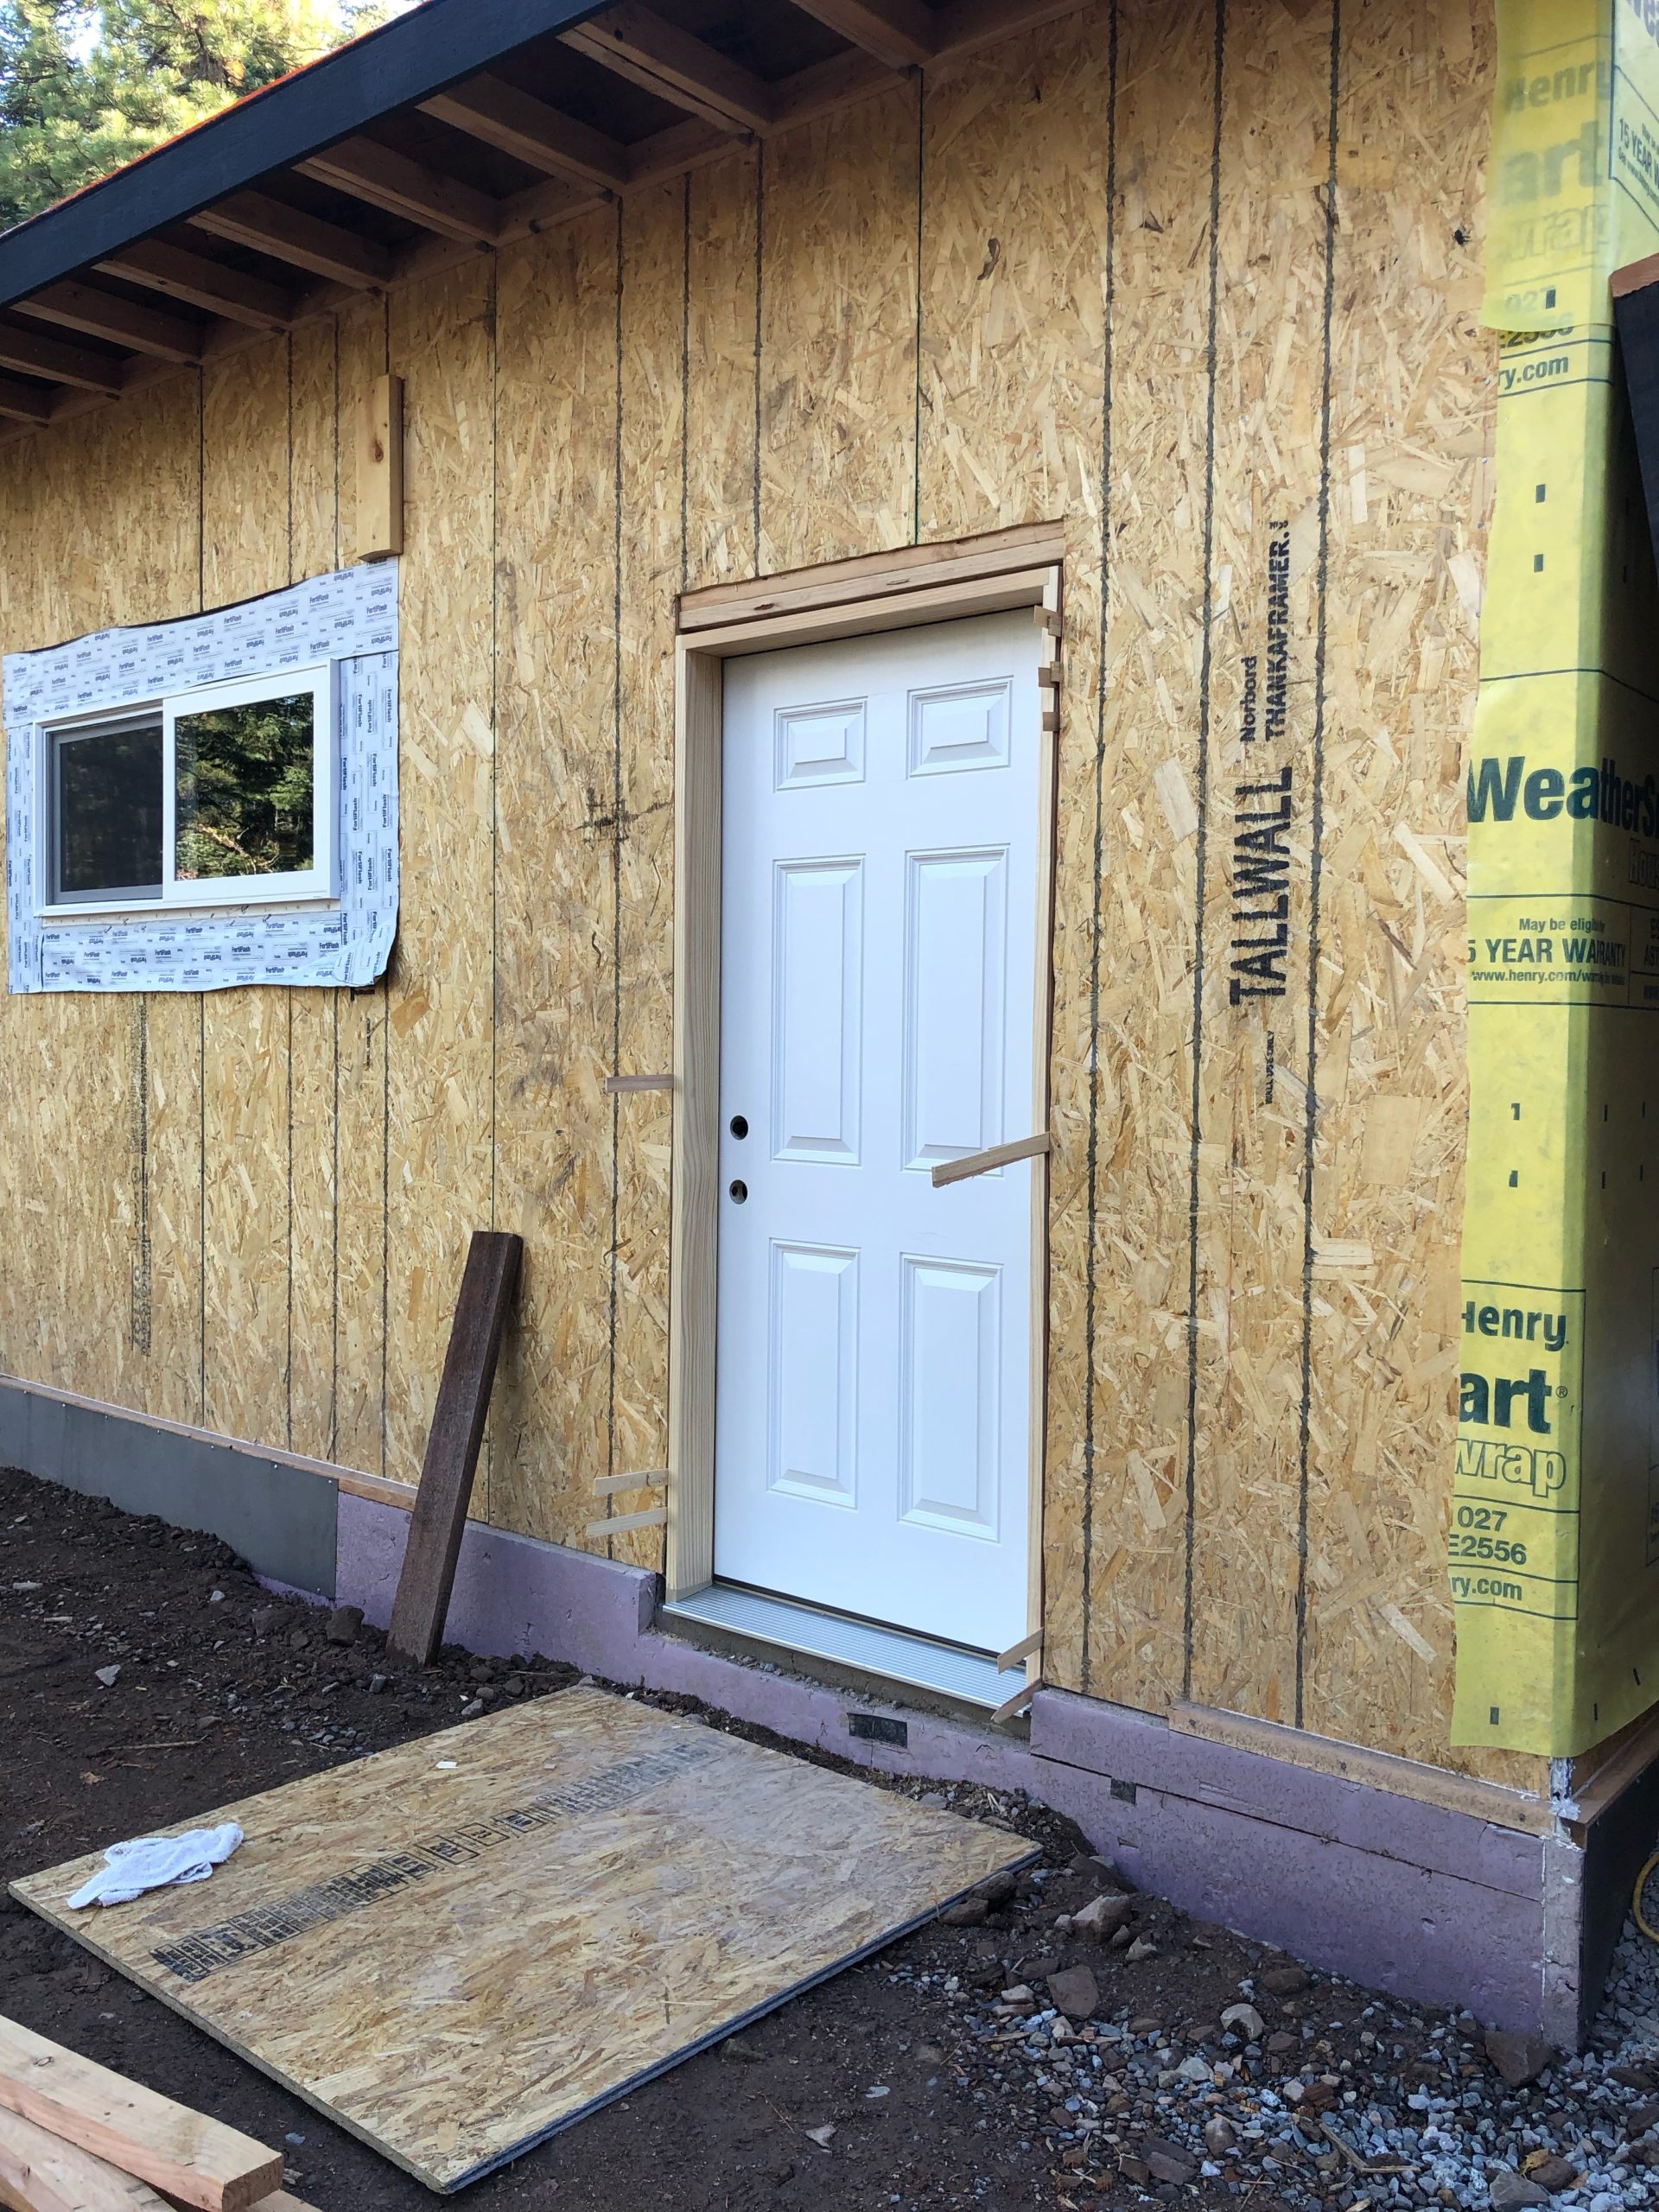
I opted to install the doors before doing the house wrap. Normally it is better to house wrap before doing the doors in order to wrap it around the inside of the door jamb. I needed to do the bottom wood detail right up to the door jamb, and this part had to be done before the house wrap. So, the next thing I did was to install the two exterior man doors. I could then do my exterior flashing around the doors; I ended up making a custom flashing piece with an improvised break and some soldering.

Once all the bottom was done I could then install the house wrap. This was something provided by Pacific Modern Homes in my wood package kit; normally you’d see tyvek brand stuff, which I probably would have preferred to use as it seem like a better product than the Henry WeatherSmart housewrap. A few years back one would install house wrap by stapling it on. Today the manufacture recommendation is to use a special tool that shoots on plastic round staple holding things; they are better because they distribute the force over a larger area and don’t allow it to as easily rip, and they seal really well. However, I didn’t want to buy yet-another-custom-tool so I opted to staple it on. This is also okay, but they now recommend putting house wrap tape over each staple. So, I did that, and it took a long time.
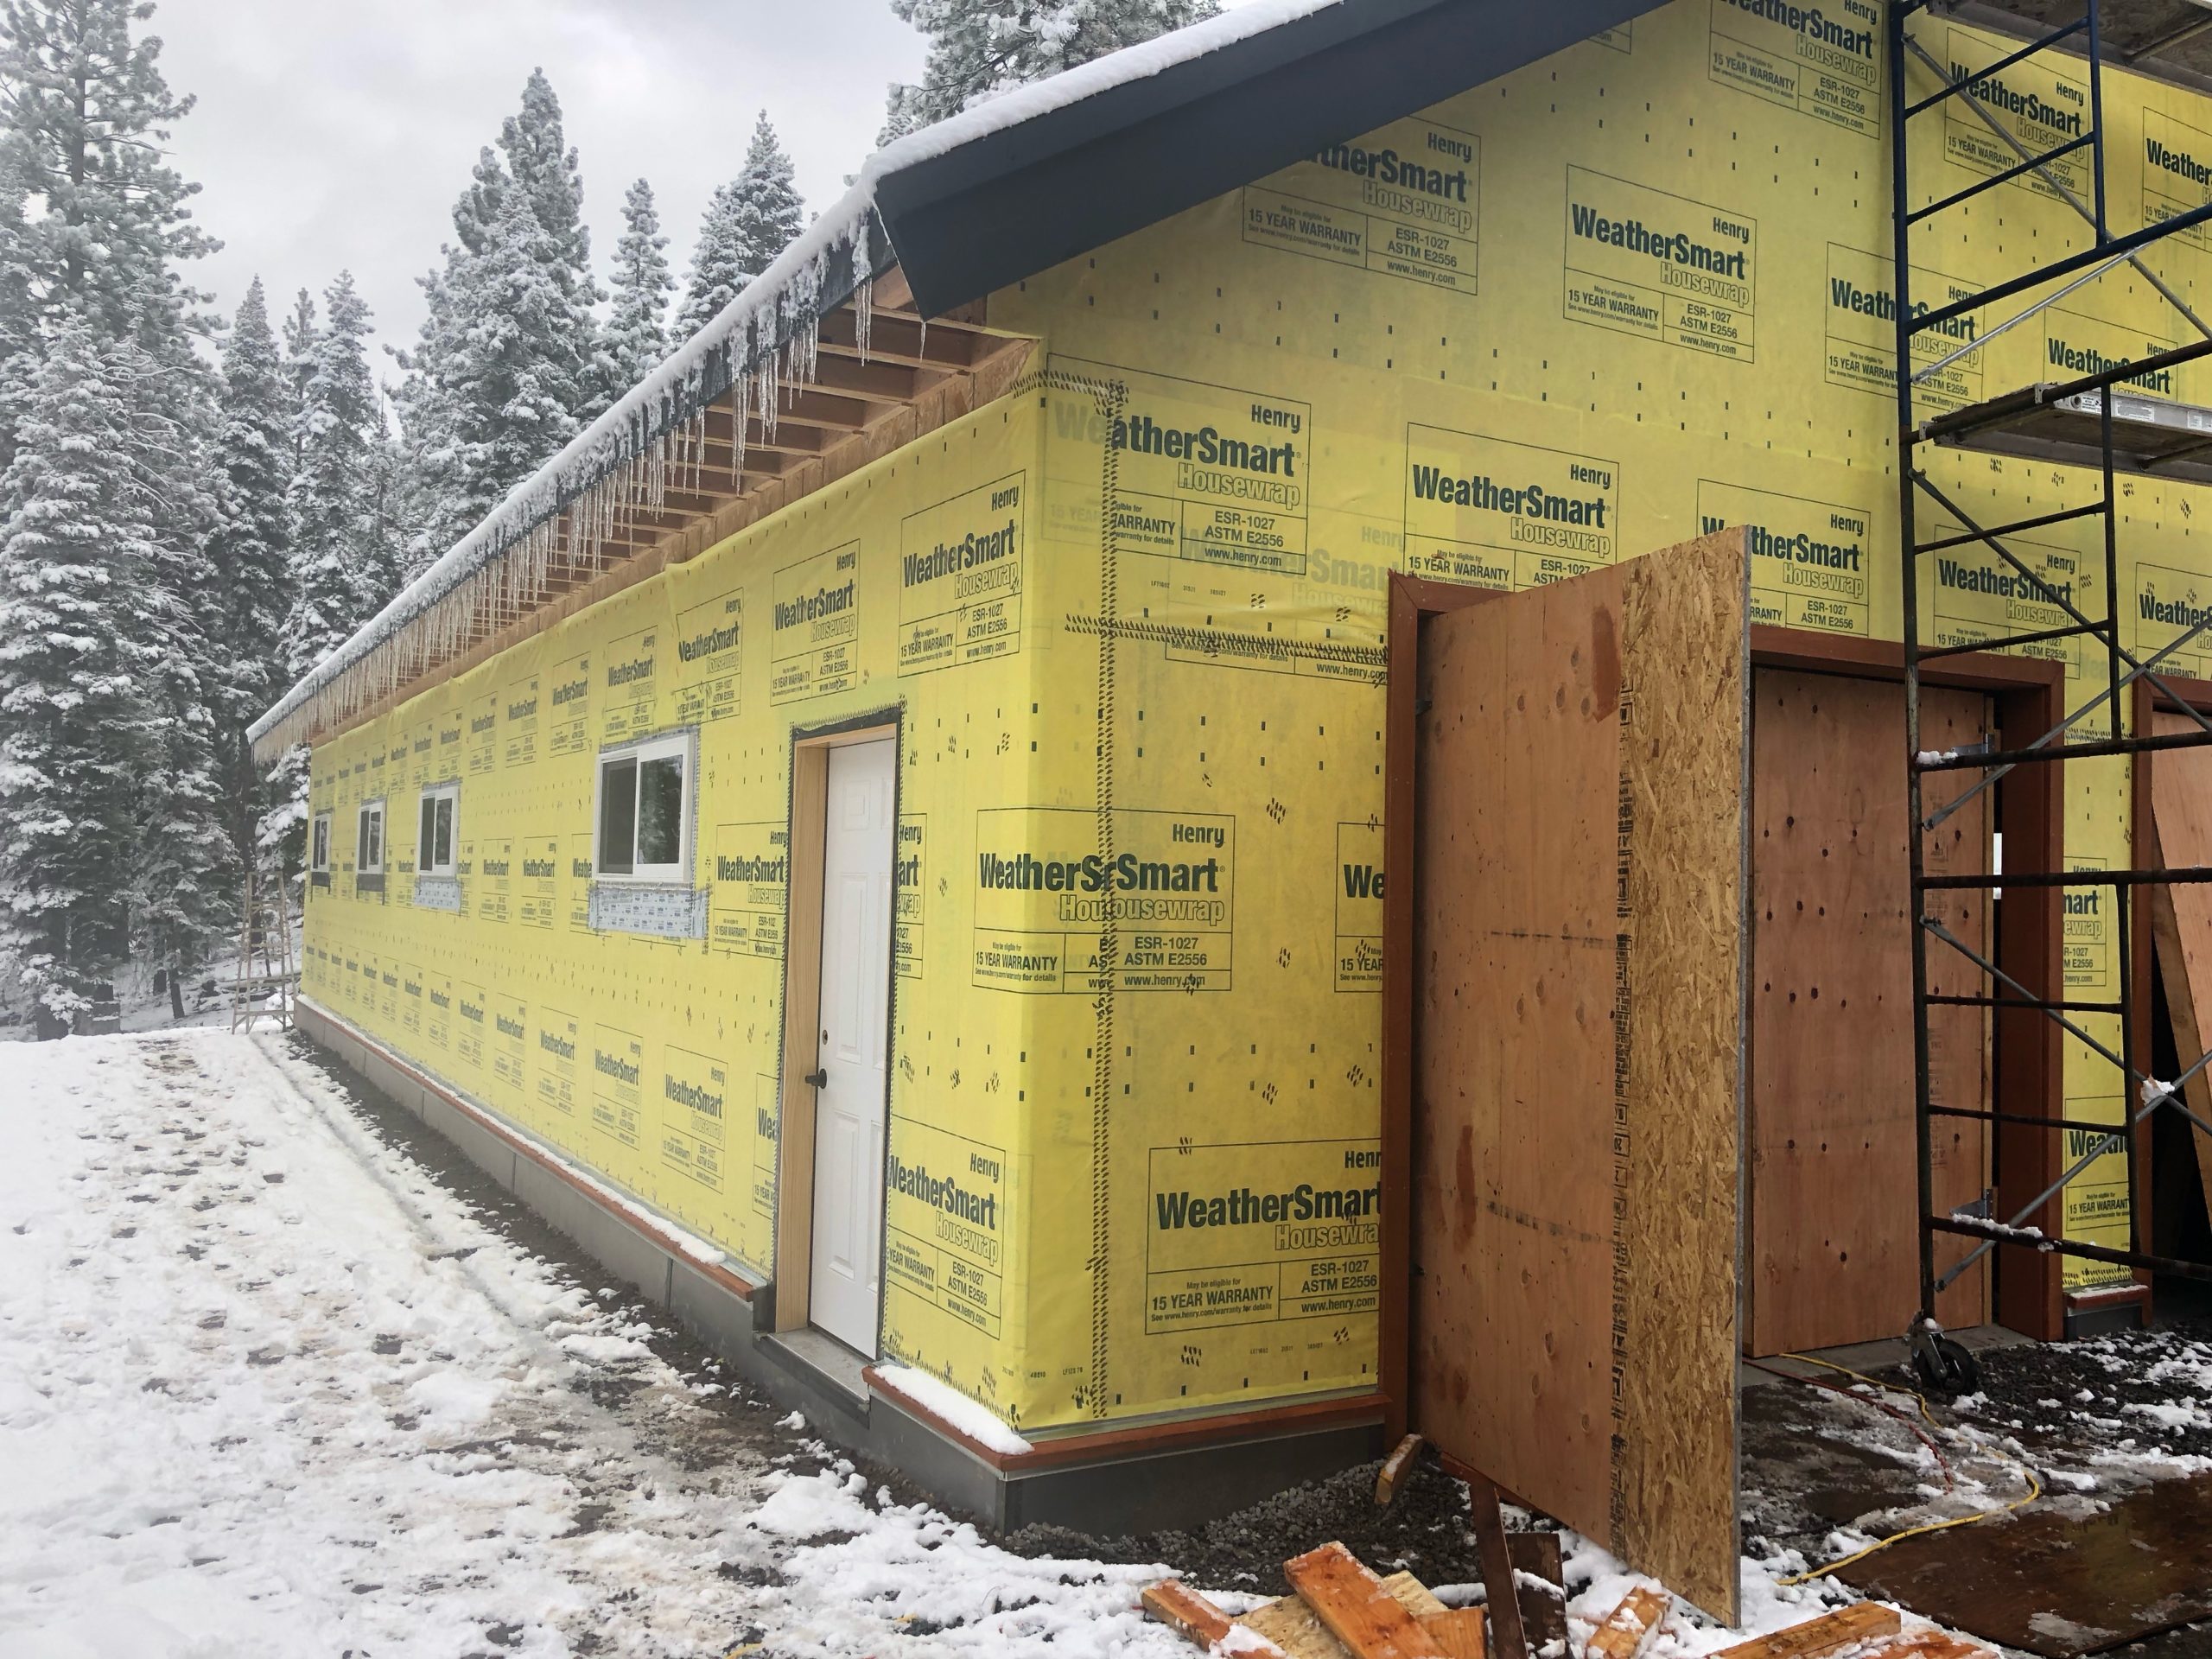
Oh yeah, we also got a bunch of snow! About two feet dumped down early season mid-October. Luckily the roofers came and installed the plastic ice shield on the roof, so it no longer would leak any water.


Thanks for sharing all the details of your build — it’s been fun and educational to read along!
[…] the next step was to get it sealed for winter. Check out the previous post where I did that work: Wrapping the Workshop. The roofers came and put on the roof underlayment; an ice and water shield that can be a temporary […]