Spalted Oak Wood River Placemats
First, some photos, because these things are really cool.
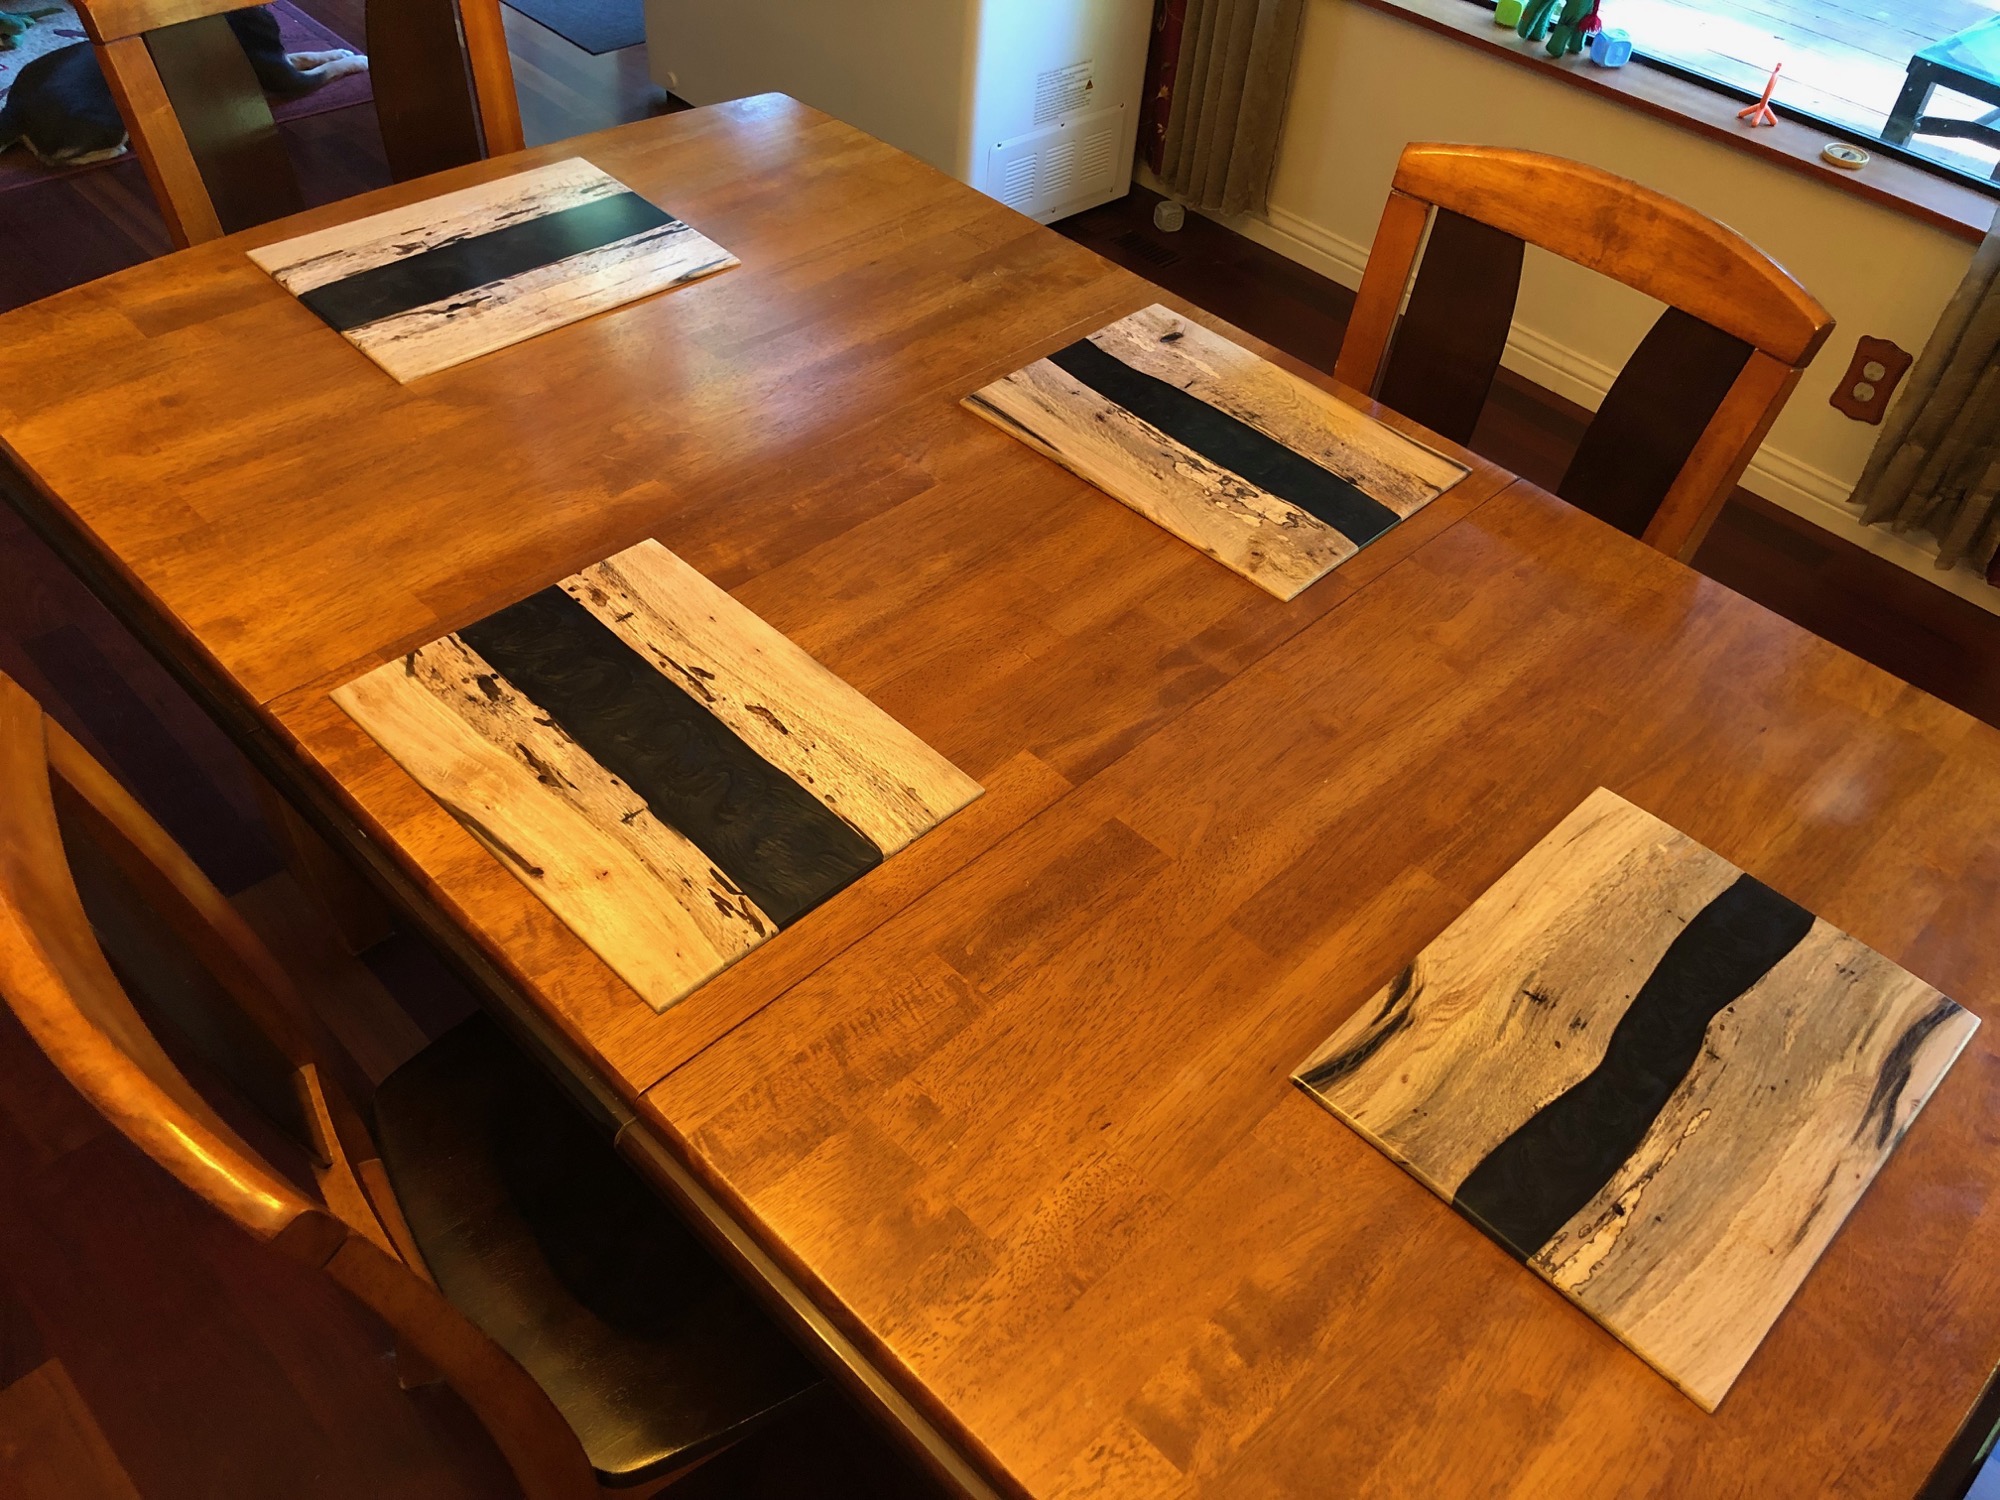
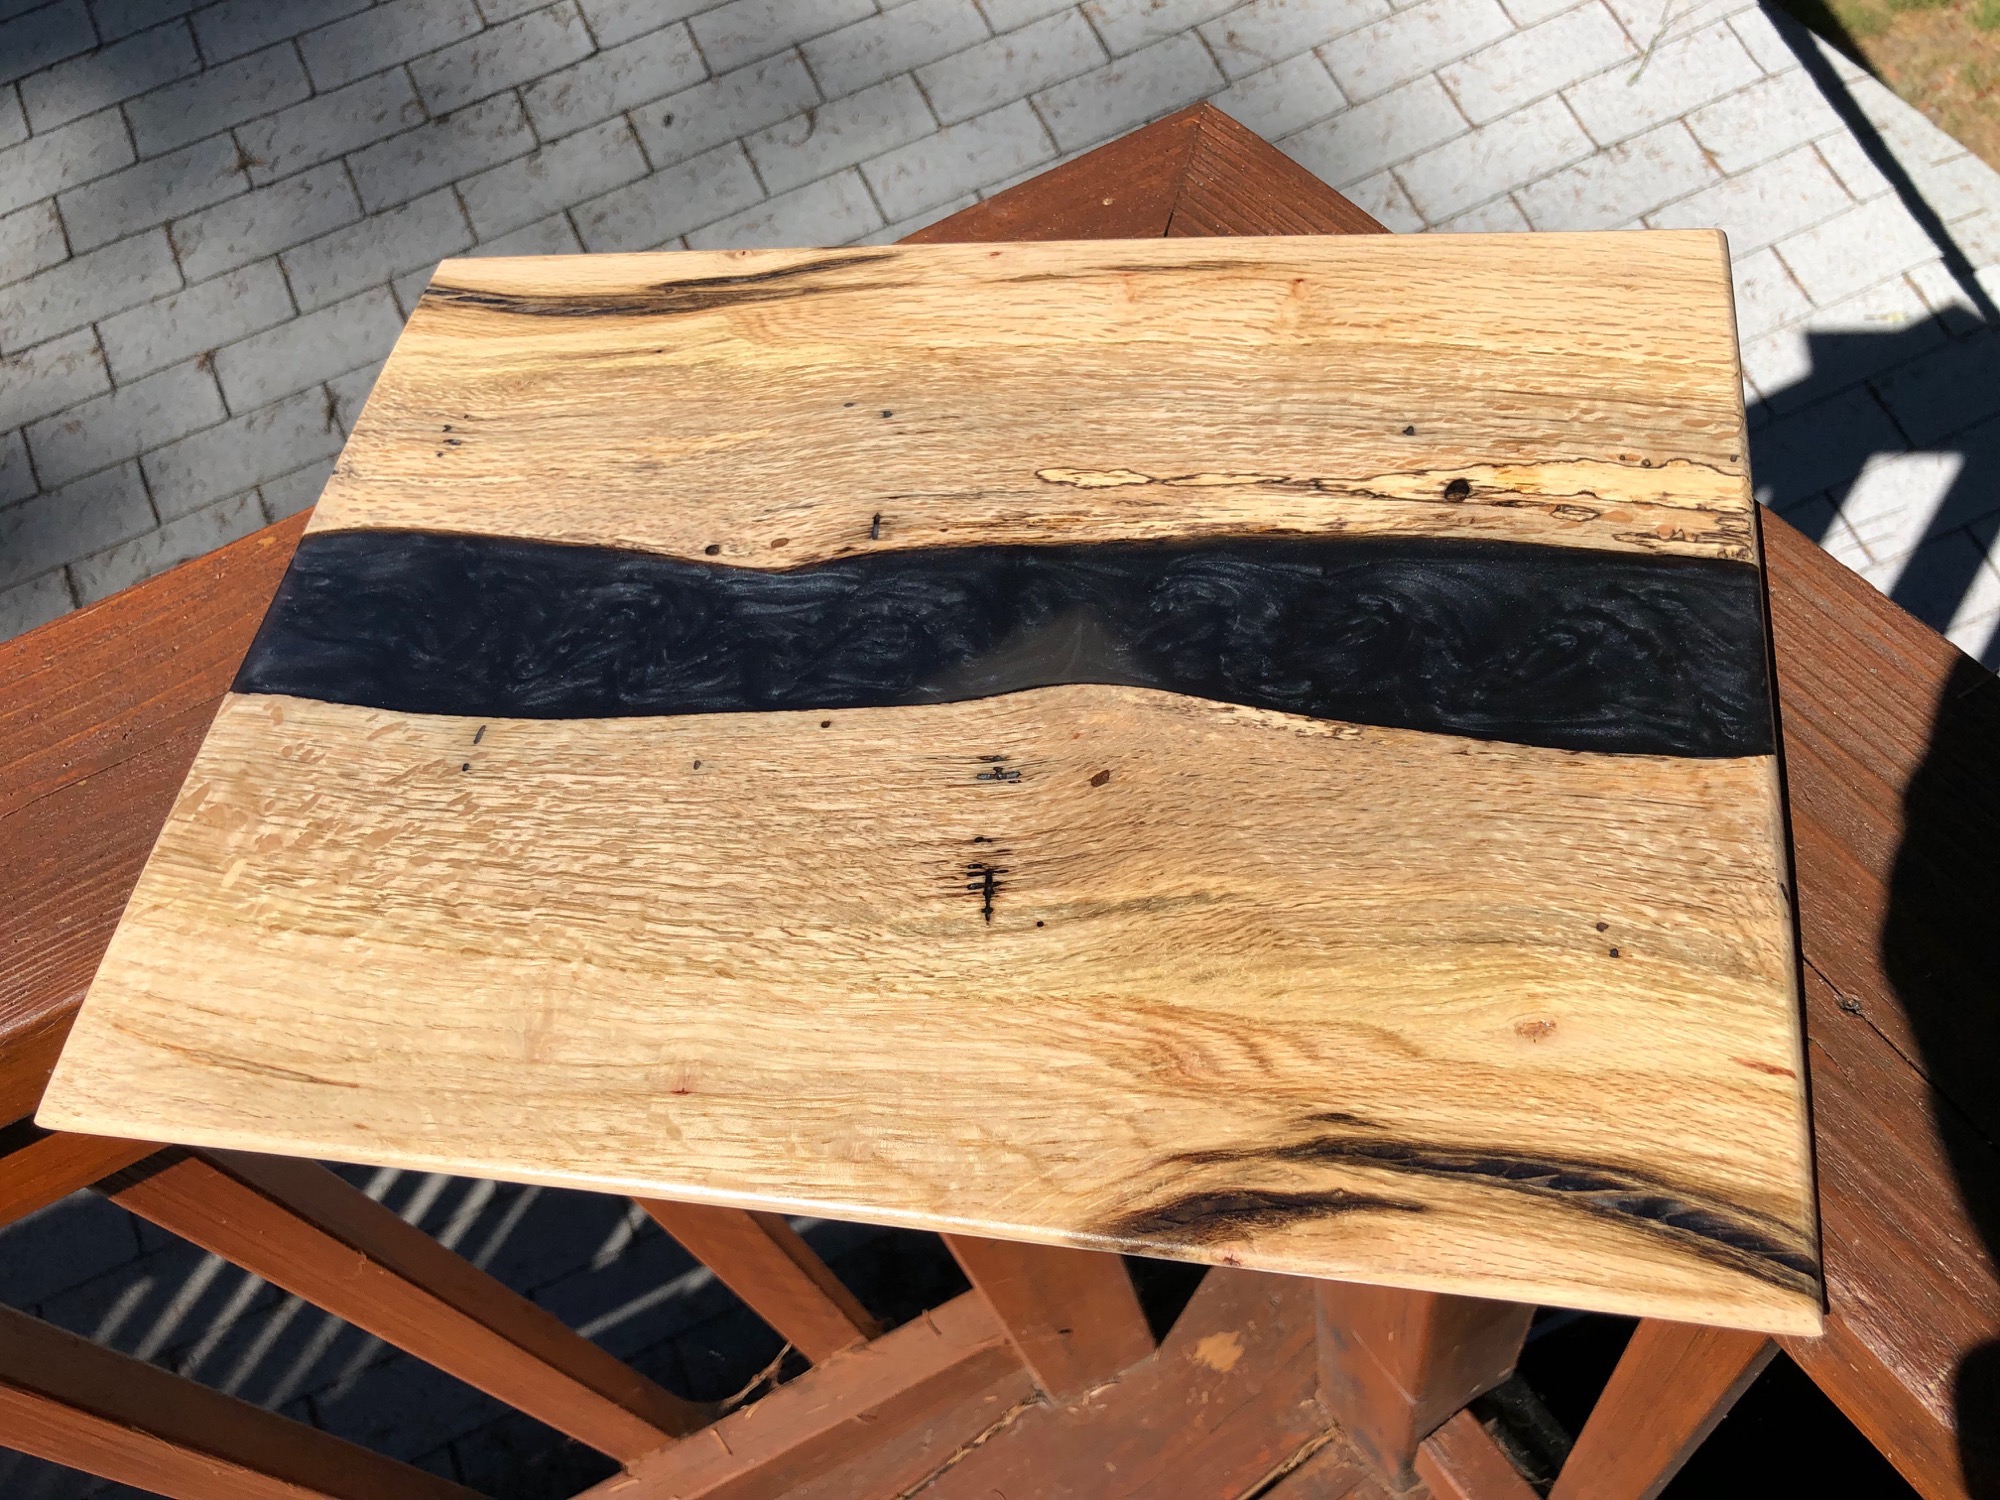
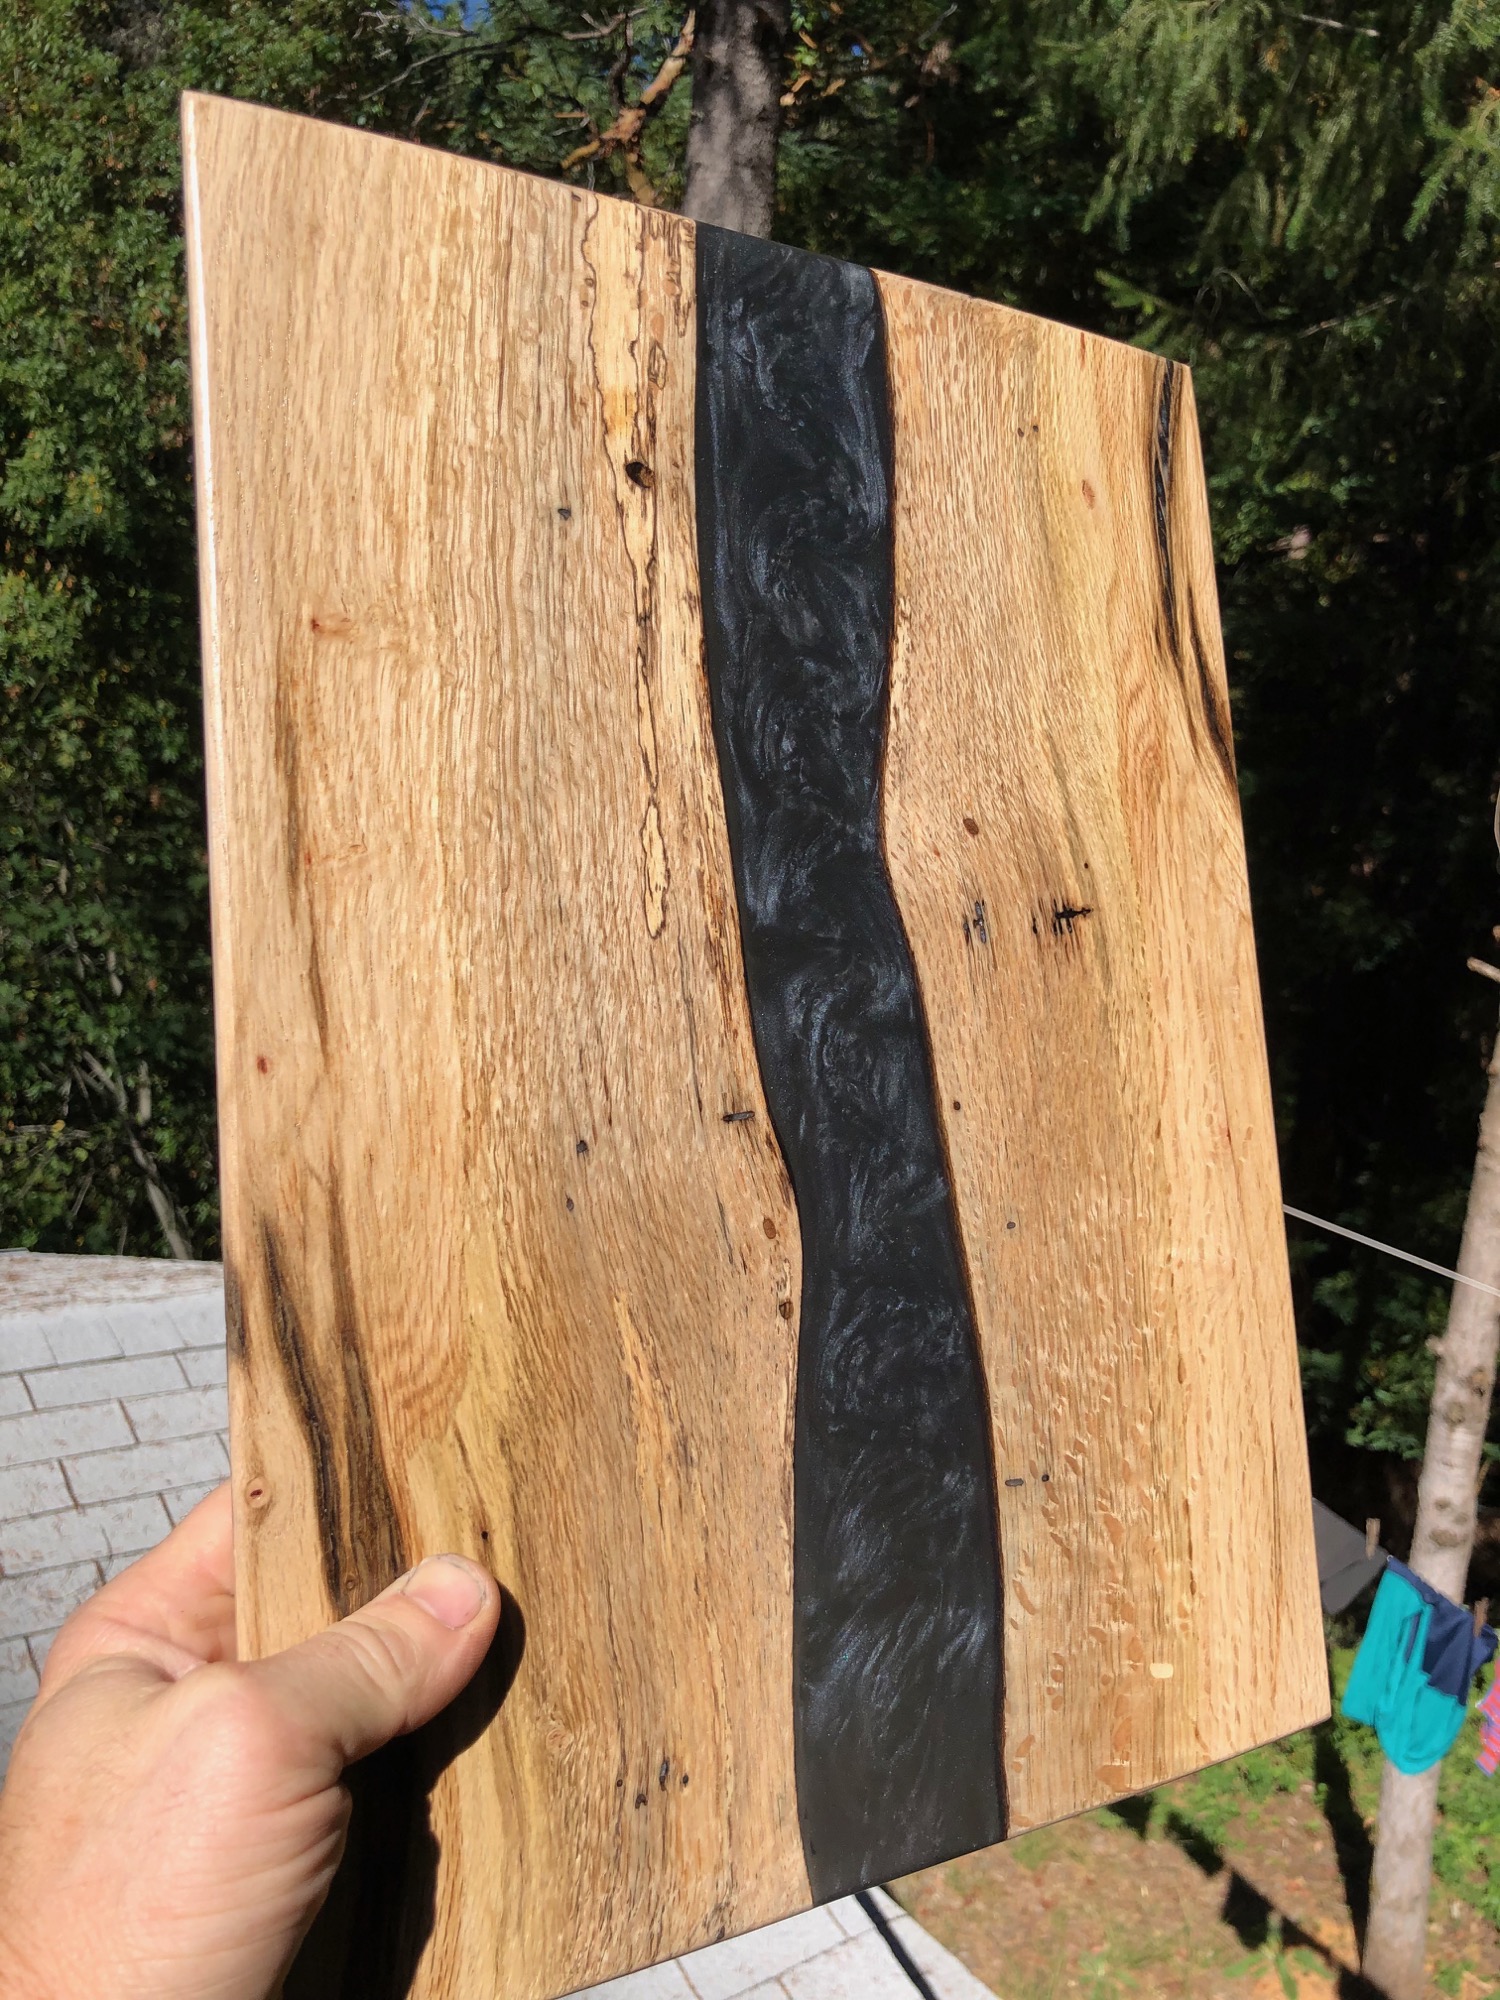
I made these by taking a piece of wide (~1”) spalted oak from my property and re-sawing it in half on my band saw. I have a Grizzly 14” bandsaw, and I was never too impressed with it. It always seemed underpowered and slipped a lot. I realized that this was partially due to my setup; the belt tension had loosed a huge amount, and tightening it up made it work a lot better. Still, my sawing on it was leaving stuff burned. I decided to invest in a “good” blade dedicated to re-sawing. I purchased this blade: Timber Wolf Bandsaw Blade 3/4″ x 93-1/2″, 3 TPI. At $40 it was more expensive than most blades I was buying, but I seemed to be going through them too quickly. This blade is awesome; it resewed like a champ.
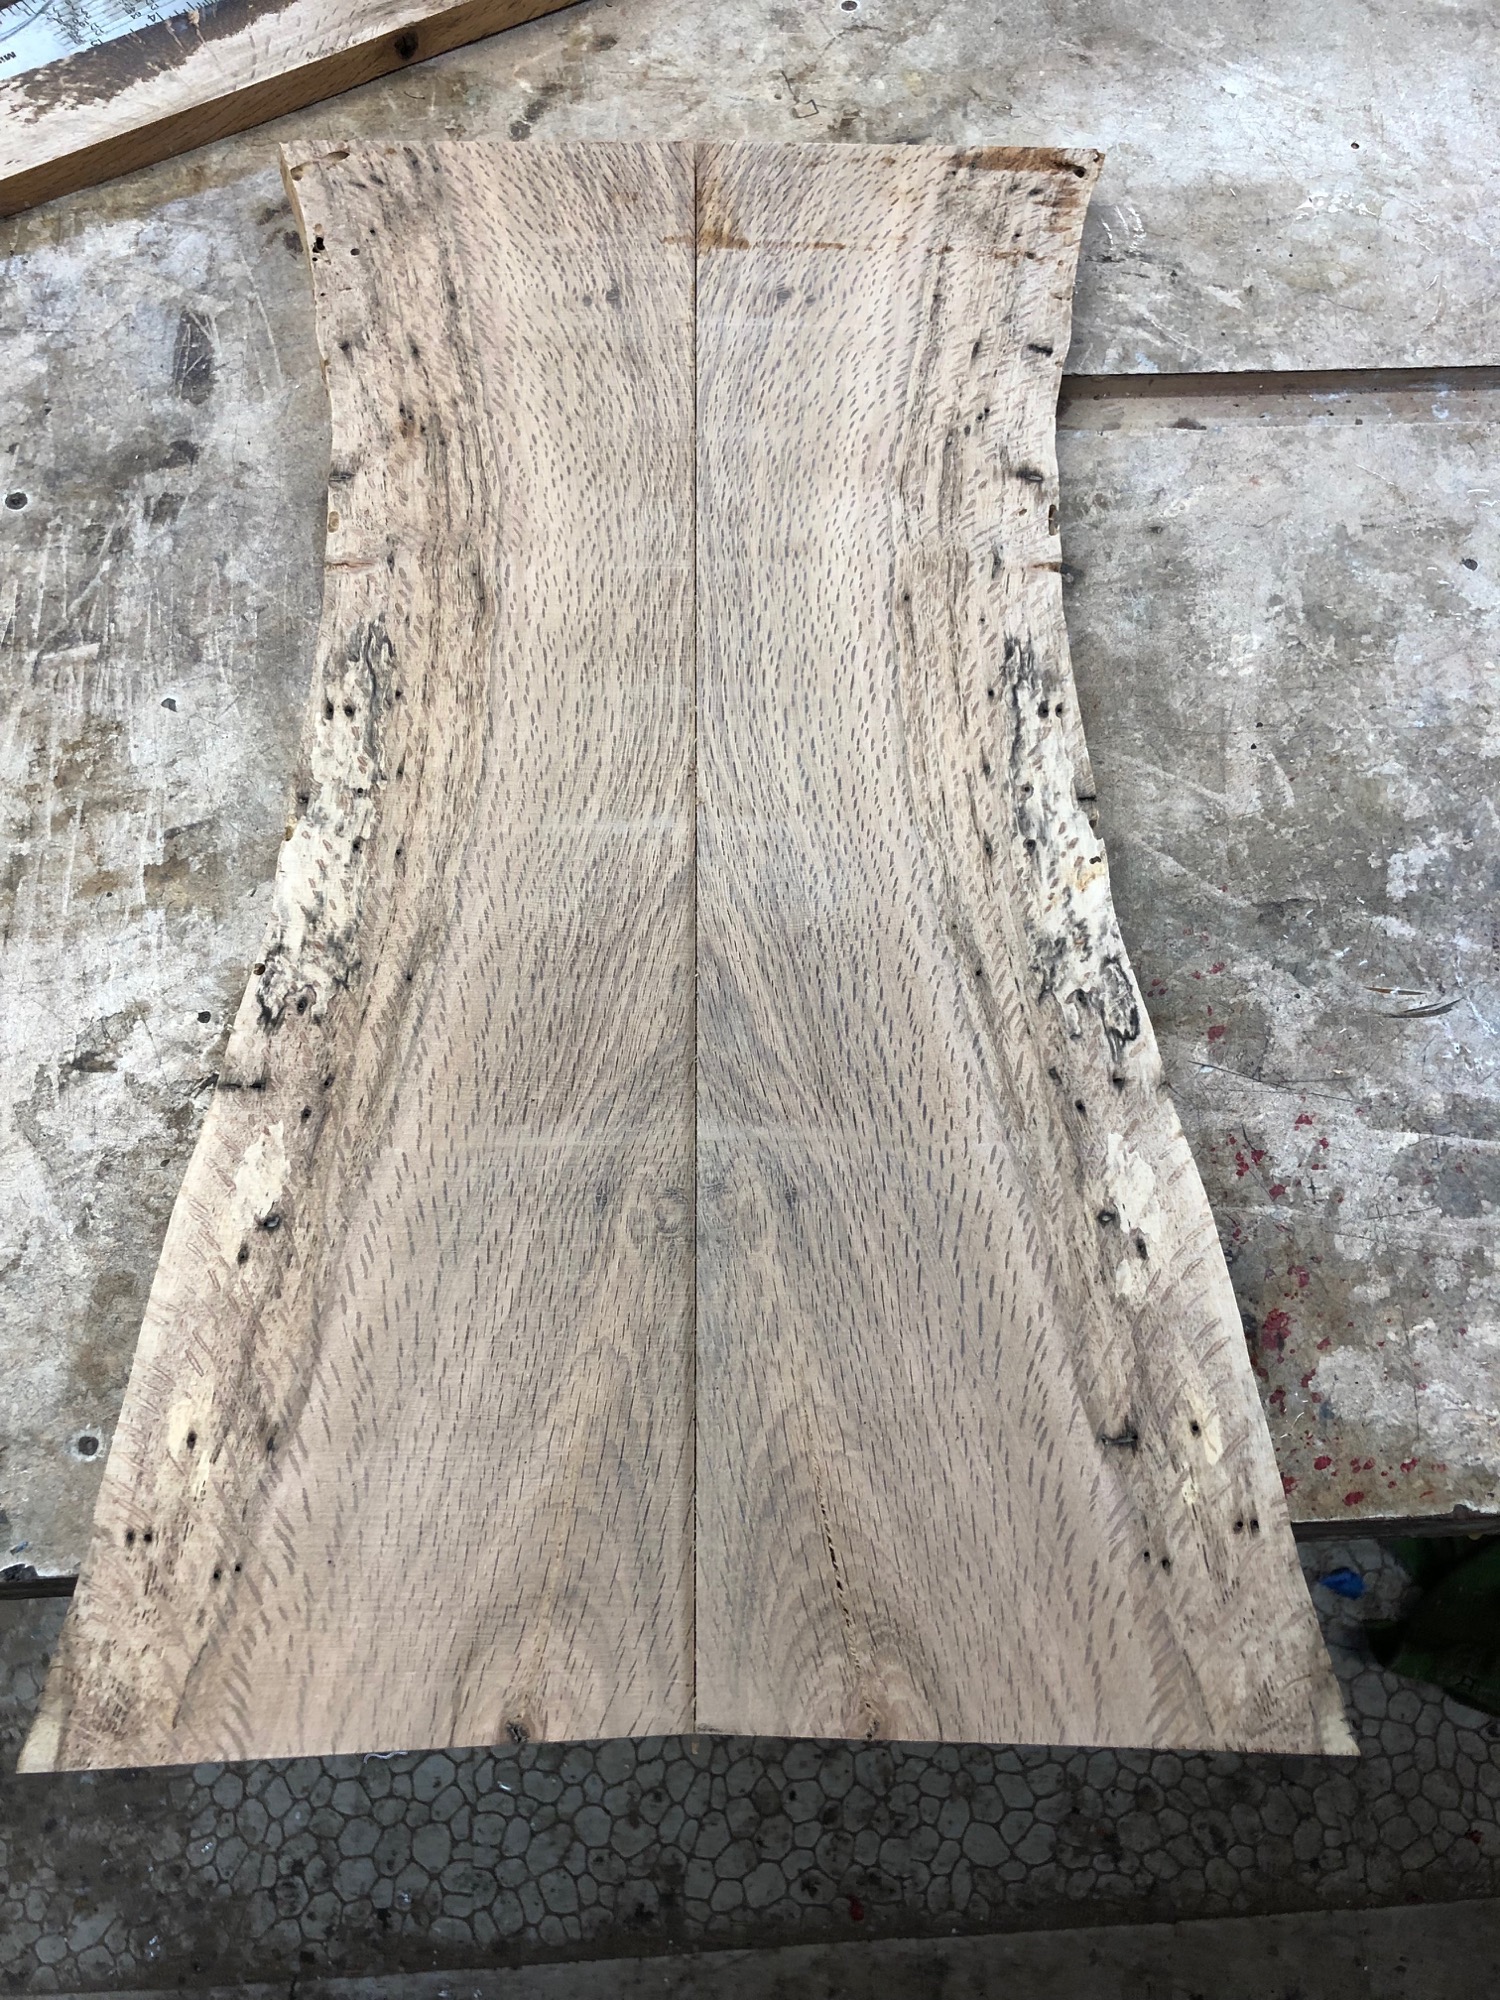
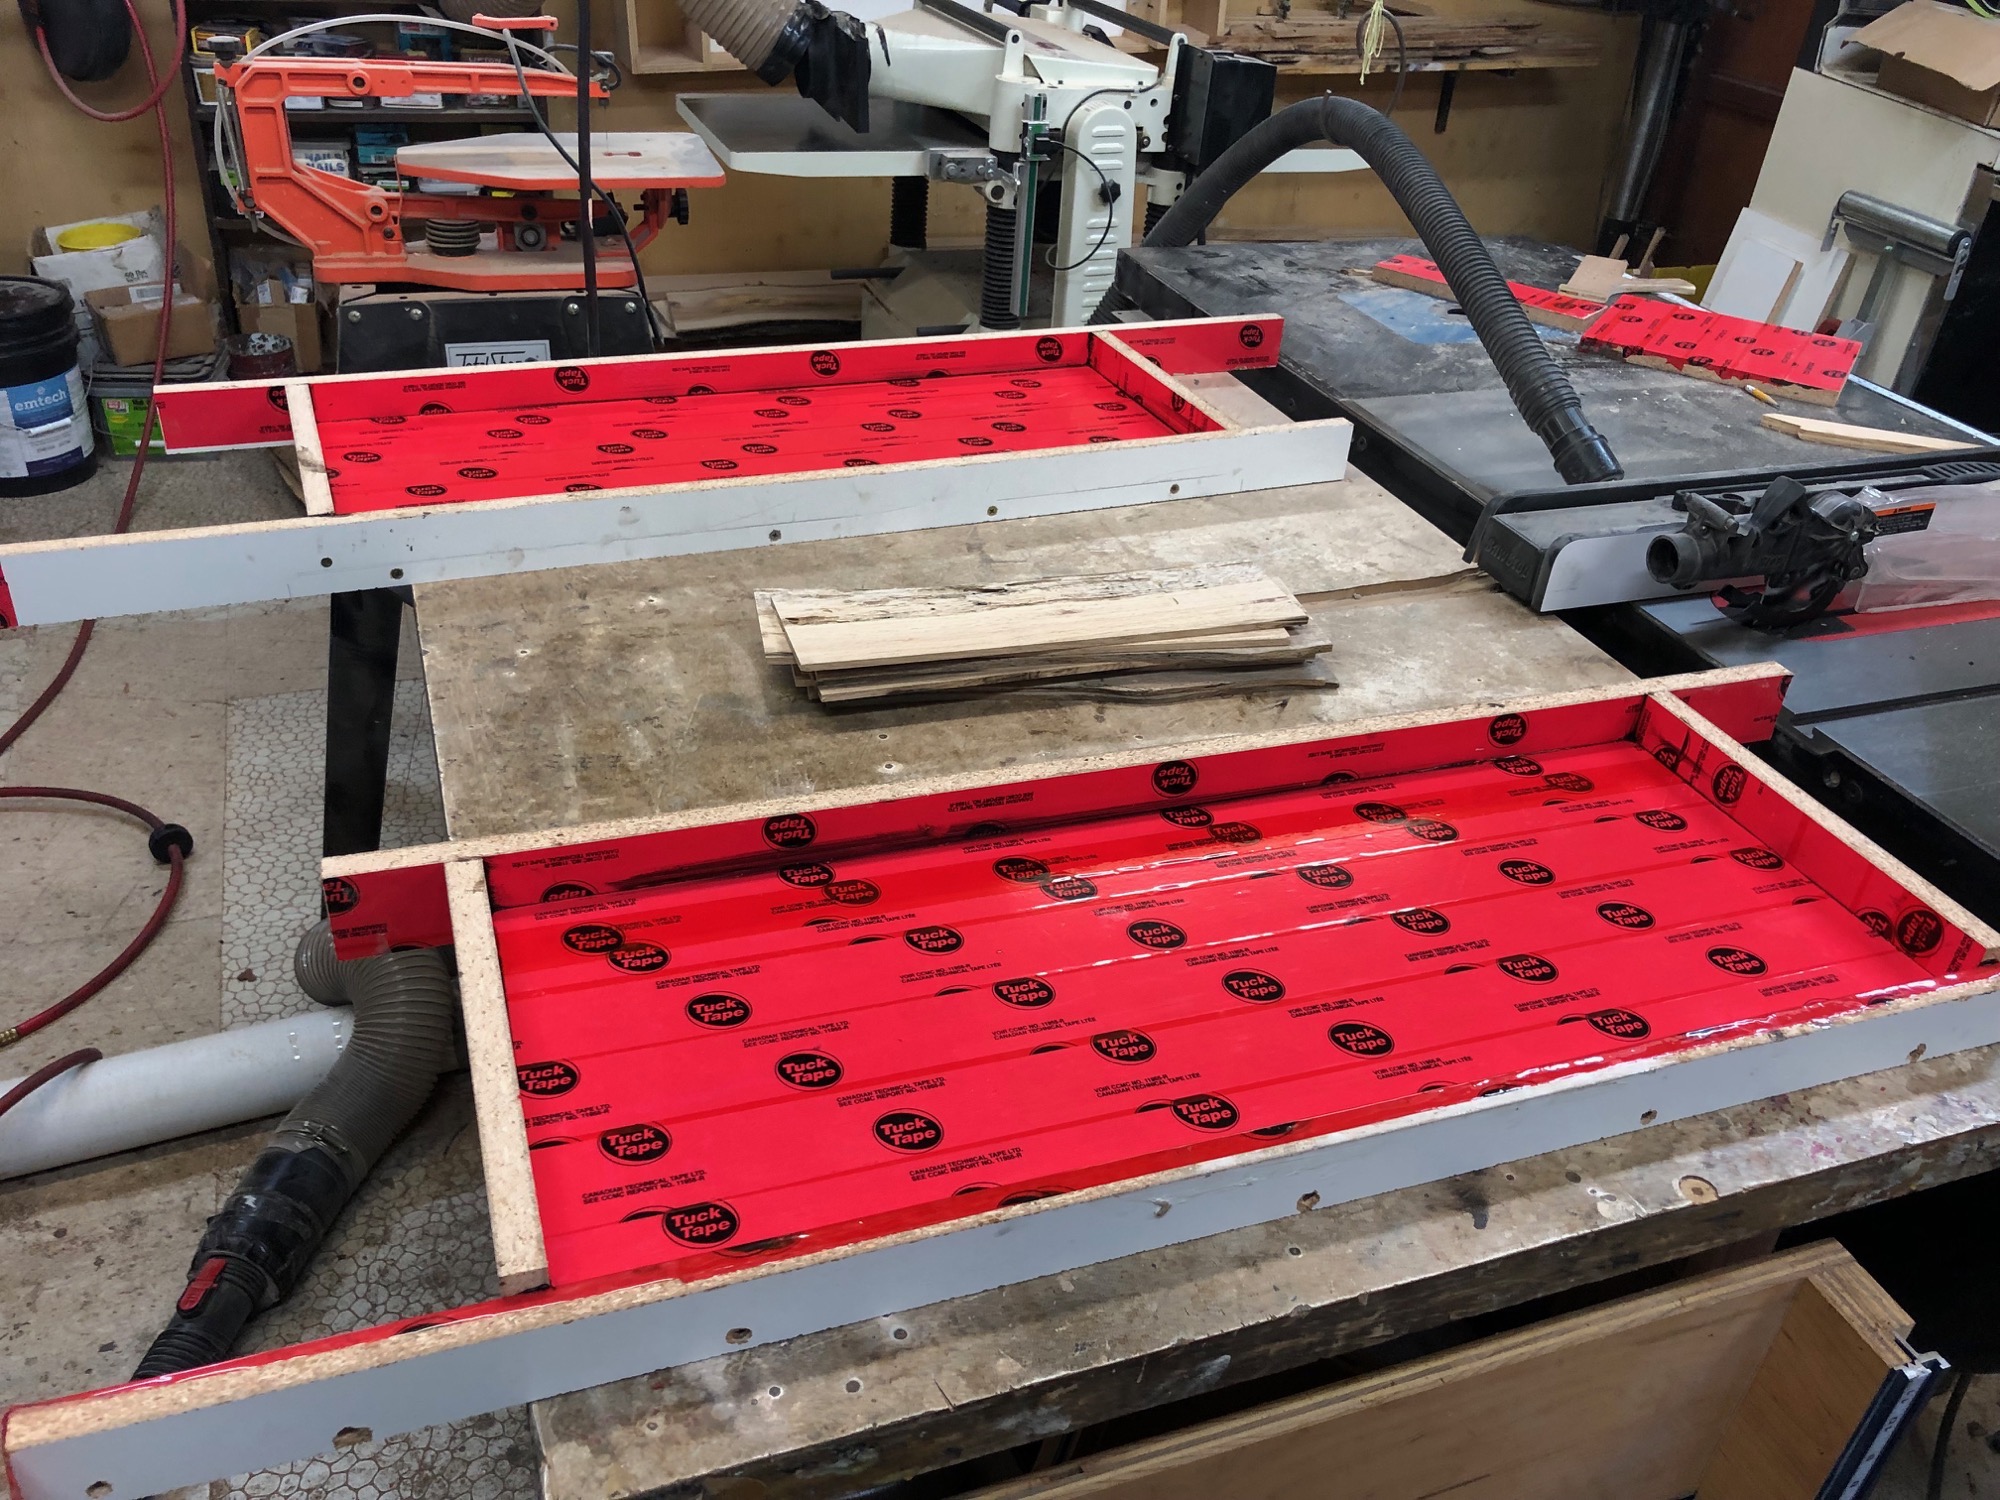
After I re-sawed them, I ran them through my planer until they were 1/4” thick. I have been doing a lot of epoxy pours lately, and I have the process pretty much dialed down on setting up a mold. I’ve been using melamine, simply because I have it around, but any flat plywood (or MDF) would work fine for this process. You have to cover it in some type of slick tape. I’ve been using “Tuck Tape”, but another house wrap tape such as “Tyvek tape” will work fine too. I also have used regular clear packing tape. I’ll probably do some research as to what is cheapest and use it from then on. The advantage of the colored house wrap tapes is that you can see any nicks or tears.
The height of the sides doesn’t matter for epoxy pours. It just has to be a bit higher than your desired fill area. For concrete countertop the height is incredibly important, because you have to screed across the top and make it level. But for epoxy, it doesn’t matter.
I put some silicon sealant in between the seams (usually black, because it shows up easier), and then screw on the sides to the base. The base is cut to the exact size of what I want to pour. The sides have some pre-drilled holes, and I re-use my screws (1 1/4” works best for 3/4” plywood). I wipe off excess silicon after I squish together the sides, and don’t worry too much about it all being perfectly flat; the epoxy will have to be sanded smooth after you pull it out of the mold.
I’ve started using some quick setting epoxy to seal the edges. I use “Stone Coat Countertop Quick Coat”. I rub some underneath the bottom of the piece and on the edges, and then clamp it down in the mold, as seen below:
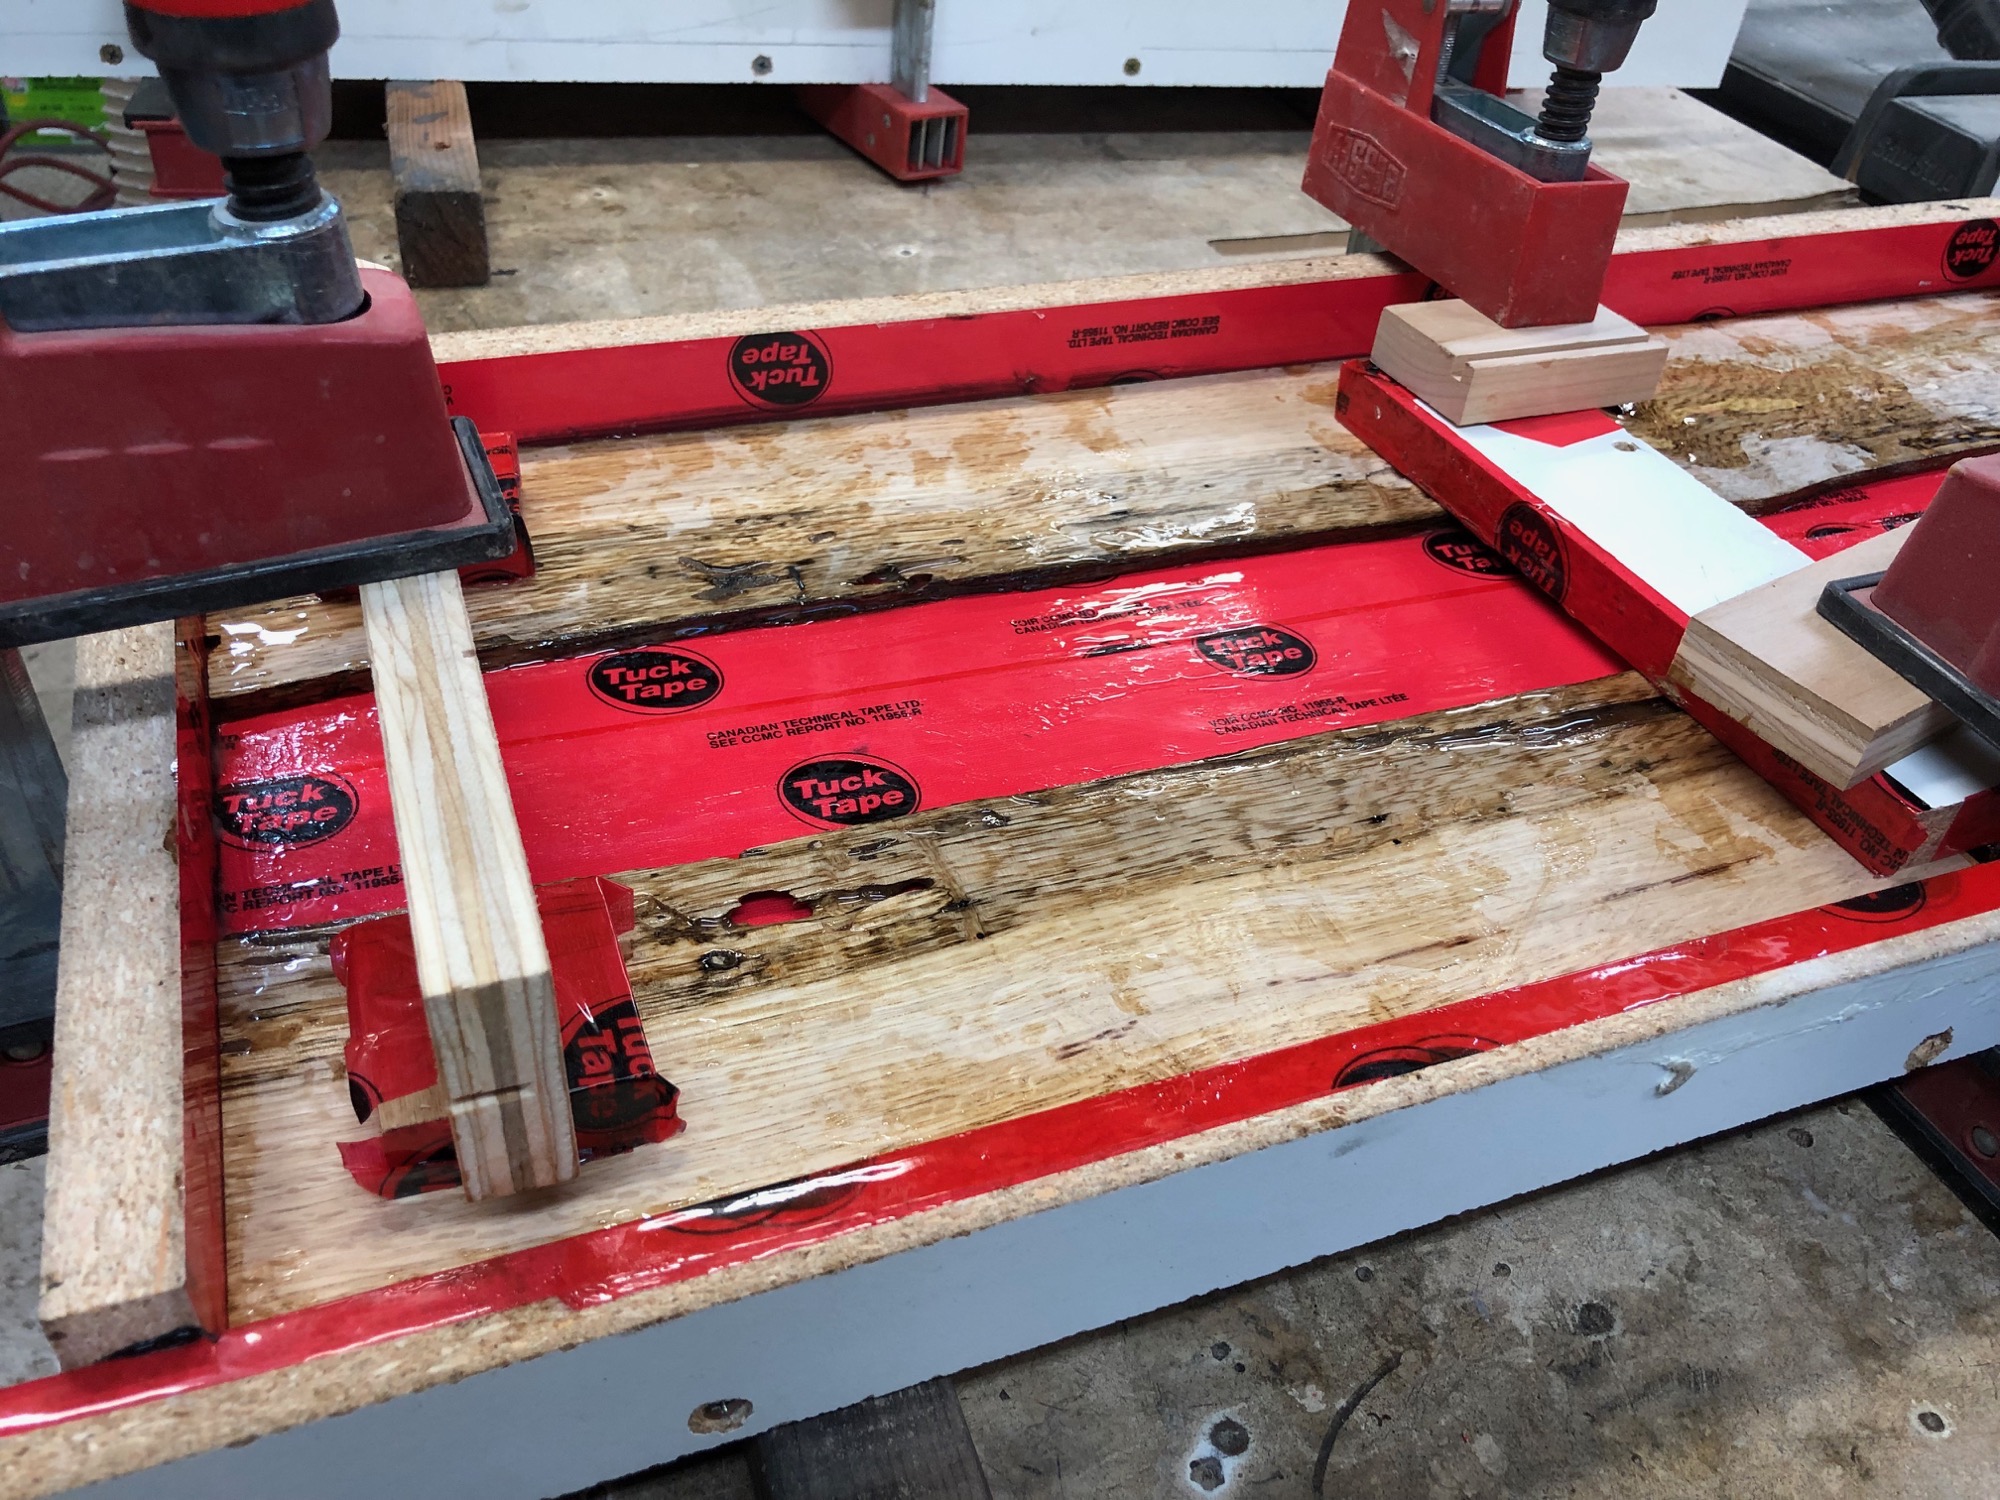
You need to seal the edges of wood, otherwise the main pour will have bubbled of air that escape from the wood and end up in the epoxy. Small pours like this are less likely to have an issue, but I still think it is a good idea to seal it. I seal underneath it because it effectively glues down the pieces to the mold. If you don’t do this, the pieces will float up when you pour the main section. Alternatively, you could just use the clamps during the main pour, but they tend to interrupt the flow process.
For the main pour, I used the casting epoxy (up to 1”) and added some black mica powder. The casting epoxy is really slow to cure, which allows the air bubbles to escape. It is also a little bit more flexible, which I thought might be good for placemats. The mica powder tends to sink to the bottom, and I would have too stir it up every 45 minuets or so to get it to have a cool swirl effect. I did this a few times over the first 2 or 3 hours. Once it started to set it and get “tacky” I stopped messing with it; also, the swirls tended to stay and not dissipate, so I knew it was good.
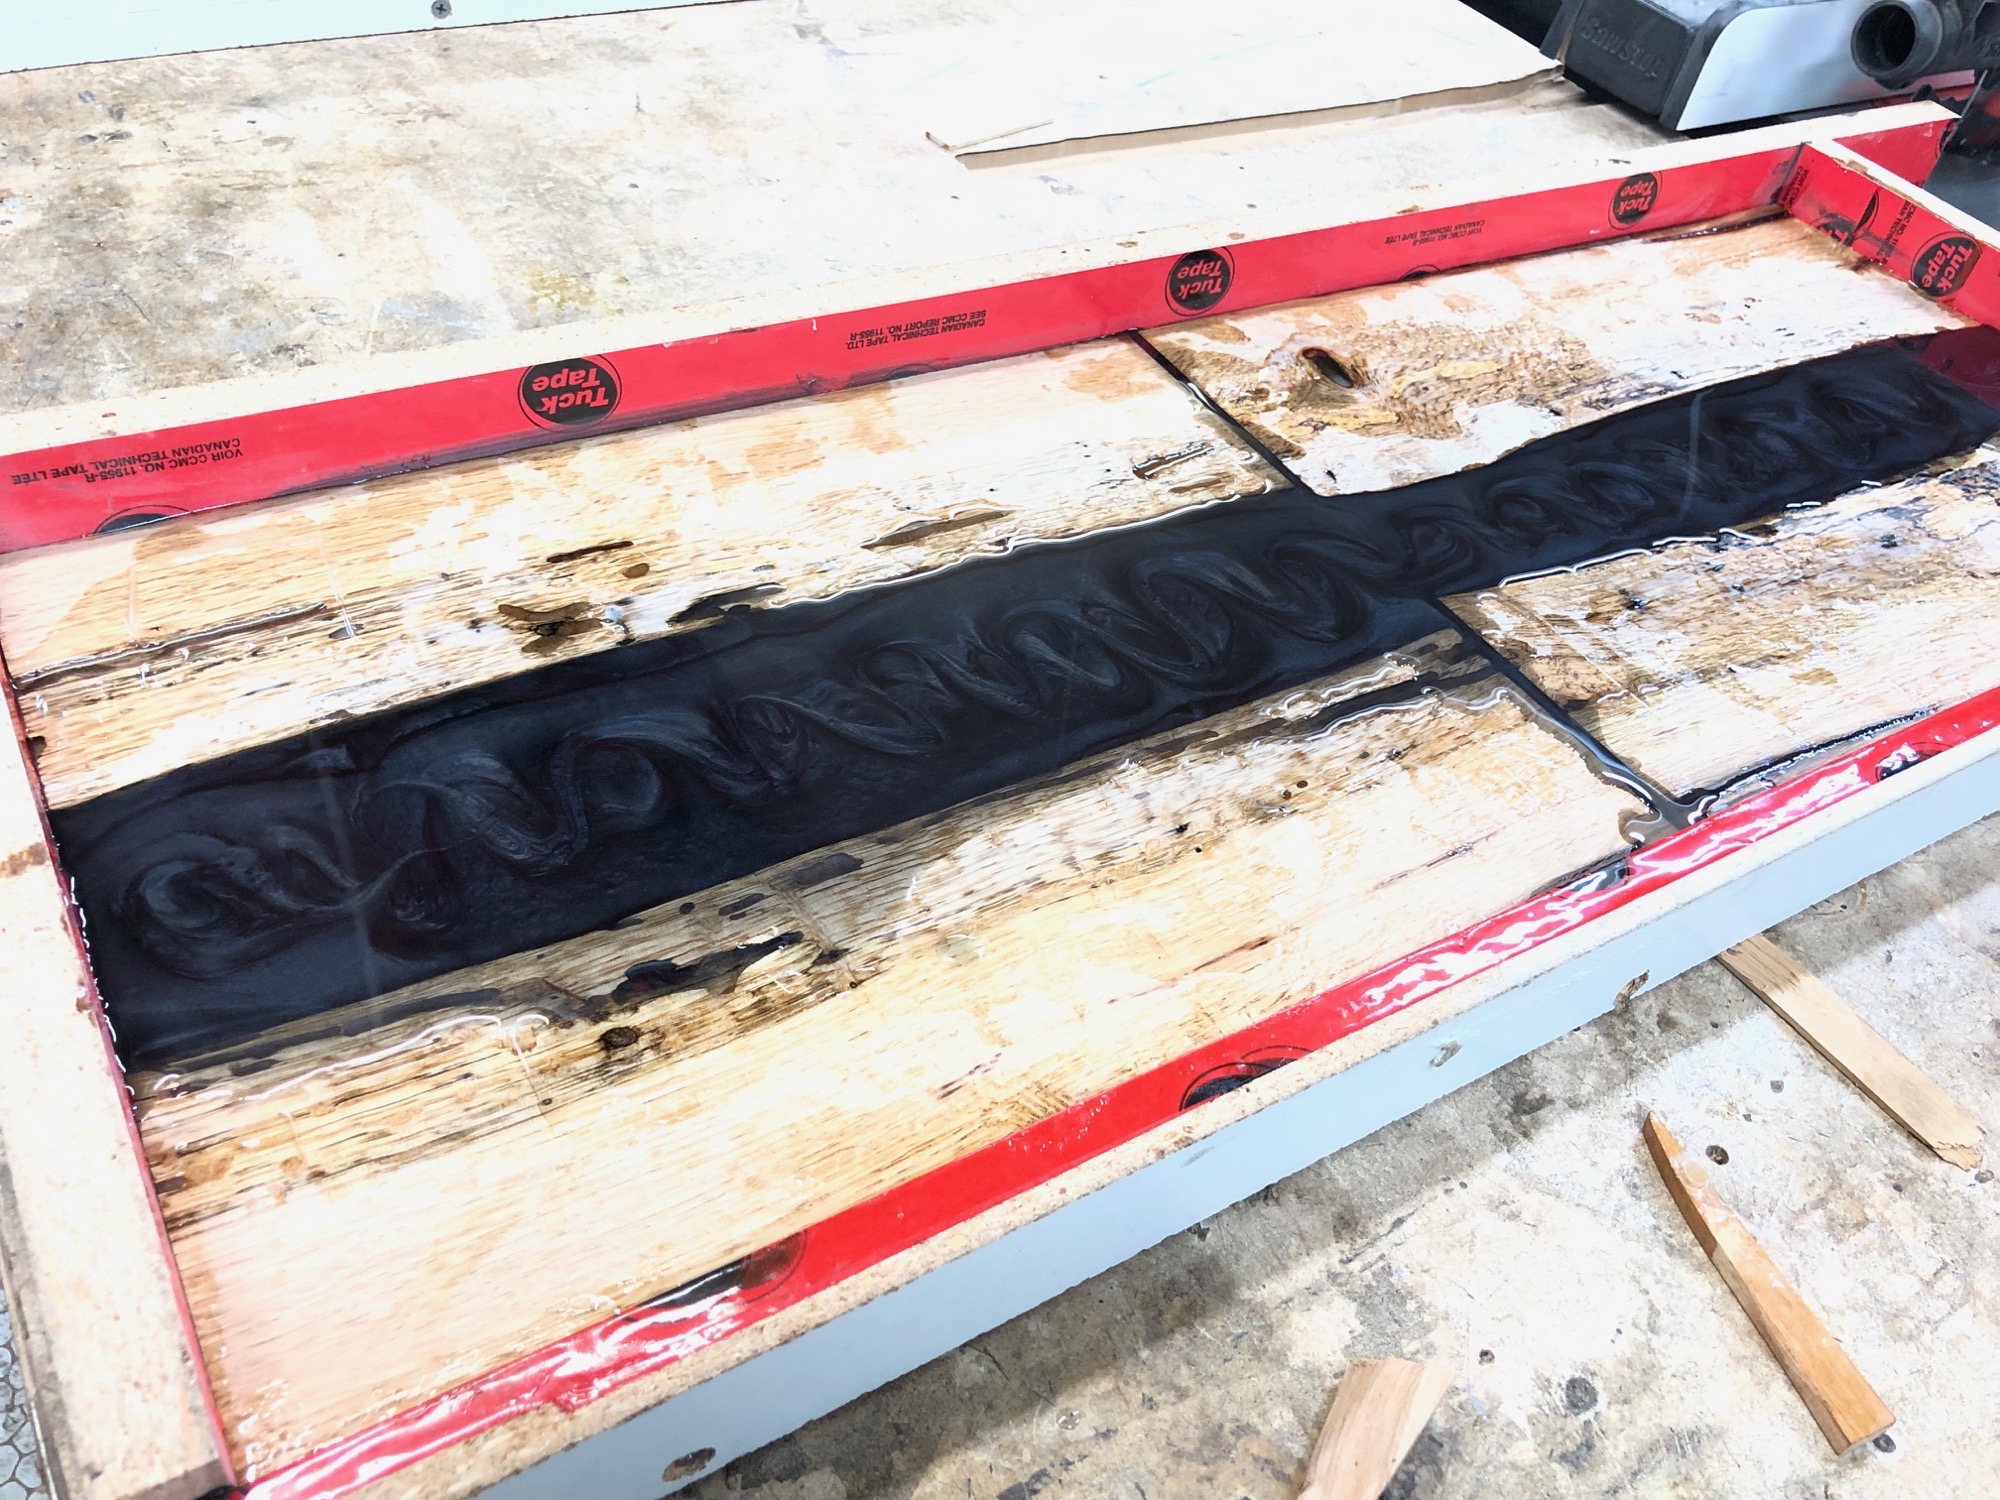
I left it in the mold a few days; the thinner pours take longer to cure. I did two at a time:
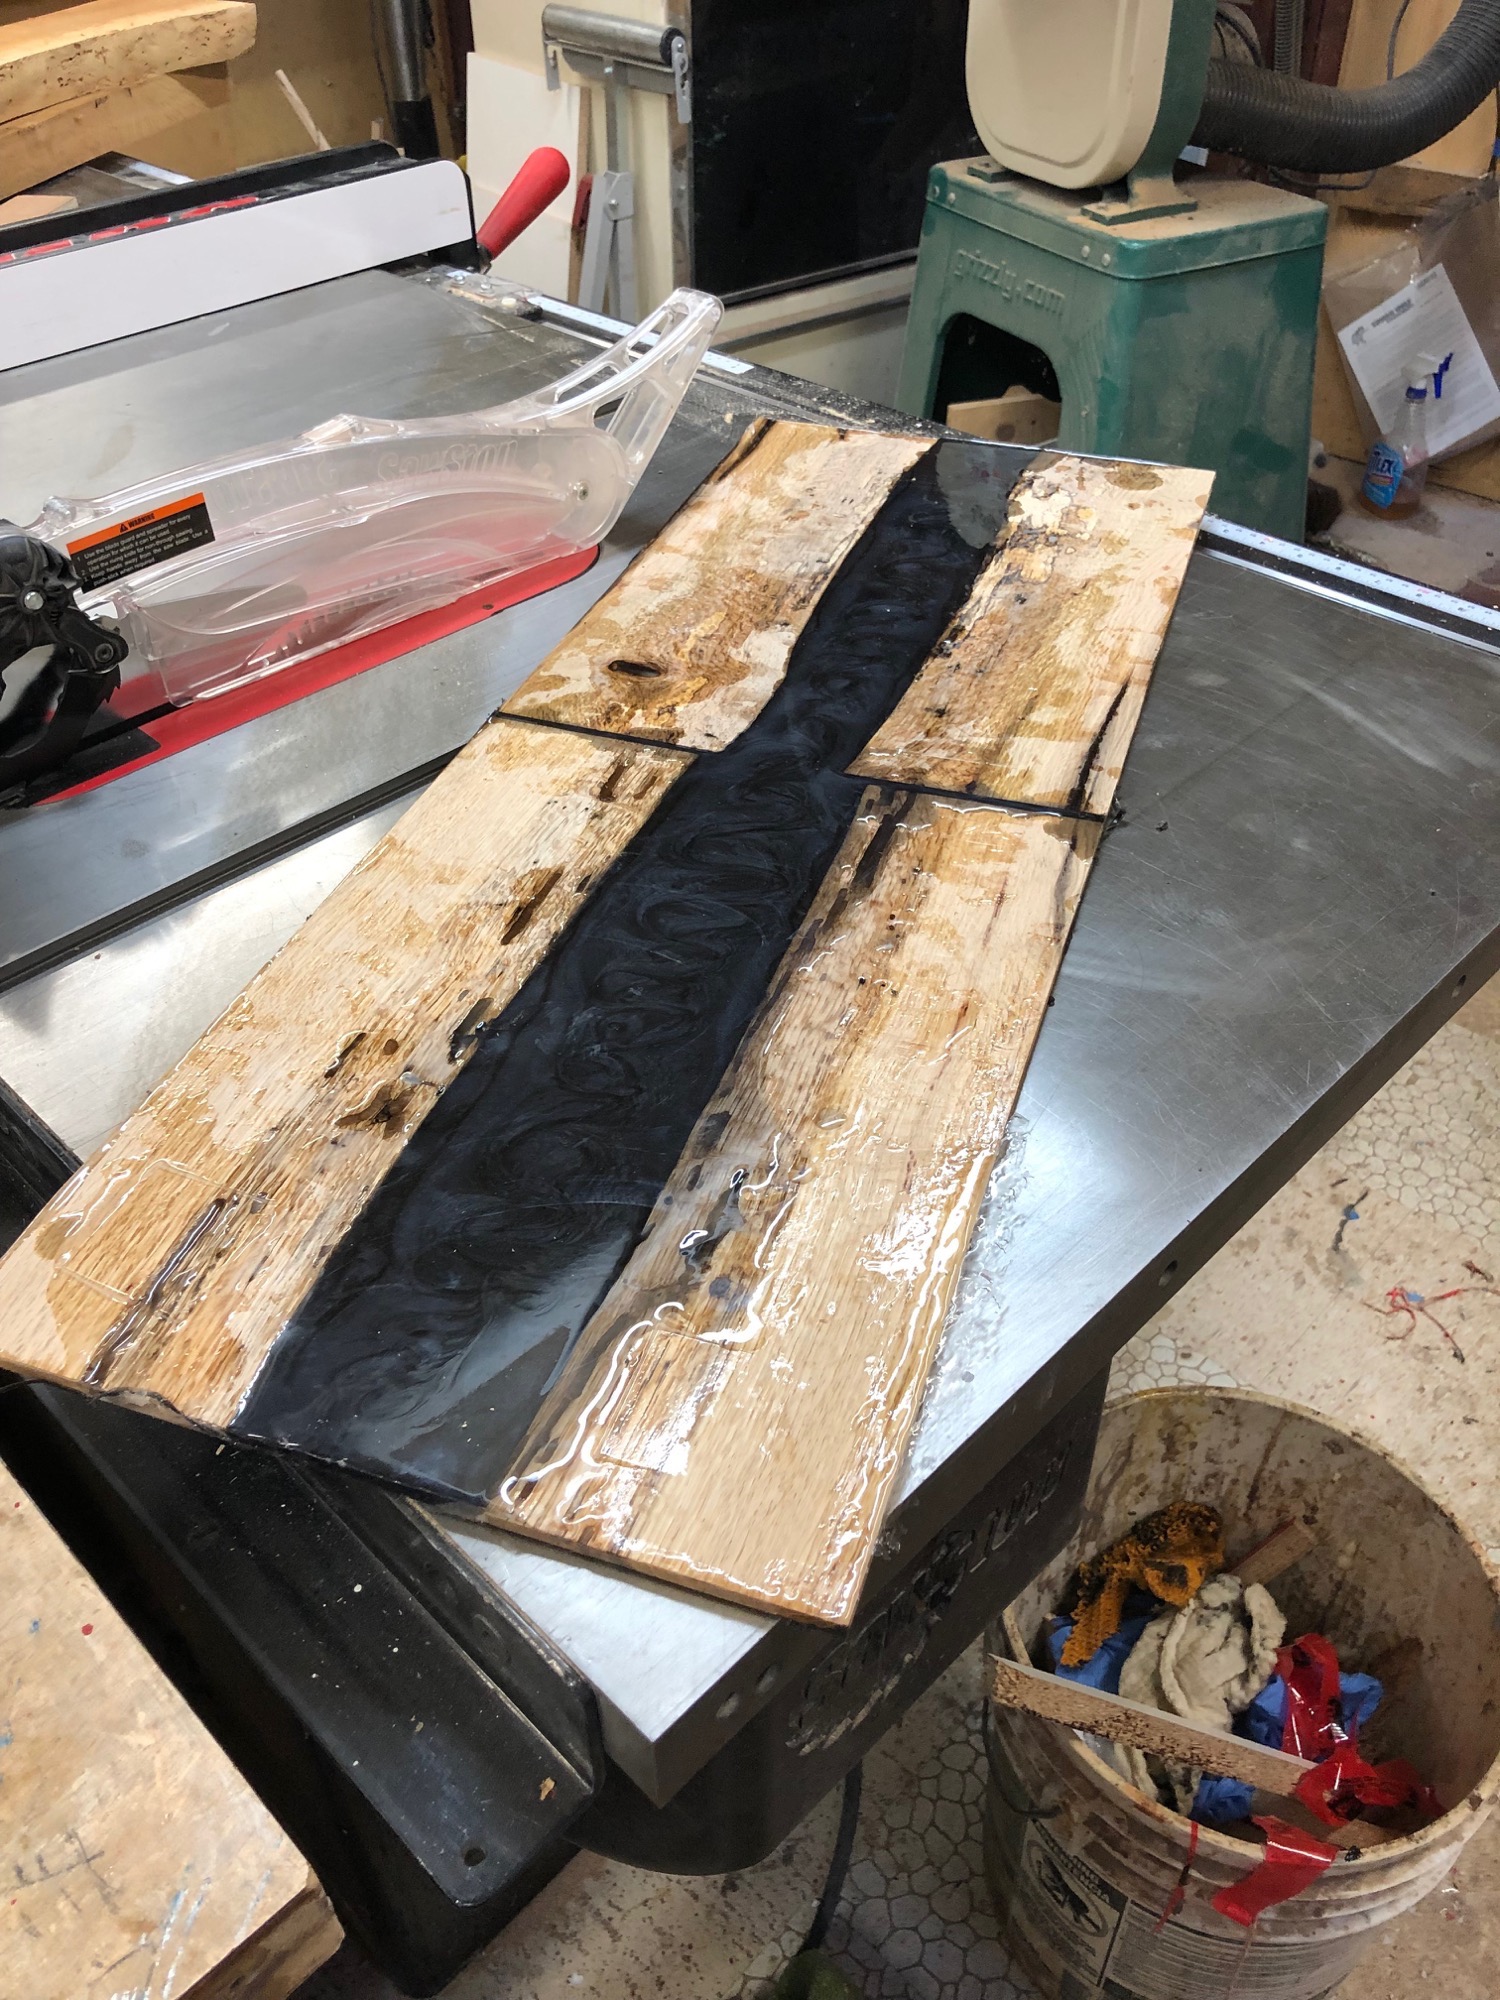
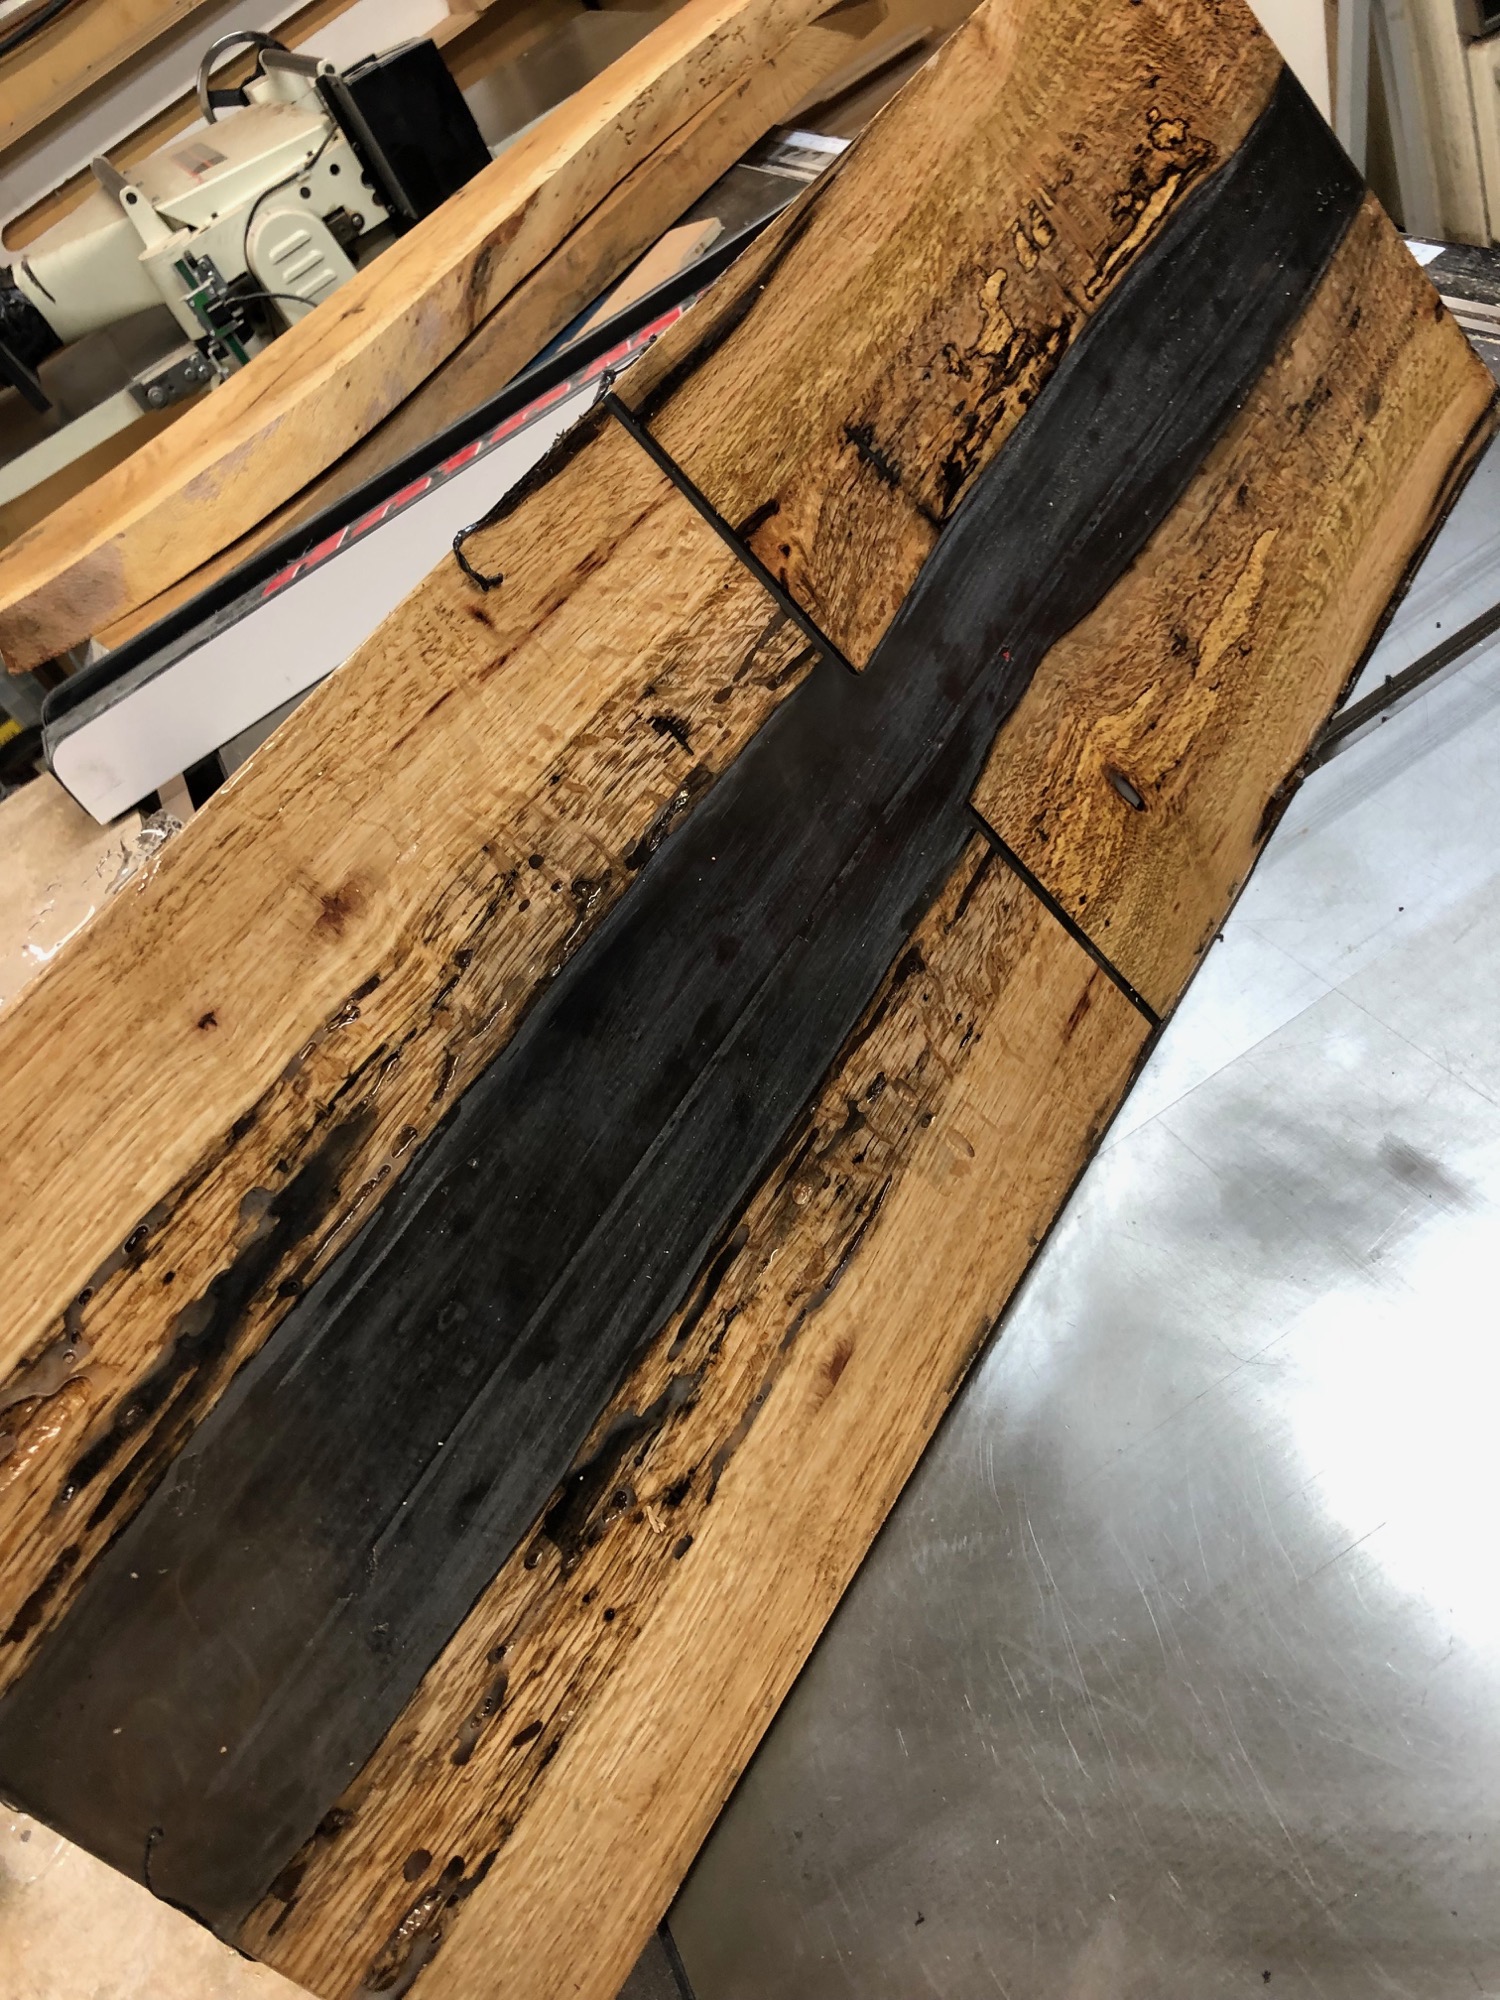
The next steps are normal: plane the rough side down, and sand. I always seem to get chip out in my planer; the slab jig and router don’t chip out, but my spiral cut planer does. I don’t know what gives…but I have to sand the chips out.
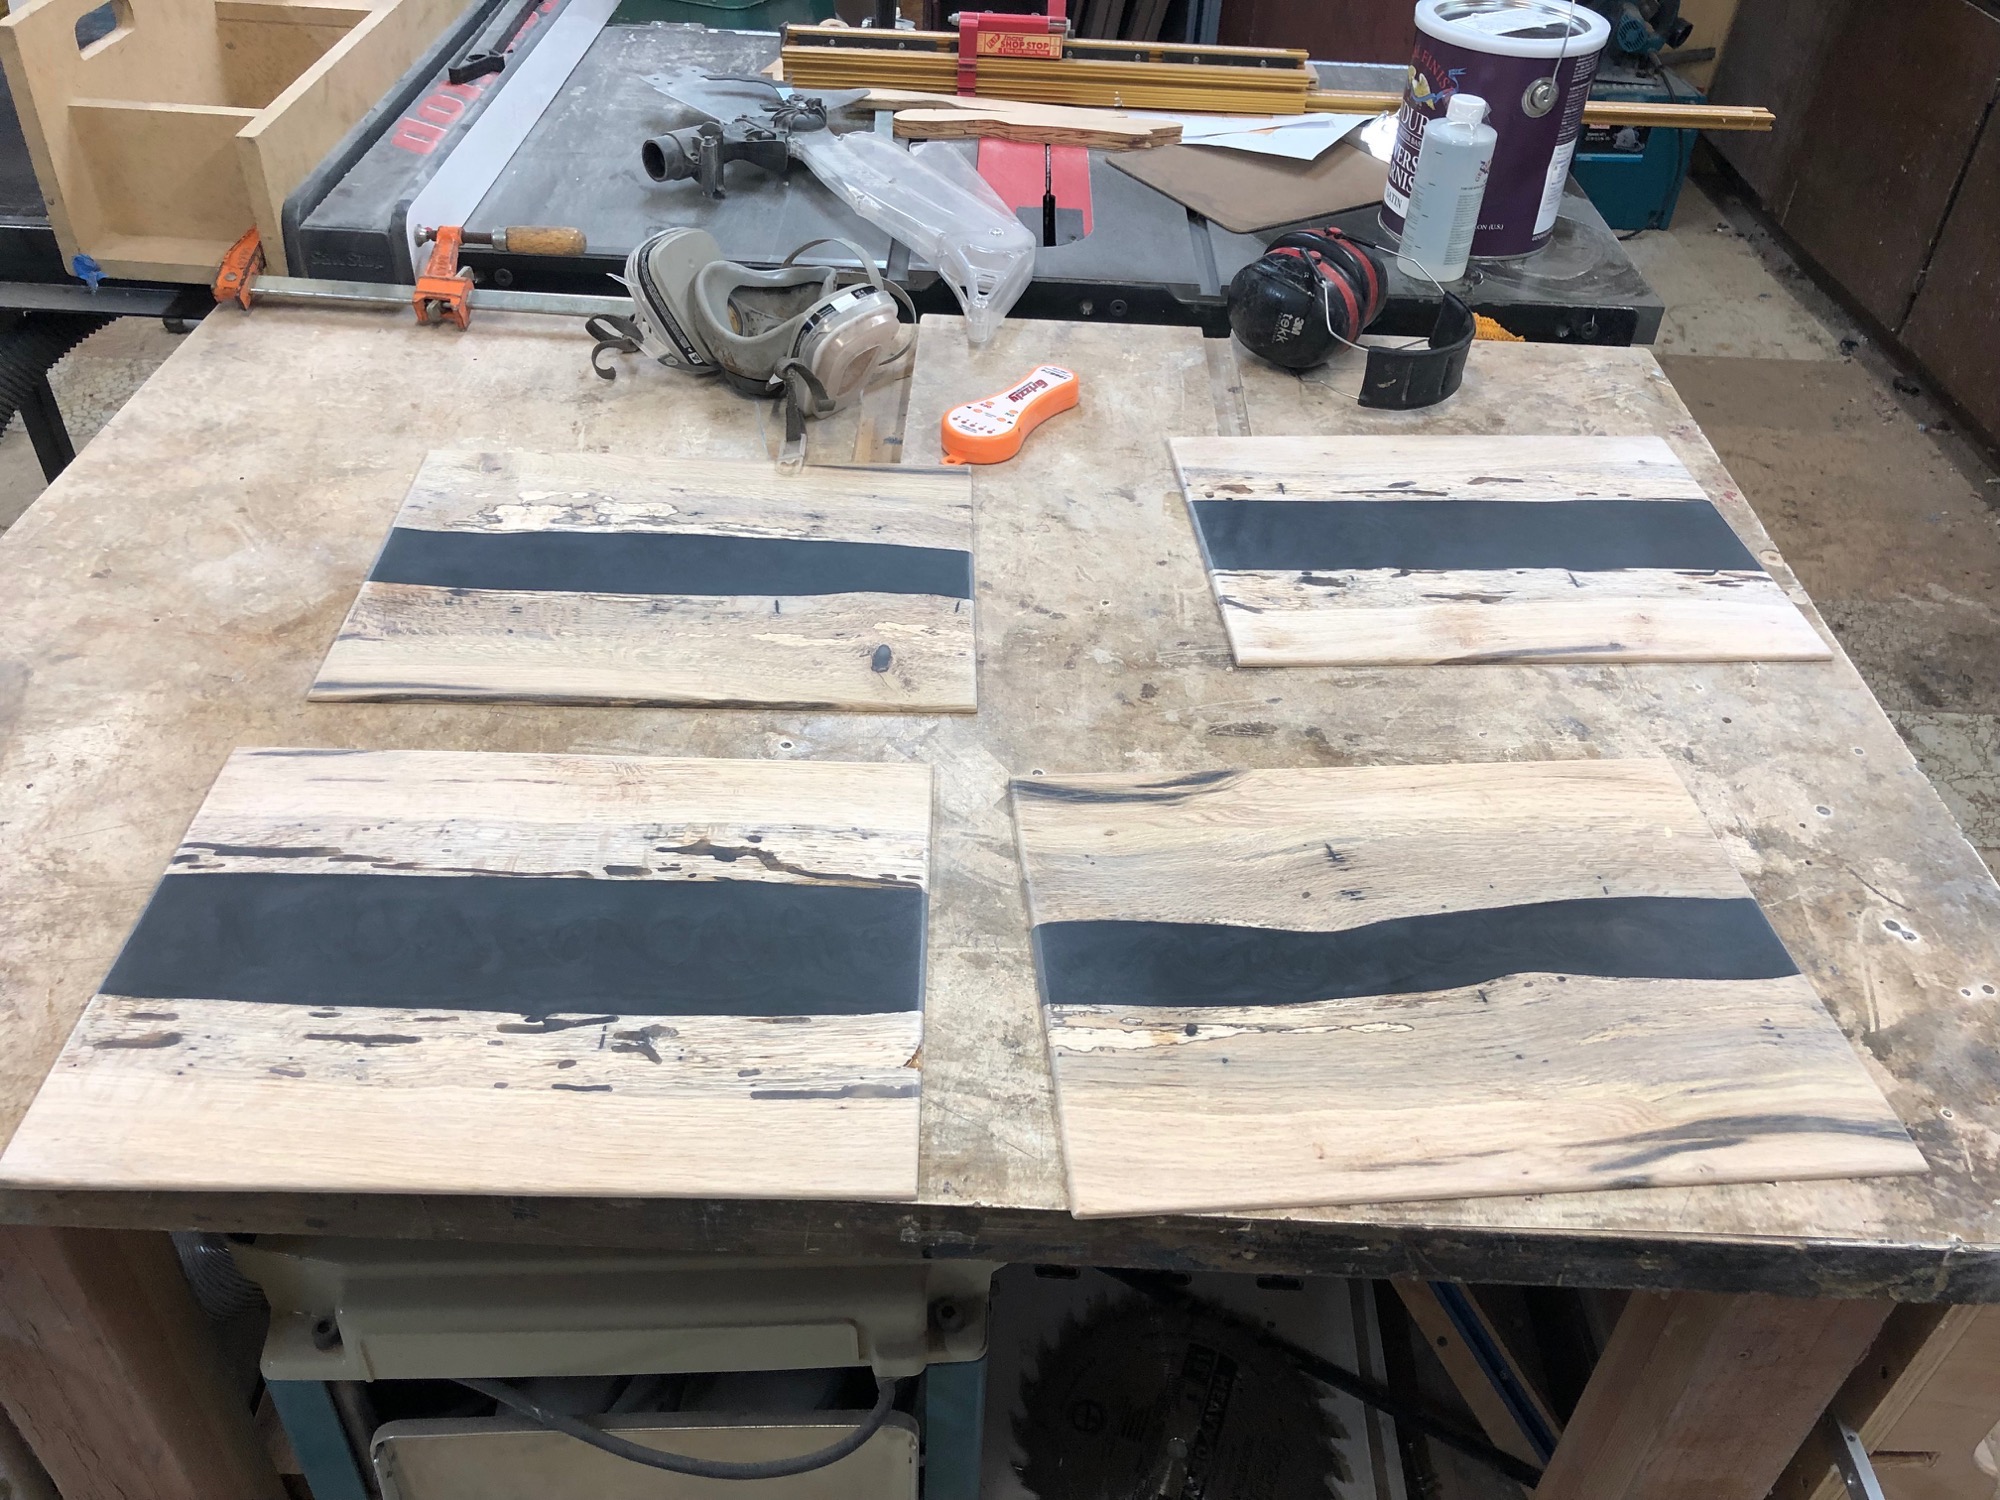
I debated doing an epoxy flood coat finish or a regular finish. The epoxy coat finish would require 2-3 coats, and would take a lot time and waiting. The regular finish would require less time, but lots of coats. I opted to give the regular finish a try using a two part conversion varnish.
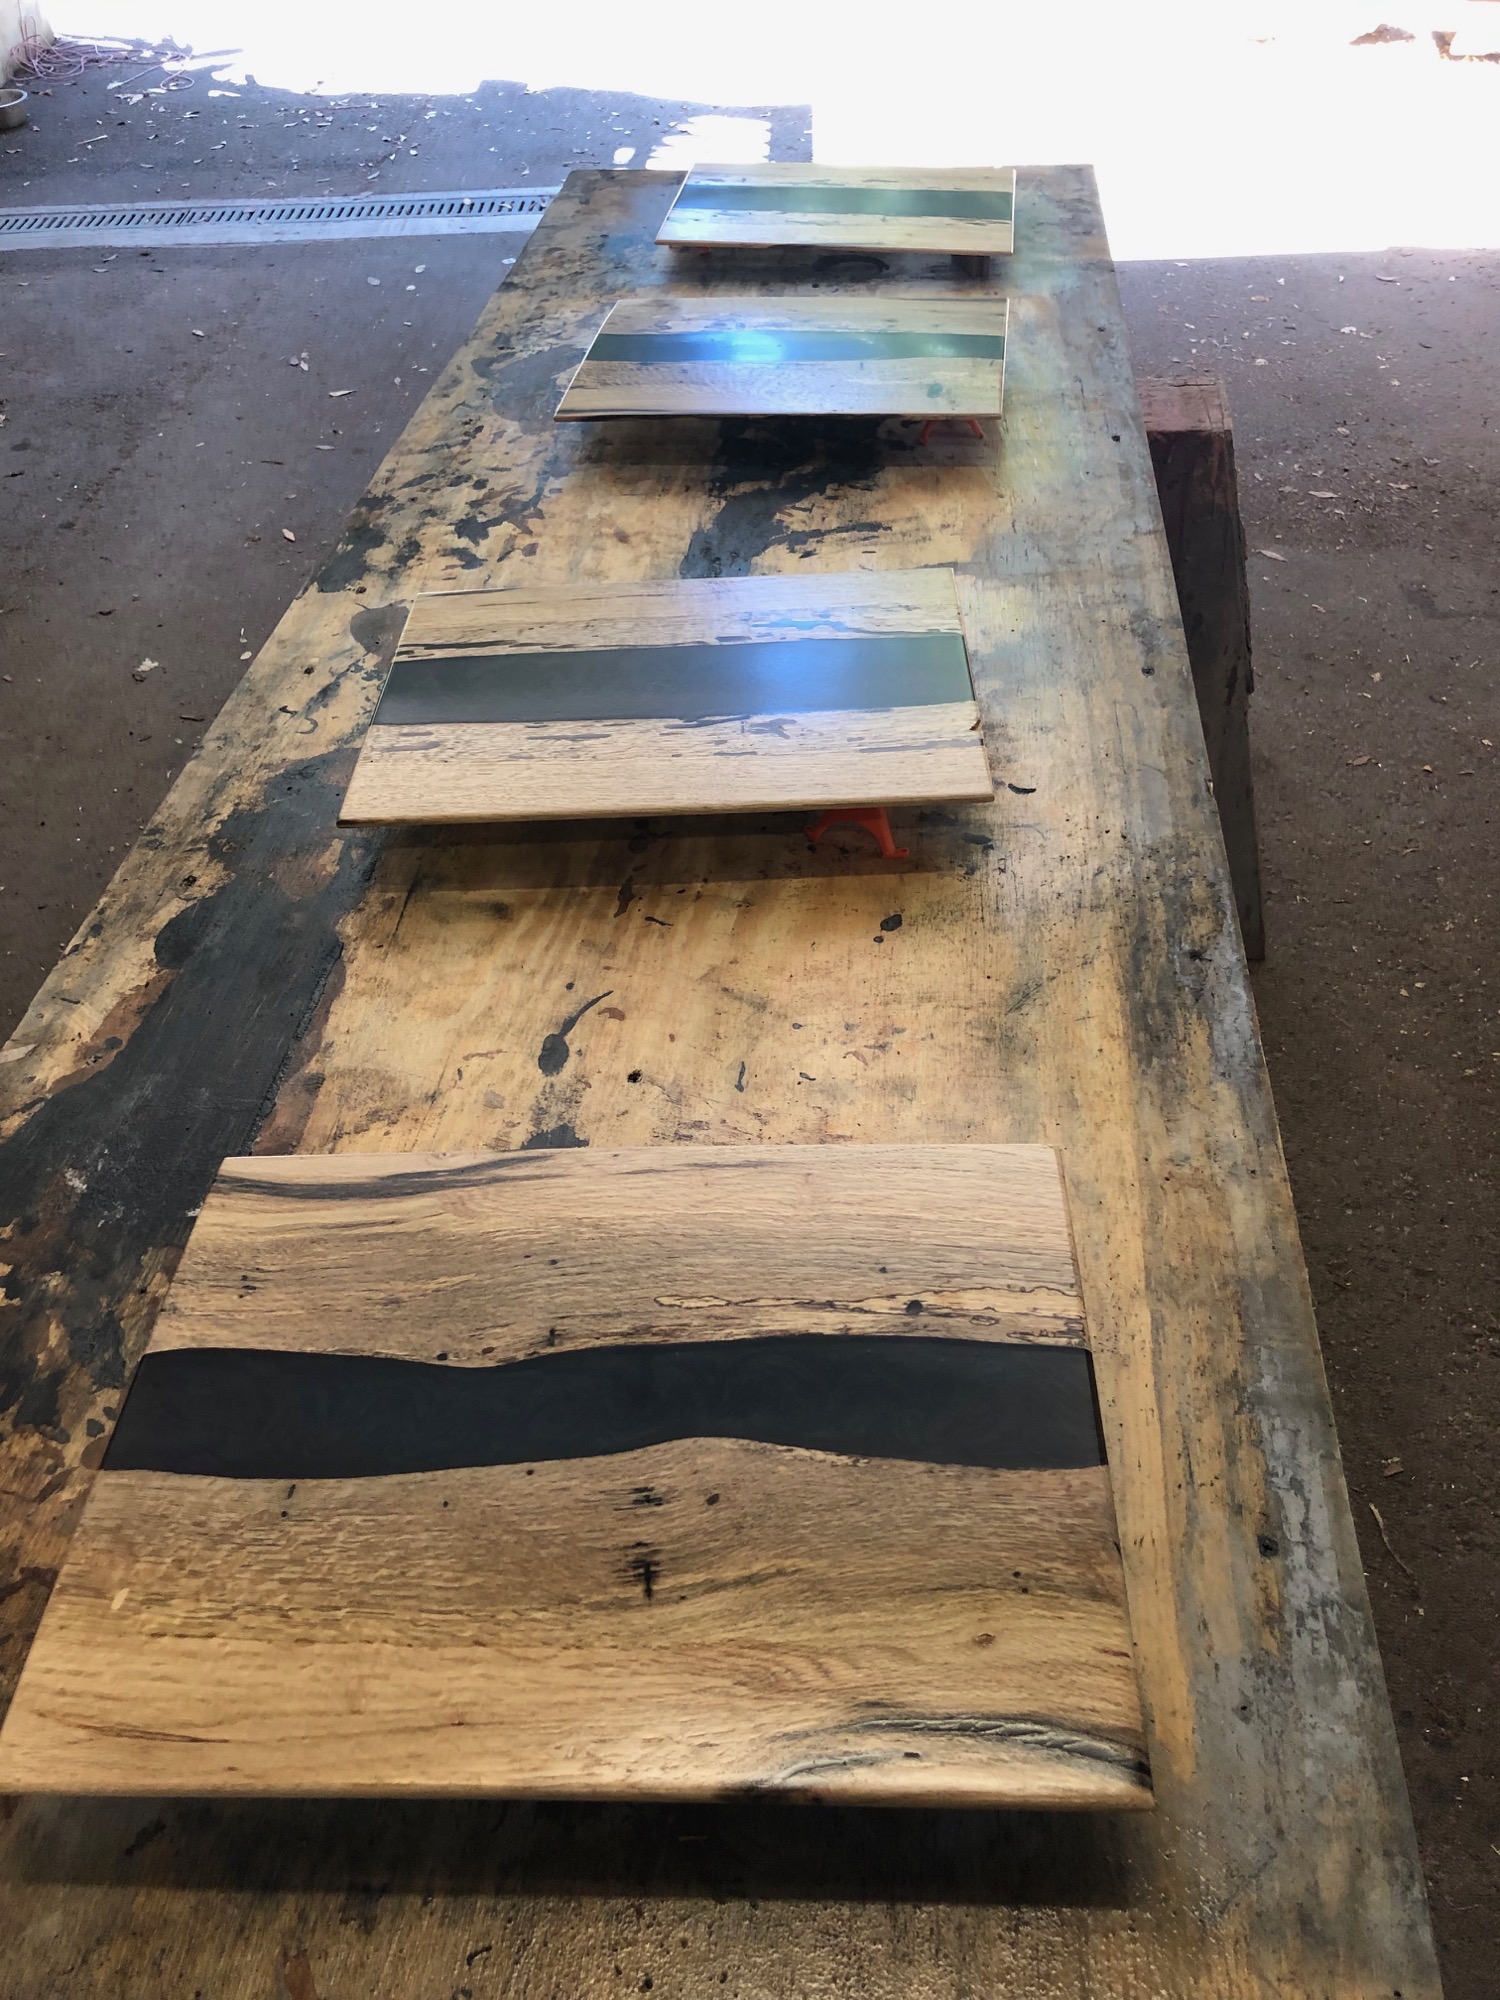
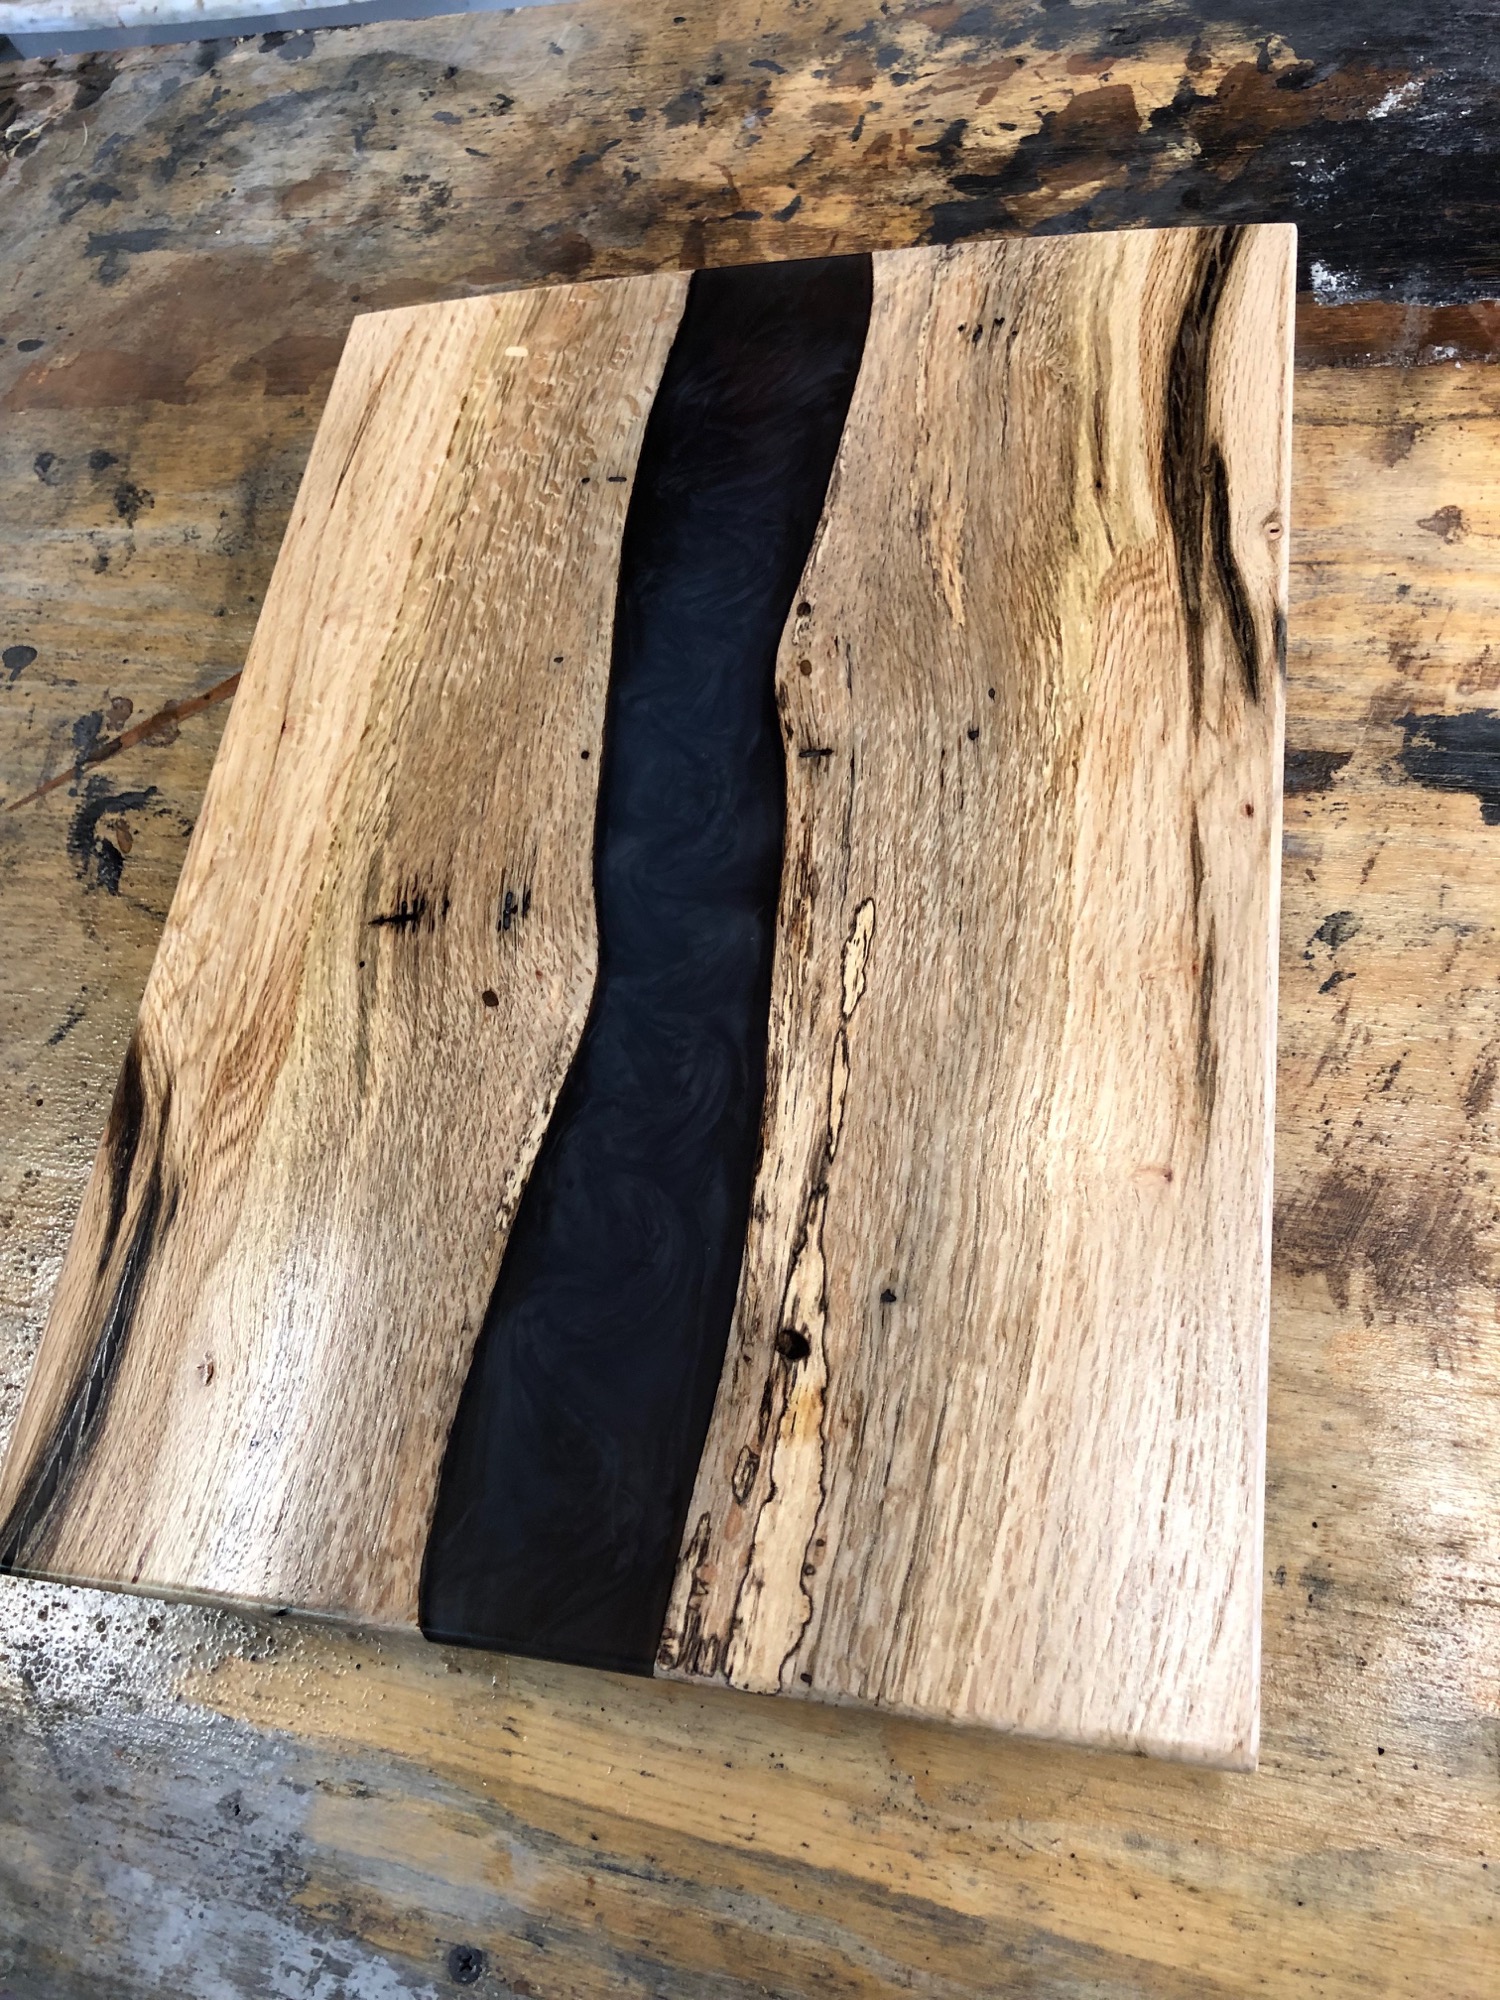
So far, I put three coats on, sanding before the last one. I’m not entirely happy with the finish, and I think I’ll sand it and put a few more coats on.



Hello how much to make 4 placemats walnut wood or close to take color out of blue river epoxy with a place carved to sit a glass in it or just 4 placemats the prices for the both styles
How long whould it take could it be made a nd deliver before Thanksgiving.
Thank you
Hi! I sent you an email. I’m currently not doing any commissions. I recommend contacting a local woodworker to do it; show them my design and video for the general process.