May
26
2013
Master Bathroom Cabinets – Bottom Piece
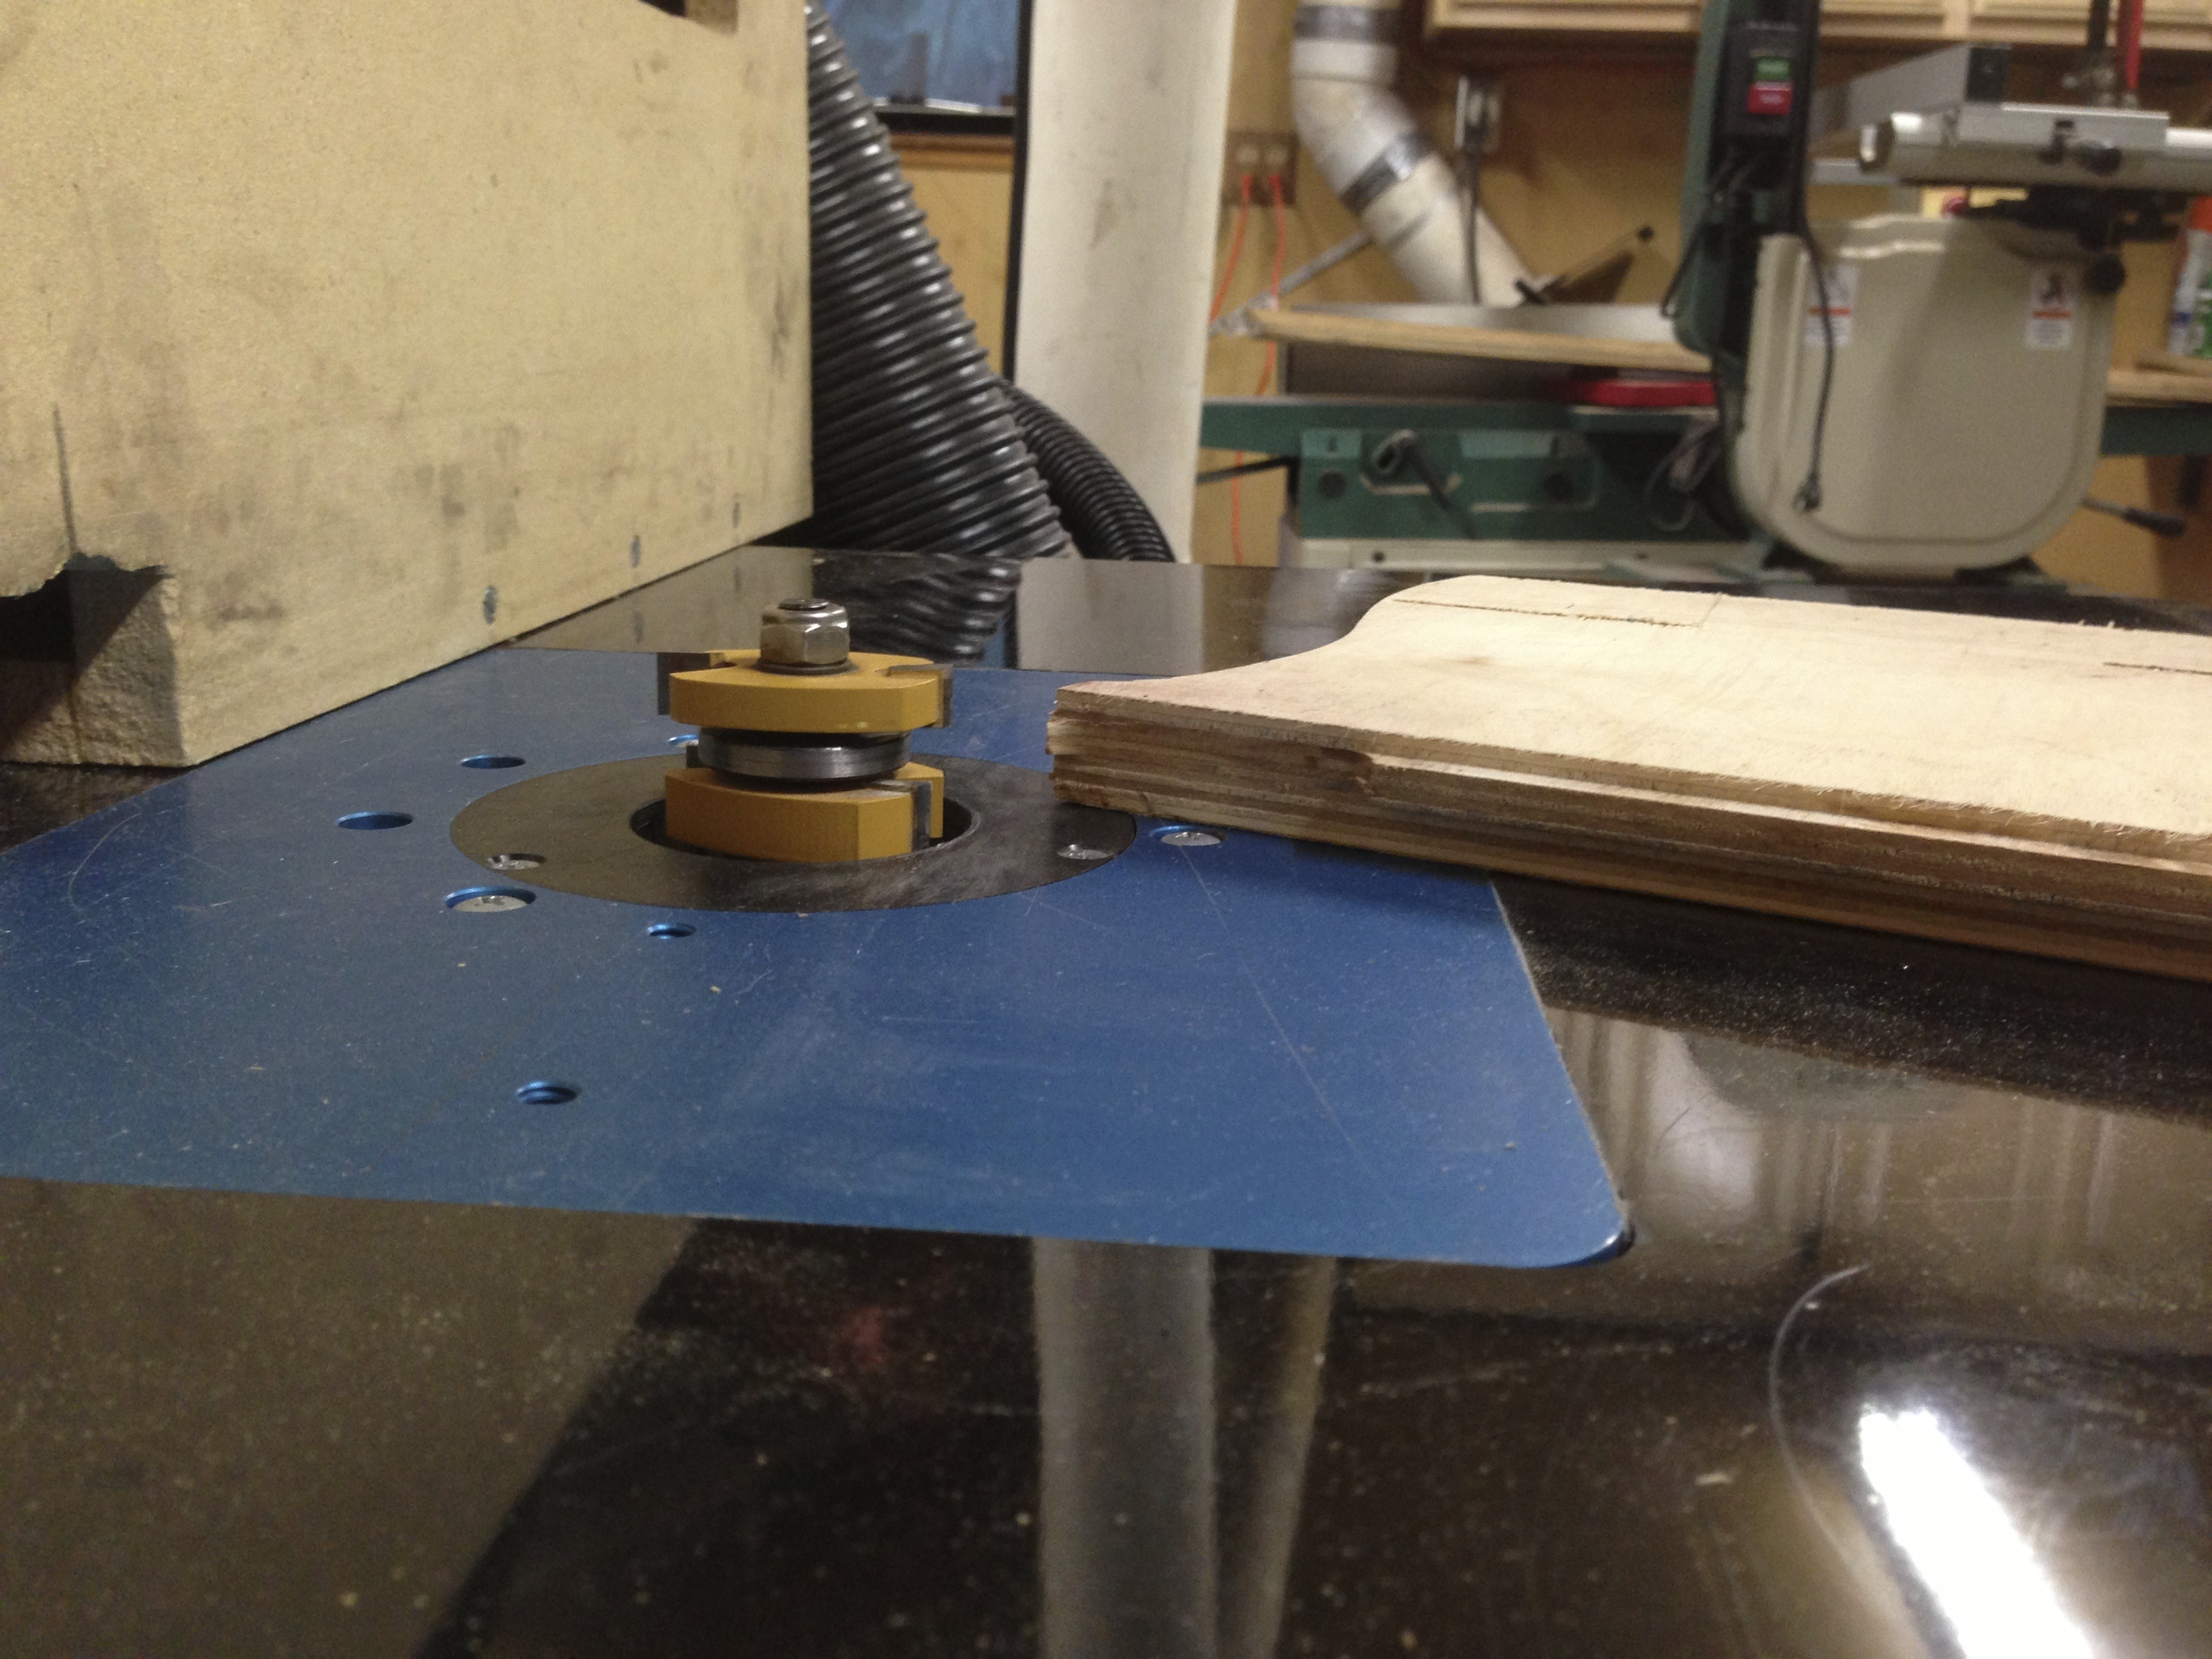
Tongue and groove practice; I have a height matched set. Note to self: Put the little rubber grommet inside the chuck. Place it on my table, and push the cutter into it until it bottoms out against the grommet. Then I can mount it in the router and it is always at the same height. Cut it with the “good face” down. Have the height set so there is a larger area on the bottom (slightly of, as seen here in the picture):
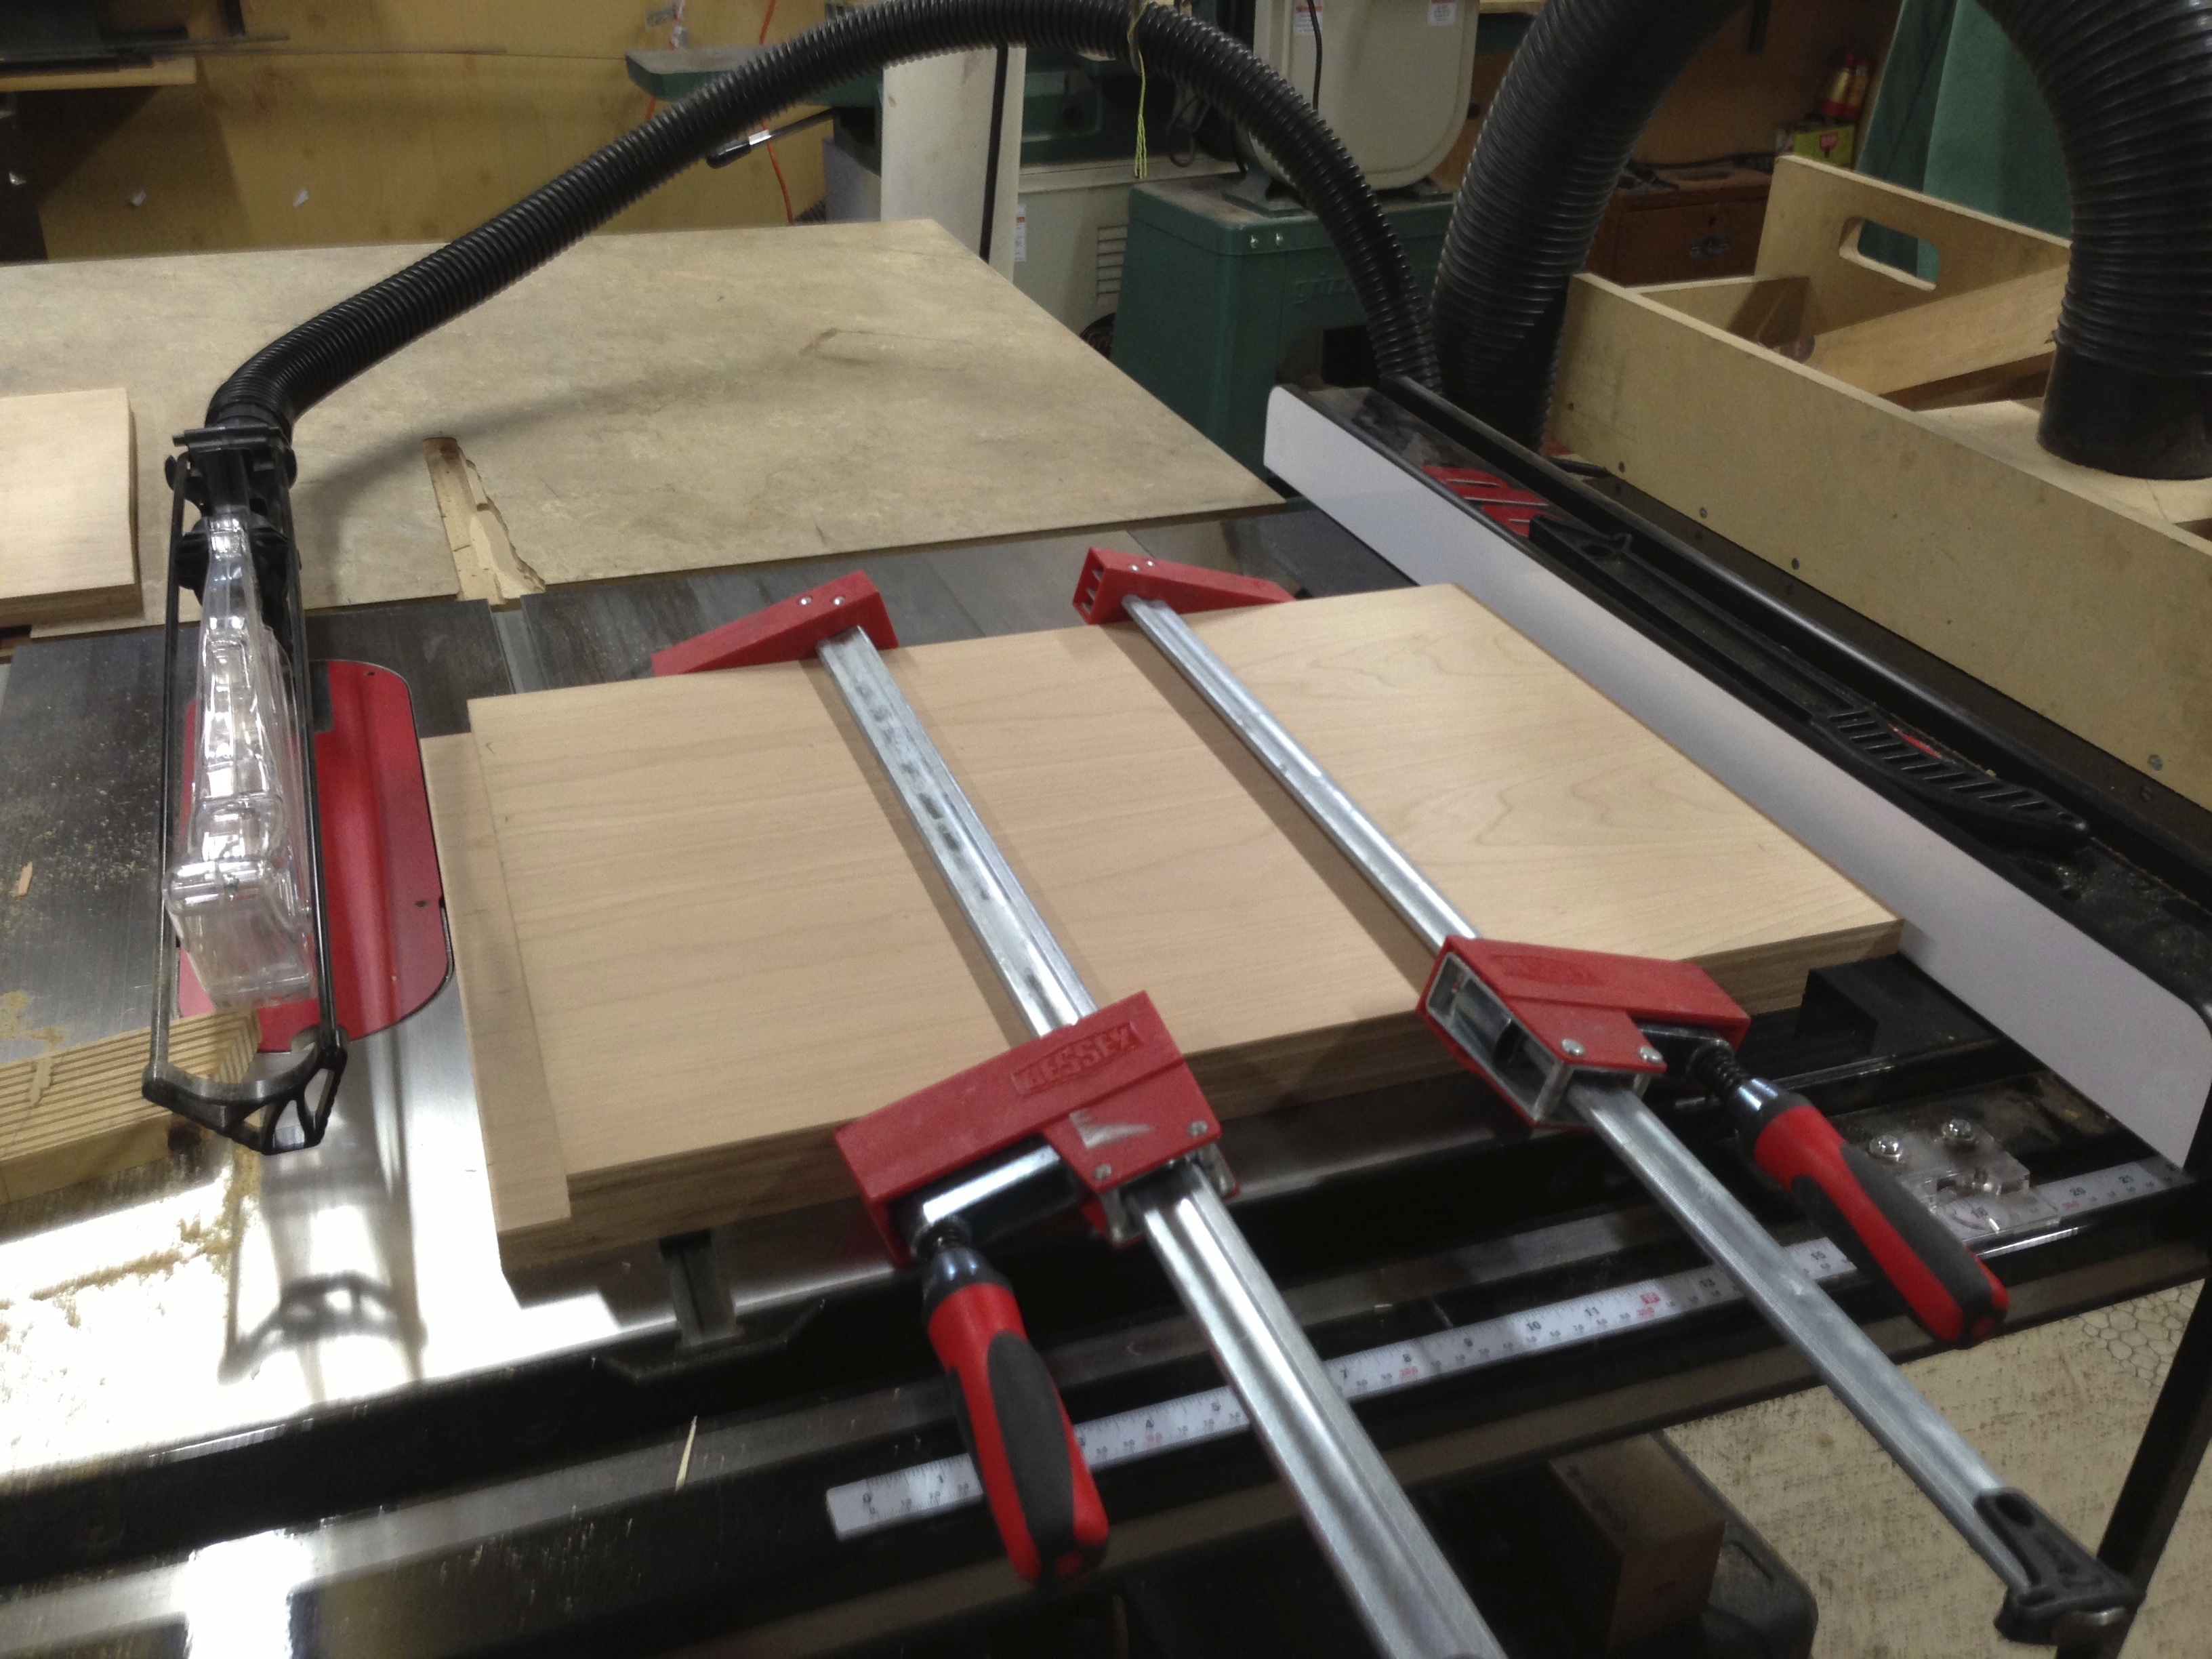
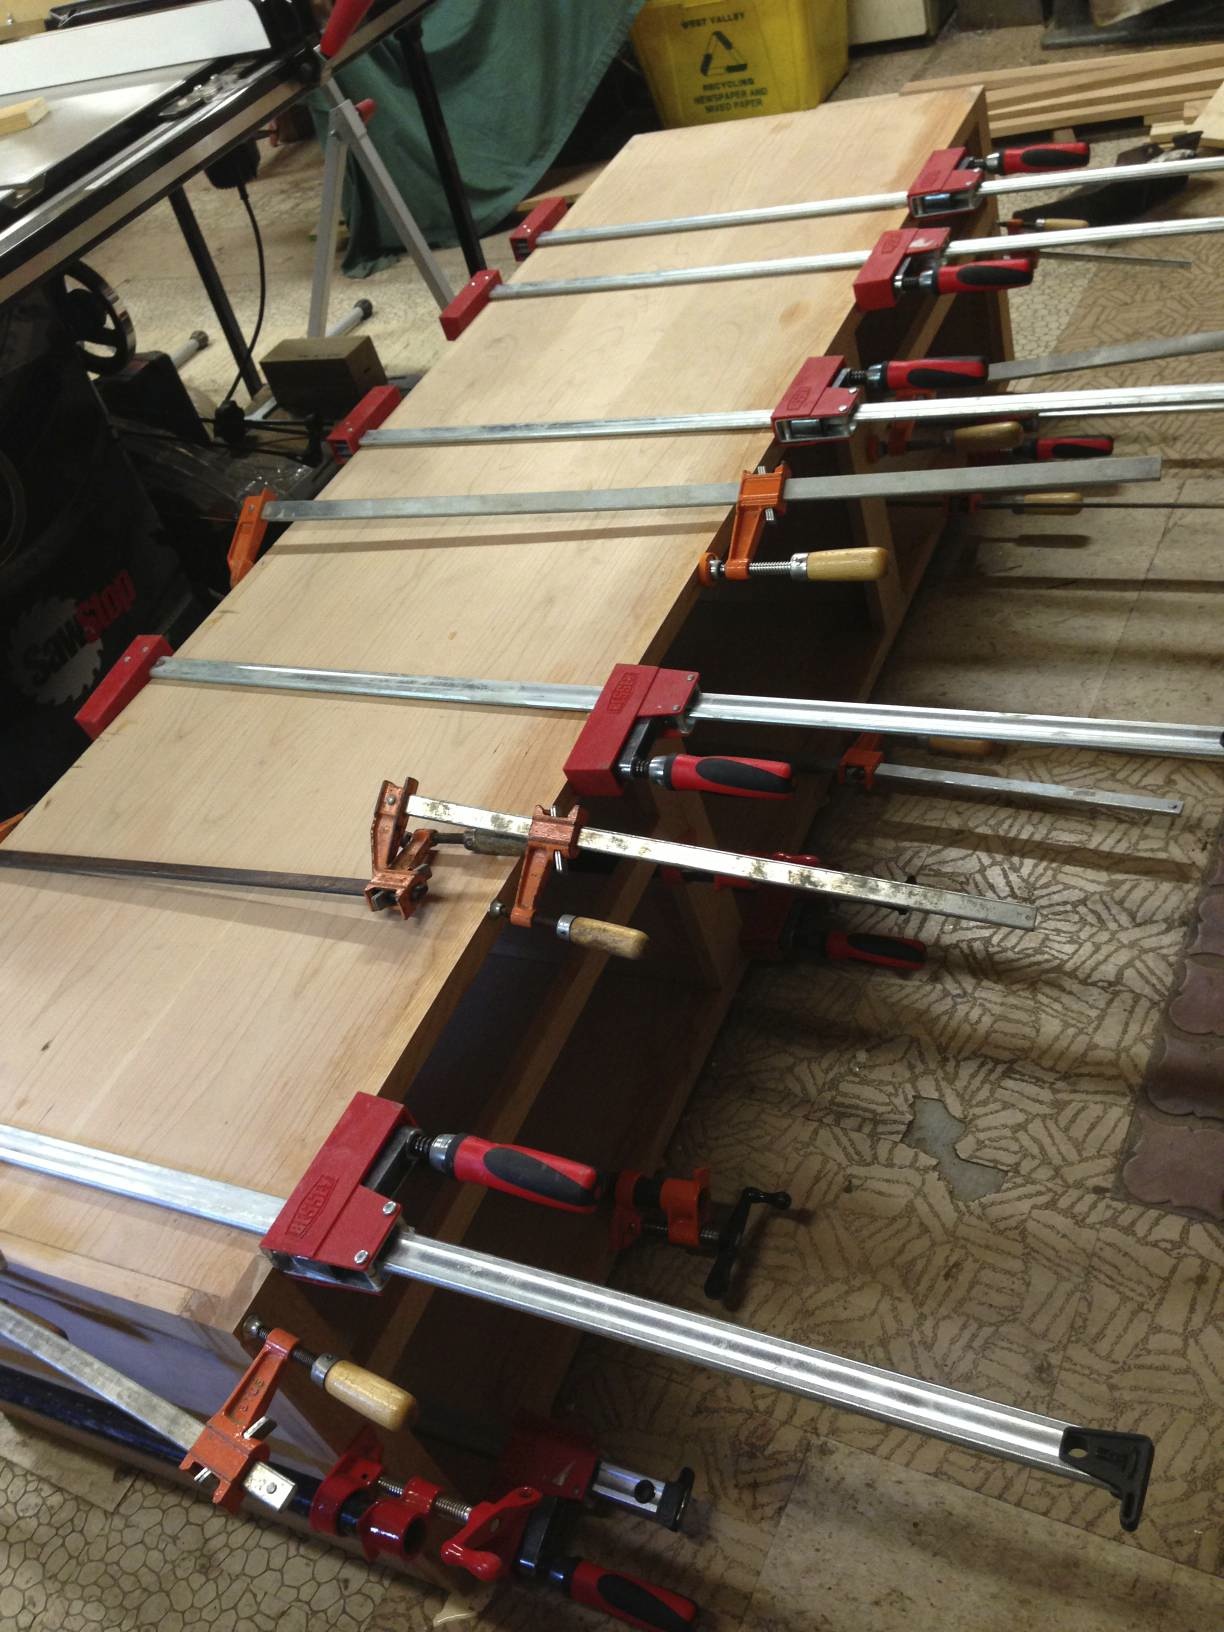
Here’s a trick I came up with for cutting a straight edge on plywood. The two sides were parallel, but one of the sides was rough from cutting it off with my circular saw. So, I used my parallel clamps to clamp them together and used a smooth side as a guide. I then could flip it and cut the other side.
Fitting of the joints; no glue here:
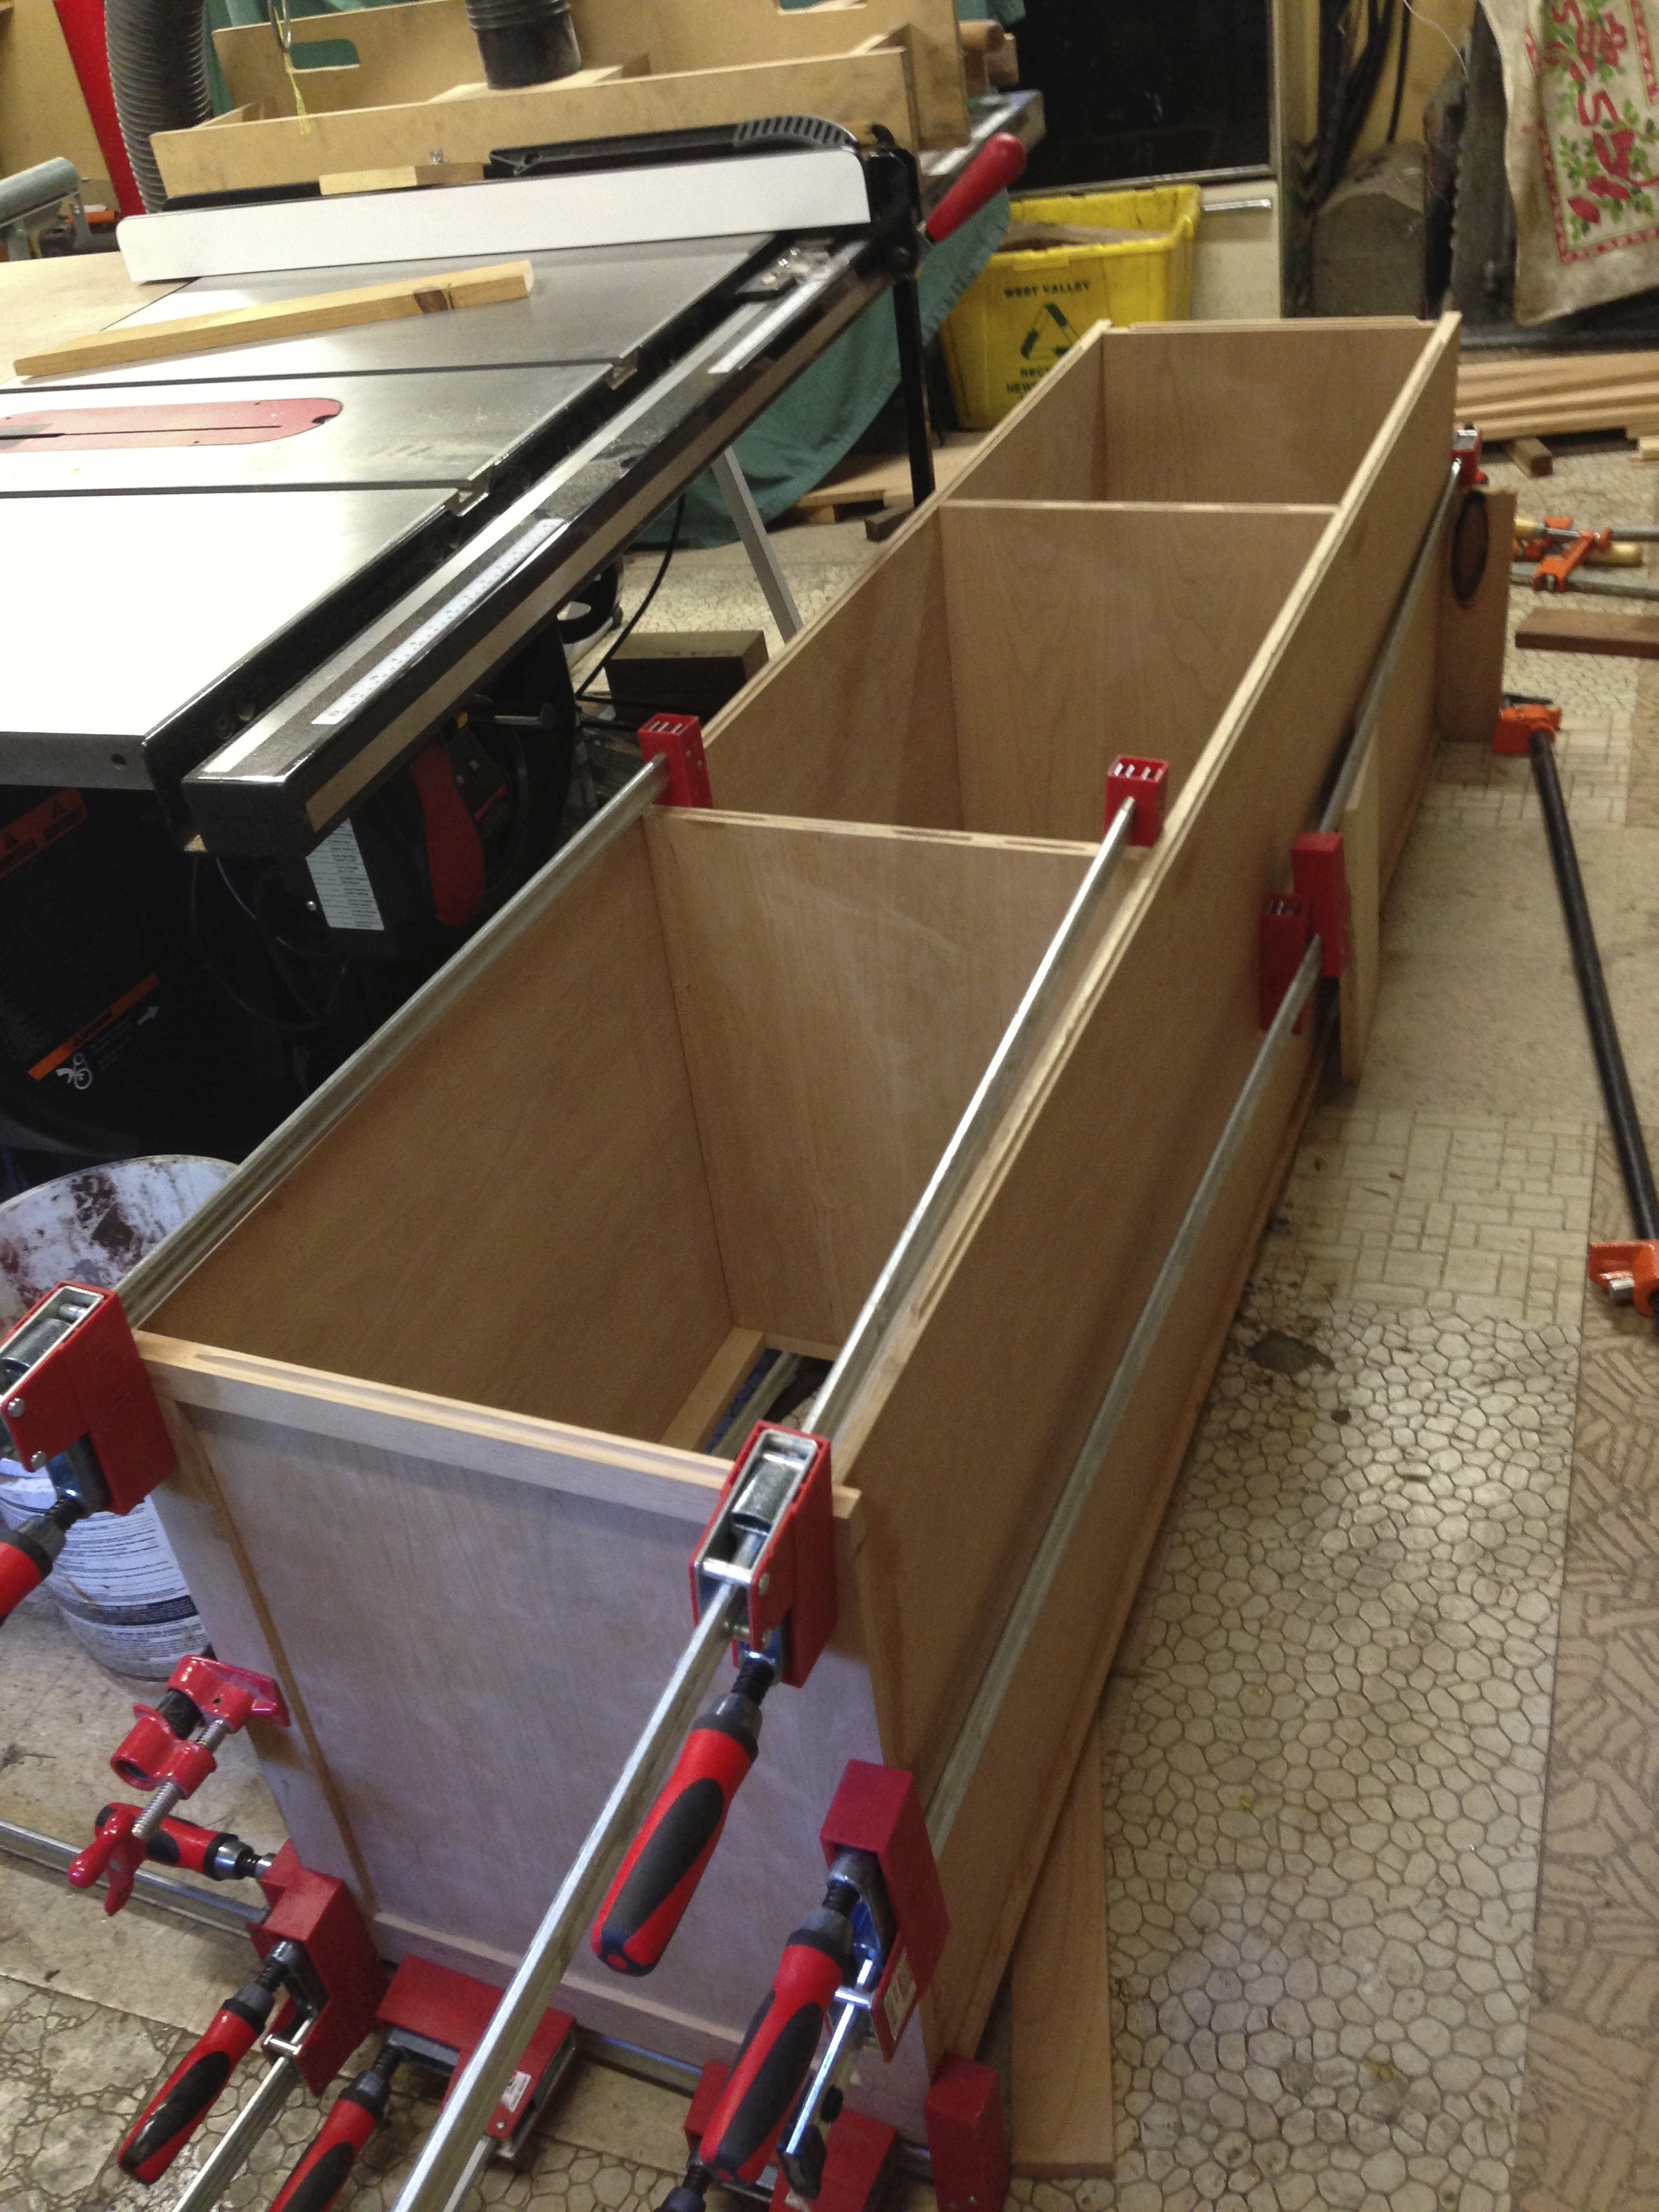
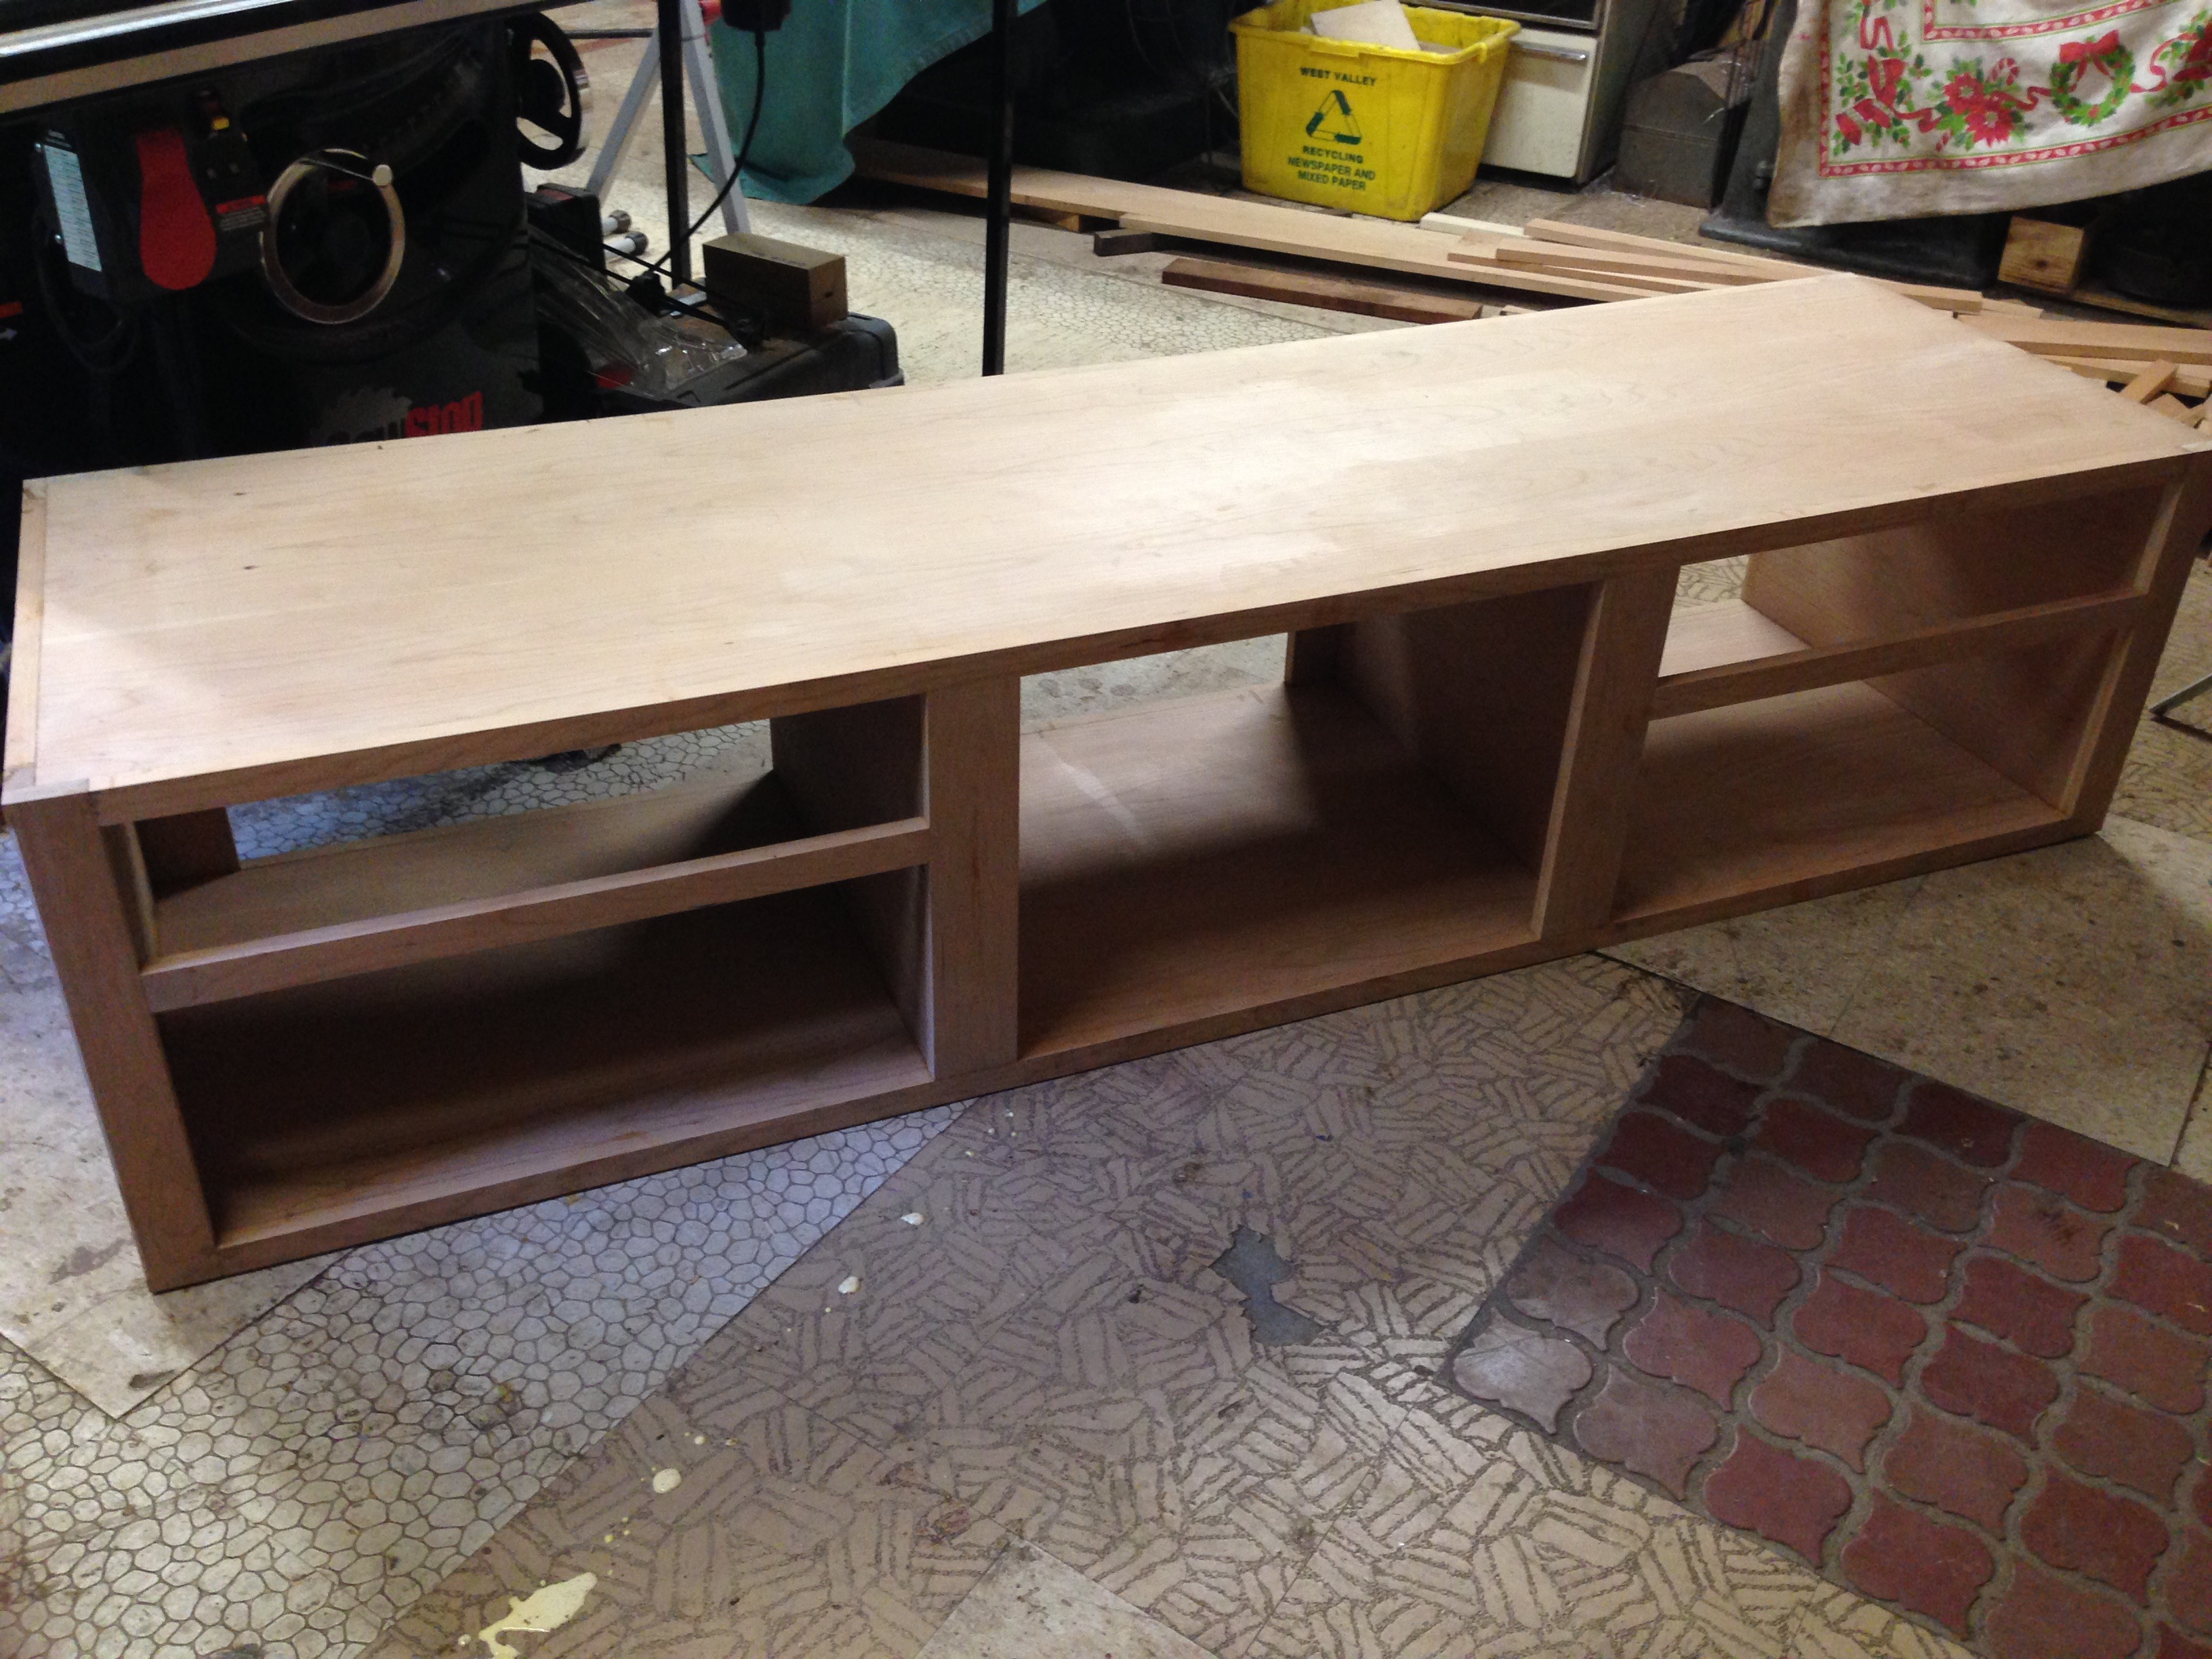
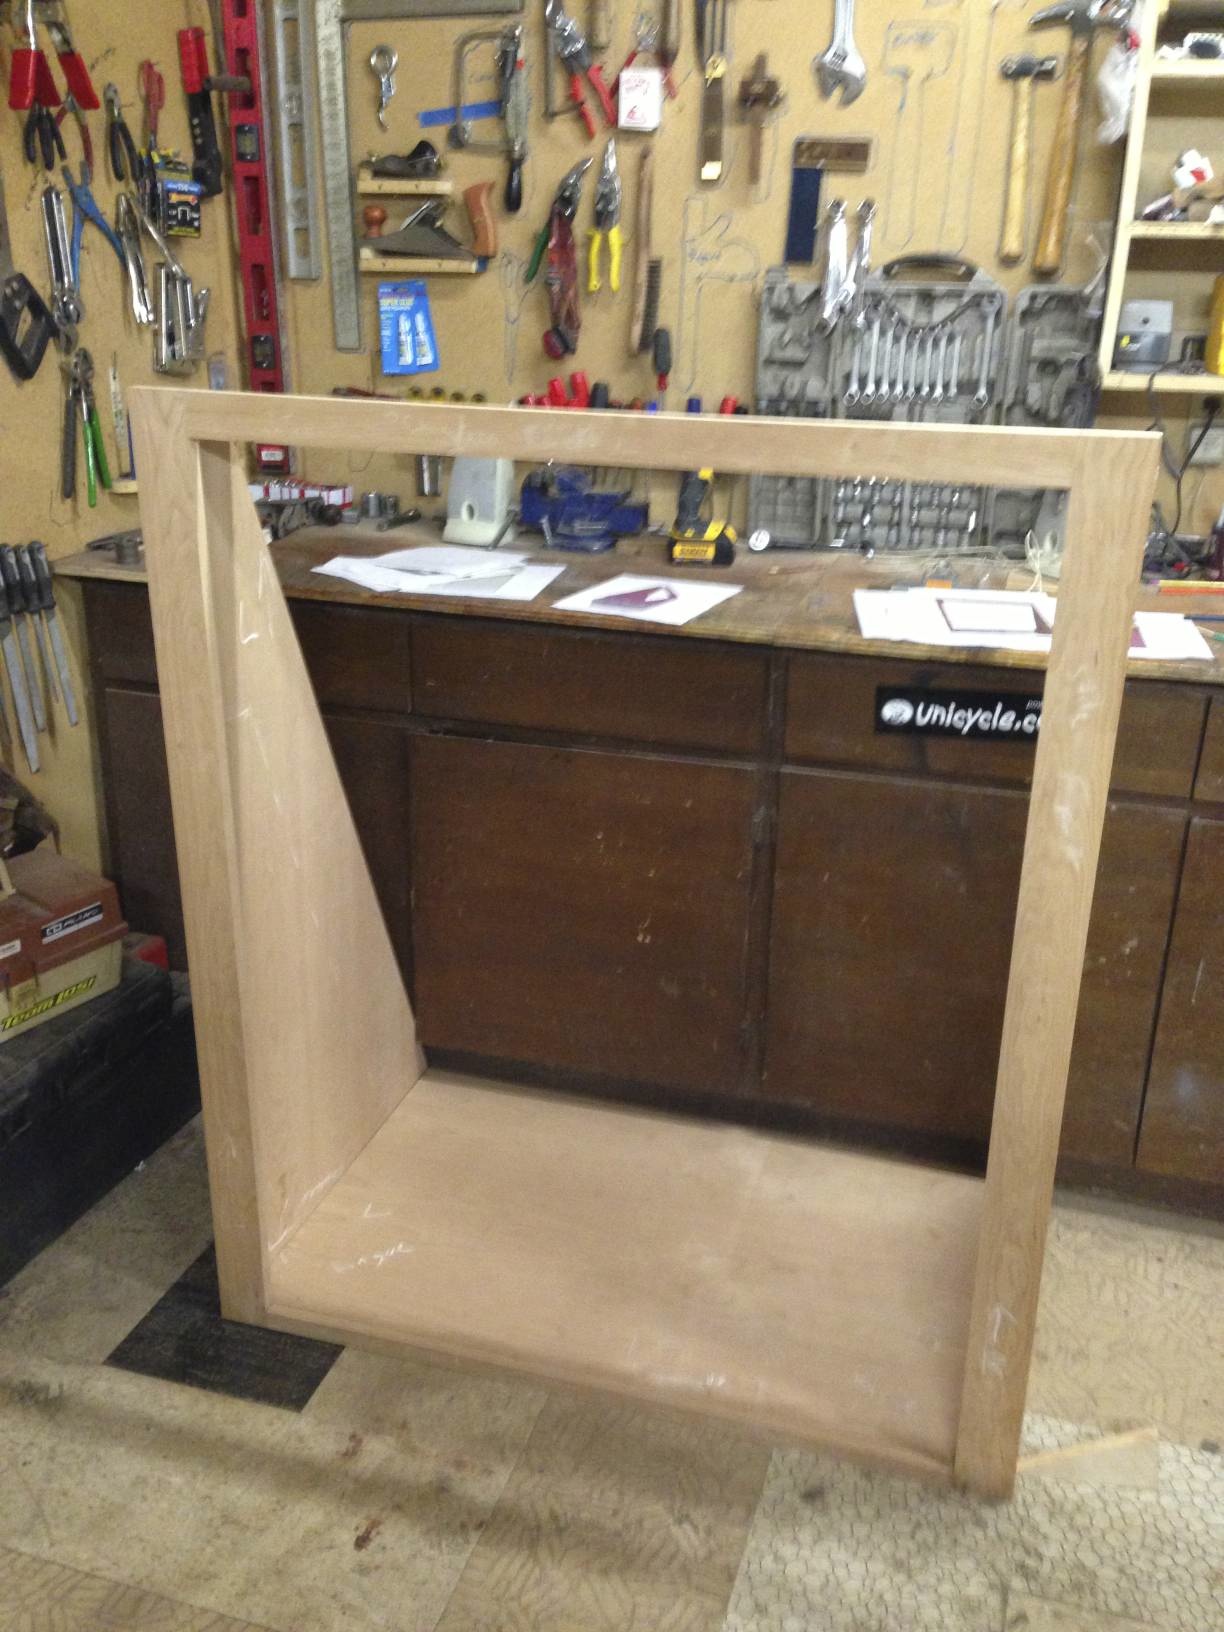
Gluing it up in small pieces; the face frame was last to be attached:
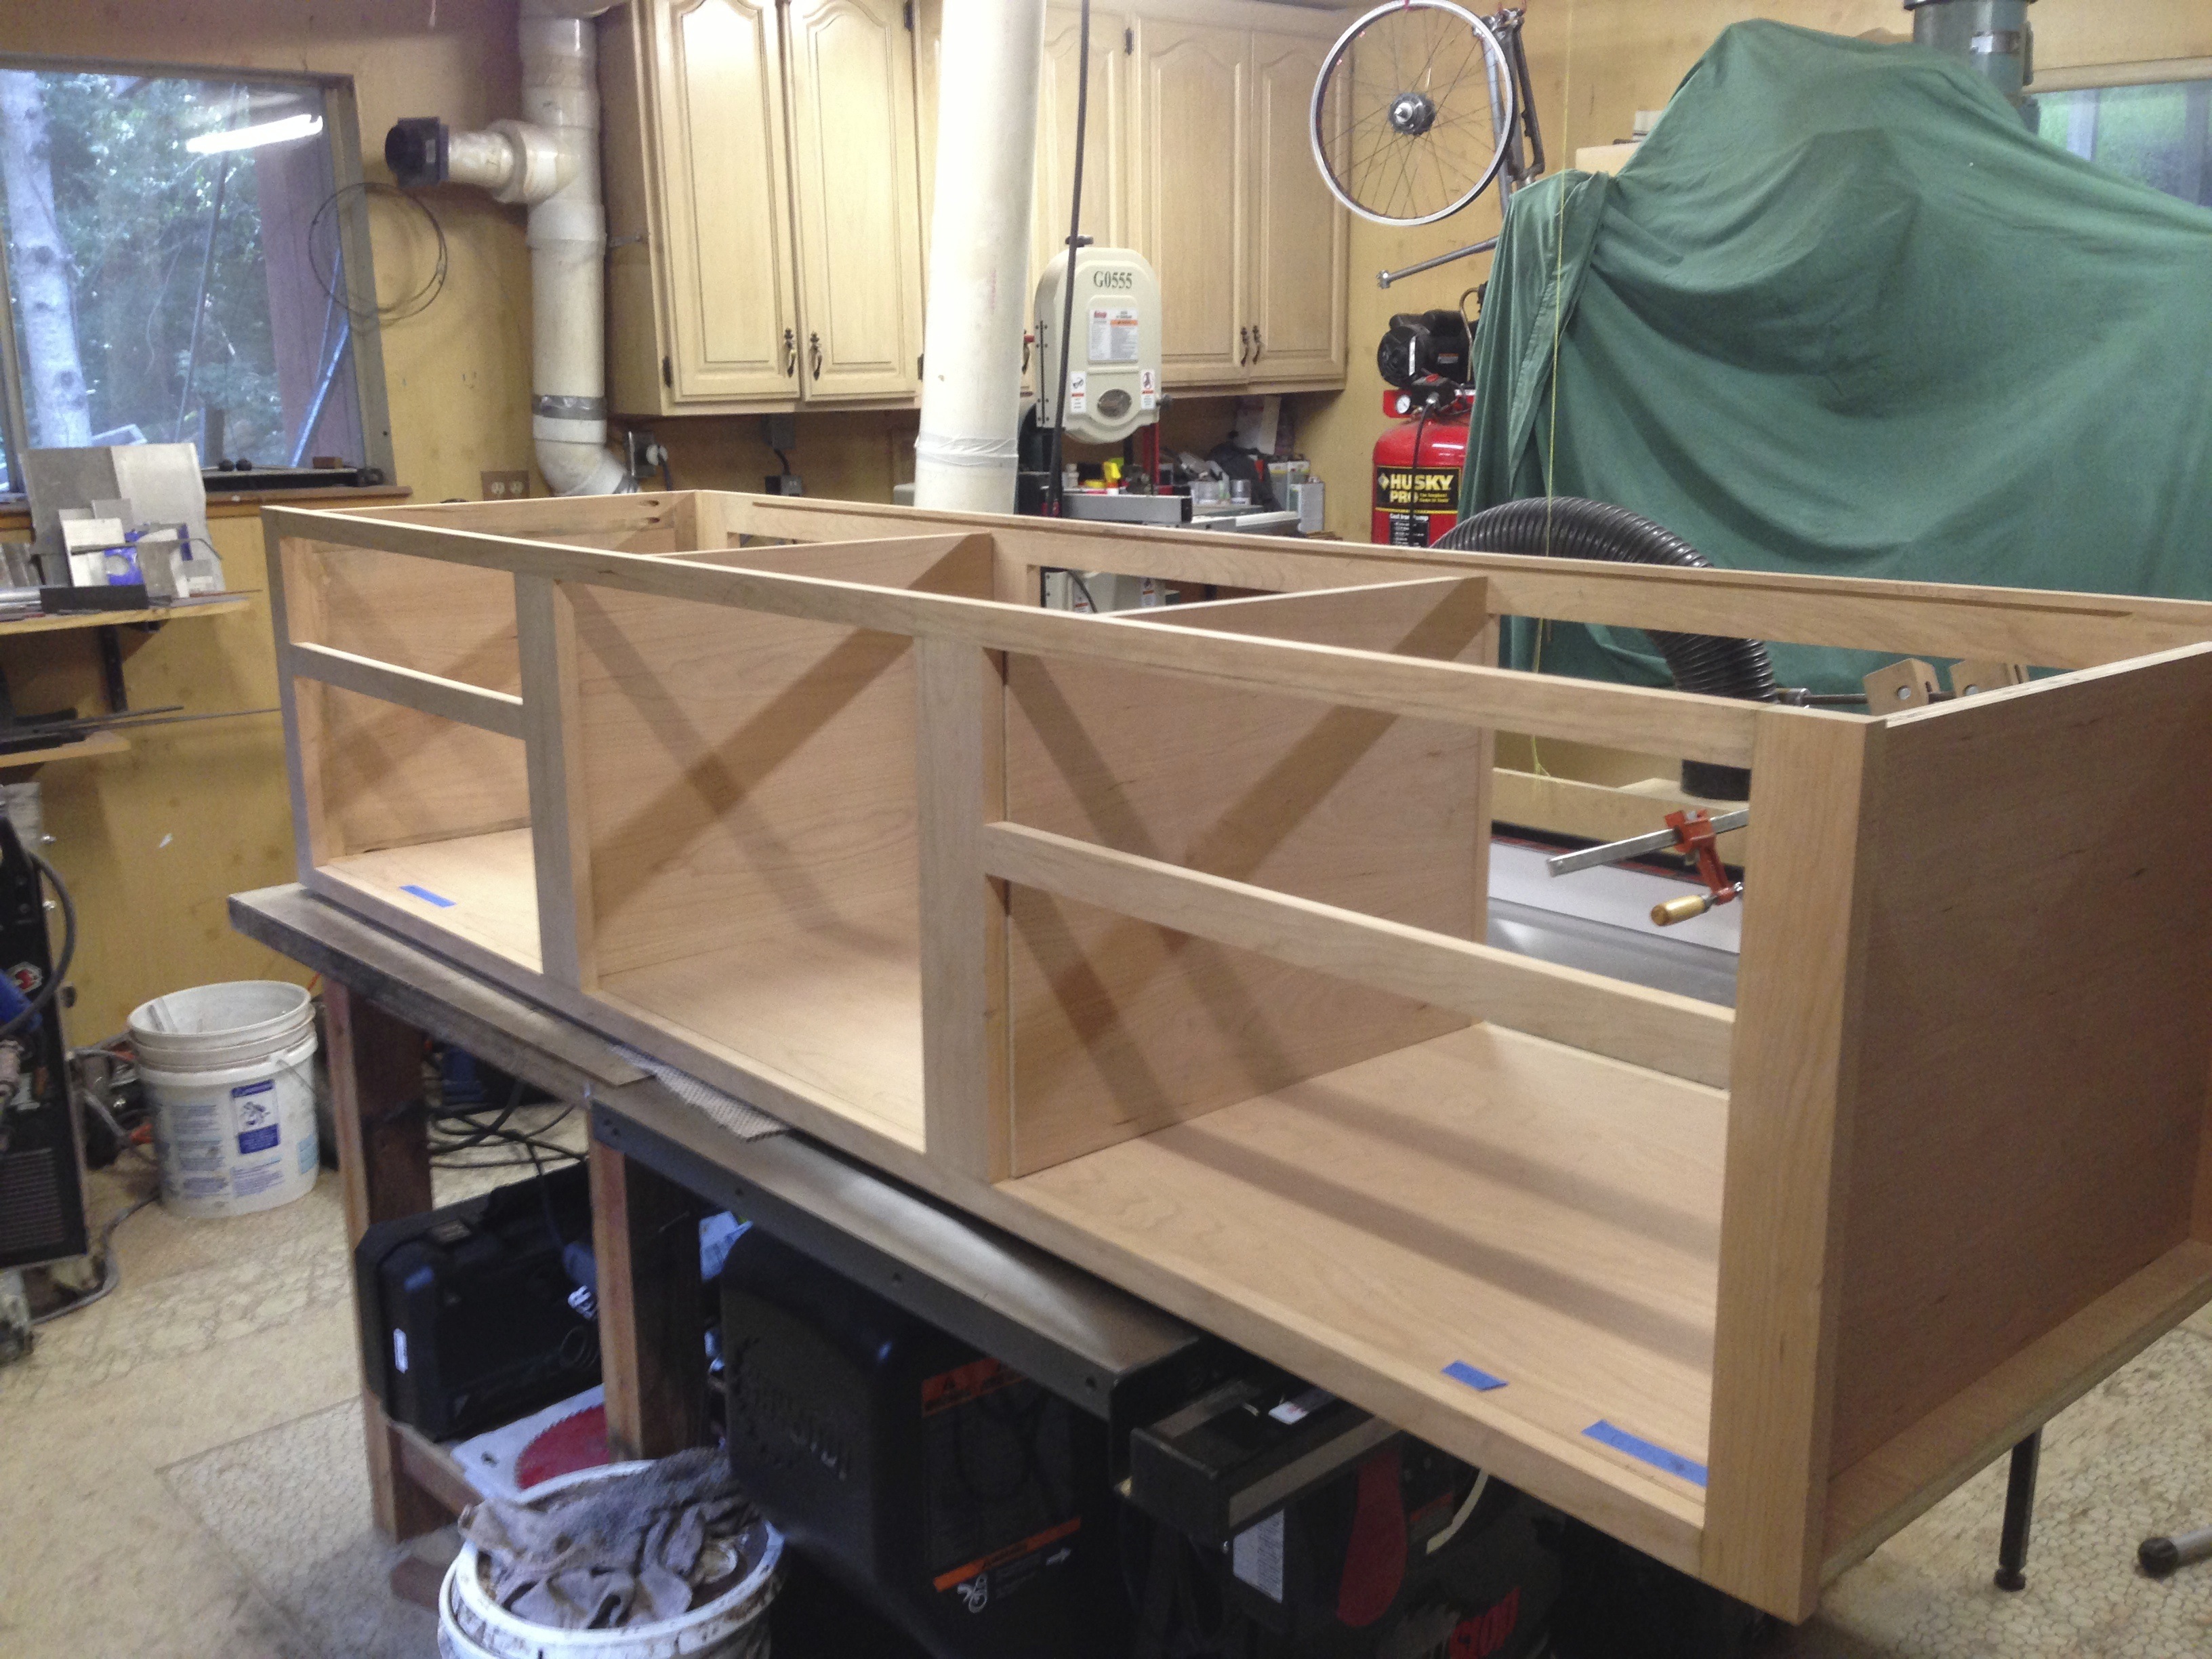
All together:
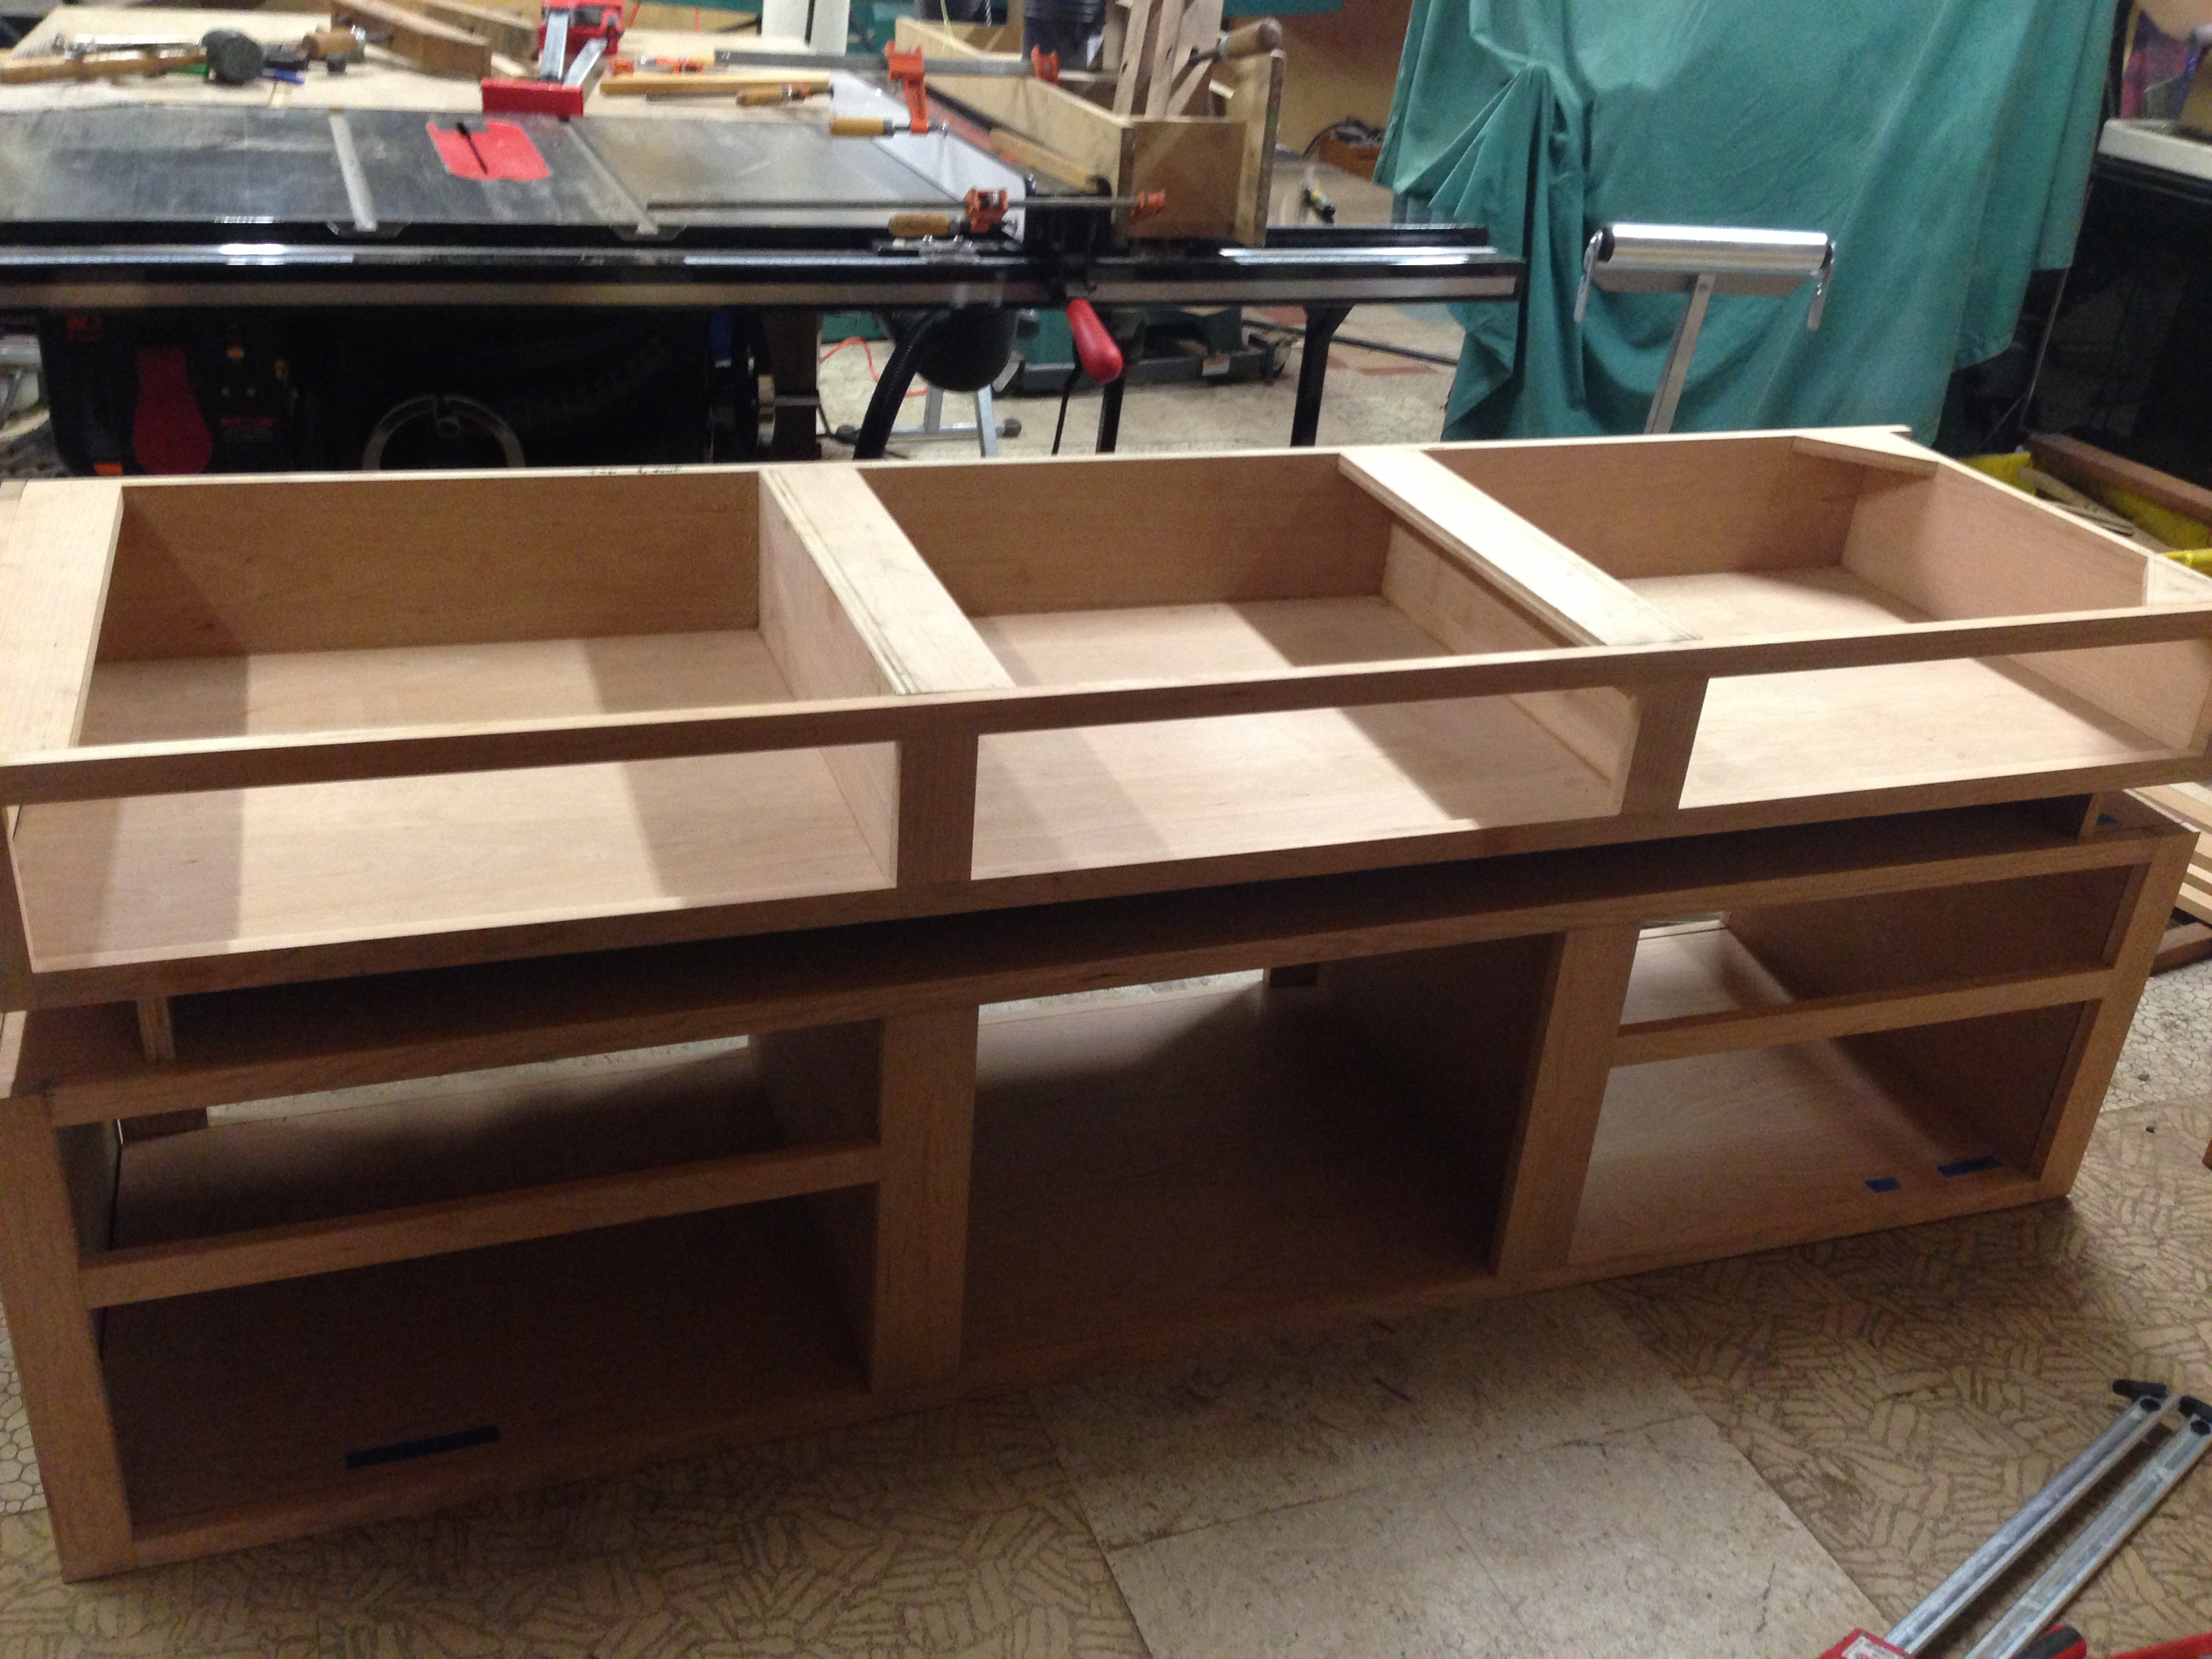
Stacked to get a feel for what it will be like:
Bottom cupboard:
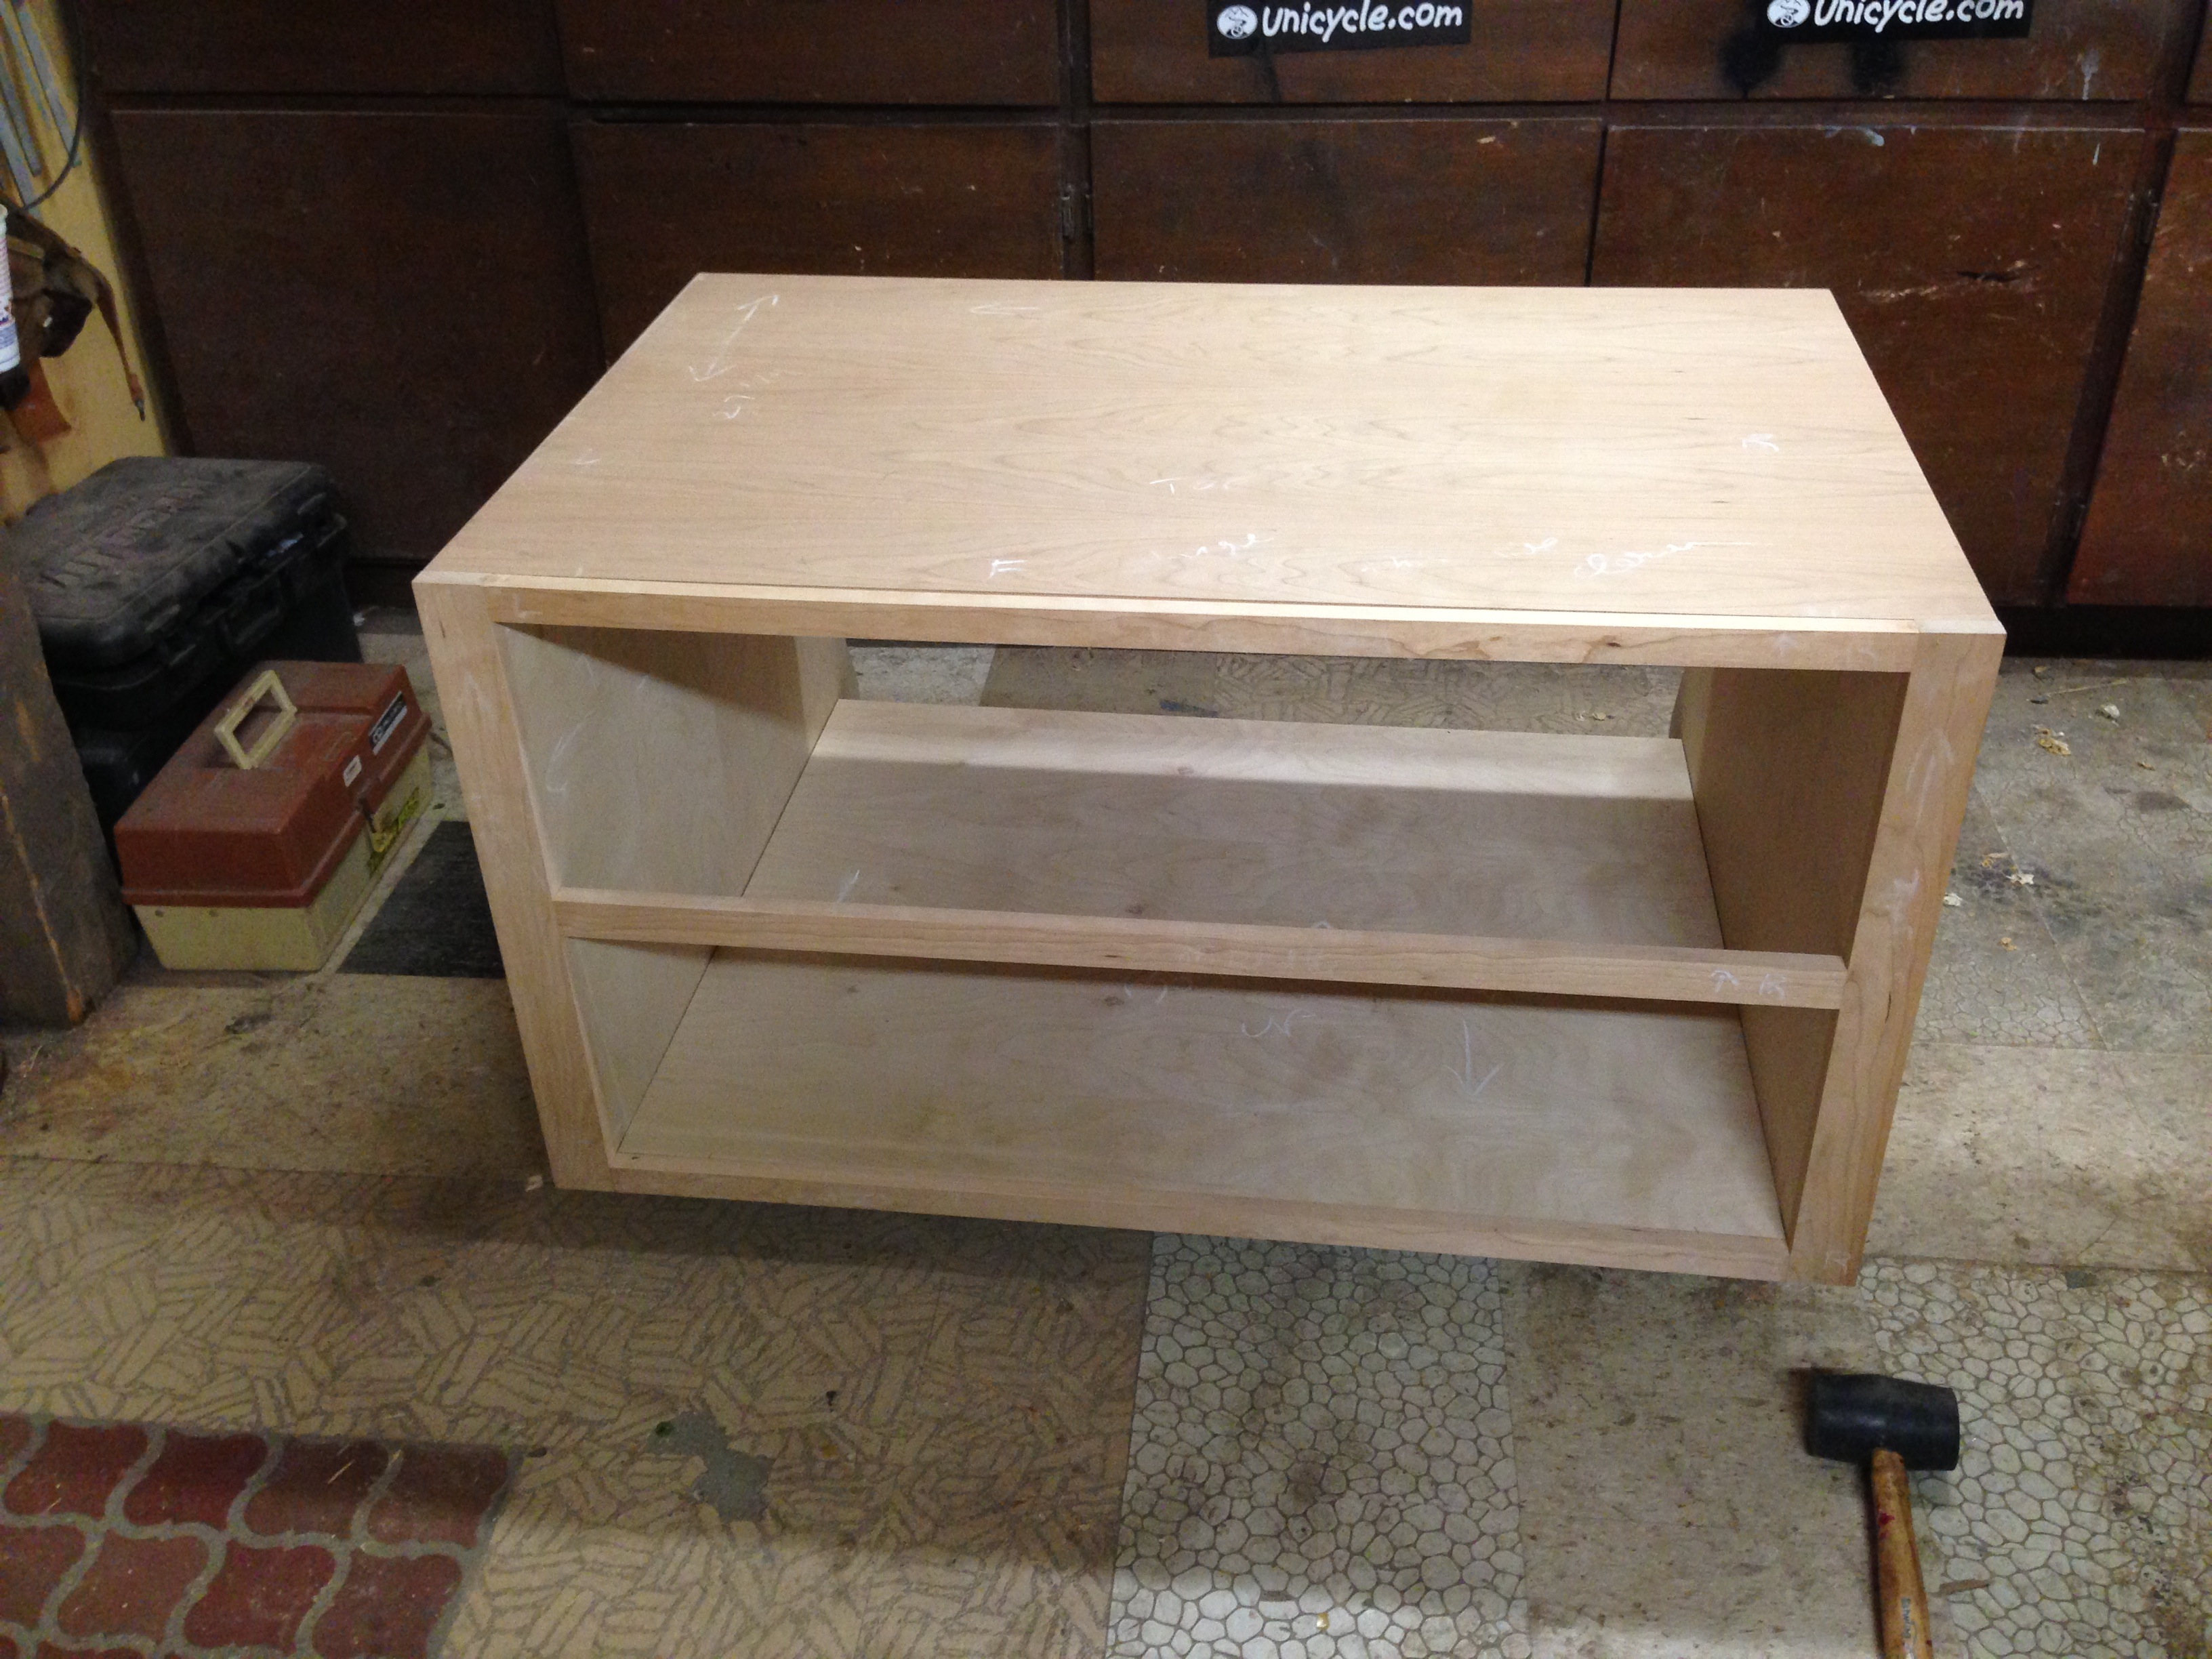
Cupboard above it:
Time to make some drawers, and then all the faces for these cupboards/cabinets.
Previous Post

Next Post


