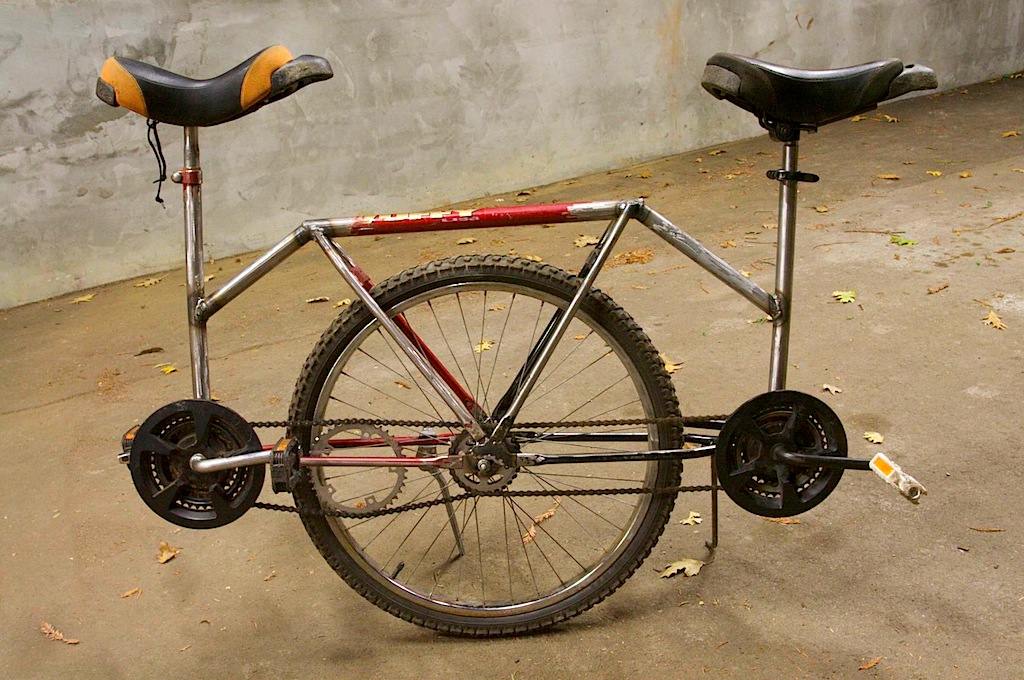
Building a Tandem Unicycle
My last post introducing my Tandem Unicycle originally started out with a step-by-step process of how I built it, but for some reason I lost the post. Here is how I made my tandem uni:
This idea is not my original idea. A few years ago at a “California Mountain Unicycle Weekend” a guy named LobbyBobster on the unicycle forums brought one and I gave it a try with Beau Hoover. Here’s a picture of the creator and their tandem, which looks much nicer than mine!
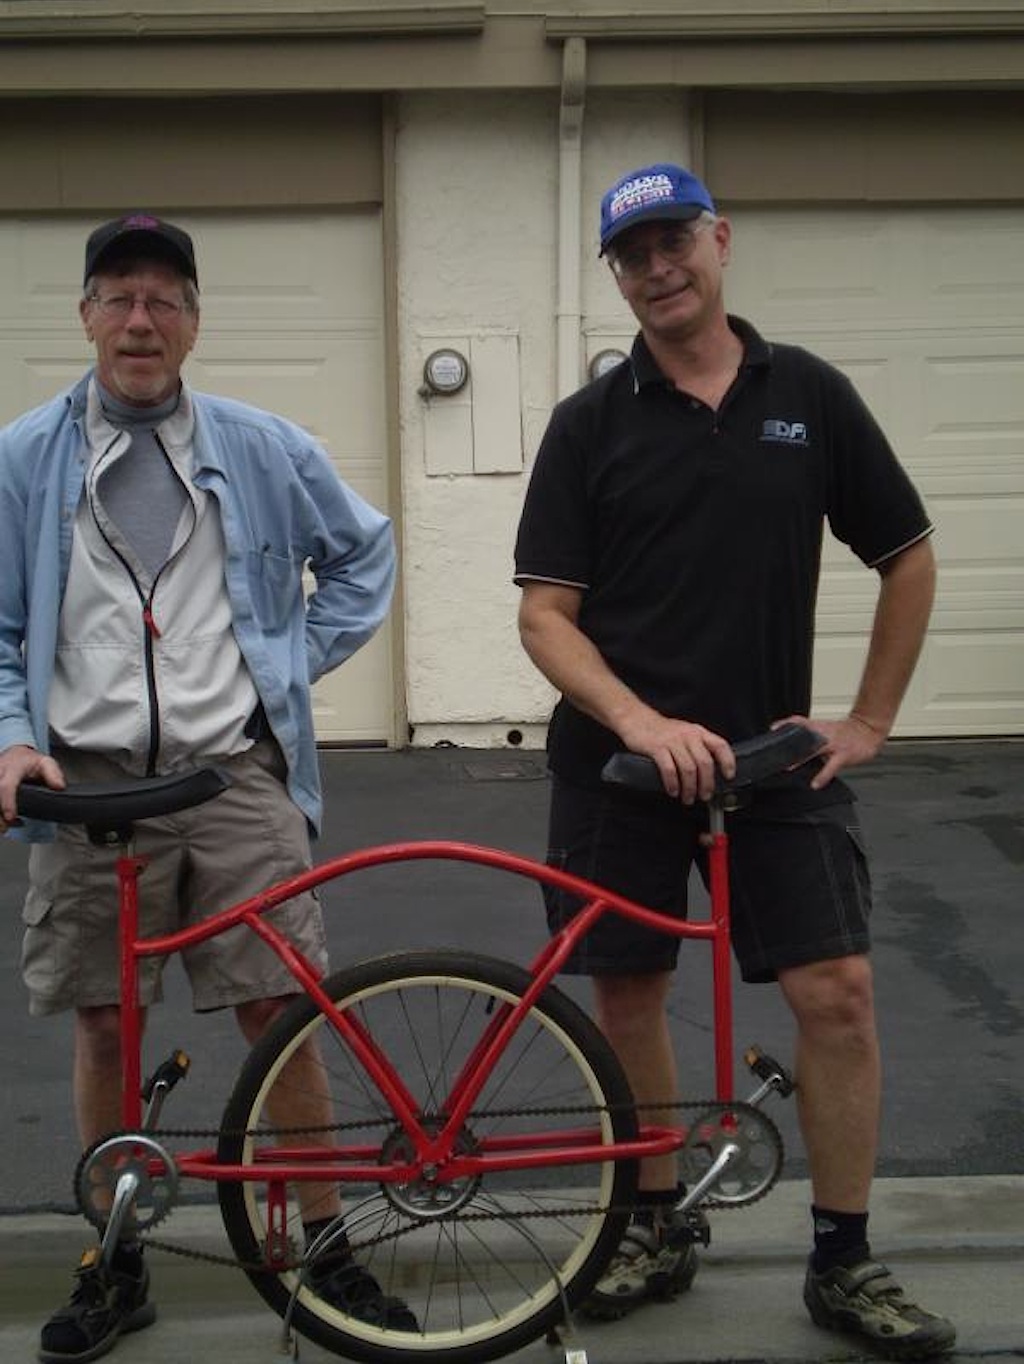
So, from seeing this uni two years ago and based loosely on this picture I set about making my own for no cost. I already had two old bikes that I got for free, so I was set to begin.
Materials:
* 2 Huffy Mountain Bikes
* 2 Unicycle Seats
Tools Used:
* Sawzall (with a bimetal blade)
* 4.5” angle grinder
* MIG welder
* Half round file
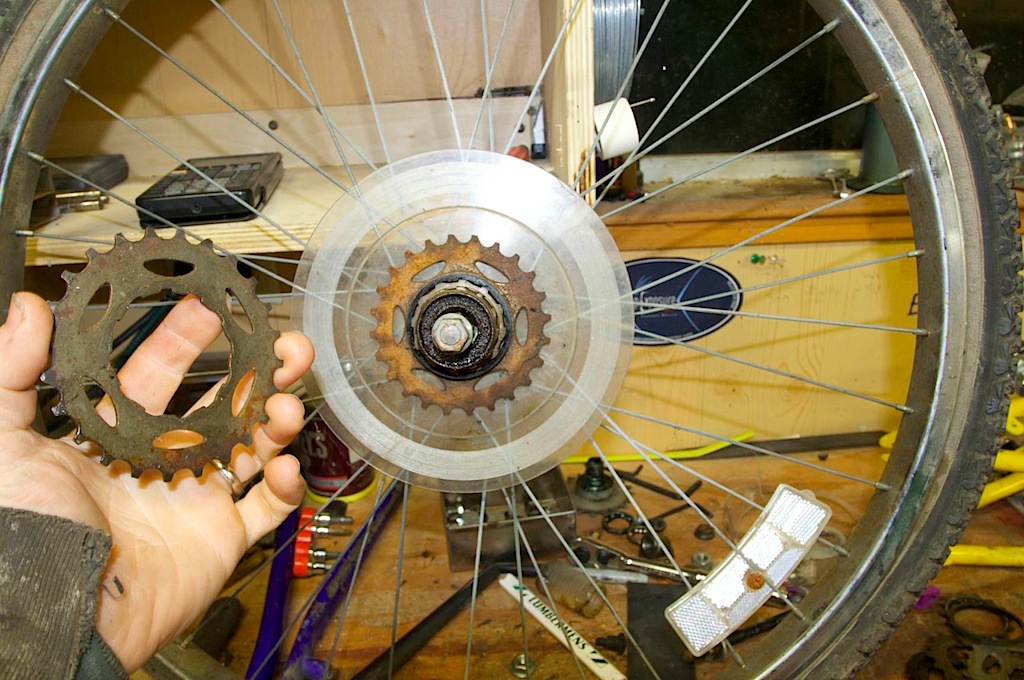
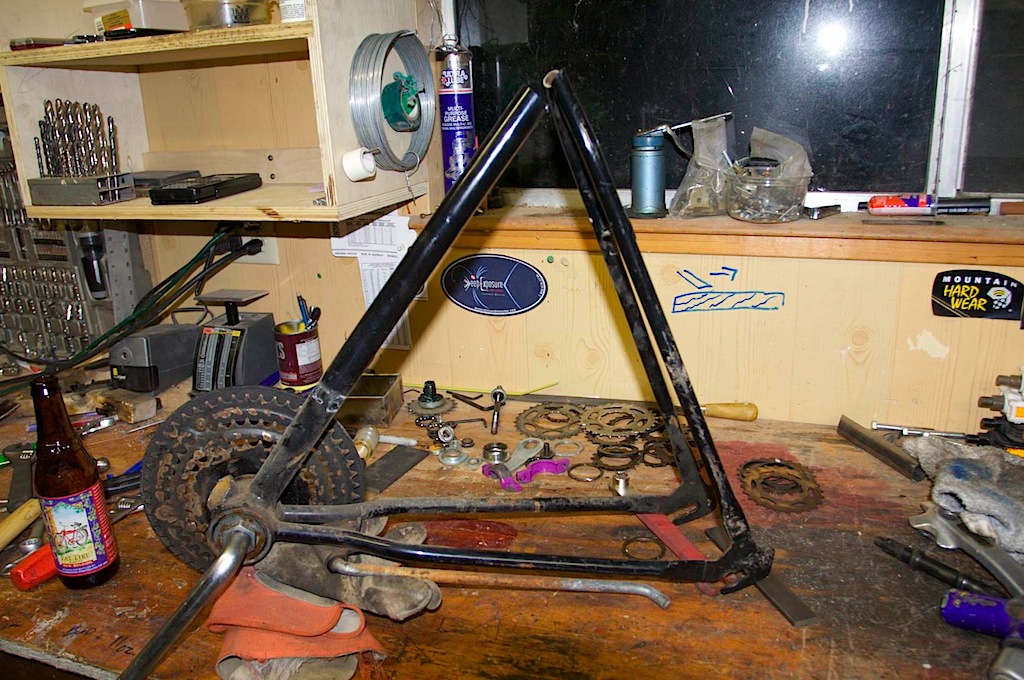
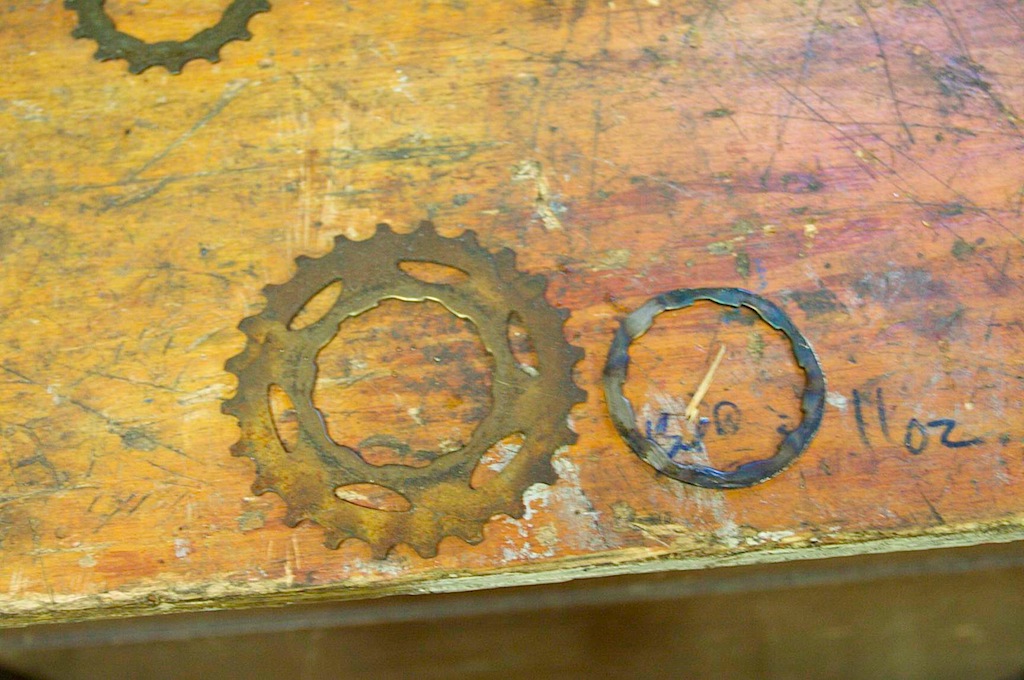
I took the wheels off of the old Huffy mountain bikes. One of the two rear wheels was going to become the main unicycle wheel, so I removed the rear cassette and saved the sprockets:
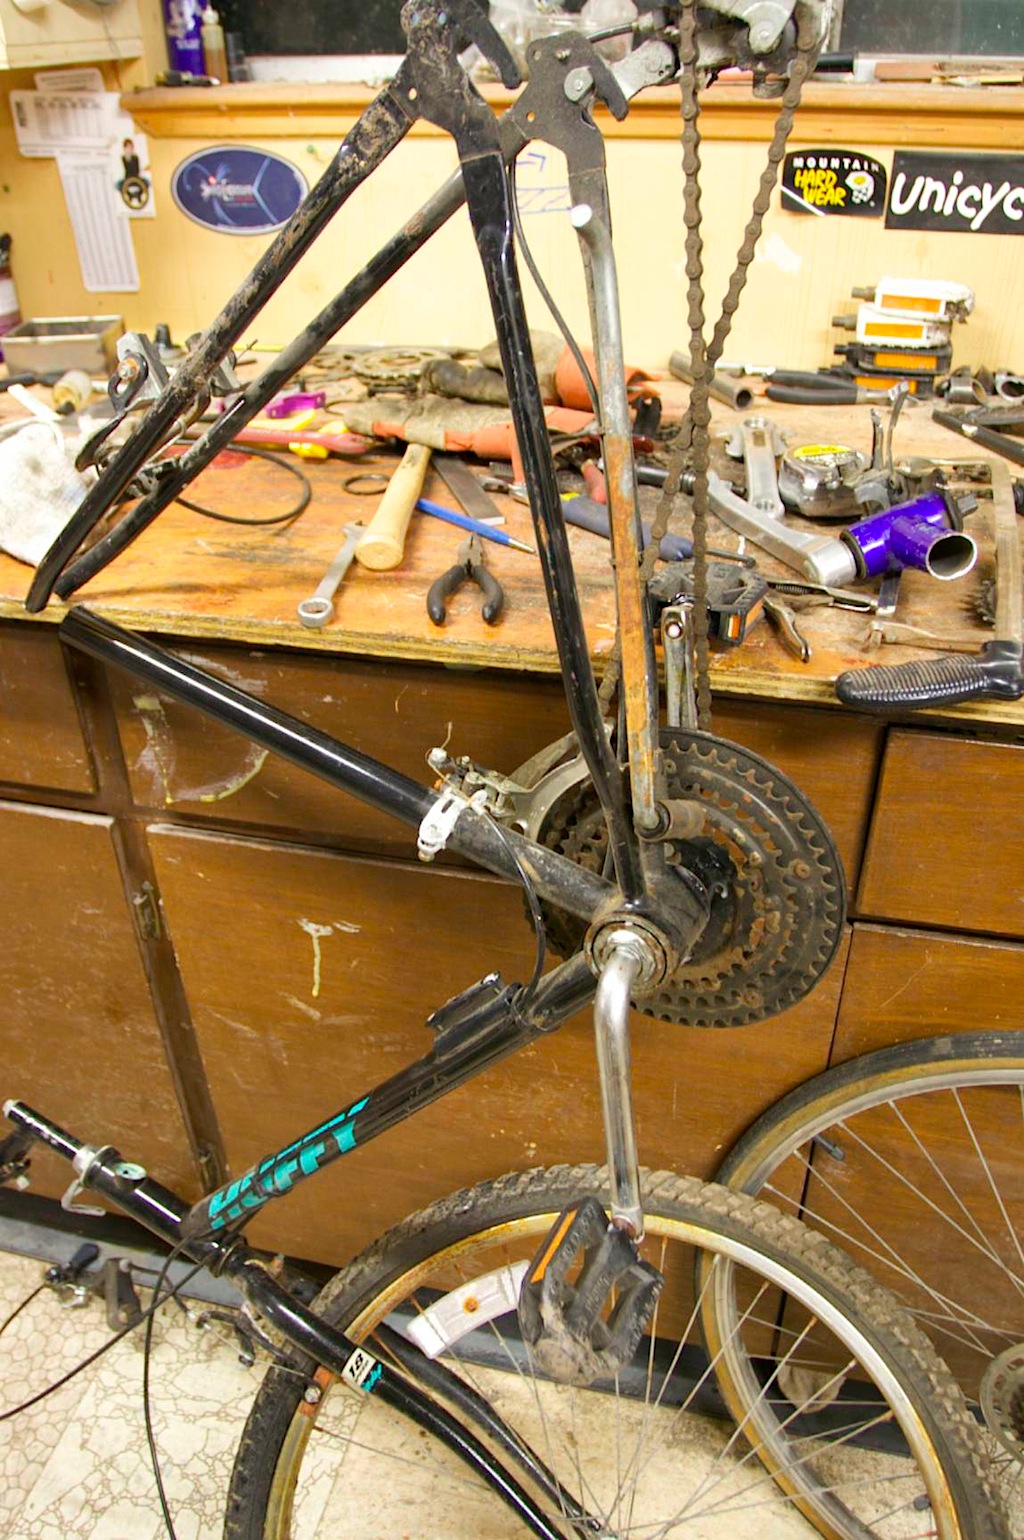
The intent was to weld the two rear halves of the bikes together, utilizing the rear triangle that already exists. I used the sawzall to cut the front half of the bike off:
(NOTE: in this picture I already had removed the seat post clamp for another project — you should leave it on if you are making your own tandem).
The rear triangle after I cut it free. Notice that the seat post tube is at an angle — I later cut it off and re-welded it vertical so it would be more “unicycle like”:
And the rear triangle of the other huffy after I cut it free:
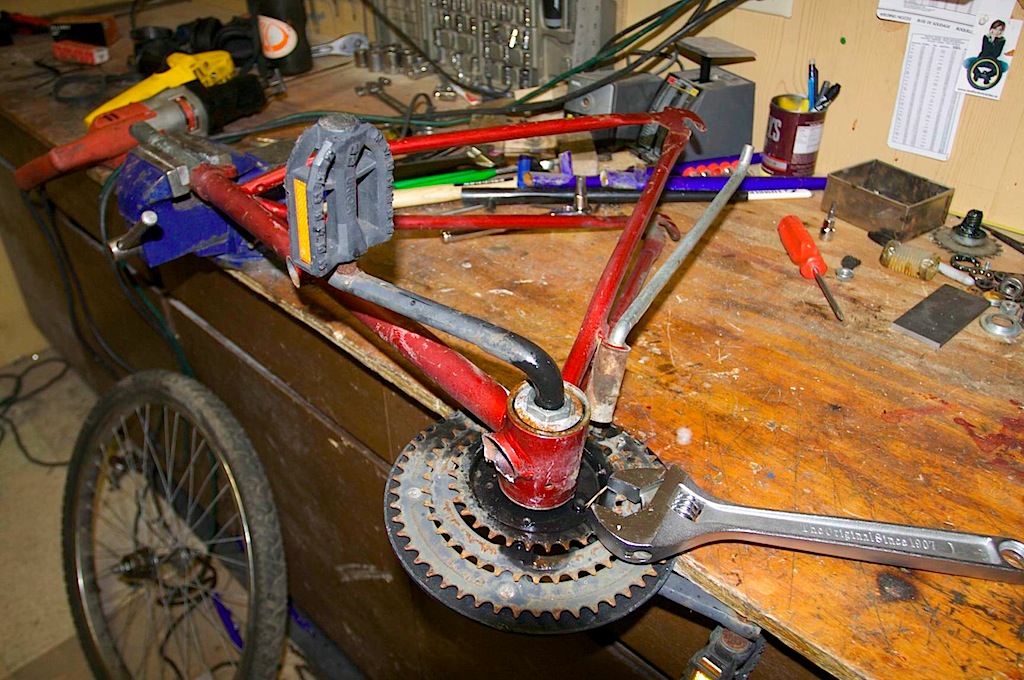
I removed the main drive hub — one of the two has to be switched to the opposite side, and it worked well to remove both and re-grease everything after I welded it back together. Removing the hub was easy, even though I didn’t have the proper tool. I used a screw driver to get the reverse-threaded hub “bolt” out:
The next thing done was to cut off the vertical tube and cleanup the two holes left in the hub housing:
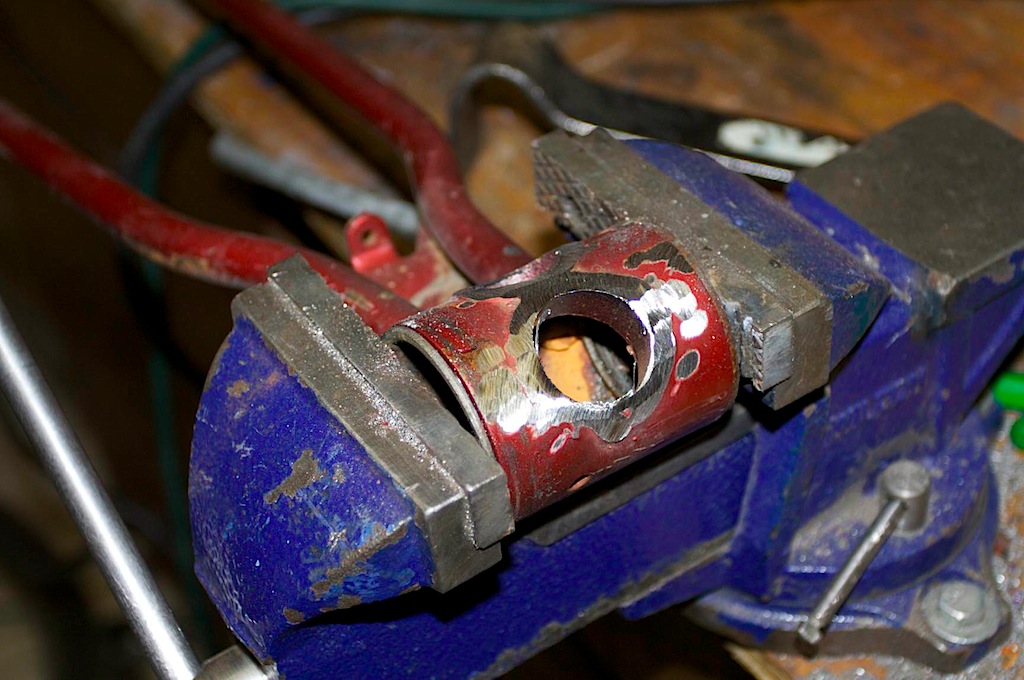
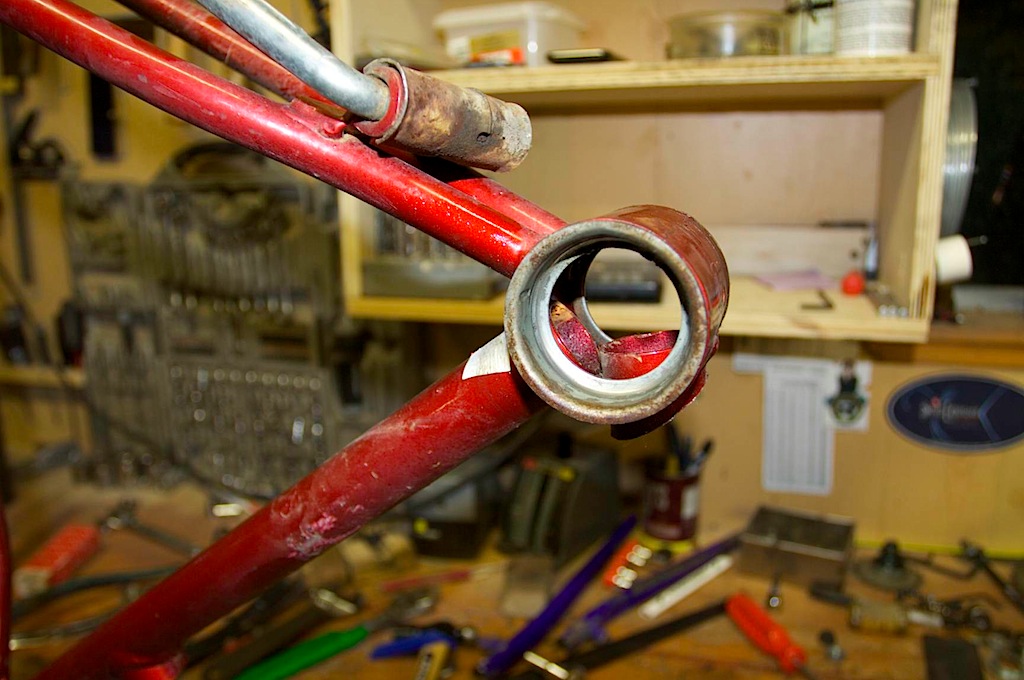
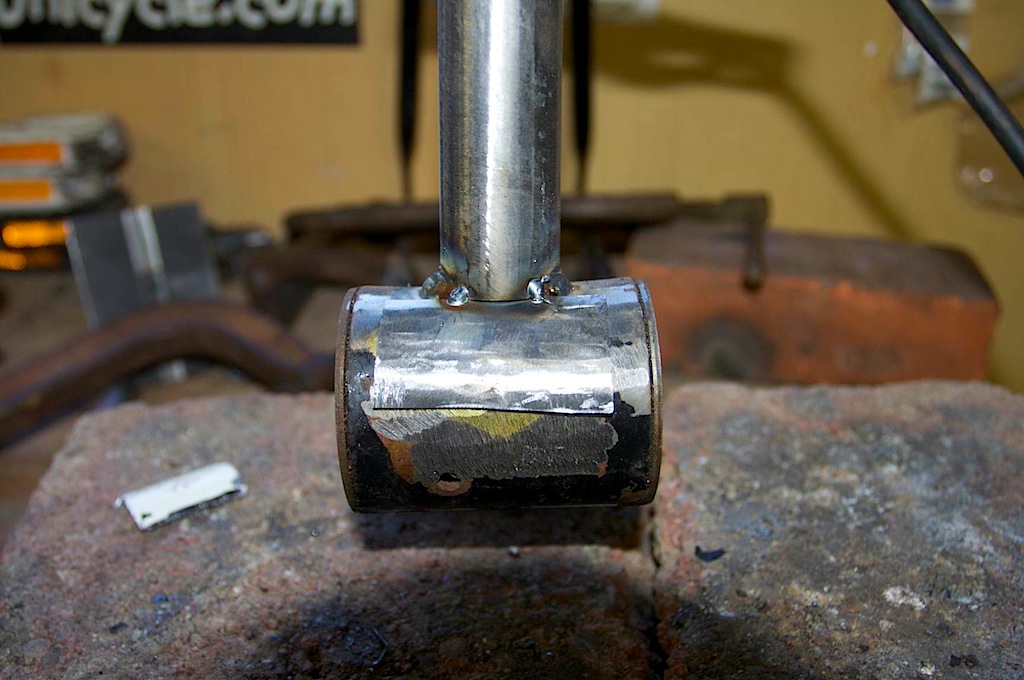
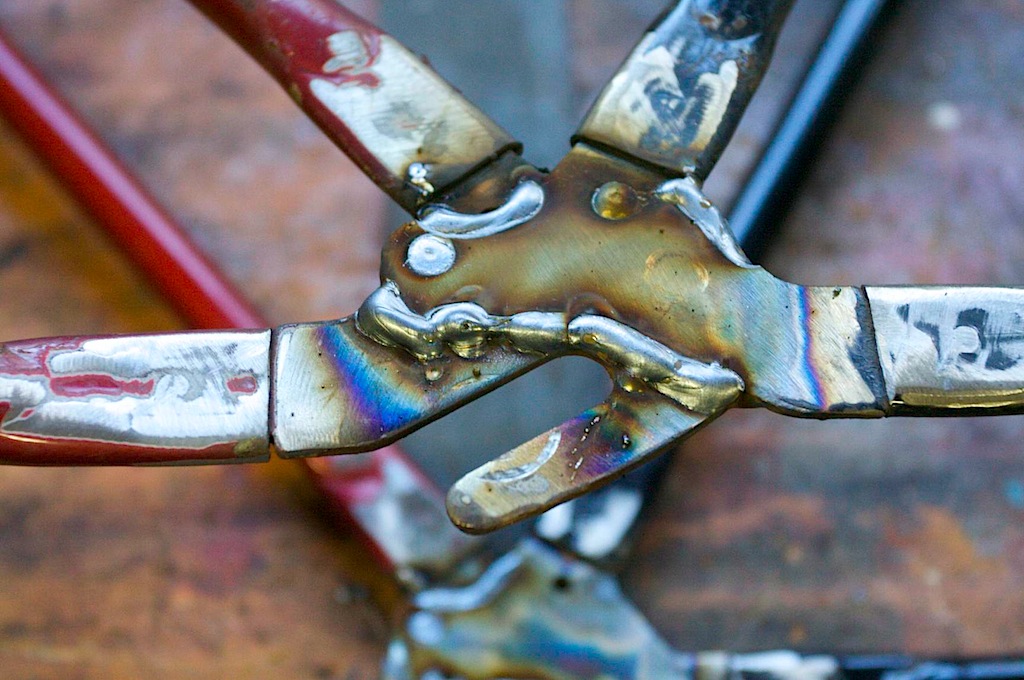
I then needed to weld the seat post tube vertical. I used a half-round file to cut a slight fish mouth out of the tube so it would fit nicely over the rounded hub housing. I then created a hokey setup to hold it vertical, testing the straightness with a square:
I tacked it, and welded it on. Note that the big holes are left:
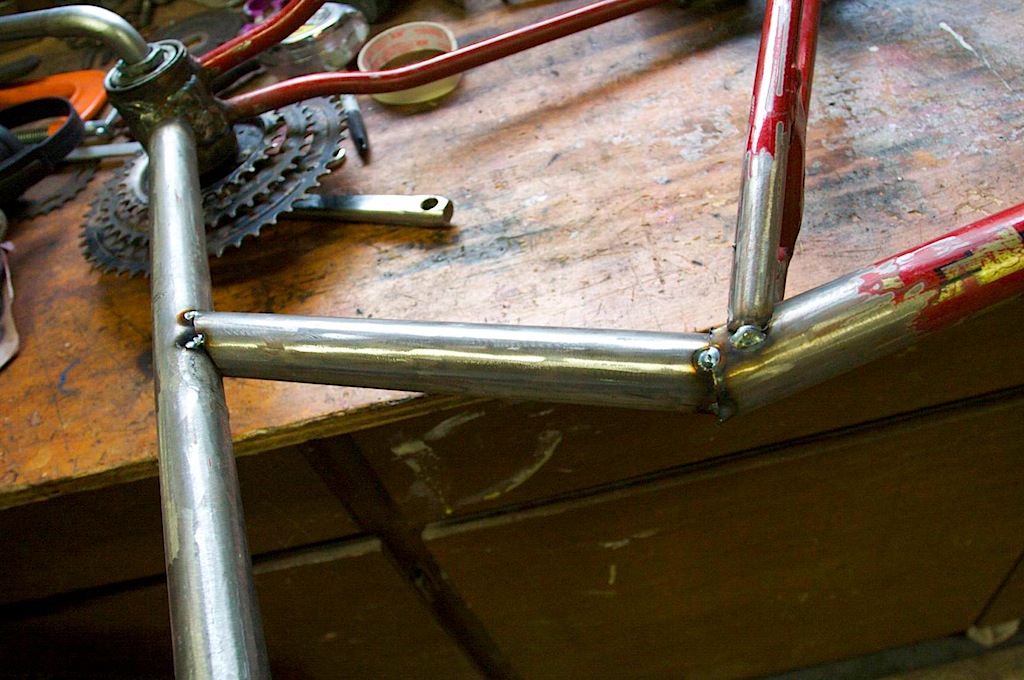
I cut a piece out of one of the horizontal seat post tubes to use as a patch:
I tacked it on:
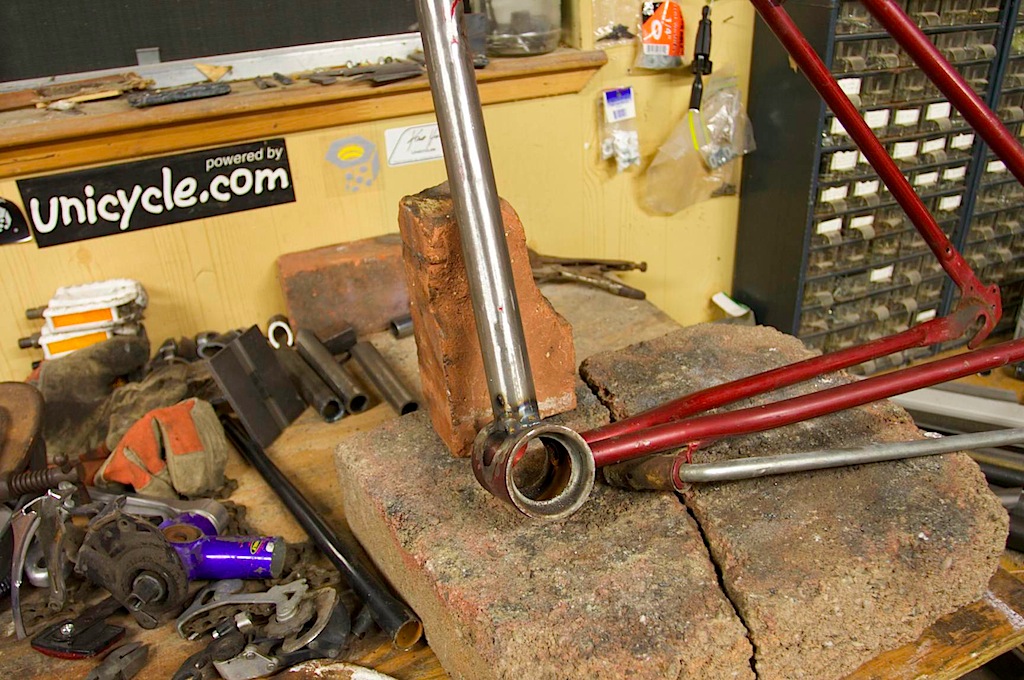
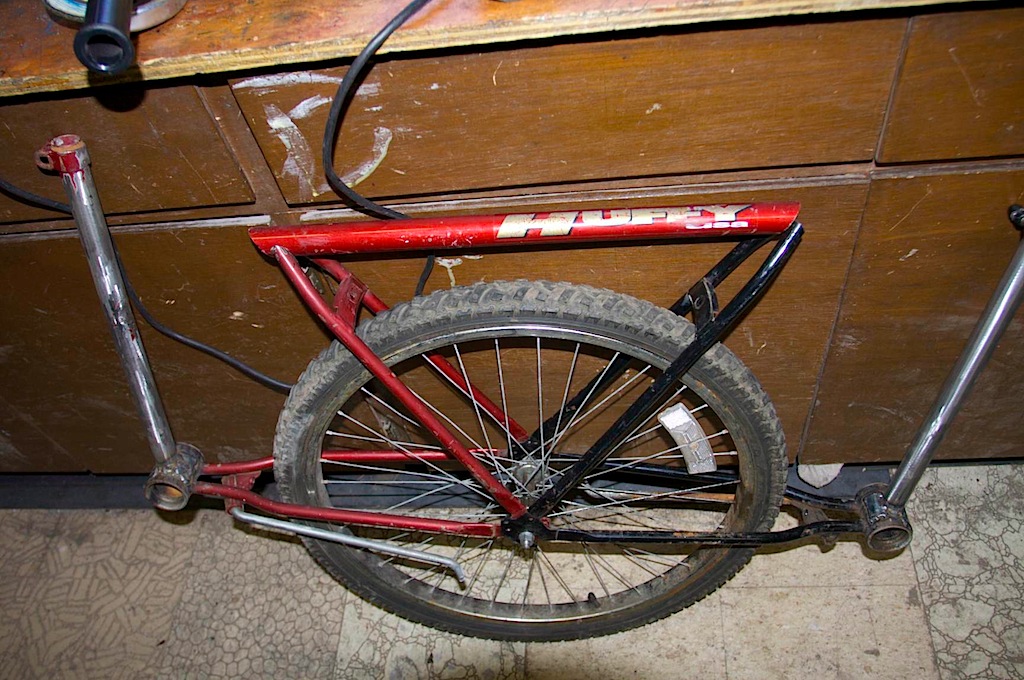
and then completed the weld. There is a patch on each side to cover up both holes. I then repeated the process for the other bike half. At this point I attached the two halves to the wheel to get a feel for it, and cut a top tube to size after making sure the bottom pieces were inline with each other:
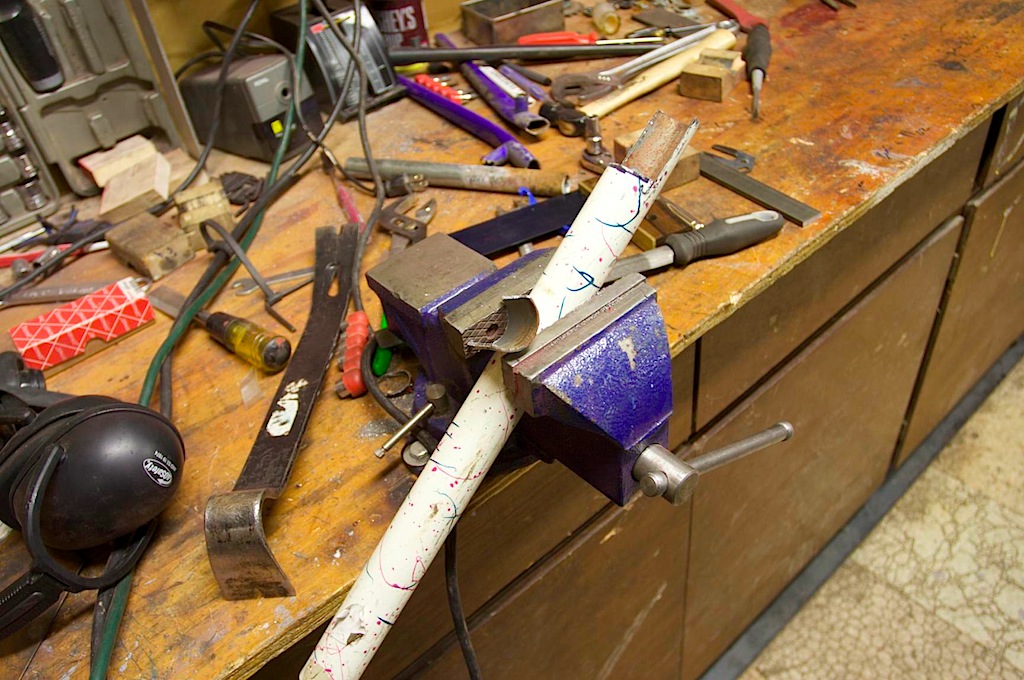
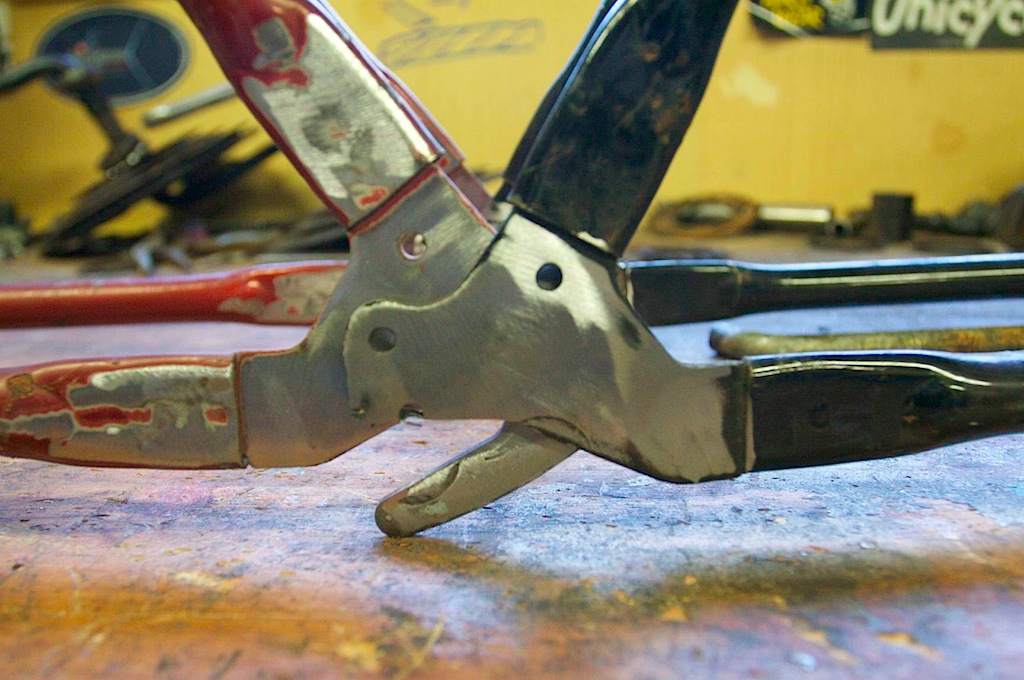
The next thing I needed to do was to weld the two halves together. I prepped the steel and cut off the angled slot on one side:
I clamped them together, making sure the bottom pieces were in the same line with each other — that way, each seat post tube is parallel with the other.
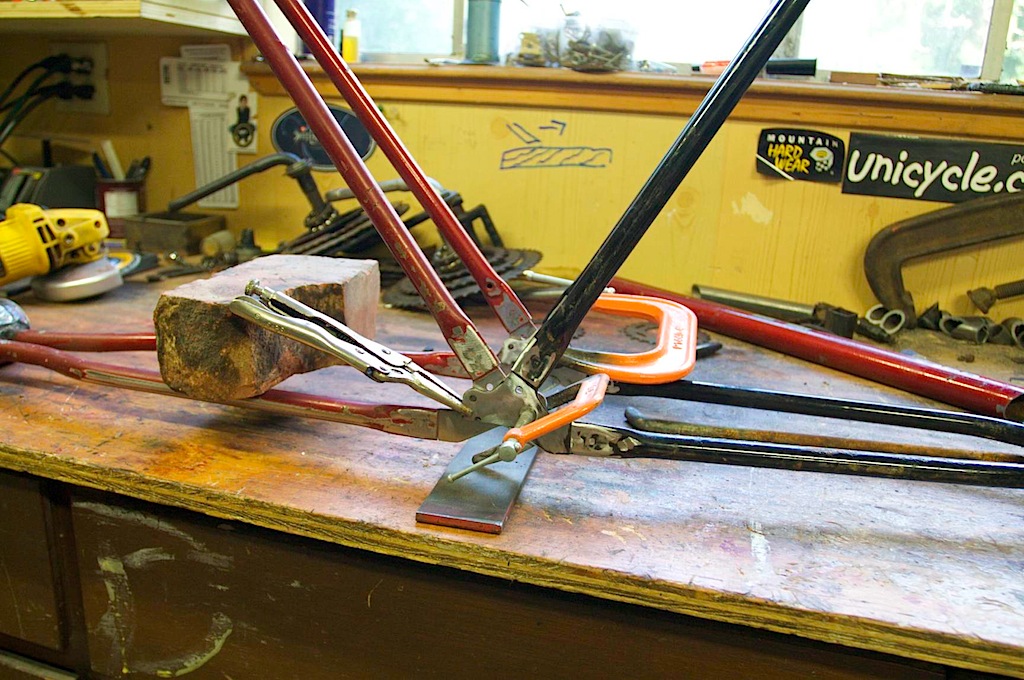
After they were MIG welded together:
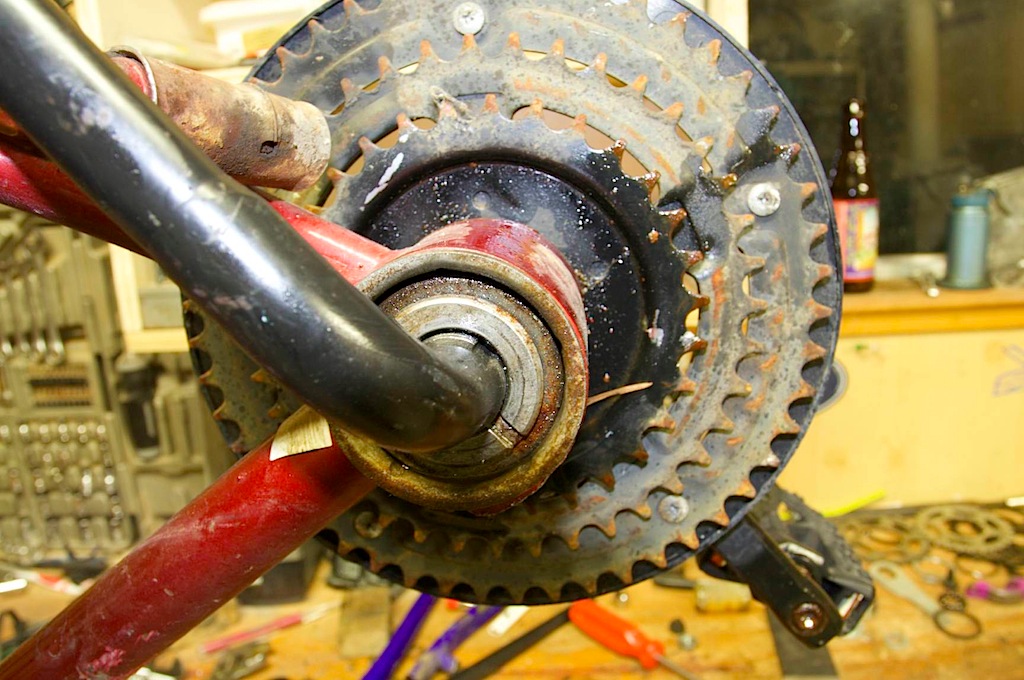
At this point I decided to weld the freewheel on the rear hub’s cassette so it wouldn’t freewheel. Note that the hub spindle still turns free.

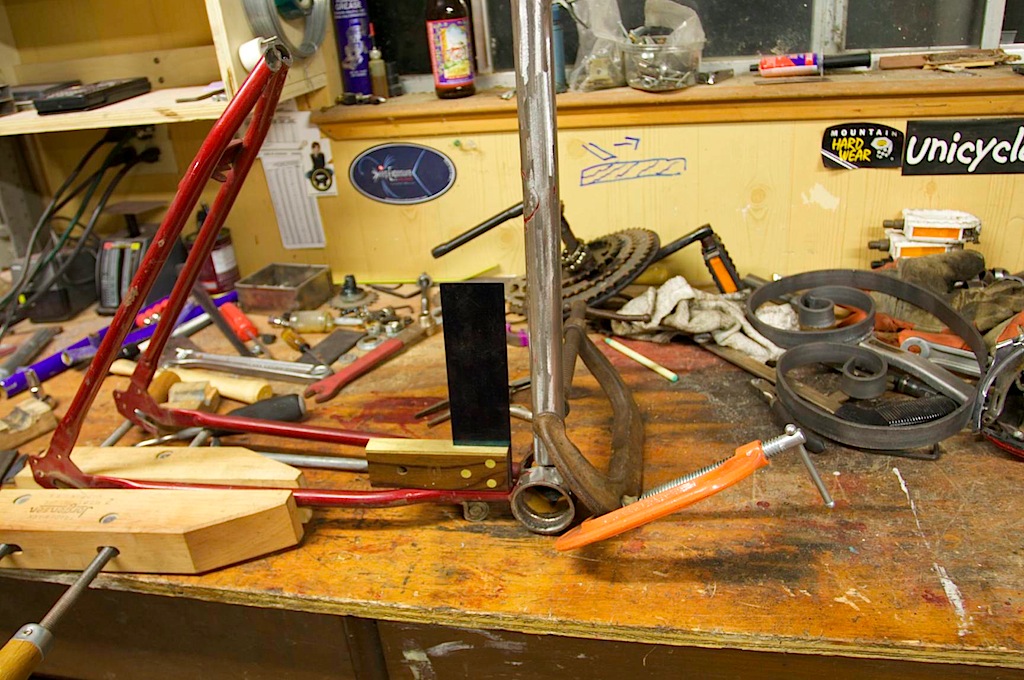
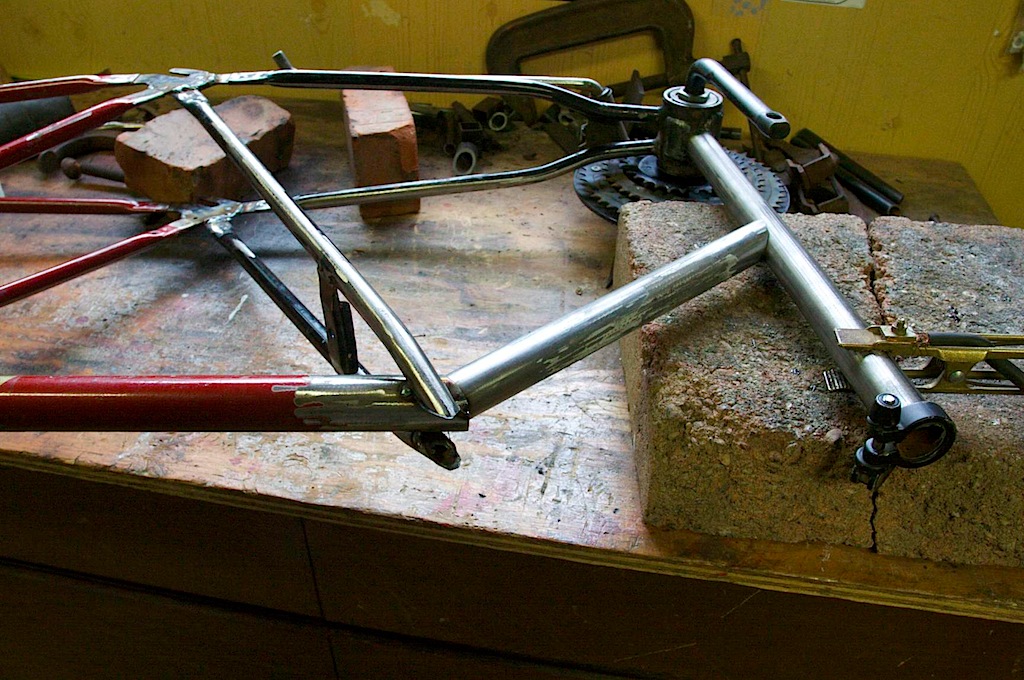
The next part was to tack weld in the top tube in place, and cut some side tubes to fill in the frame:
For the other side doesn’t look as good. It turns out the two bikes were different frame sizes, and I wanted the top tube to be horizontal, so I had to do some funkiness to get it that way:
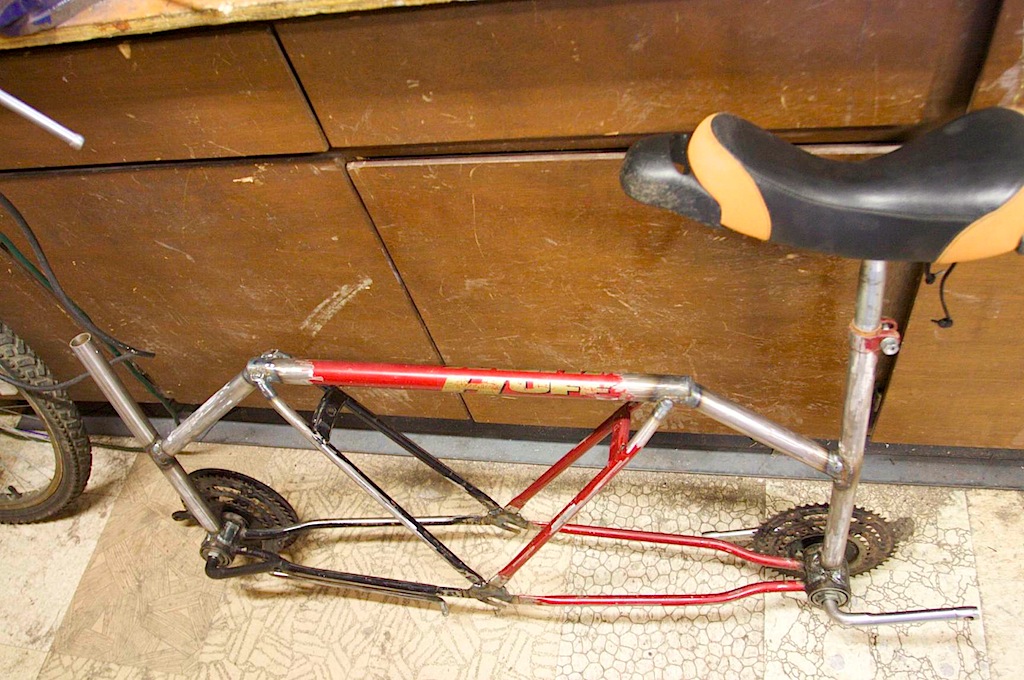
At this point I put the sprocket and hubs back together and stuck some unicycle seats in:
The only thing left was to weld on two sprockets in the wheel’s hub. I took two sprockets of the same size (one from each cassette), with about the same number of teeth as the smaller hub sprocket (in order to get a 1-1 gear ratio). I made a spacer by grinding off some of the teeth on one of the sprockets and used some of the plastic spacers that were left.
I then welded this to the hub (sorry, no picture).
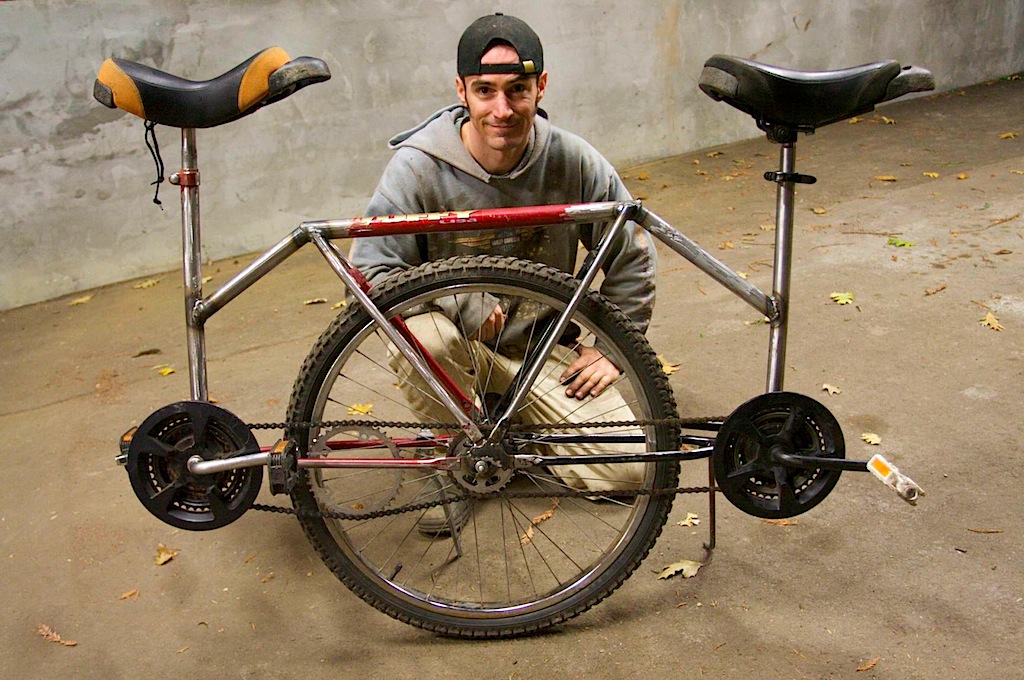
At this point, the whole thing was put together with two chains, and I temporarily used a large sprocket in between two of the chains to keep the chain a little tighter:
Left todo is to create a chain tensioner, and to paint the thing.
corbin


[…] Building a Tandem Unicycle […]
[…] Update: Full instructions, if you’ve got sufficient wild abandon, can be found here. […]
Hi,
We write stories for the UK newspapers.
We would love to run a story about you.
Please could you email us so we can contact you for more information.
Thanks
Sweet dude! Cool to see the writeup on gizmodo!
[…] any case, do take a look at Mr. Dunn’s tandem unicycle in detail or witness the dueling dangers in action via this motion picture […]
[…] » corbinstreehouse.com […]
[…] créé par Corbin Dunn : un monocycle en tandem.Et pour les bricoleurs, vous pouvez faire un tour ici où tout est […]
What you refer to as the “main drive hub” is actually a “bottom bracket”, it took me a bit to figure out what you were talking about.
For one-piece-cranks like that, a big flat-headed screwdrivis is the proper tool, along with a hammer and maybe a pair of vise grips. They are crude, cheap, and meant to be easily serviced by 7-year-olds. As a bonus for your purposes, they can be run backwards with no problems, as the cups thread to the spindle and not to the frame.
[…] Corbin’s Treehouse comes his frankenstein’s monster of a two-person unicycle. How do you create such an […]
This is so sweet!!
[…] Bonne nouvelle si vous voulez vous fabriquer votre vélo original, le bricoleur a détaillé toutes les étapes du montage de son tandem sur son site. N’hésitez pas à m’envoyer vos photos ou vidéos si vous vous lancez dans […]