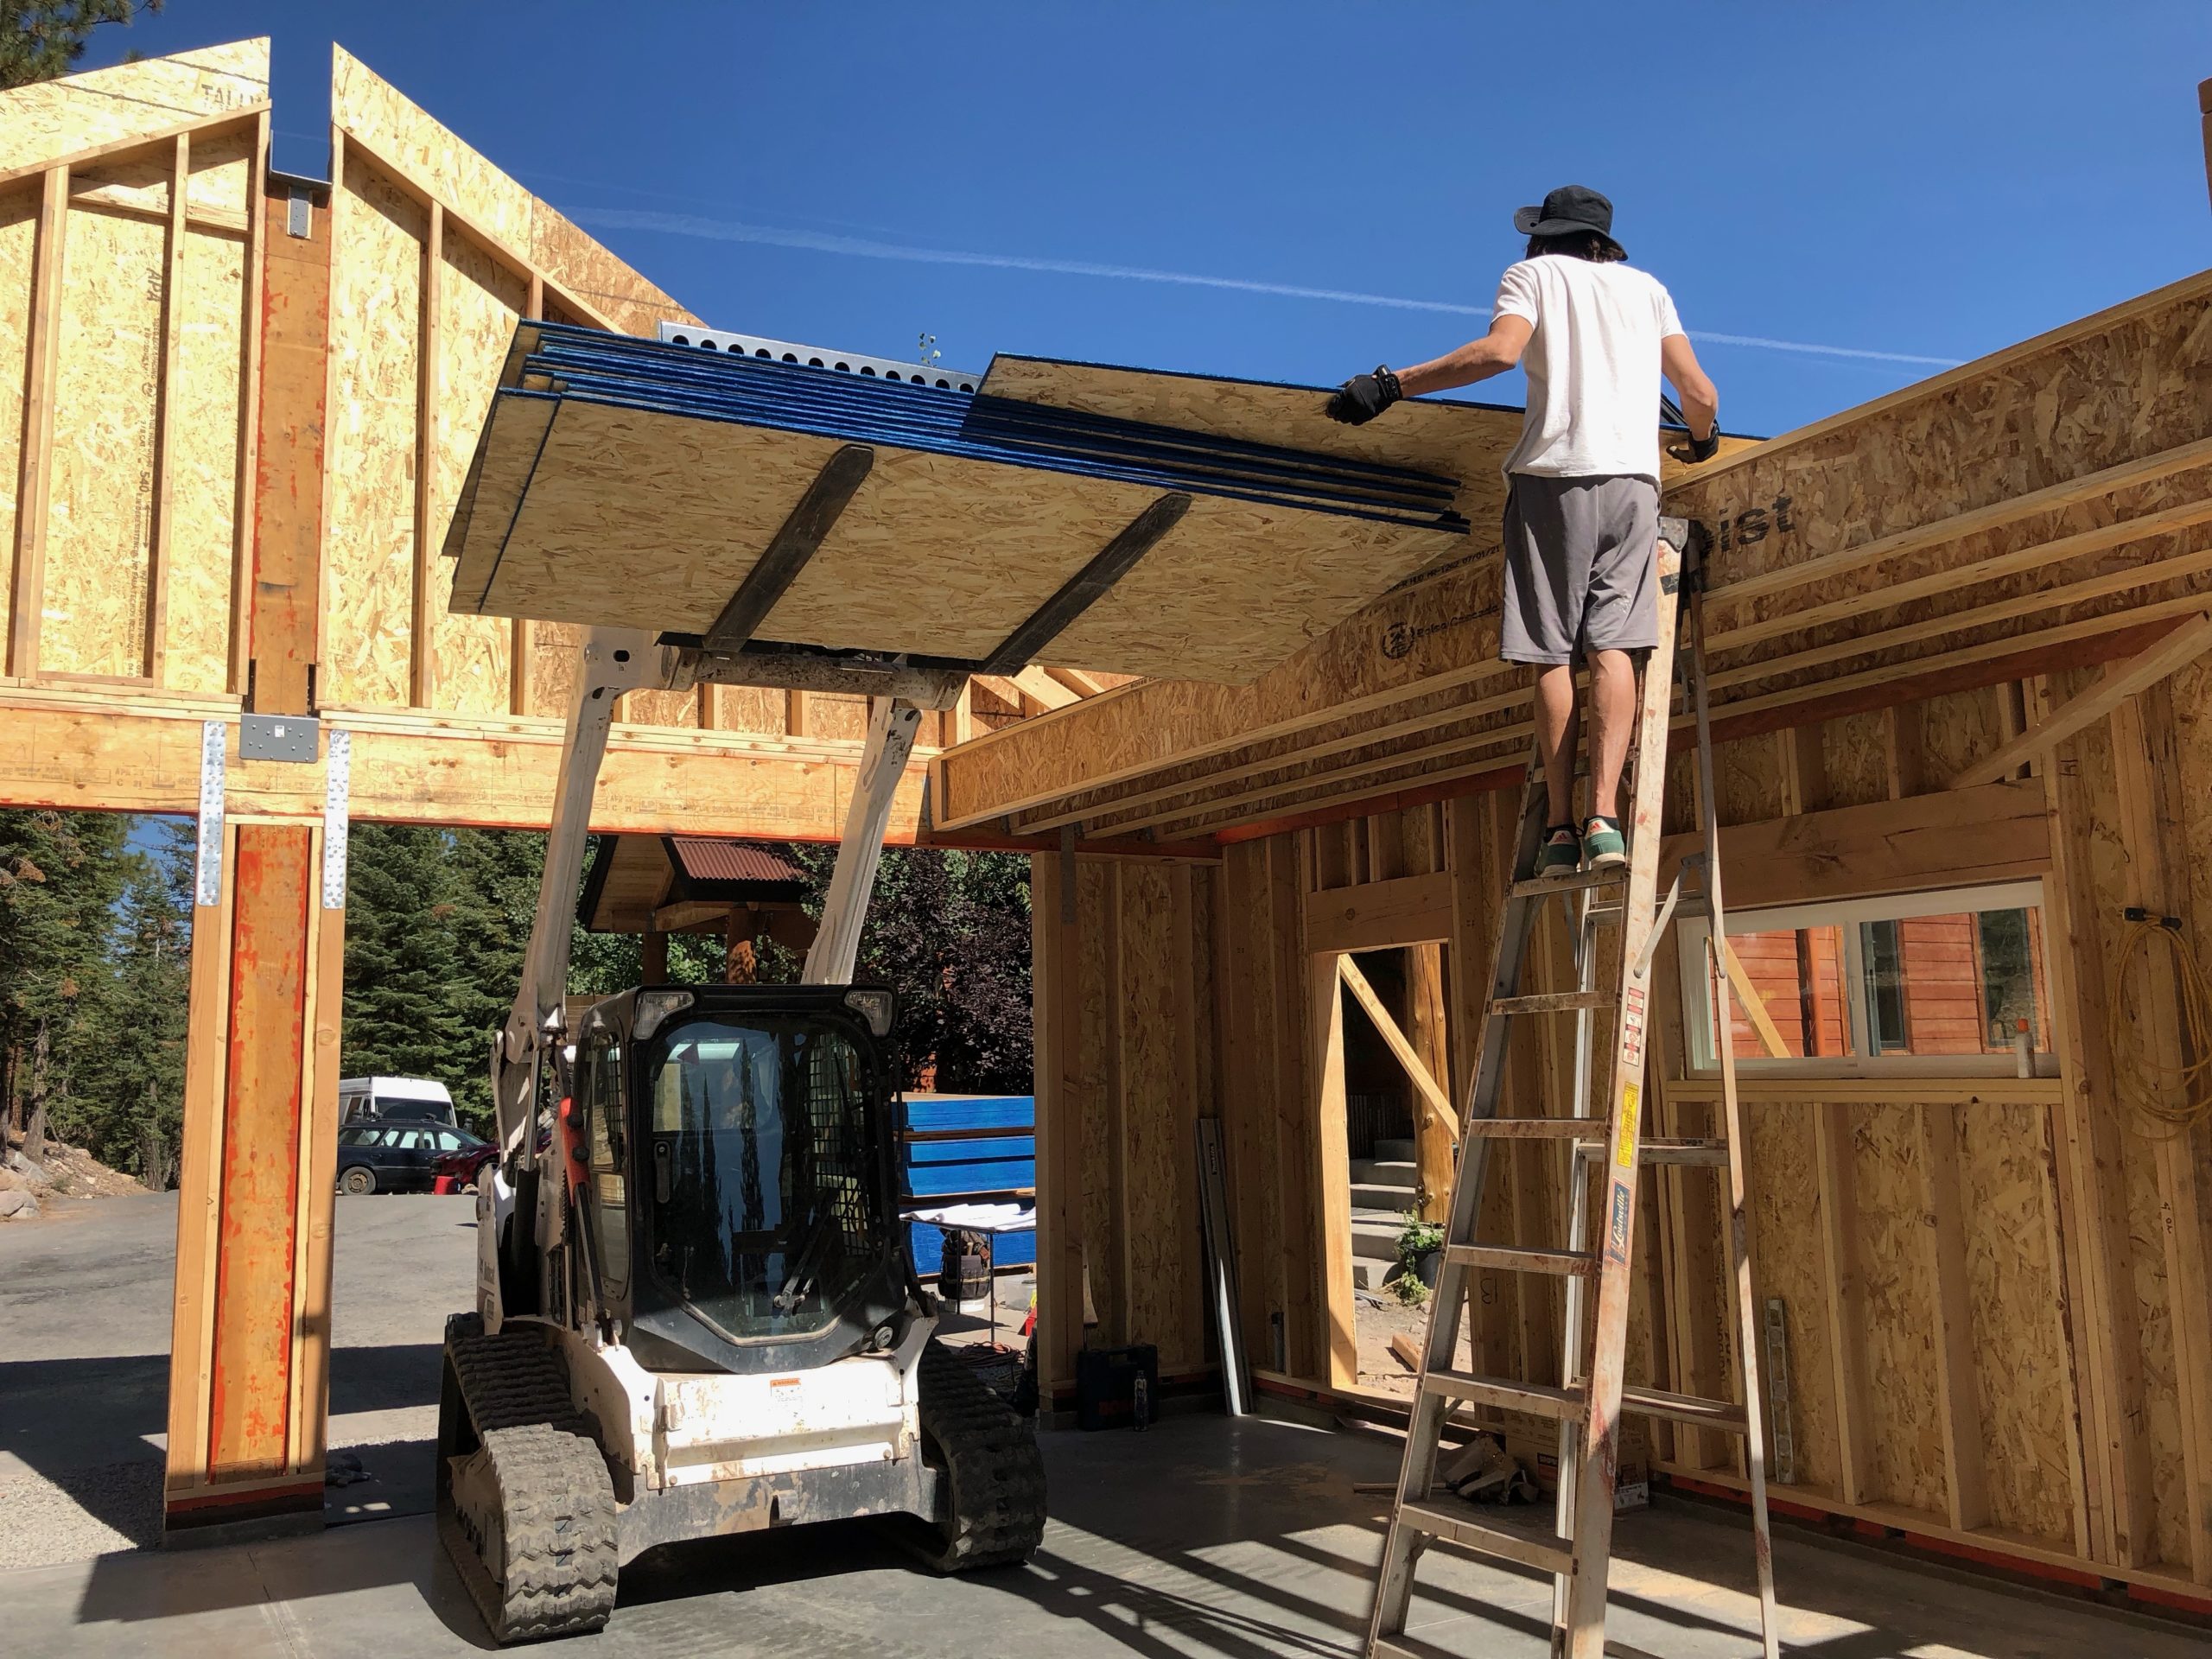
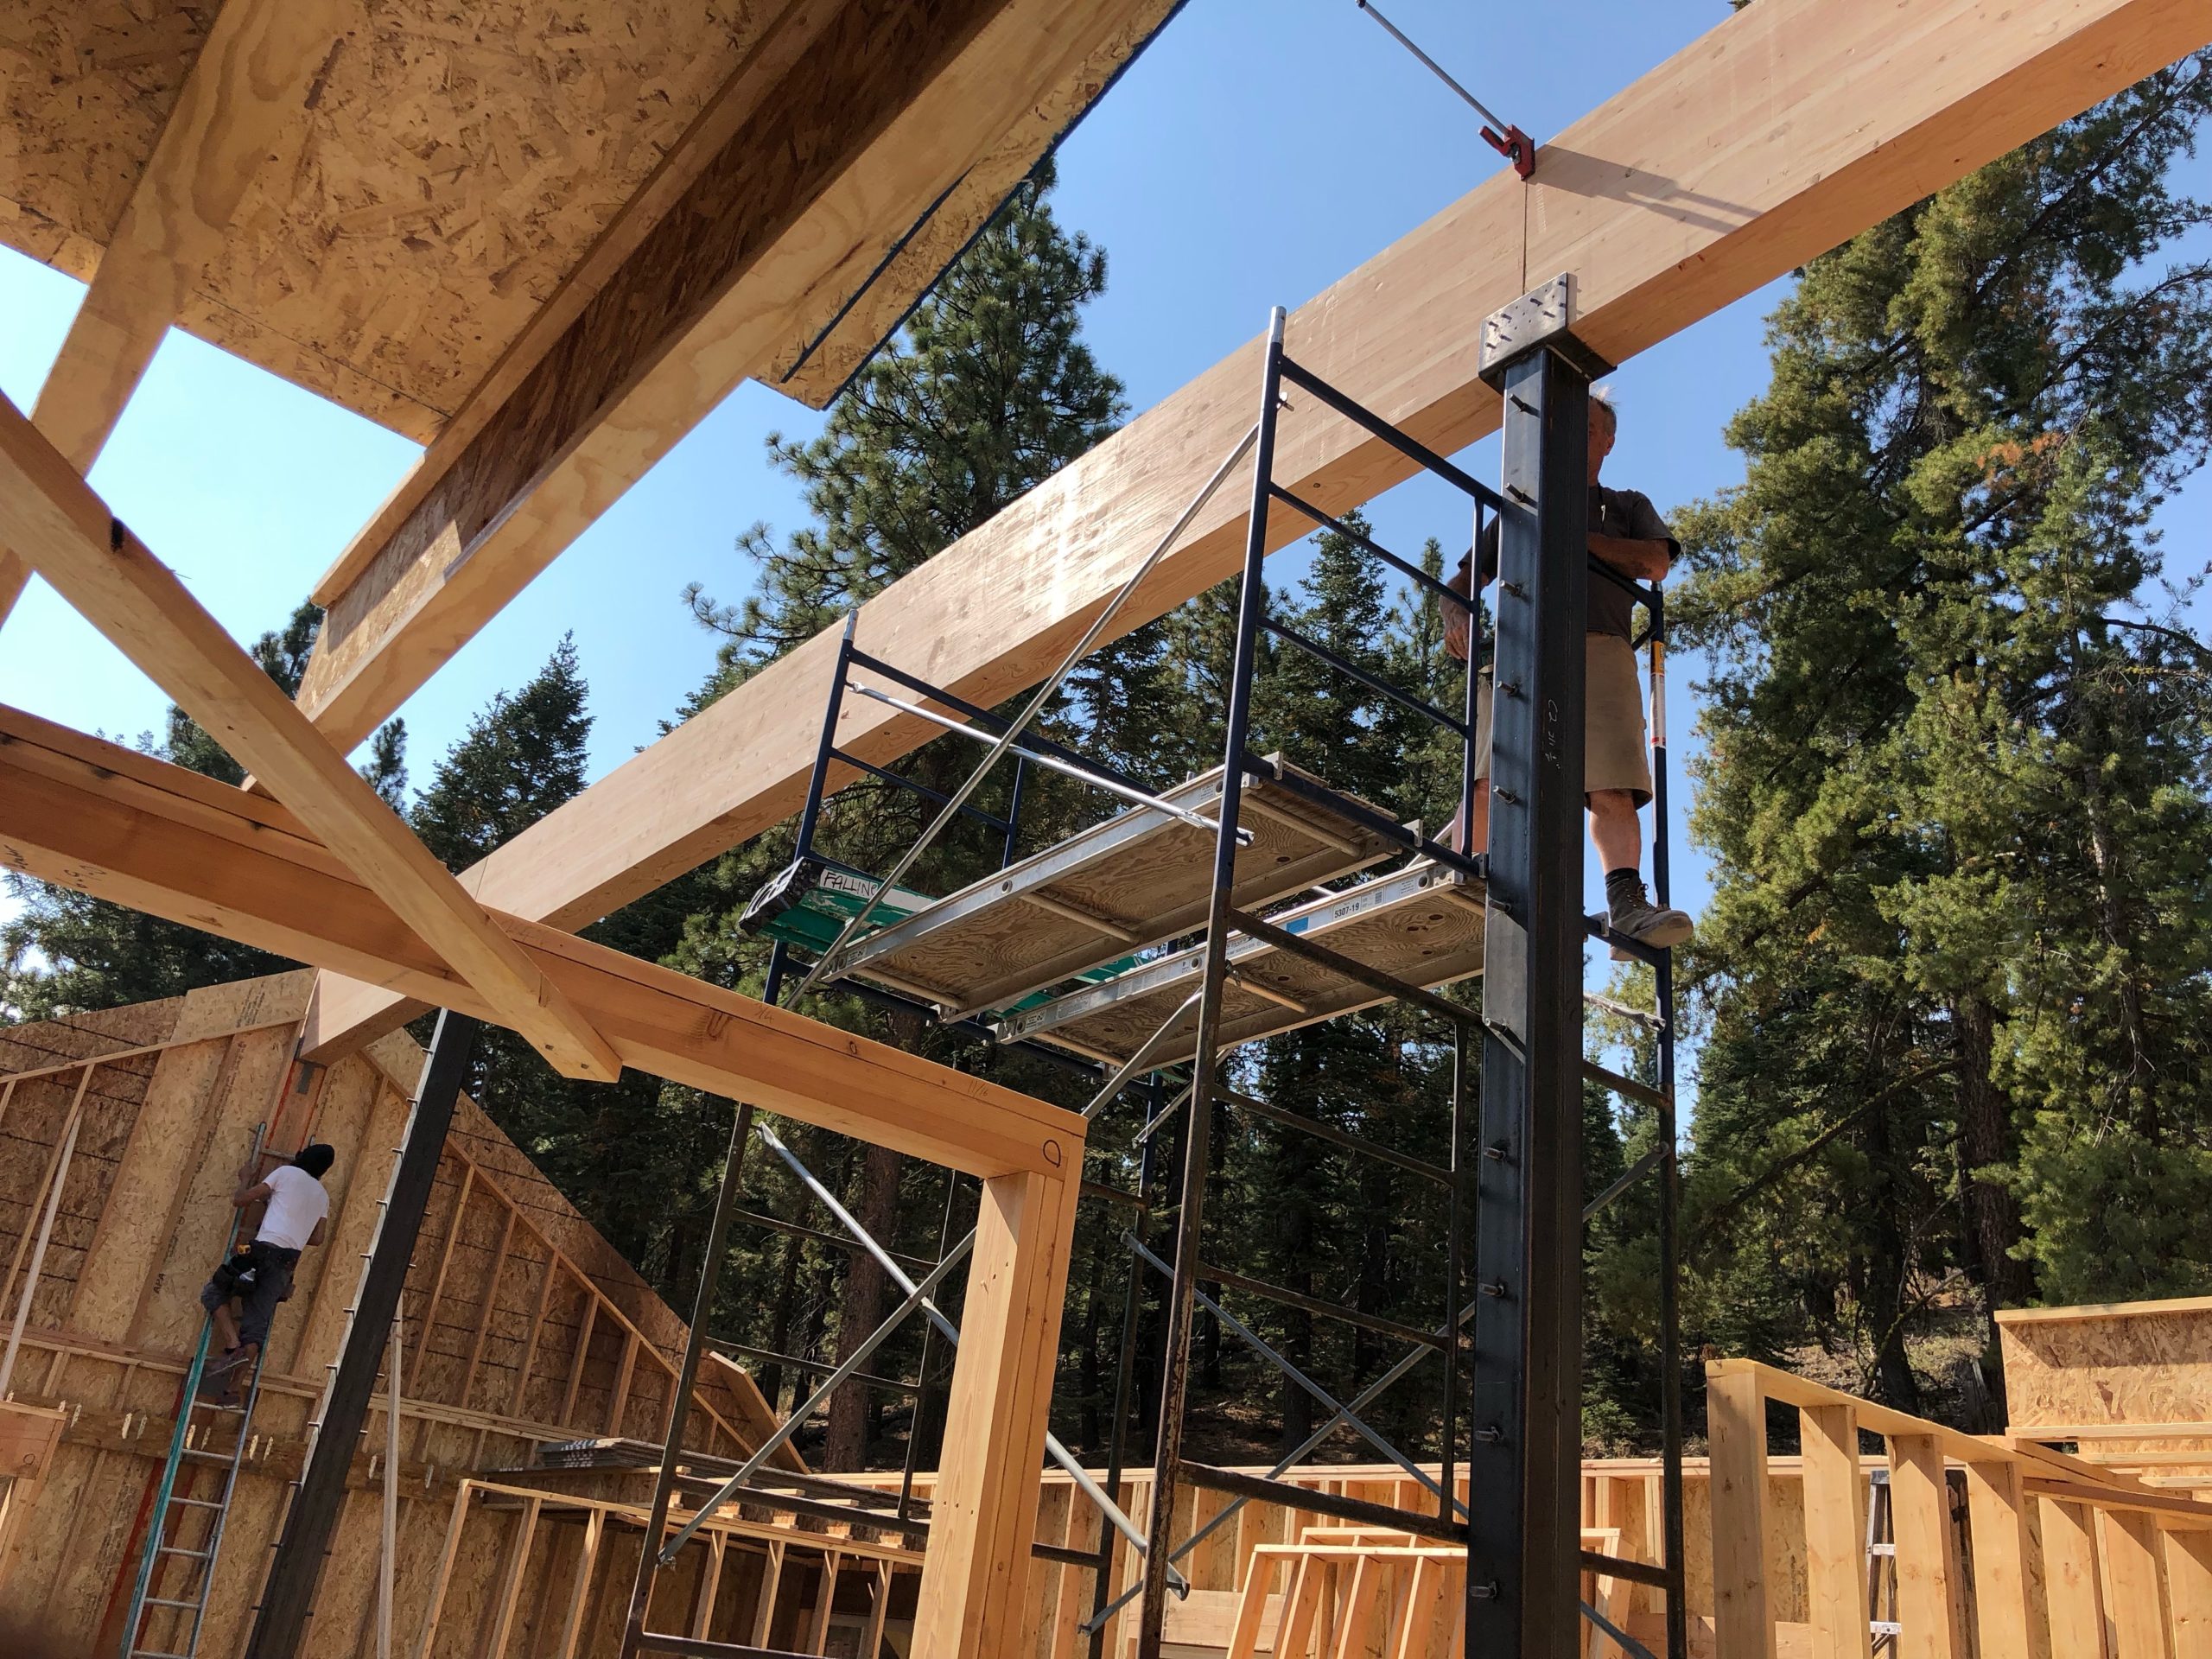
Steel Posts and the Ridge Beam Install – Truckee Workshop Part 9
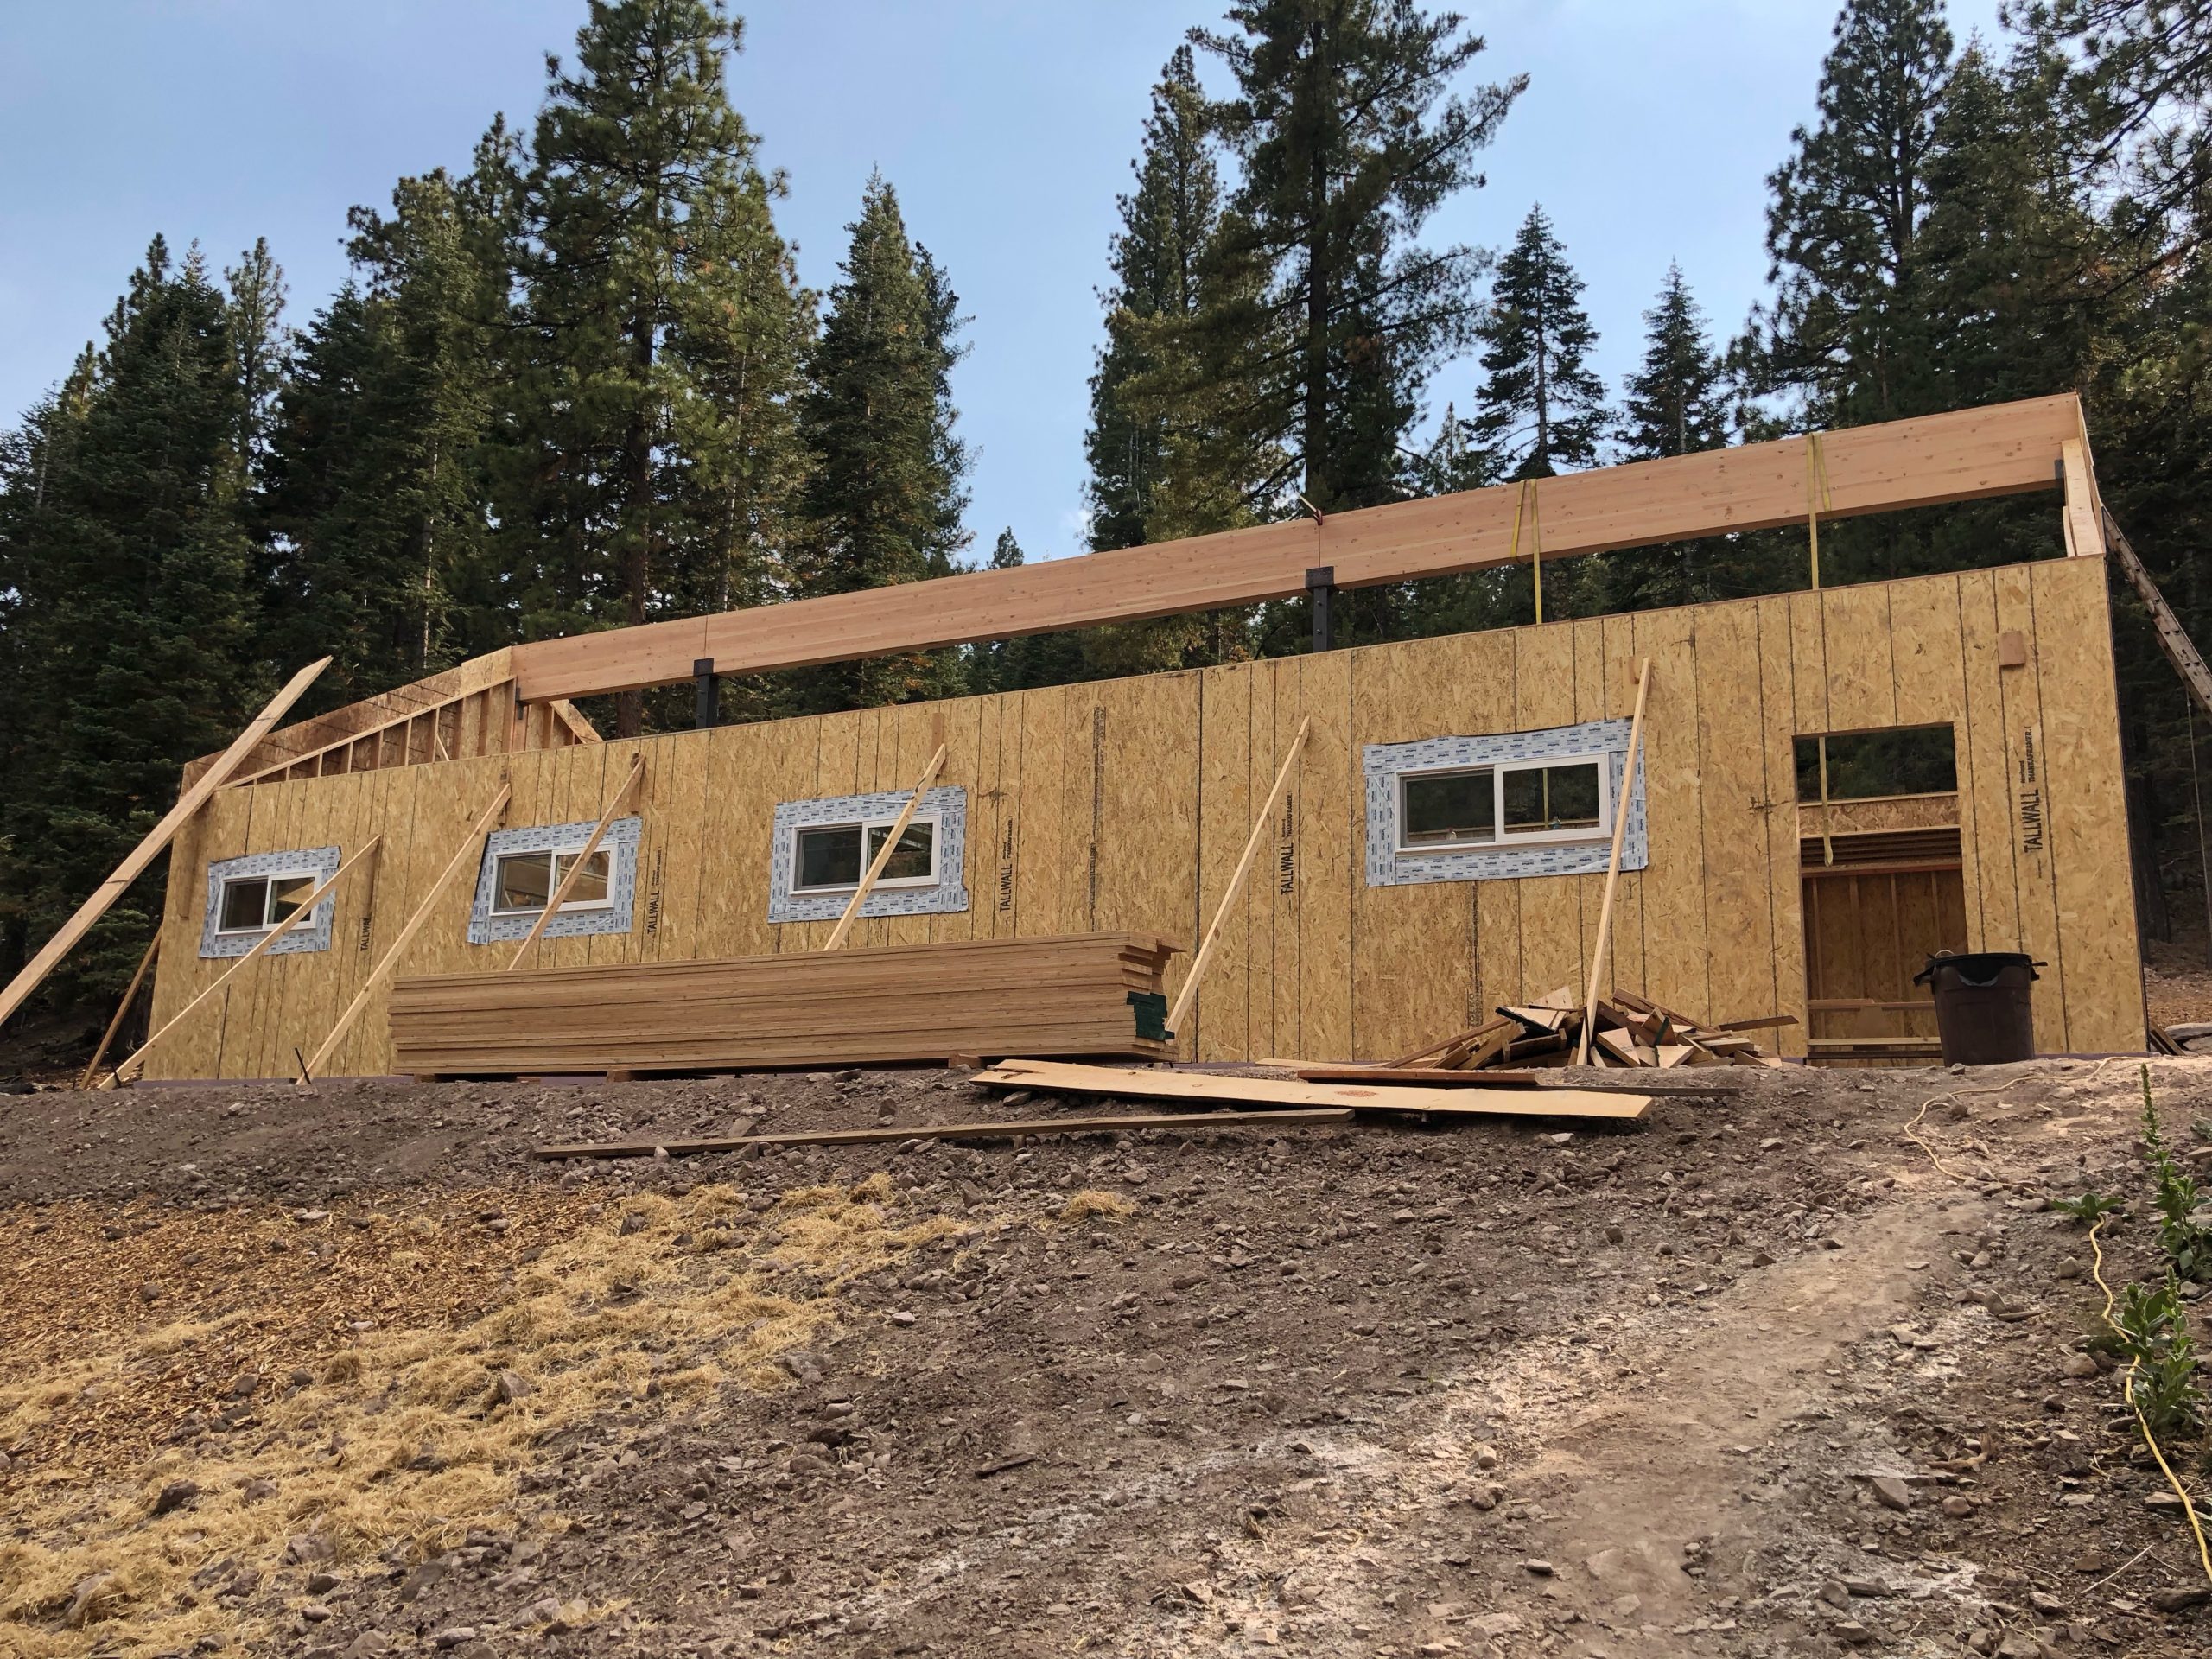
The outer shell of the structure went up pretty quickly, and it was soon time to get the main ridge beam installed and begin roof sheathing. My plans called for two steel posts supporting three large ridge beam pieces. I found a local welder Joel, of Joel’s Welding, who said he could do the posts for a reasonable price. The steel posts rest on four large bolts embedded in concrete, and can be seen in the diamond hole in the above photo. We had to figure out the precise height for these posts. Neville did all the hard work to figure this out by using a laser to determine a straight line to the post location. The laser shot back on the end wood post, and forwards towards where we wanted the steel post. We could then measure the height to a plywood template sitting on the bolts, and add in the height to the top of the wooden post. I gave Joel the info, and he was set to get the metal delivered on a Tuesday or so and start fabrication.
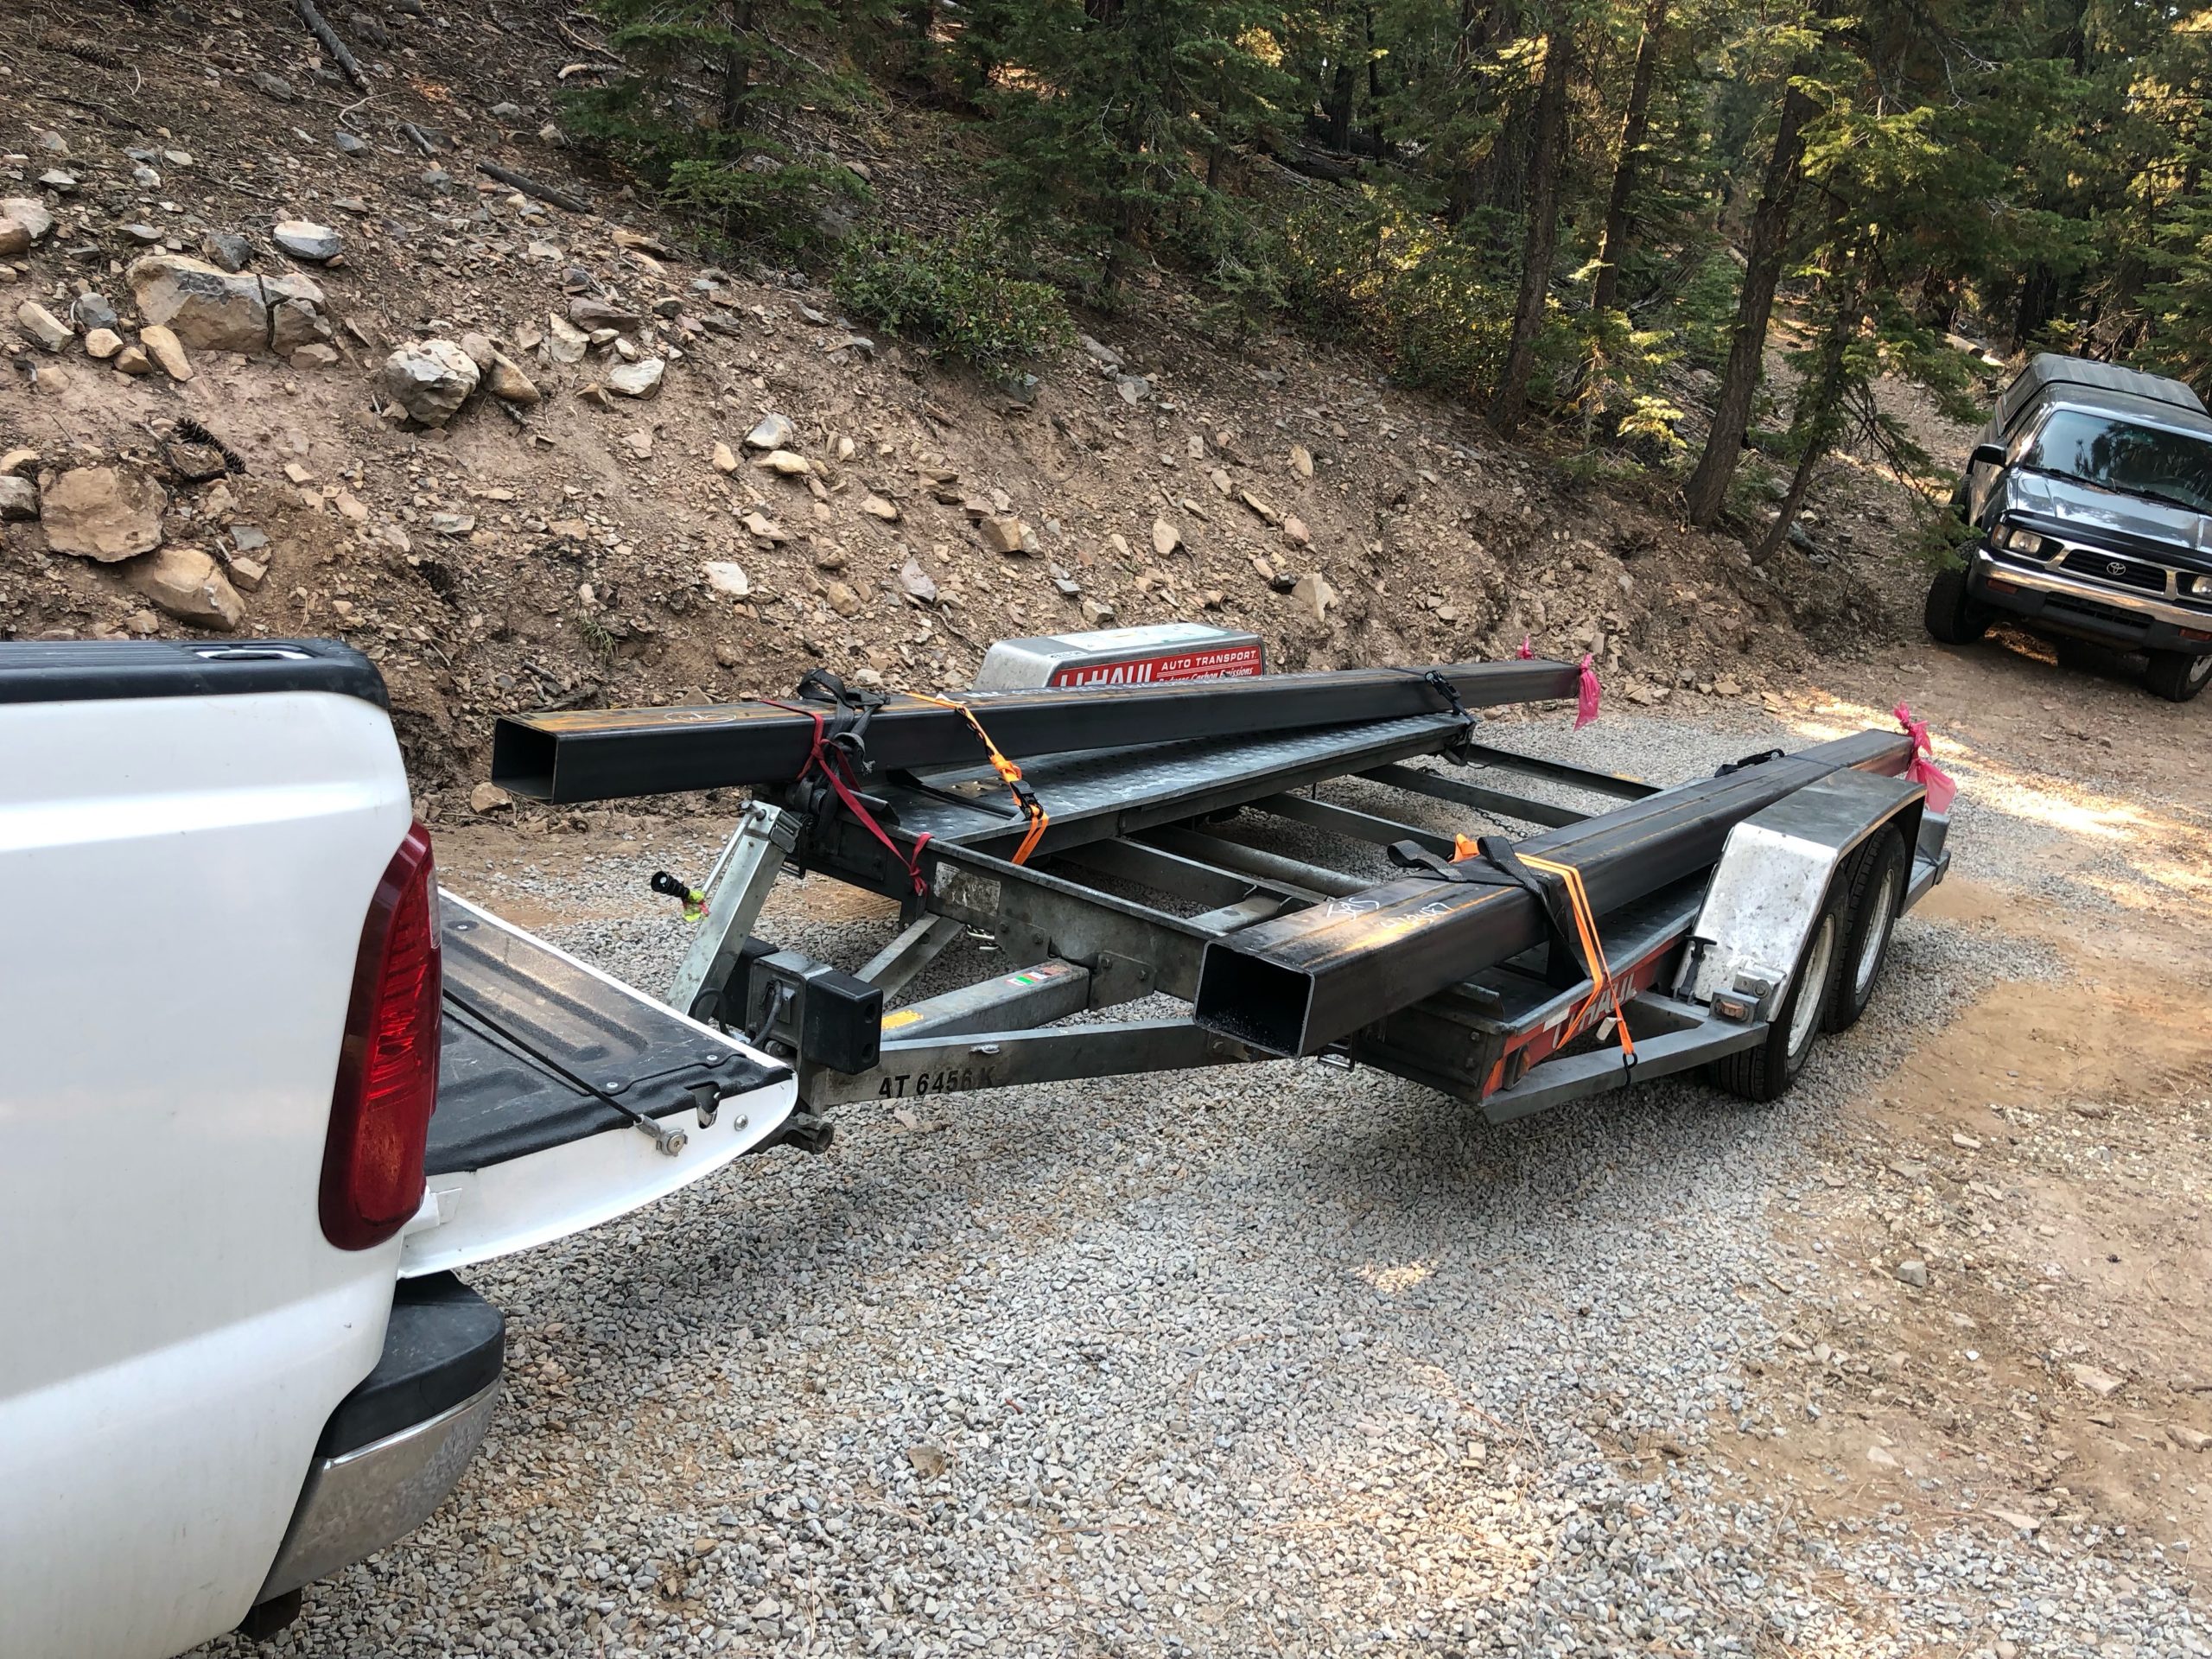
Unfortunately he called on that Tuesday and said the metal supplier only delivered the base pieces and didn’t deliver the posts. Apparently their metal cutting saw was broken, and a 40′ piece needed to be cut in half. At this point I needed the posts to keep things moving; the guys didn’t have any more work to do, and I already had a crane scheduled to come two days later and install the posts and beam. I was in Reno with my truck when Joel called, and the supplier PDM was close by, so I said I could go pick it up if they had their saw fixed by then. So I went to U-Haul and rented a $60 car trailer, drove to PDM and picked up the steel. Protip: don’t tell U-Haul what you are doing.
The next morning at 5AM I drove the steel over to Joel’s shop in Tahoe Vista, then did a trip back to Reno to drop off the trailer. By the early afternoon Joel came back by and delivered the posts, all ready to go! This was another time the skid steer came in handy to unload the posts; I don’t know how I could have done it alone without such a machine.
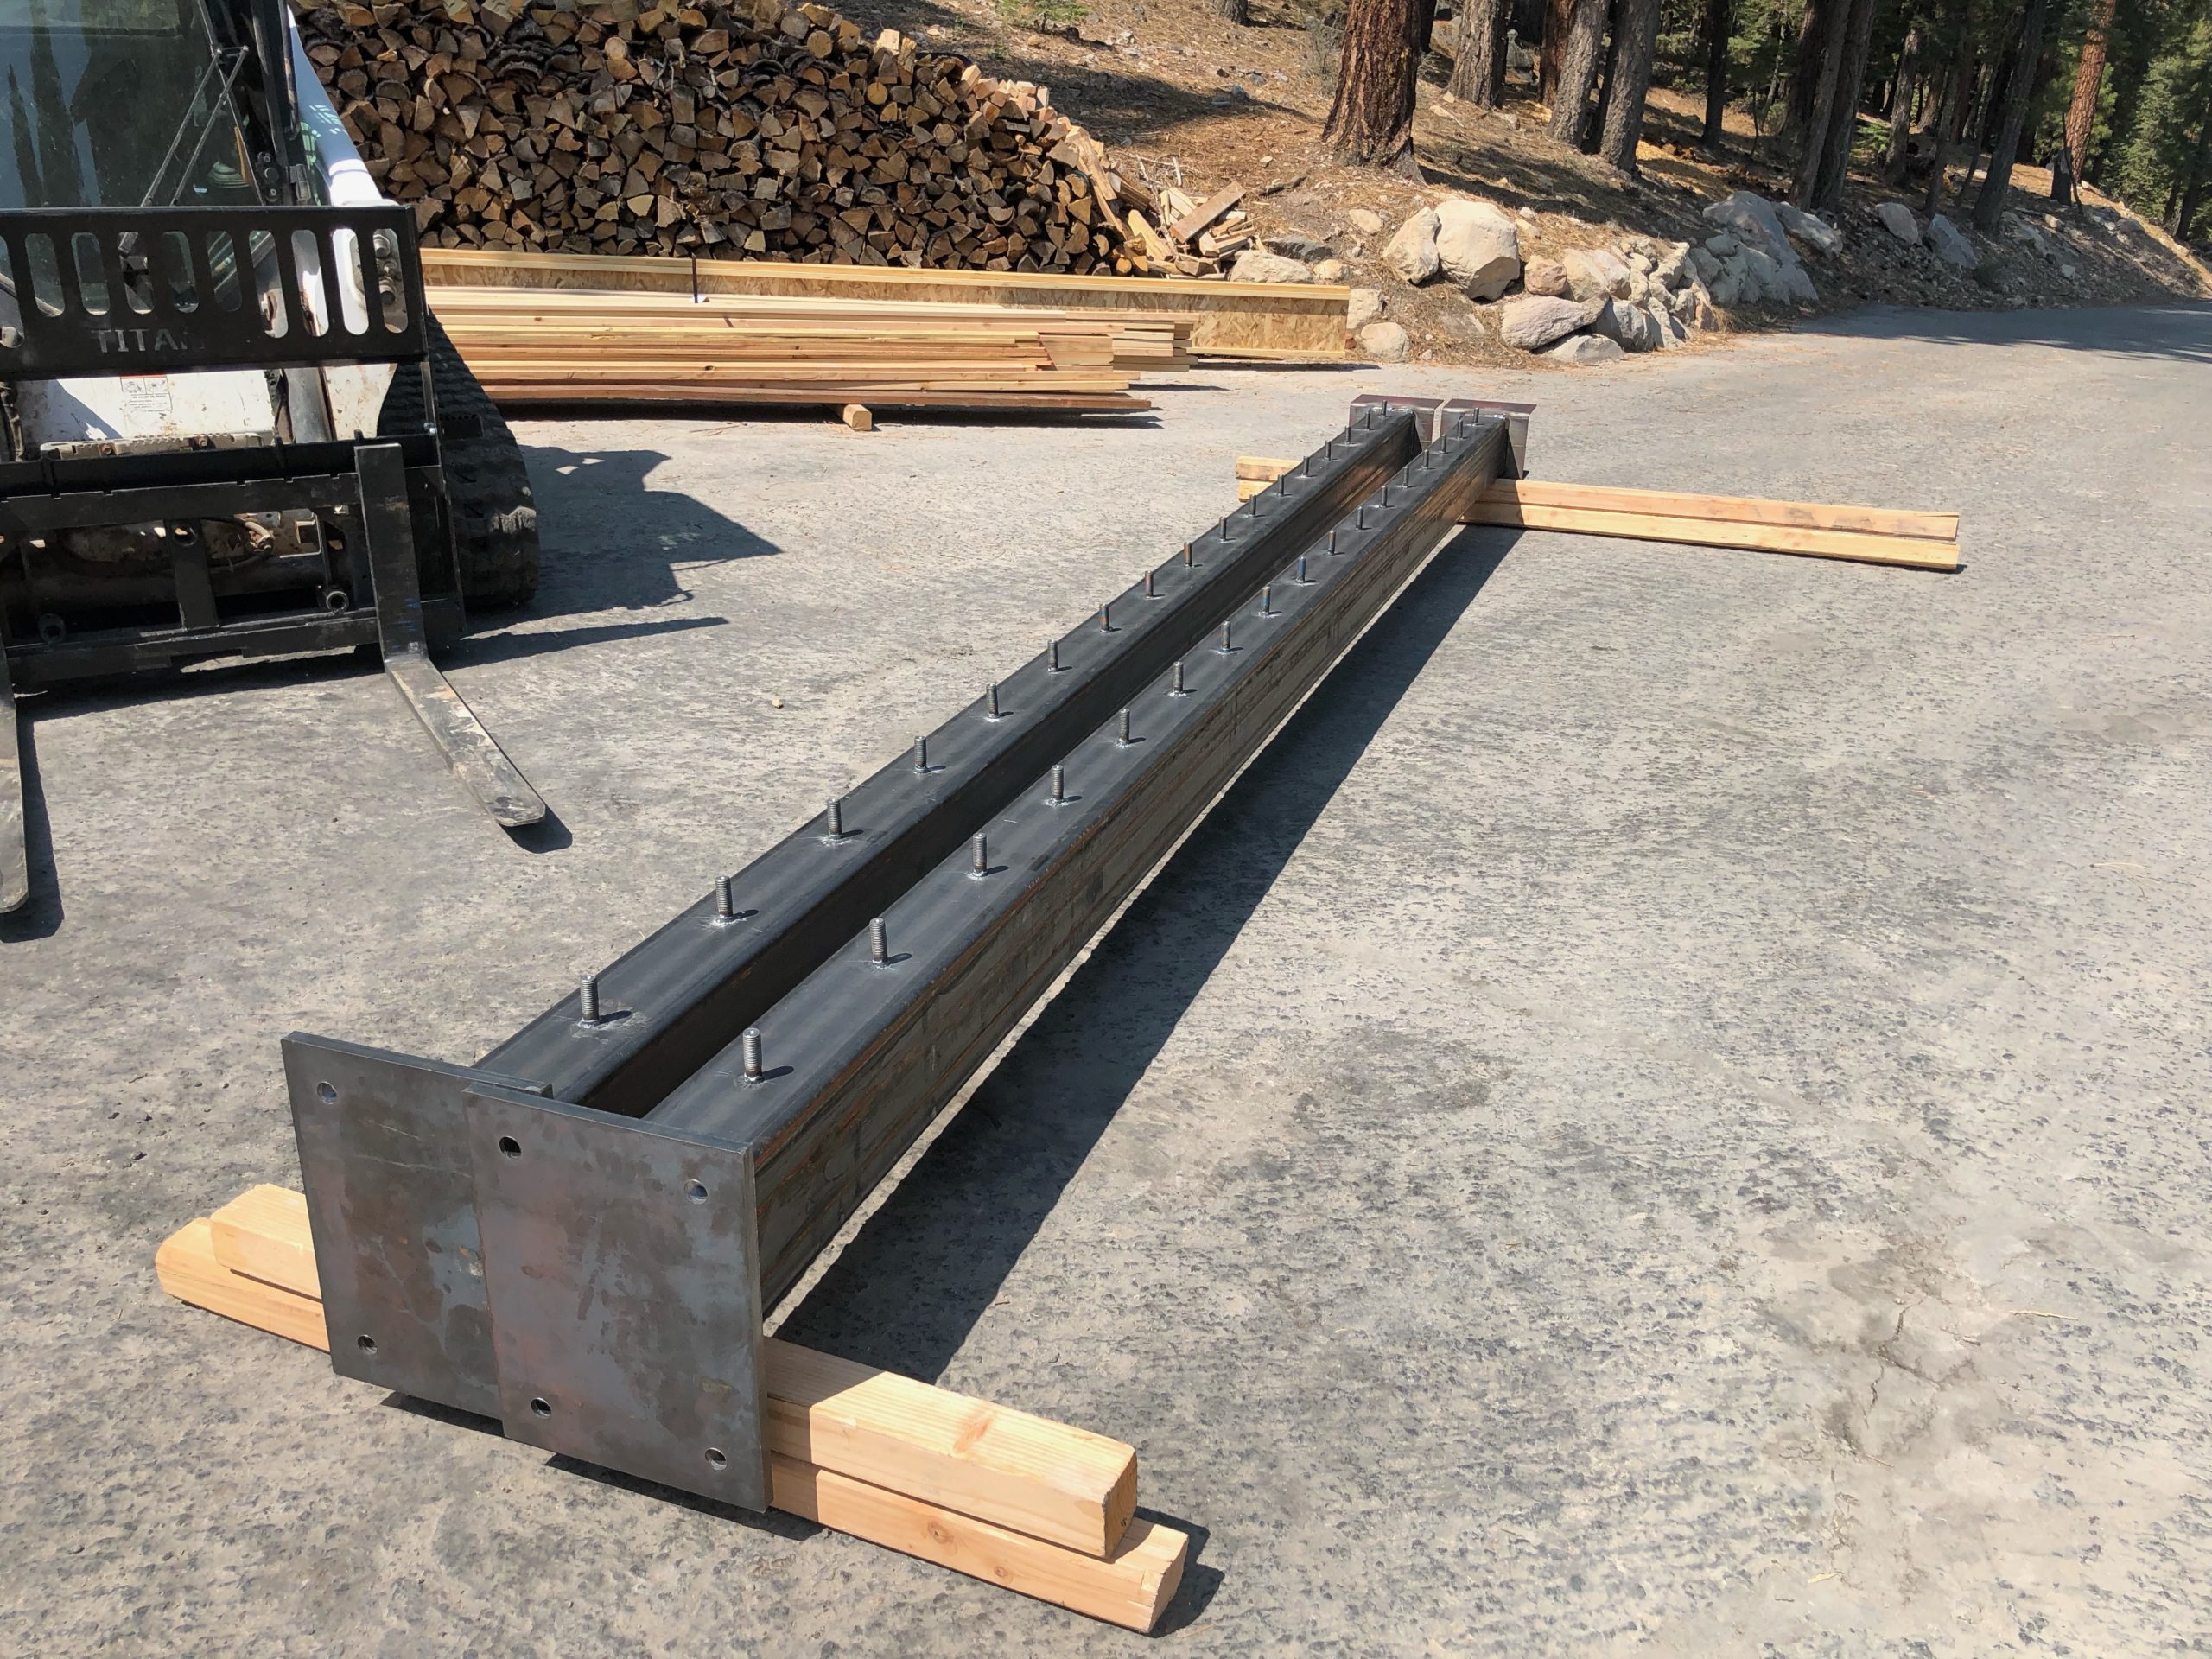
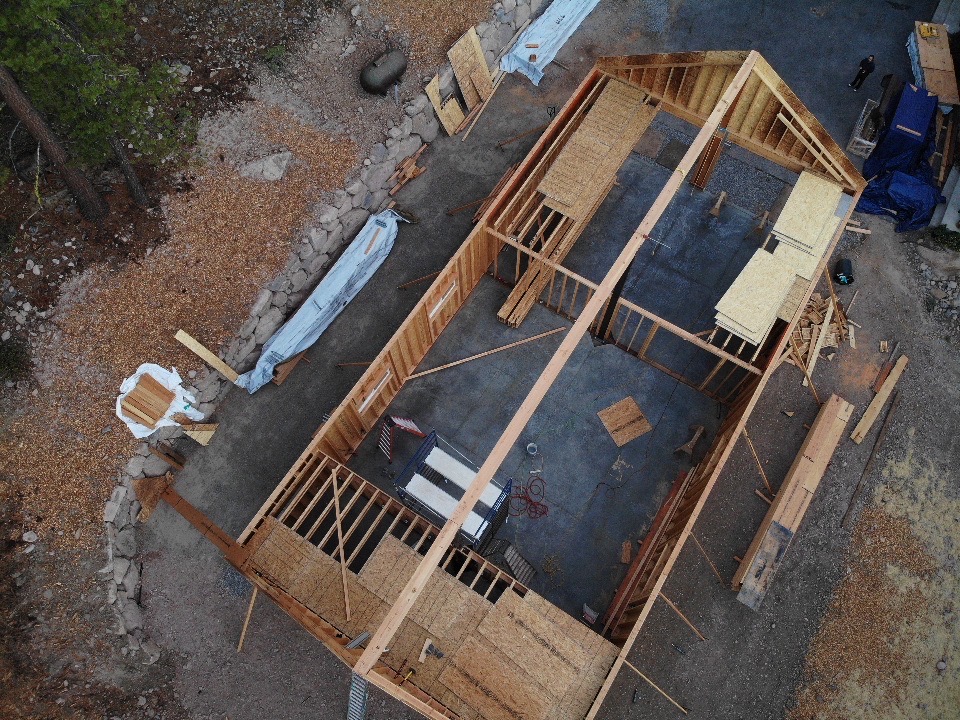
The posts have bolts welded on the edge for a wooden “nailer” to be attached. Otherwise it would be impossible to attach the wood walls to the beam. Before the posts arrived we did do a little work on the interior “attic” storage areas that are above the garage and small back room.
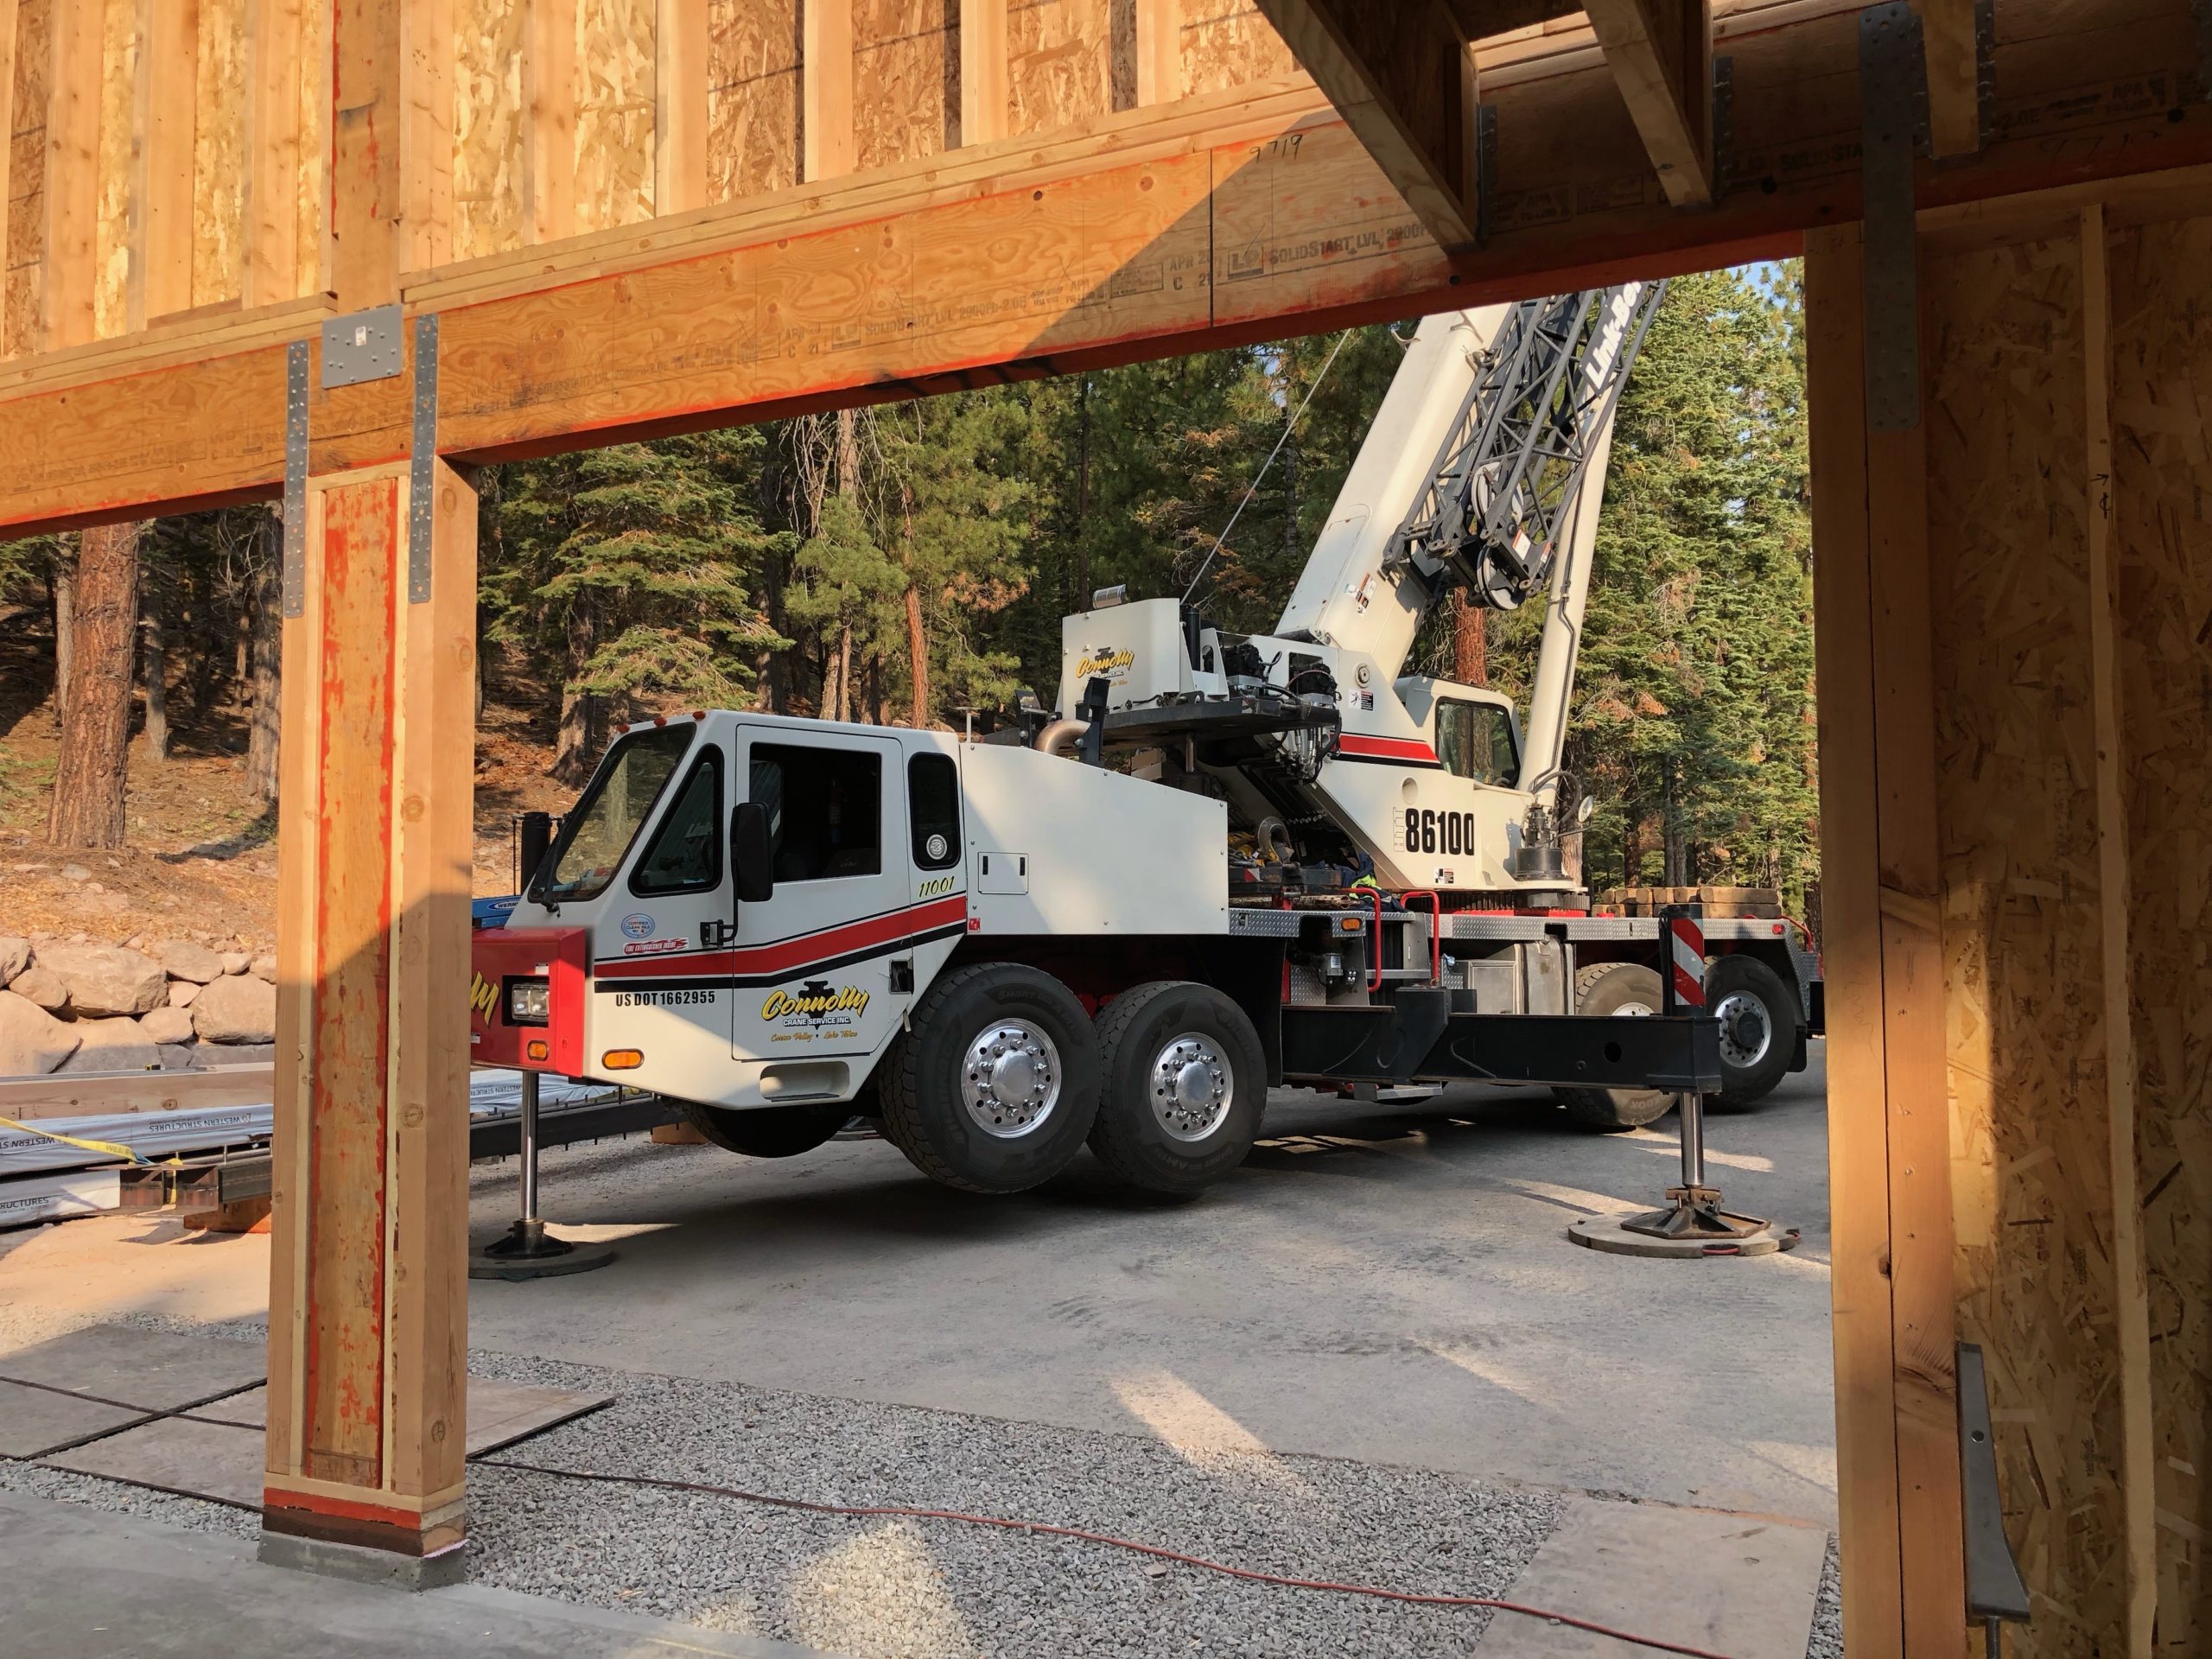
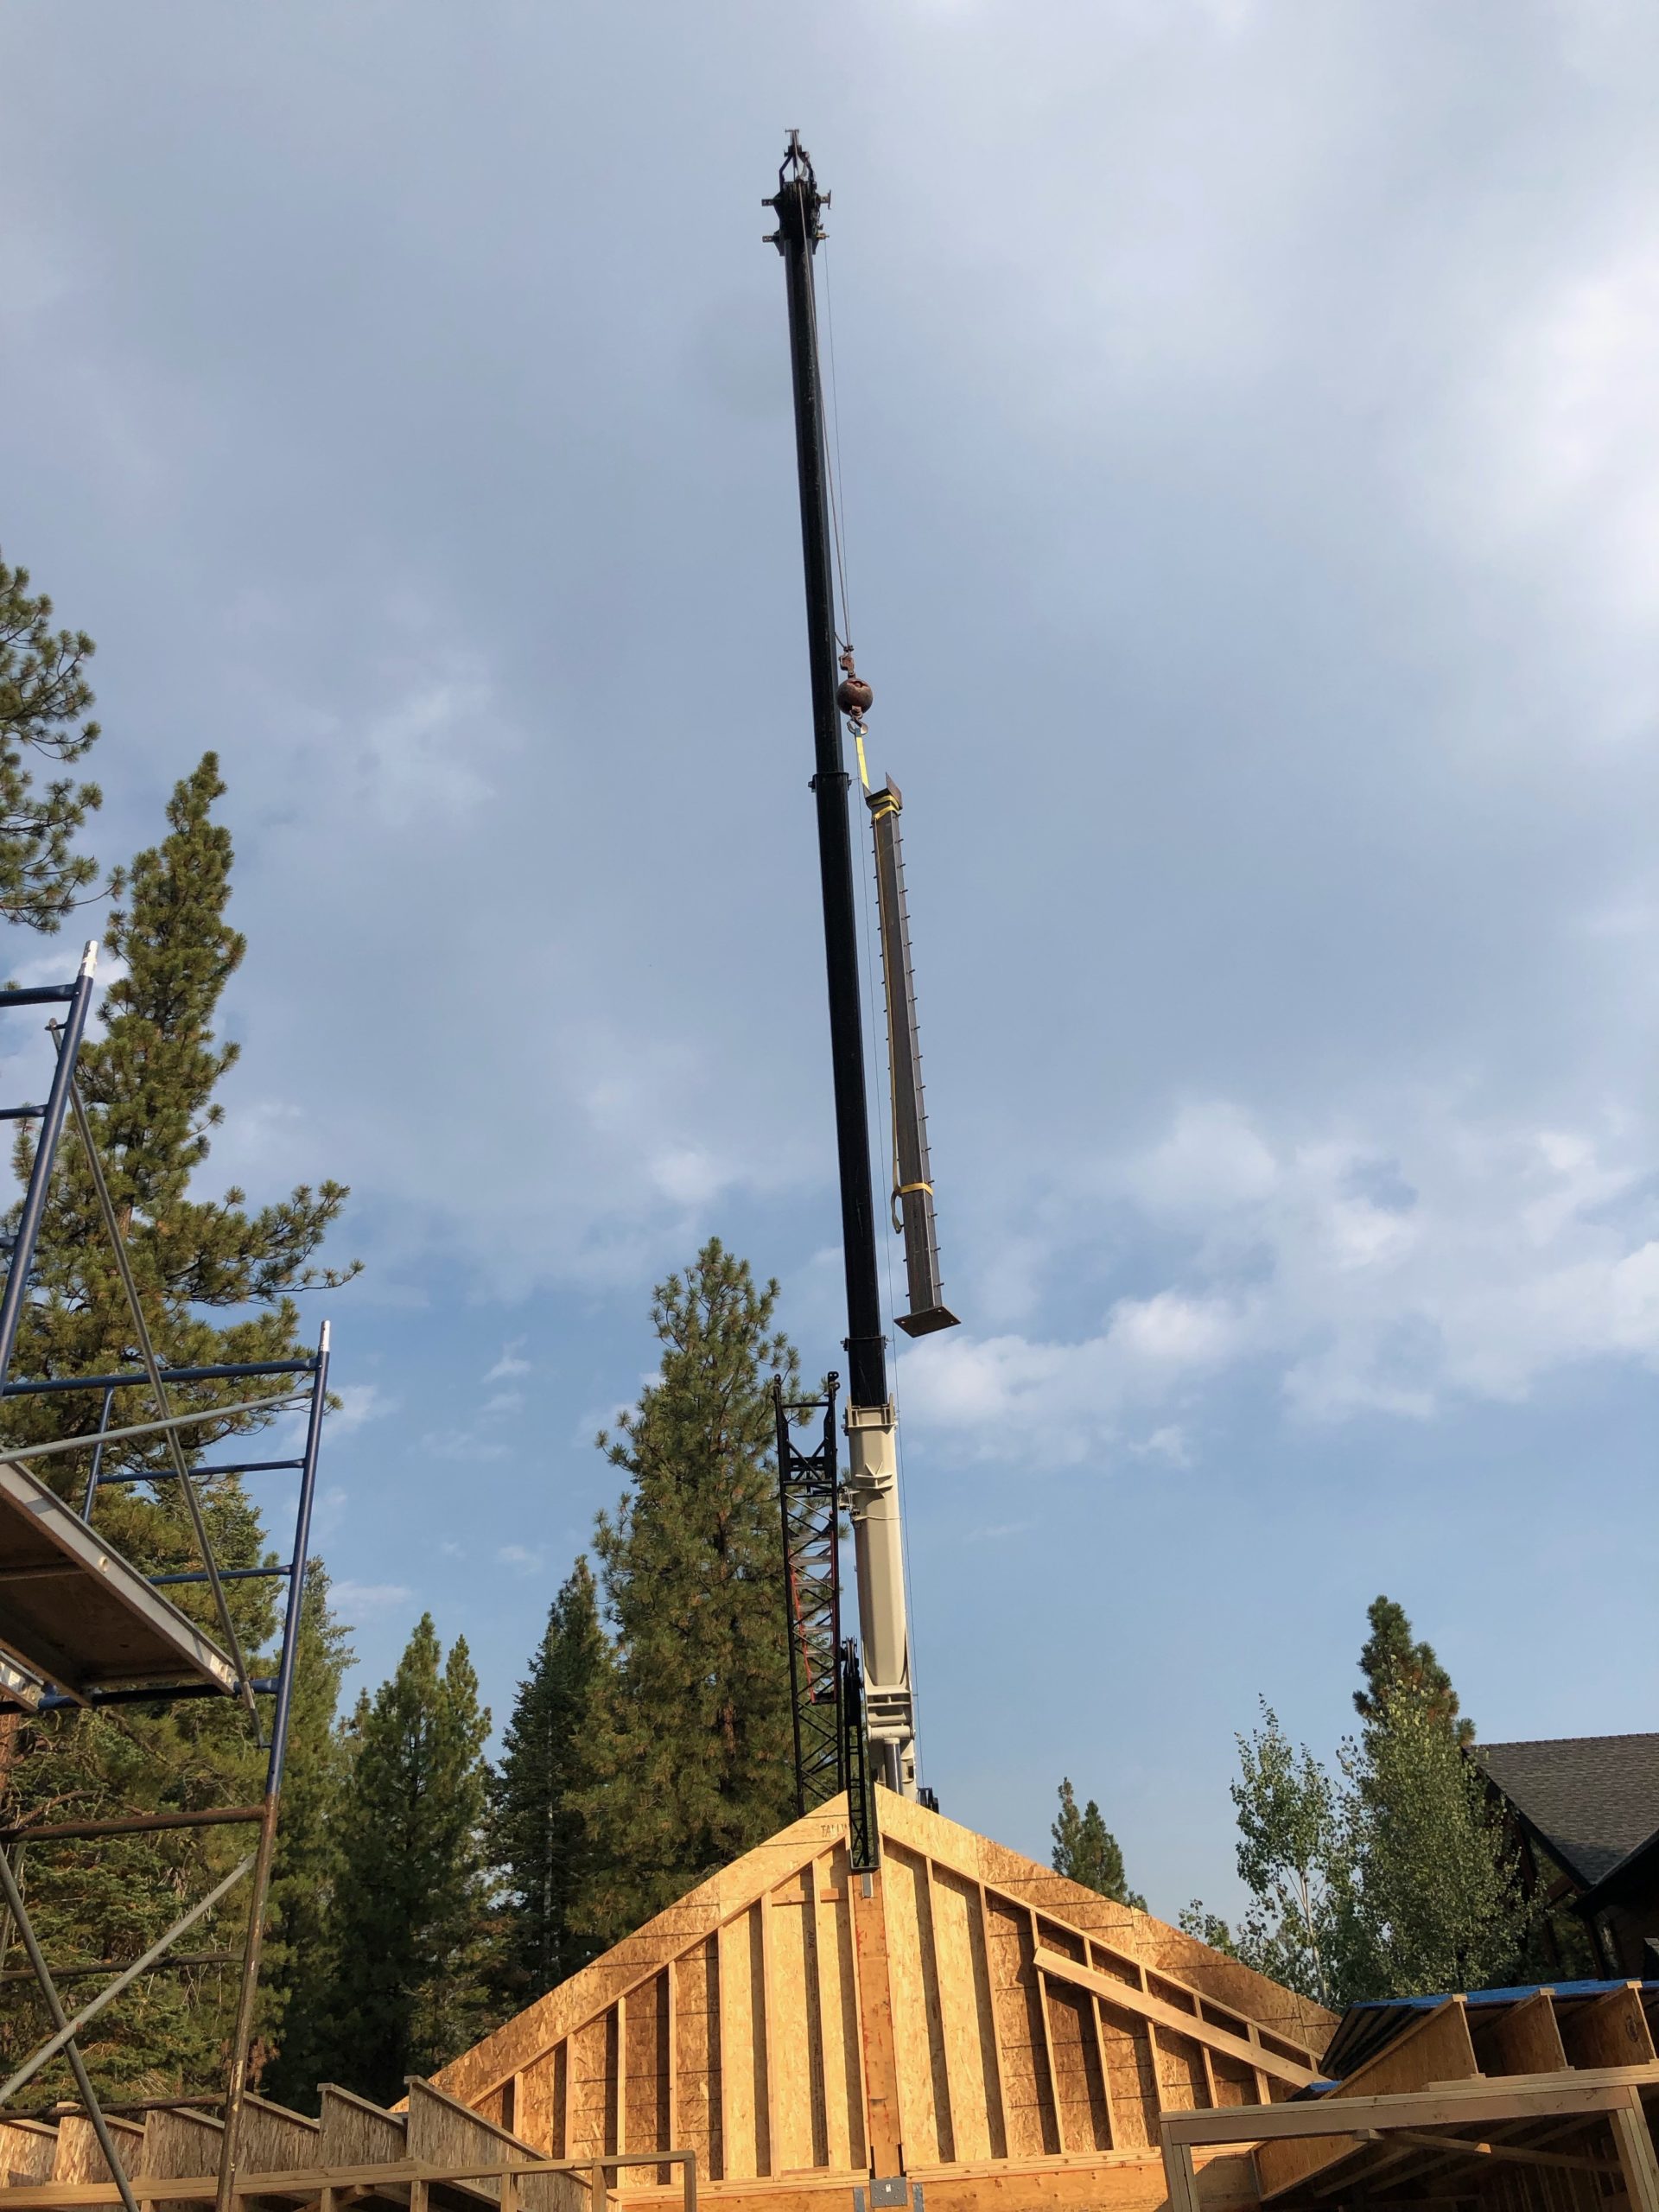
Crane day was expensive, but it was the only way to get the beam up. We could have tried to do it with the telehandler, but it would have been incredibly difficult and approach the max weight that the machine could lift. I hired Connolly Crane to do the lifting. They charged $275 an hour, with a four hour minimum, and start charging as soon as the truck leaves their yard. It took them about an hour of driving, and the truck was on site for four hours. Not only did they charge for driving time, but they also charged a fuel surcharge! As if the $275/hr wasn’t enough for their driving time, and I was surprised to see the charge on my bill. I did contact a second crane operator, but he was busy evacuating from fires in the south shore of Tahoe at the time.
If you are just jumping in, check out all the posts on this project in chronological order: The Truckee Workshop Project 2019


