Making a Workshop Slab Foundation – The Truckee Workshop Part 6

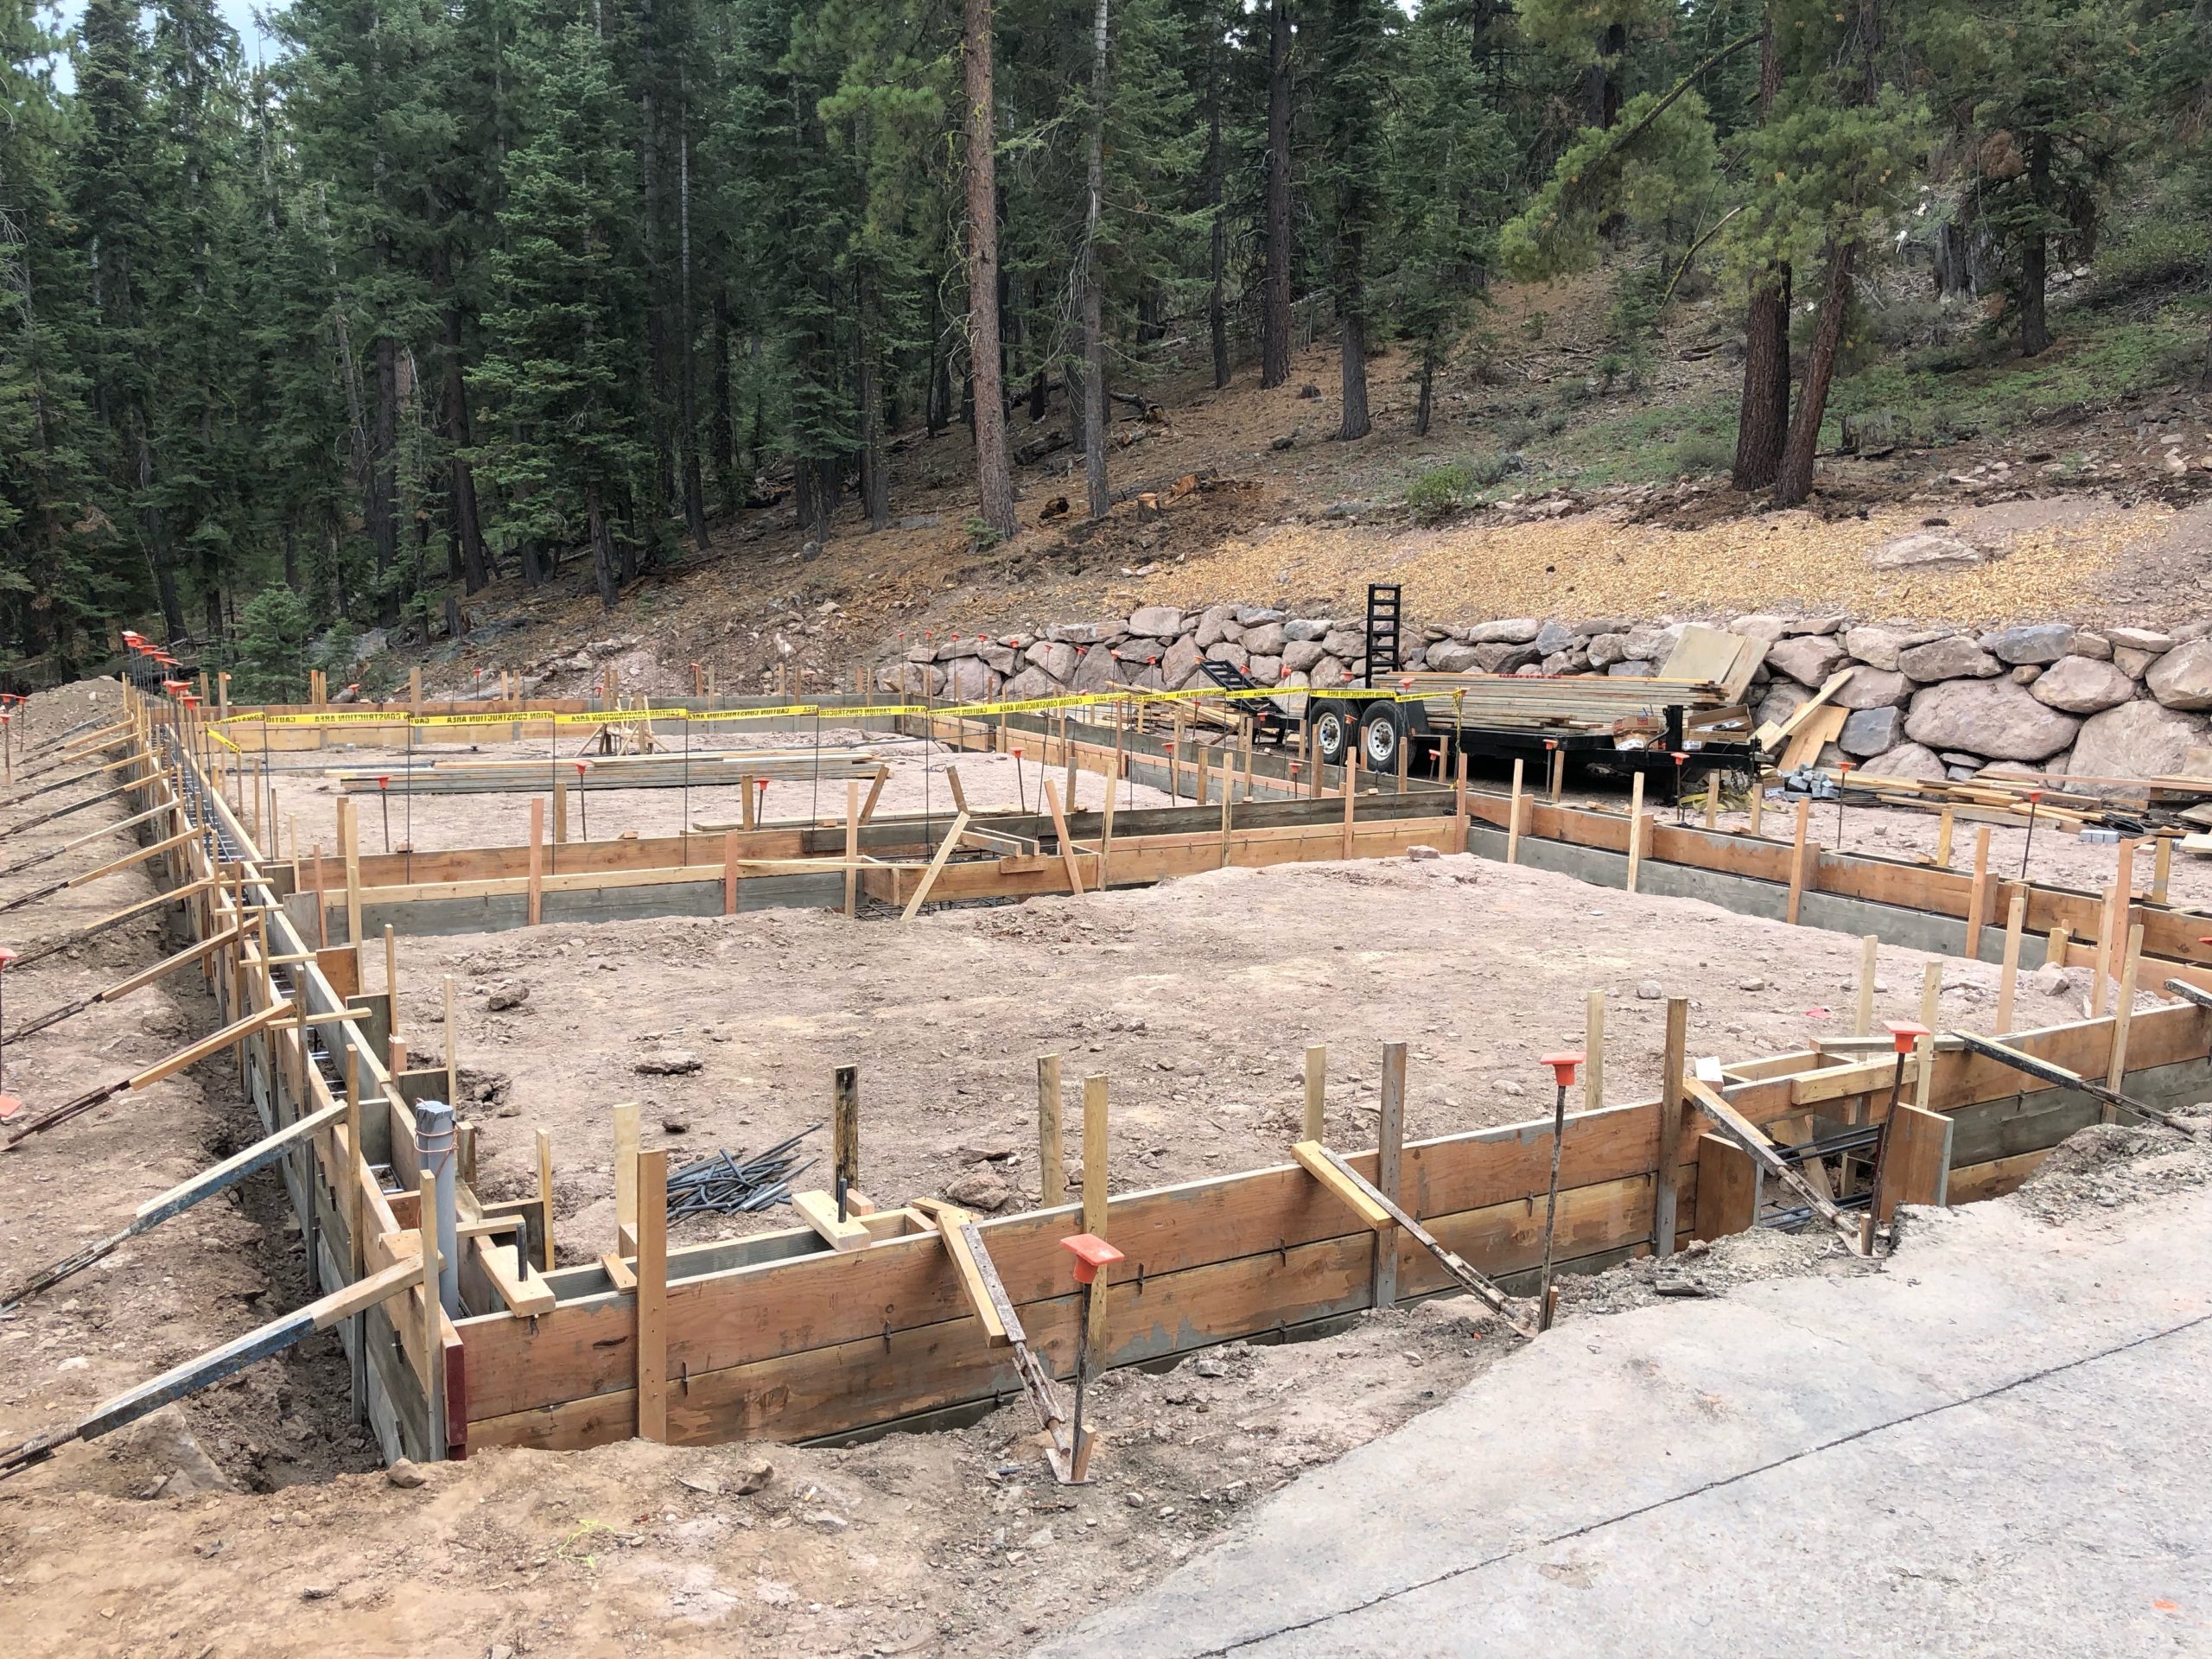
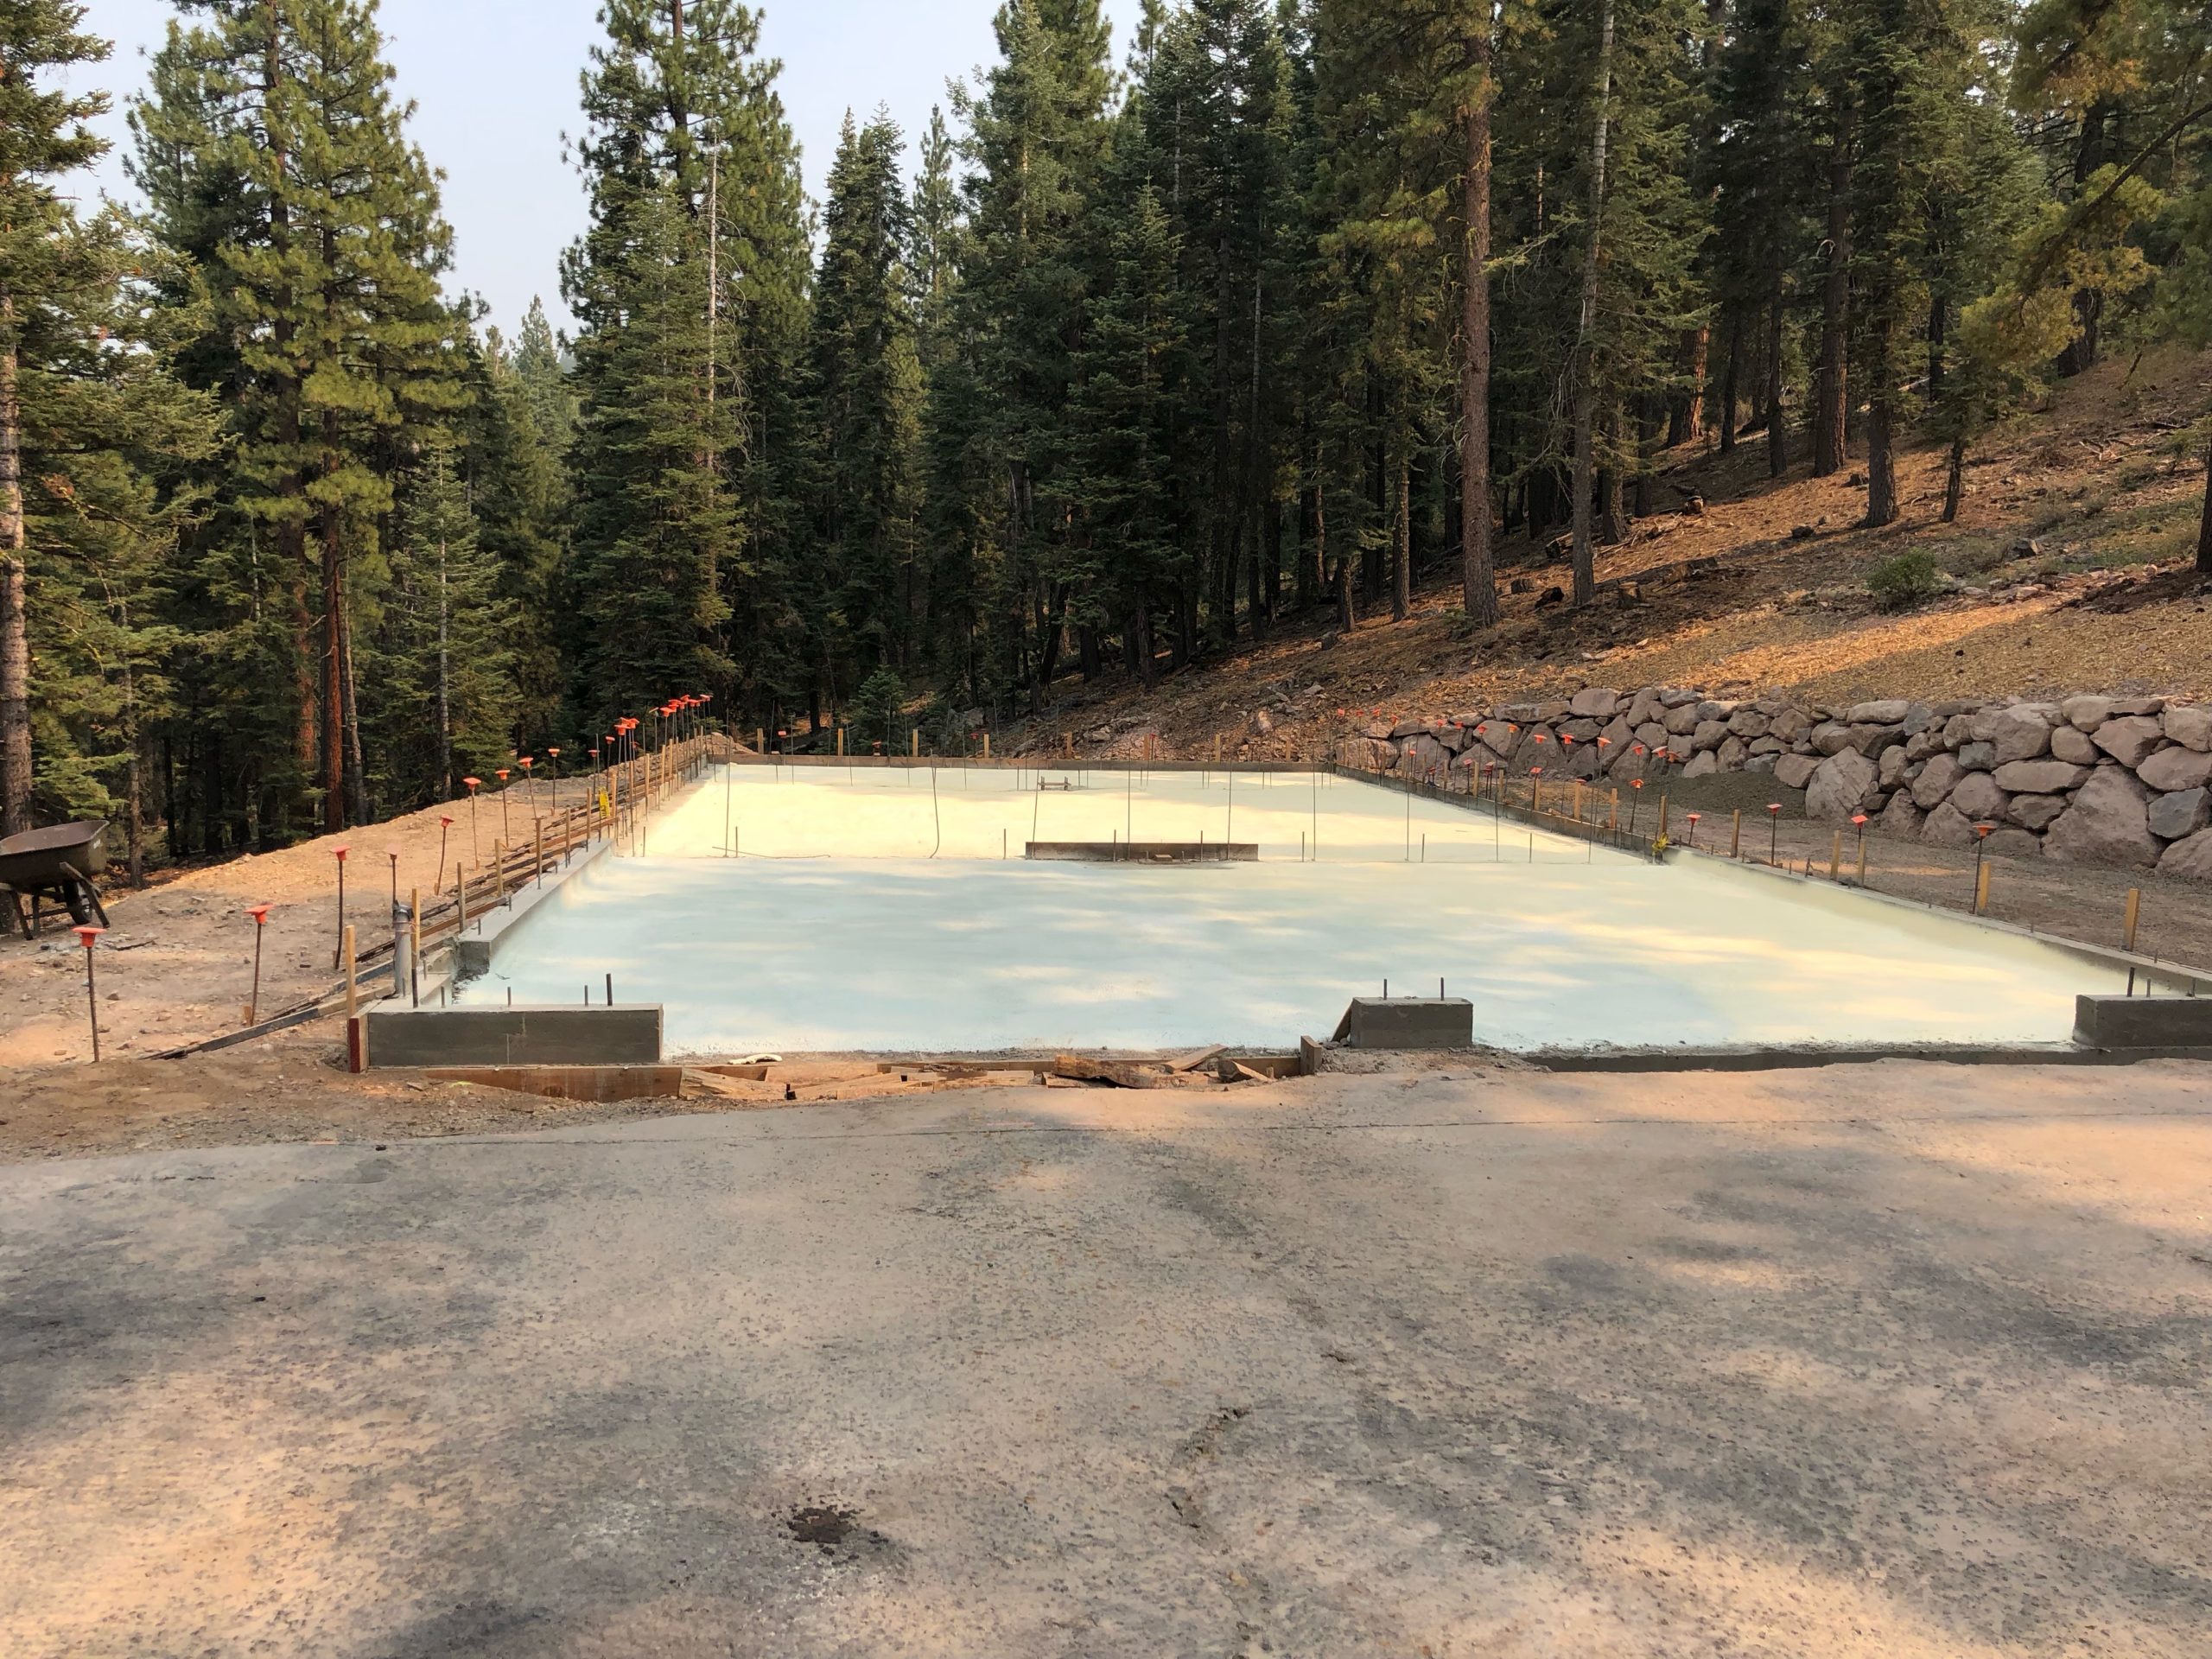
In the previous post I talked about excavation. Jump back there if you missed it, or check out all the posts for my Workshop Project 2021. Once the digging was done the guys from Bobby Jones Concrete setup the foundation for the concrete mud. I also ran two pieces of 2″ PVC conduit from the house to the foundation for power. The building plans had a sink specced, but I opted to not run water to the building. It was too difficult to figure out how to get a water line from the house to the garage. The issue is that the pipes have to start from under the heated building and go two feet underground out to the new garage/workshop. The depth is required to prevent freezing in thew inter. The existing house has a slab foundation, so it wasn’t possible to simply tap into a water line without drilling holes in the concrete. It really made me appreciate a house with a crawl space where you could easily mess with electrical and plumbing. I also never realized how much harder it is to build in a winter climate. Back in Santa Cruz I could simply run a line from the outside of the house and it wouldn’t be a problem. I don’t necessarily need water in the shop; if I ever do need it I’ll figure out some solution, which will probably involve renting a mini-excavator and digging up my driveway.
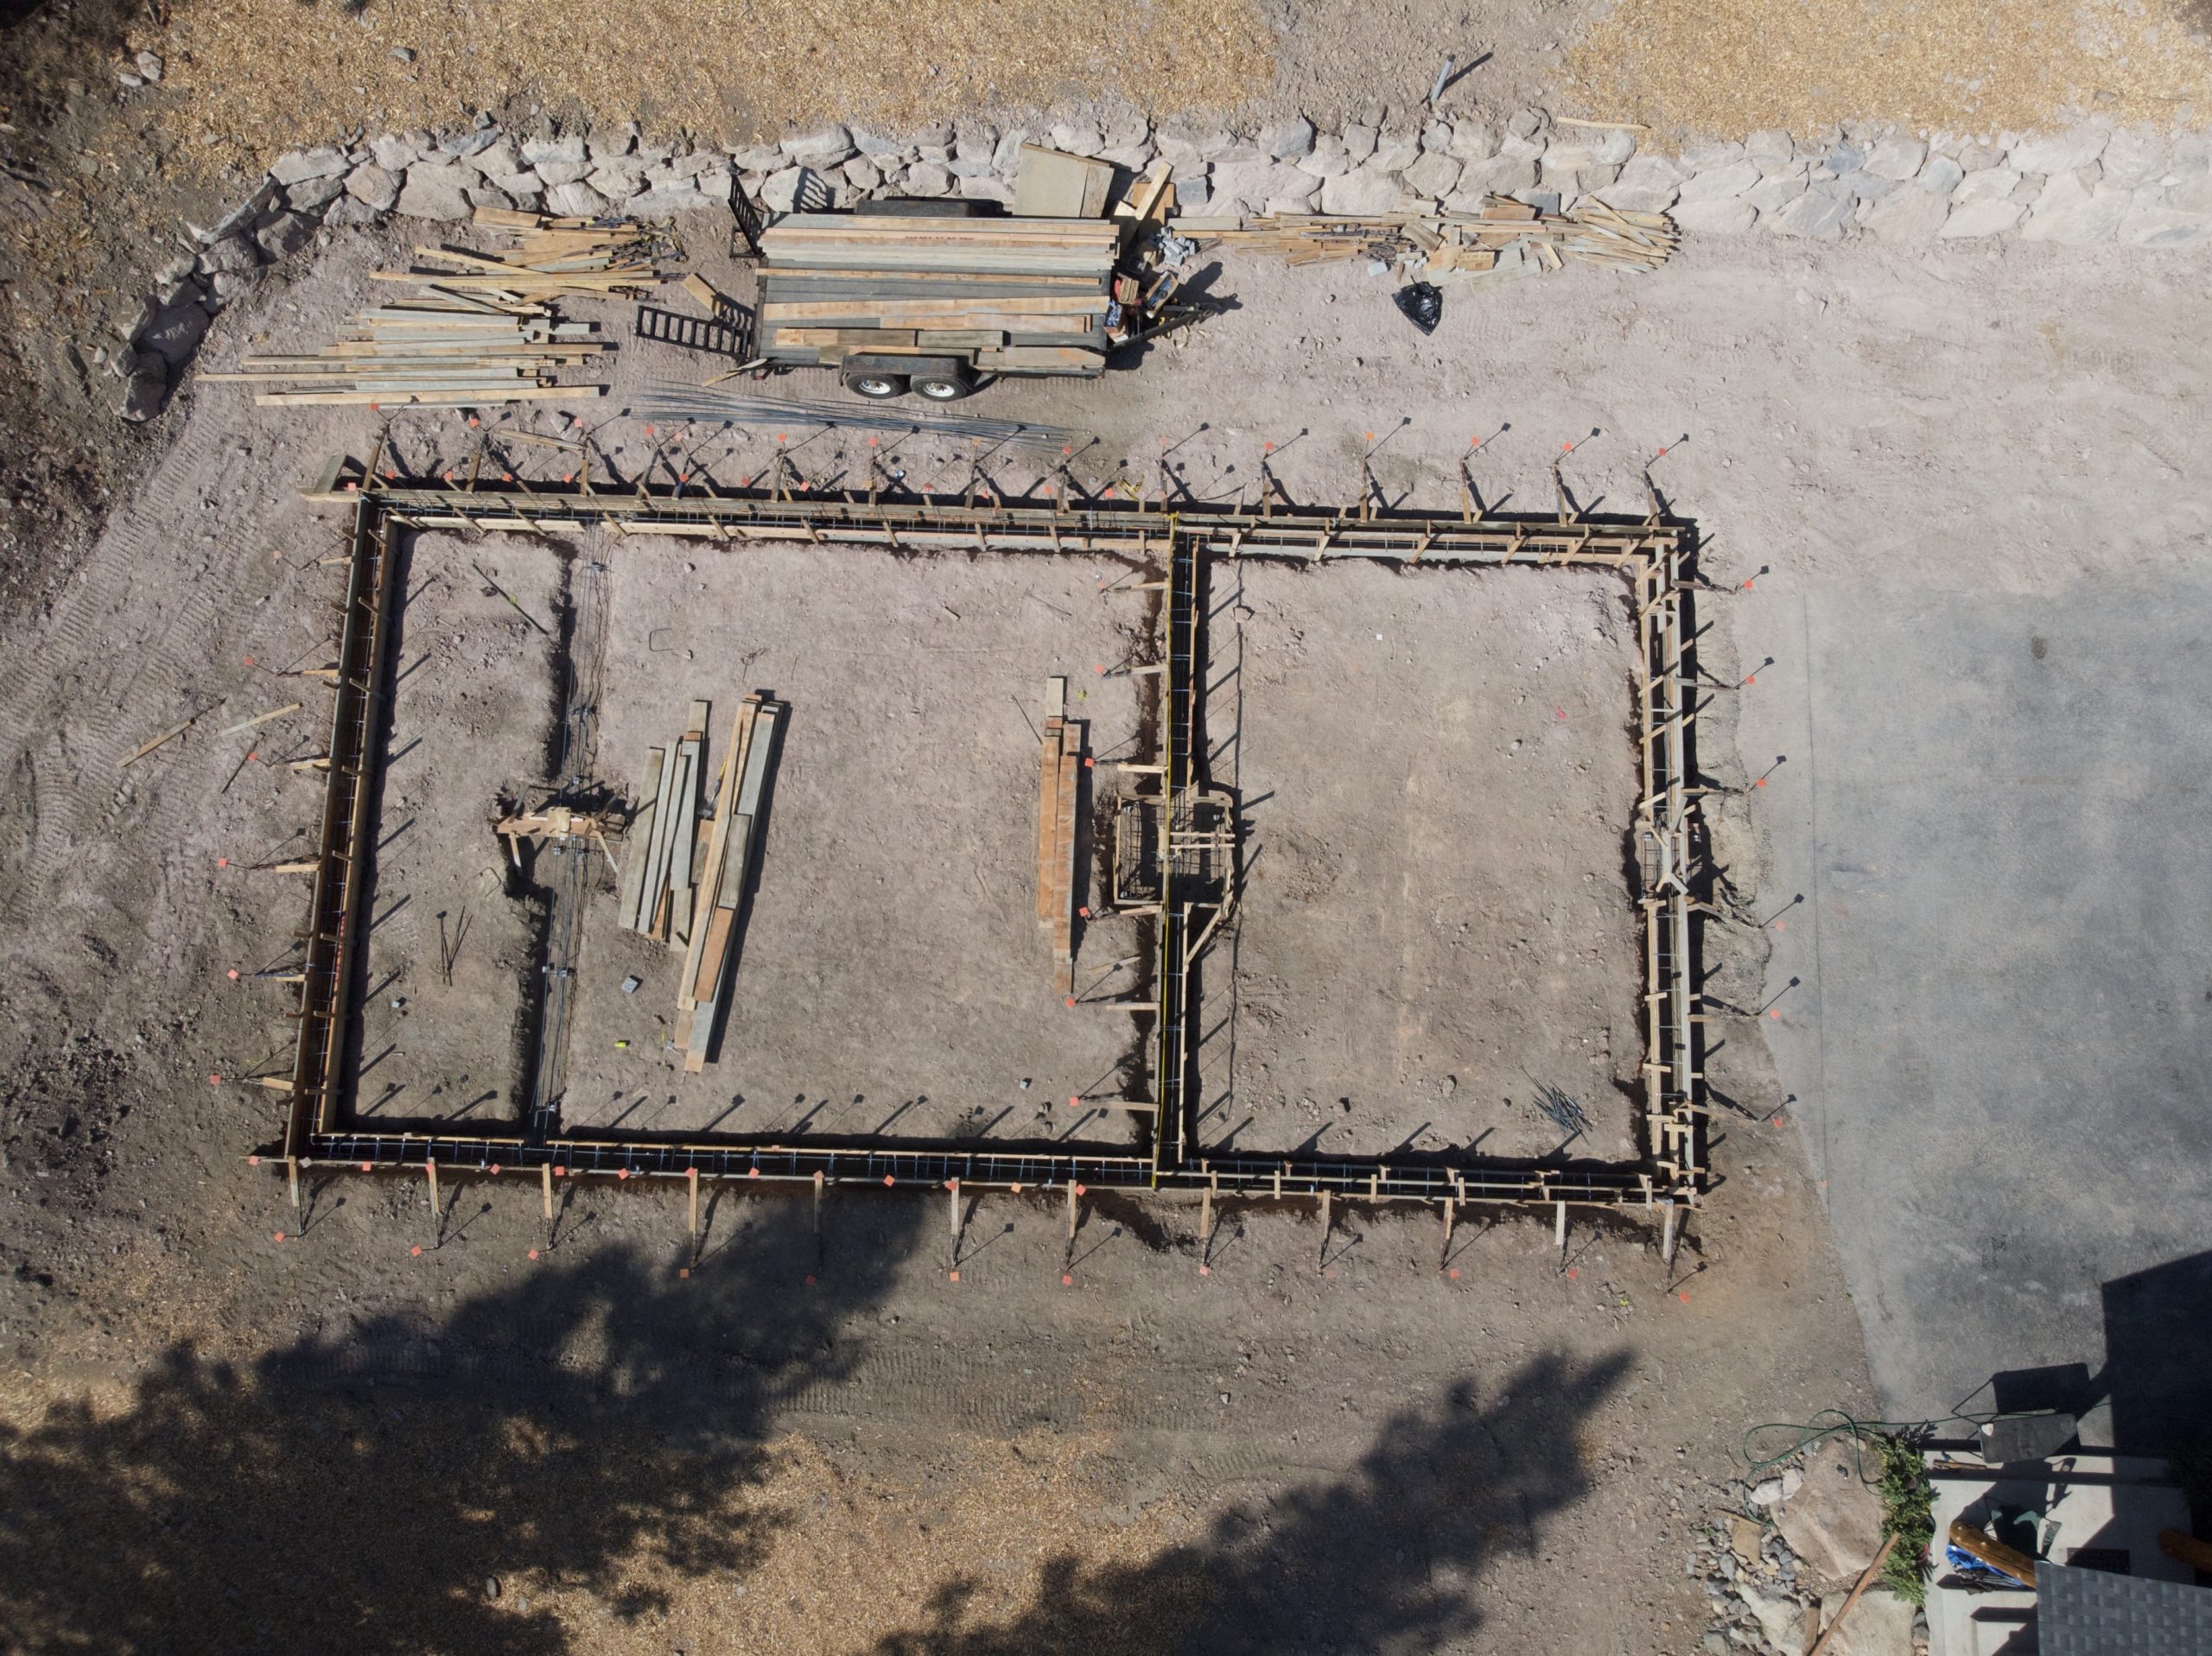

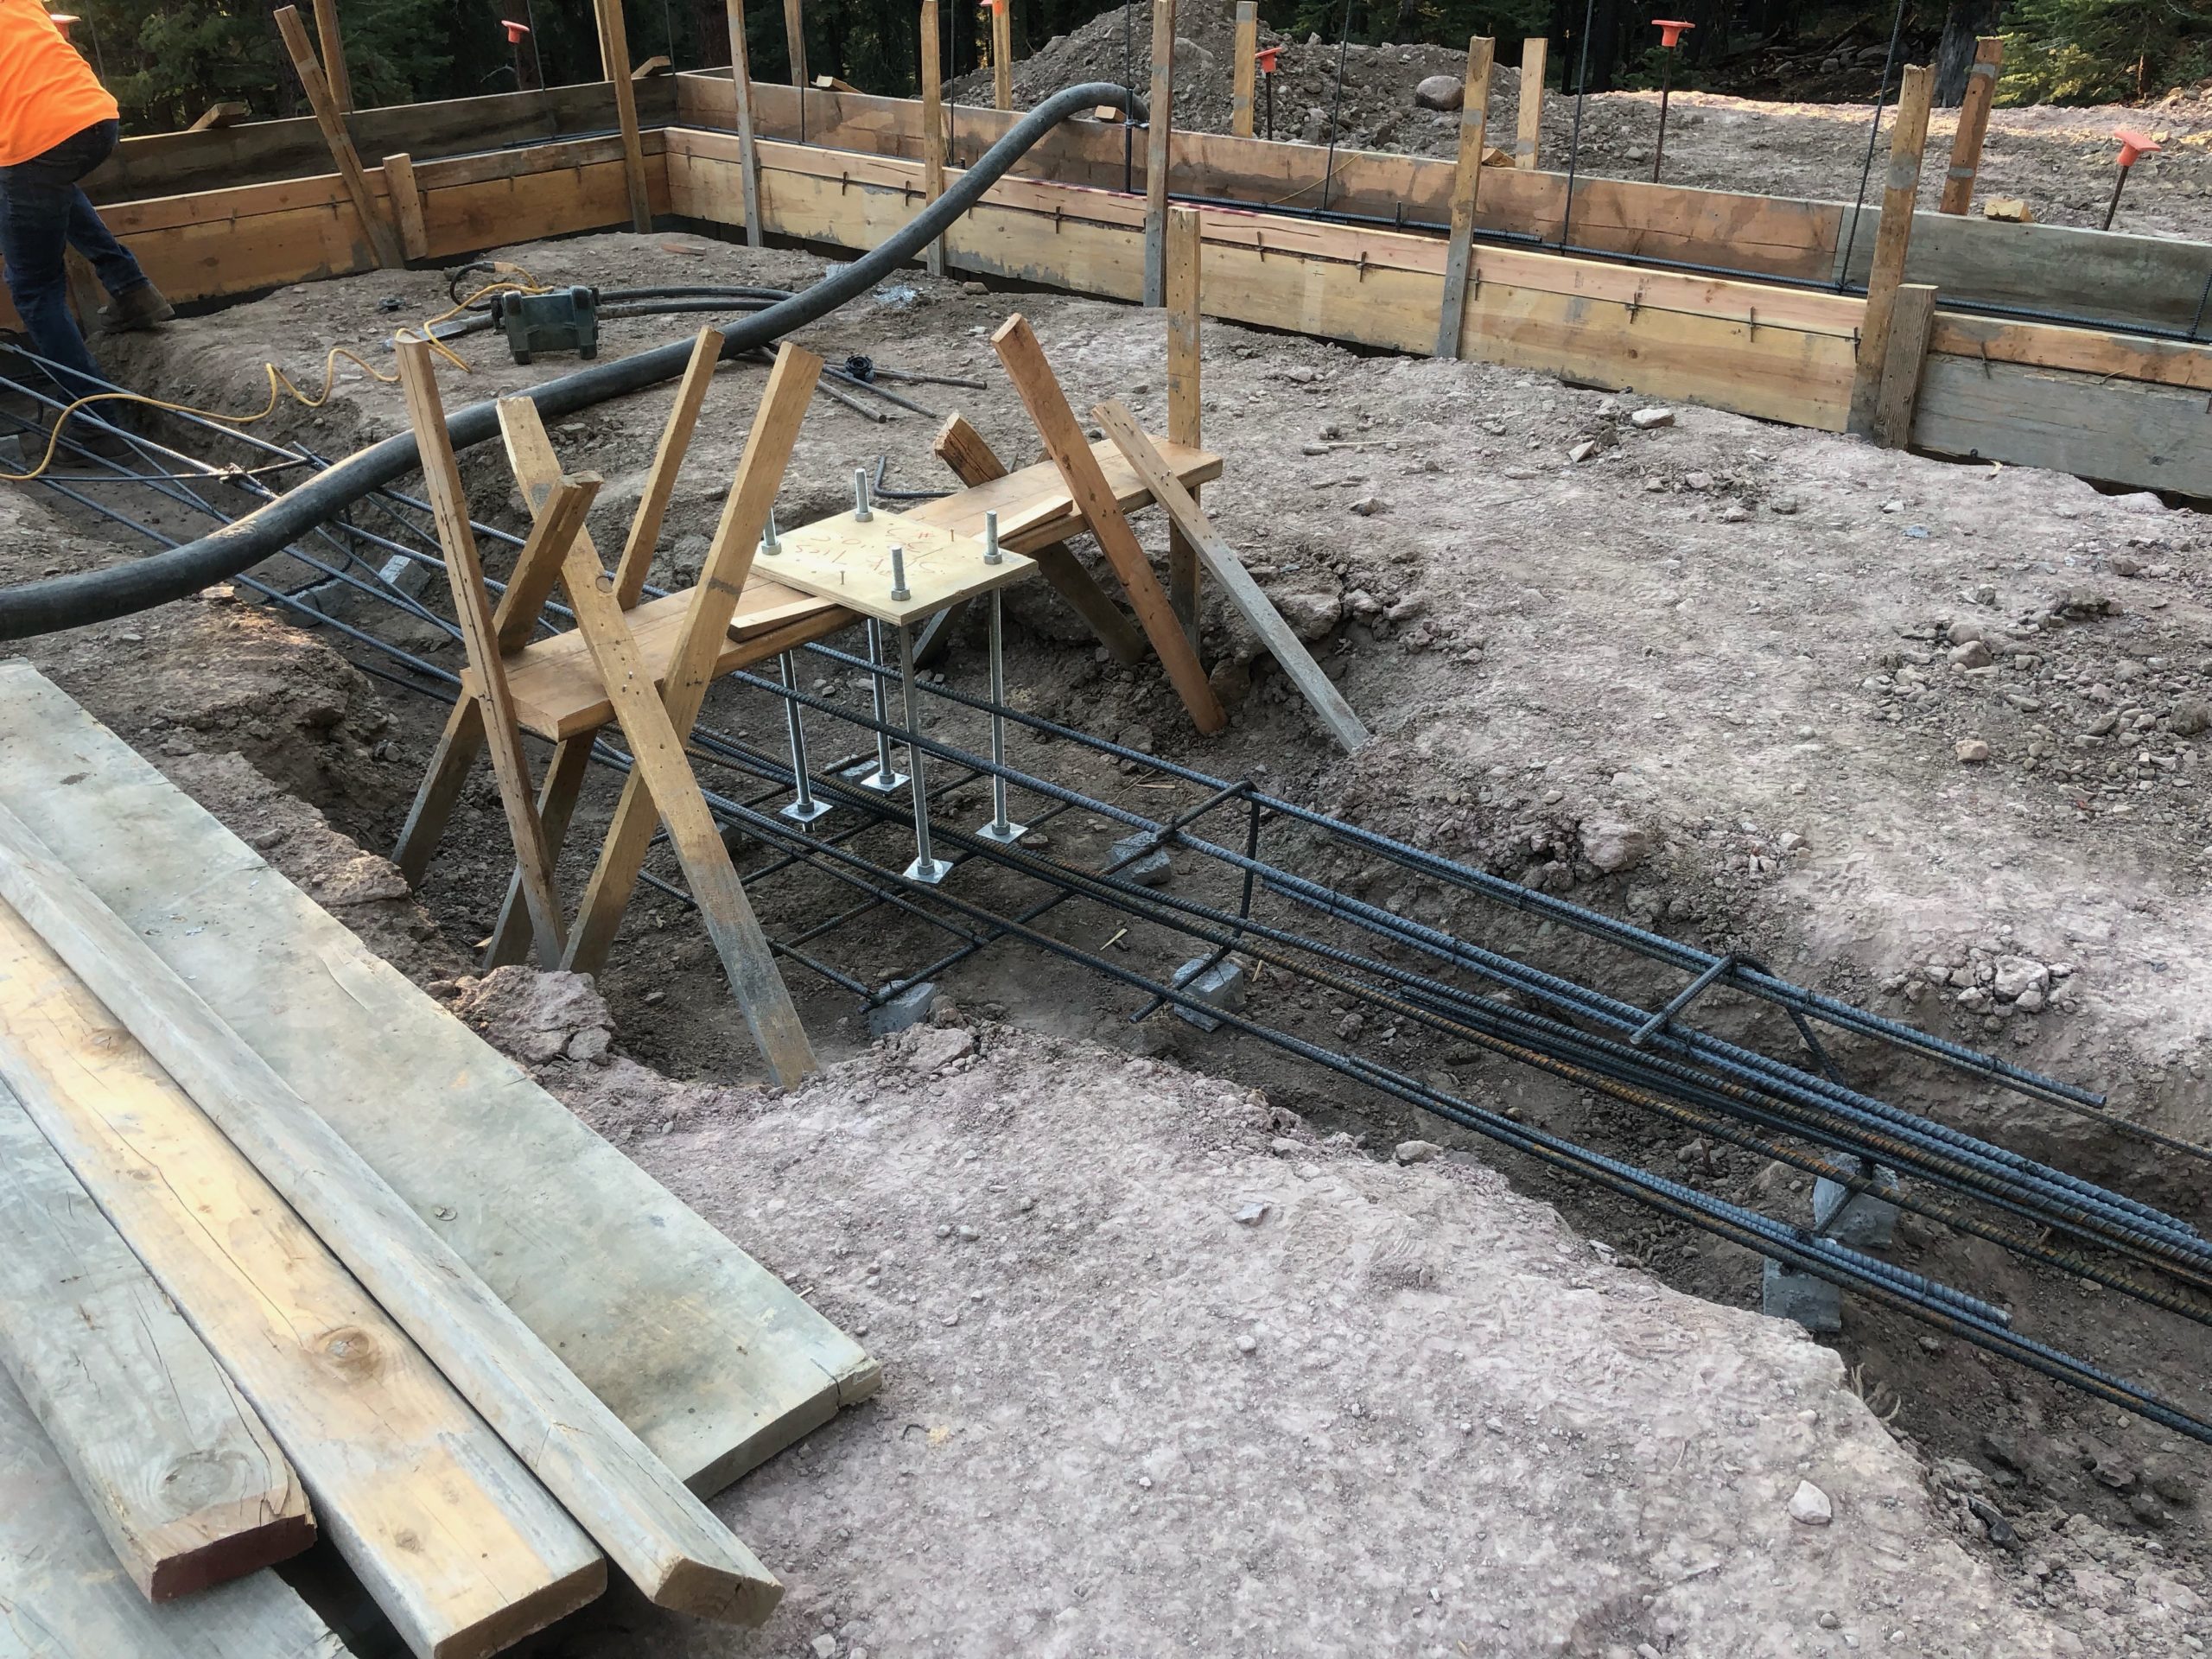
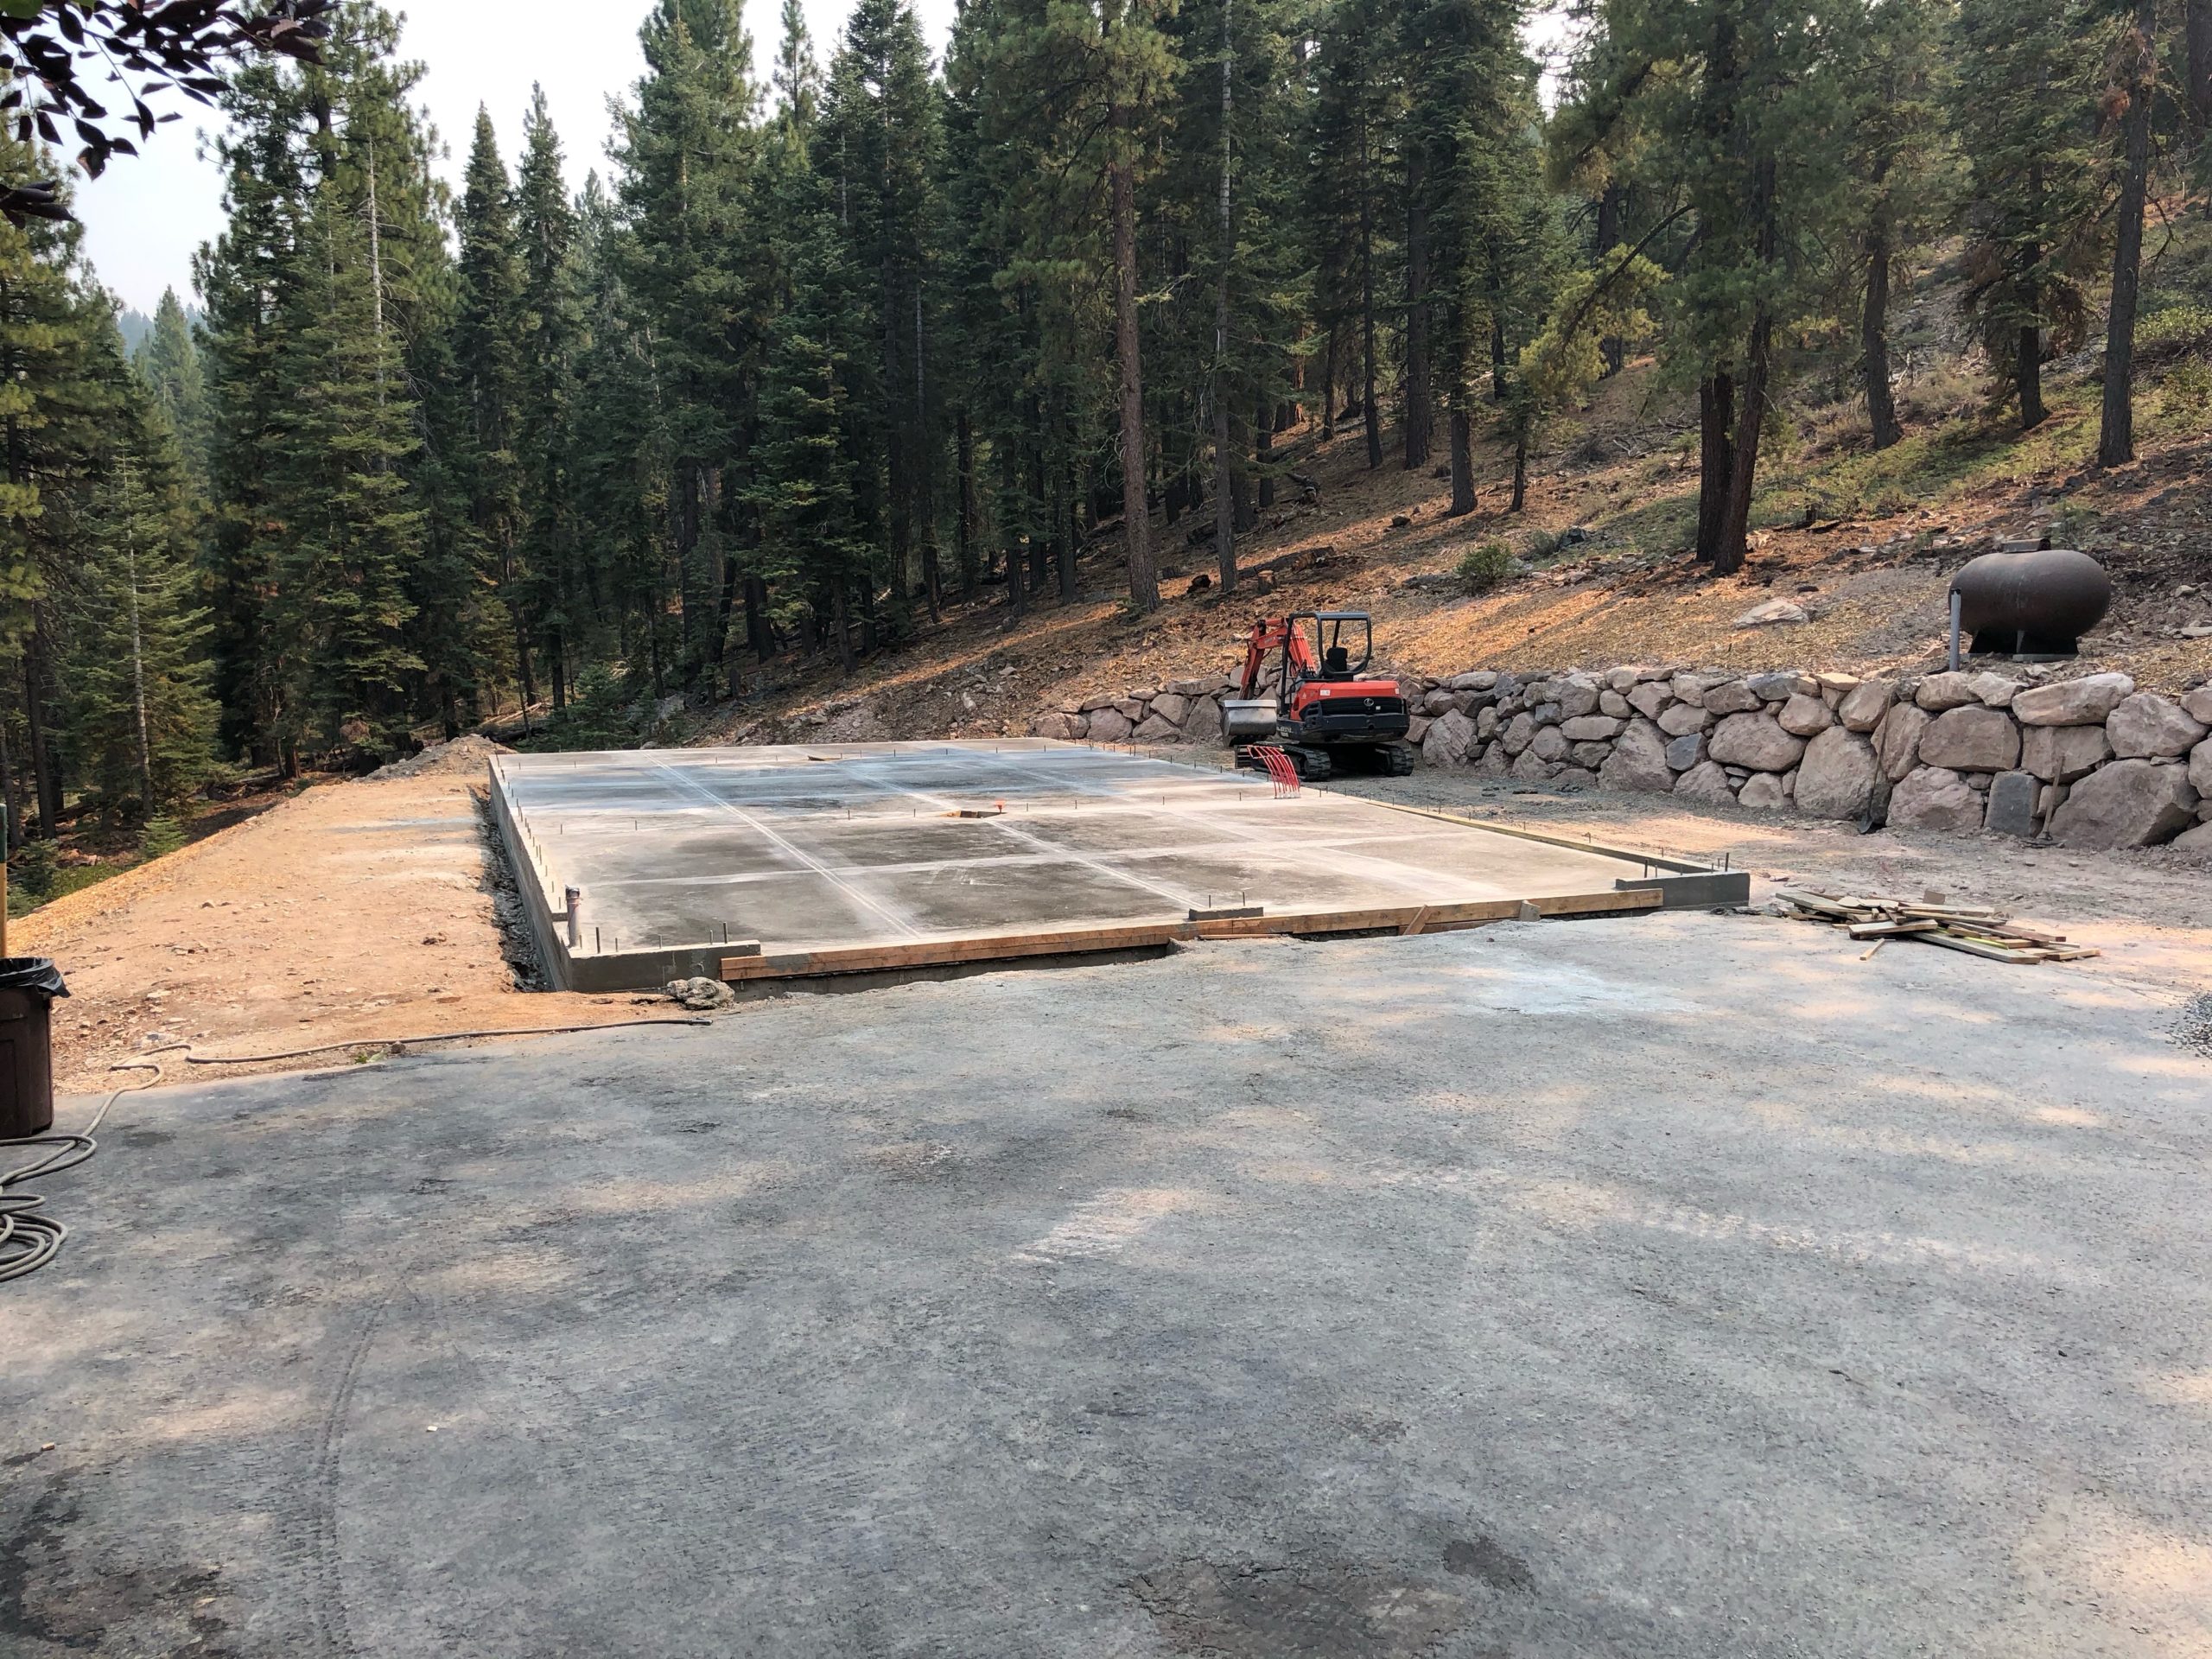
Once the form was setup I scheduled my first inspection with the county. It was pretty easy to do, and one of the concrete guys showed up to walk them through any issues. The inspector did notice a missing hold down, so the guy quickly went and added it on.
After the inspection was done the guys came back with a concrete pump and filled in the footings. That is the permitter area of the building and walls and in some spots will be higher than the flat slab. After that hardened the next step was to get a bunch of base rock in the middle area. Bobby Jones has an awesome truck driver named Kevin that delivered the loads of base rock from a brand new truck. This is where it was more convenient to have Bobby Jones do both the excavation and foundation: they could coordinate all the deliveries when needed and I didn’t have to work with another company and their scheduling.
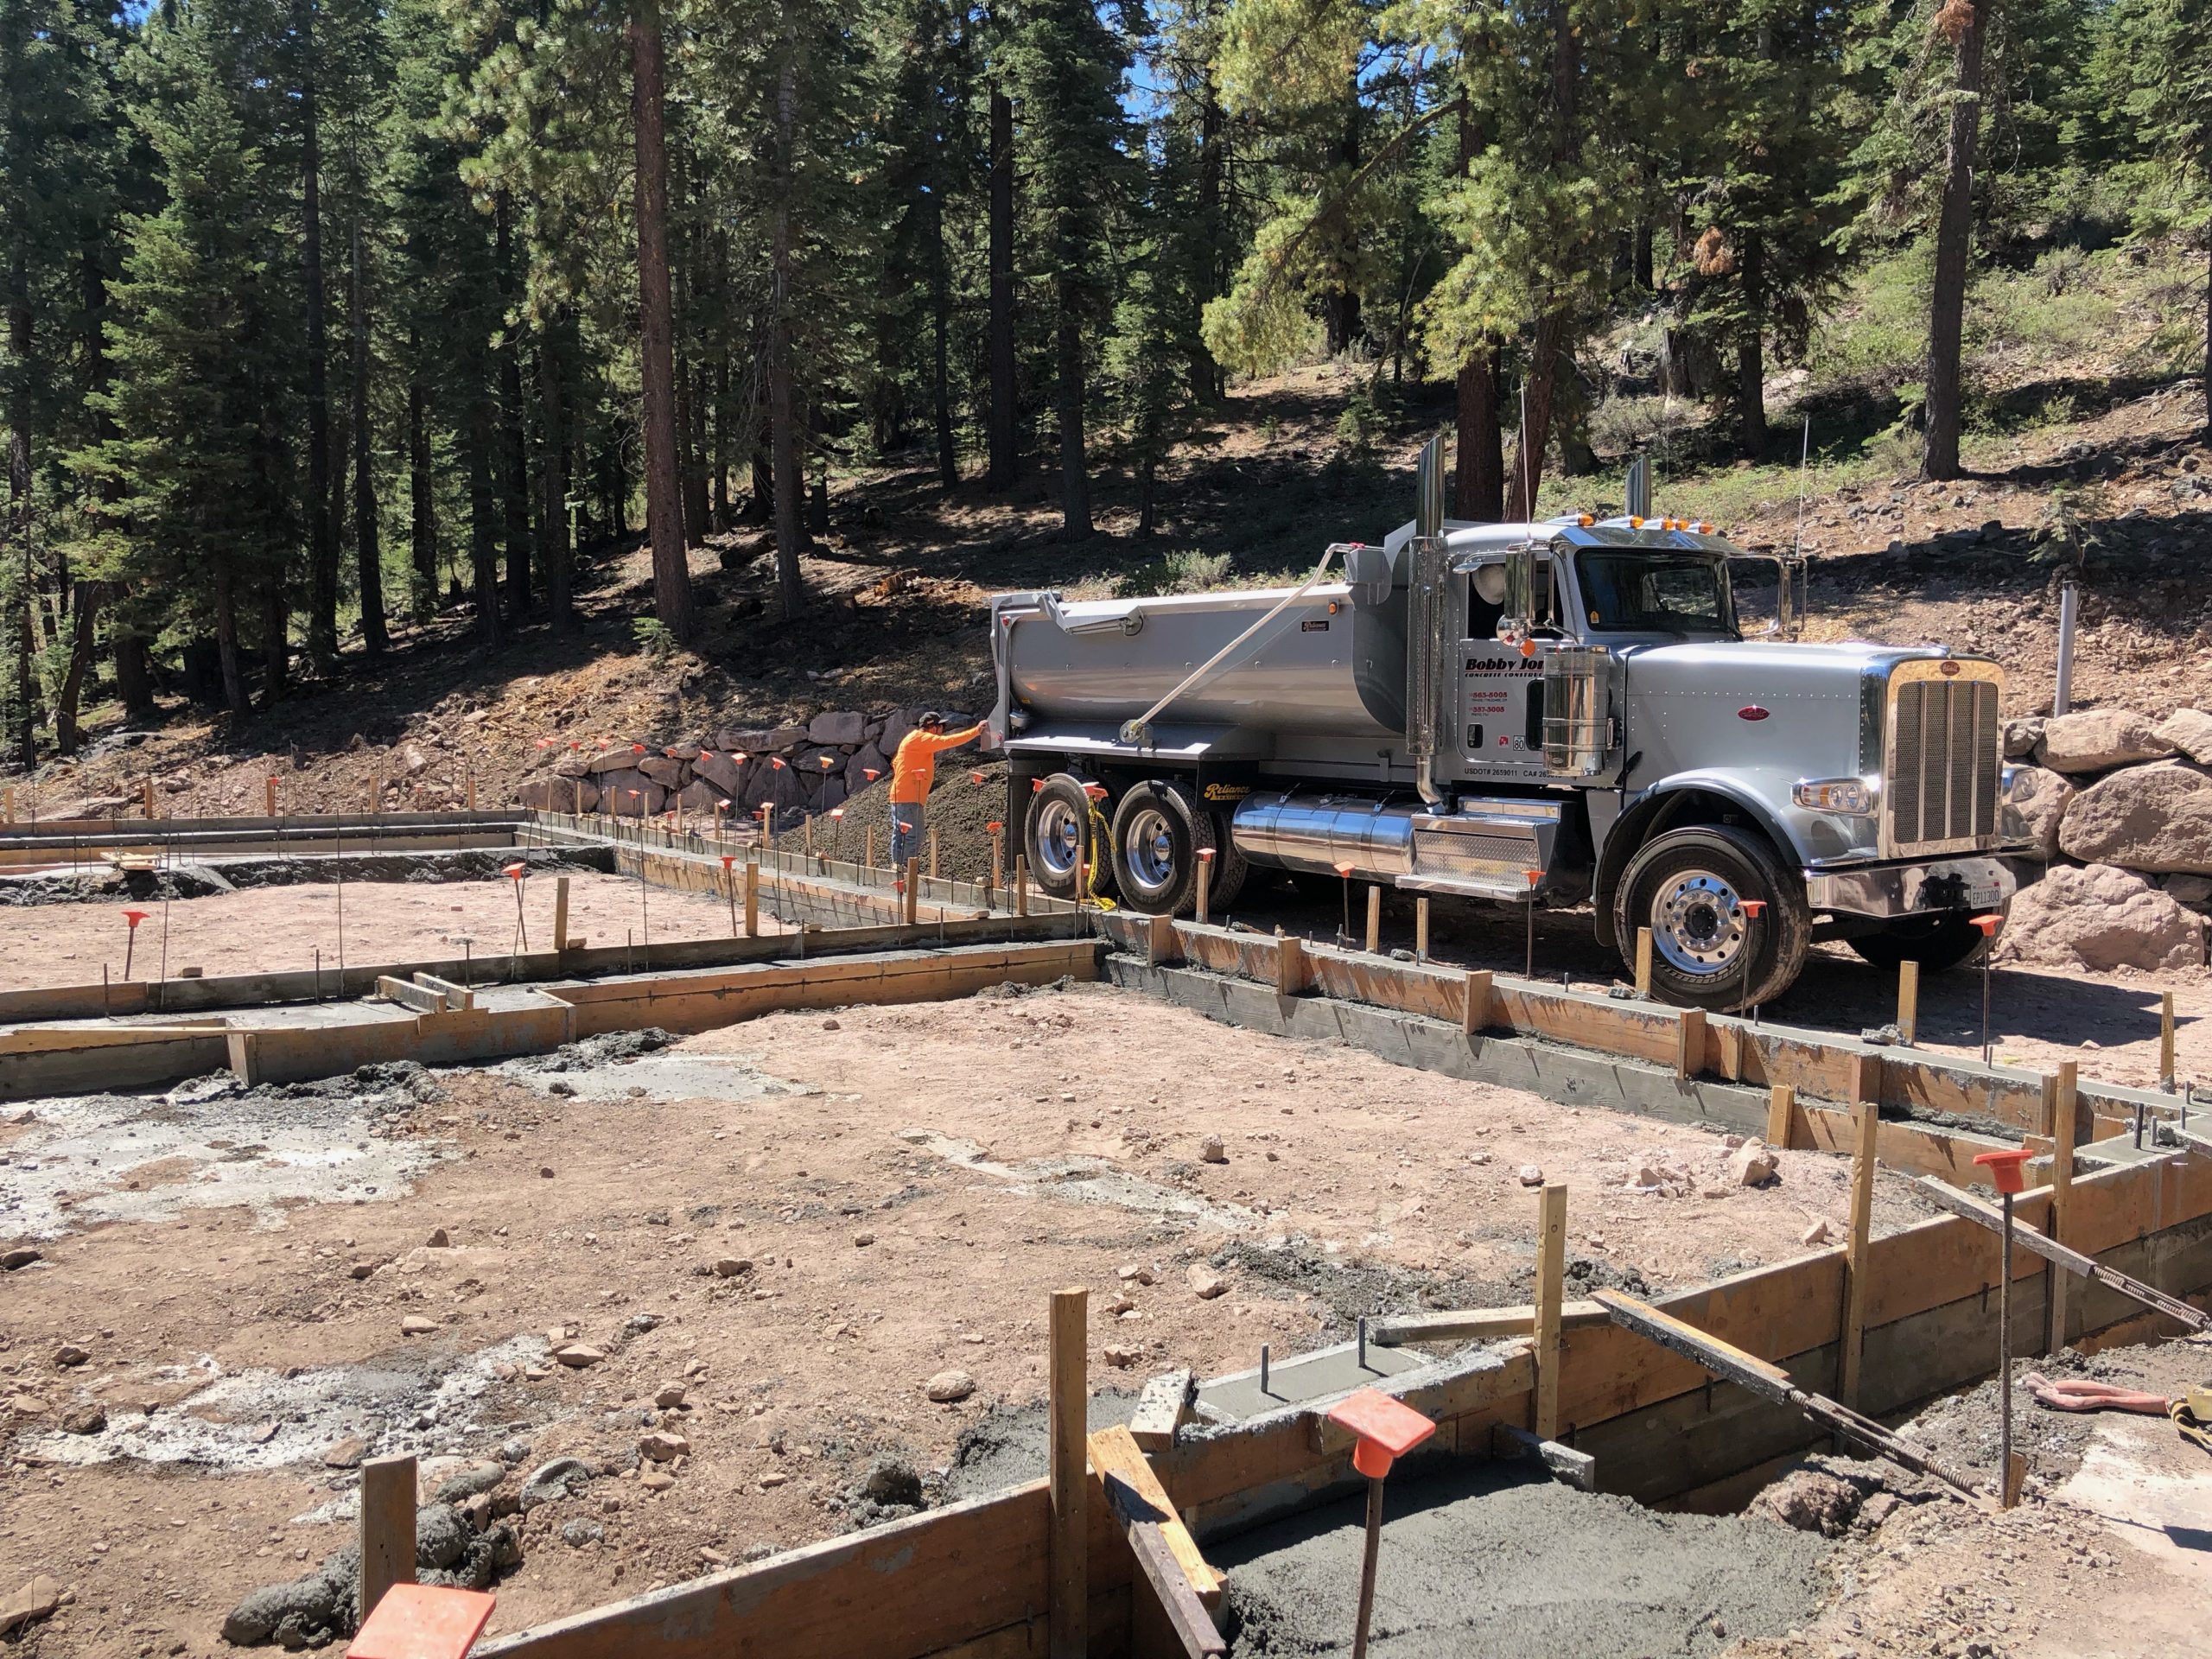
I used my Bobcat to lay the base rock in the slab area while a couple of other guys wet it down and compacted it with a small walk behind compactor. I didn’t take any pictures at this point; it was more important for me to do the work than it was to be behind a camera, even though the iPhone is always close by to snap pics.
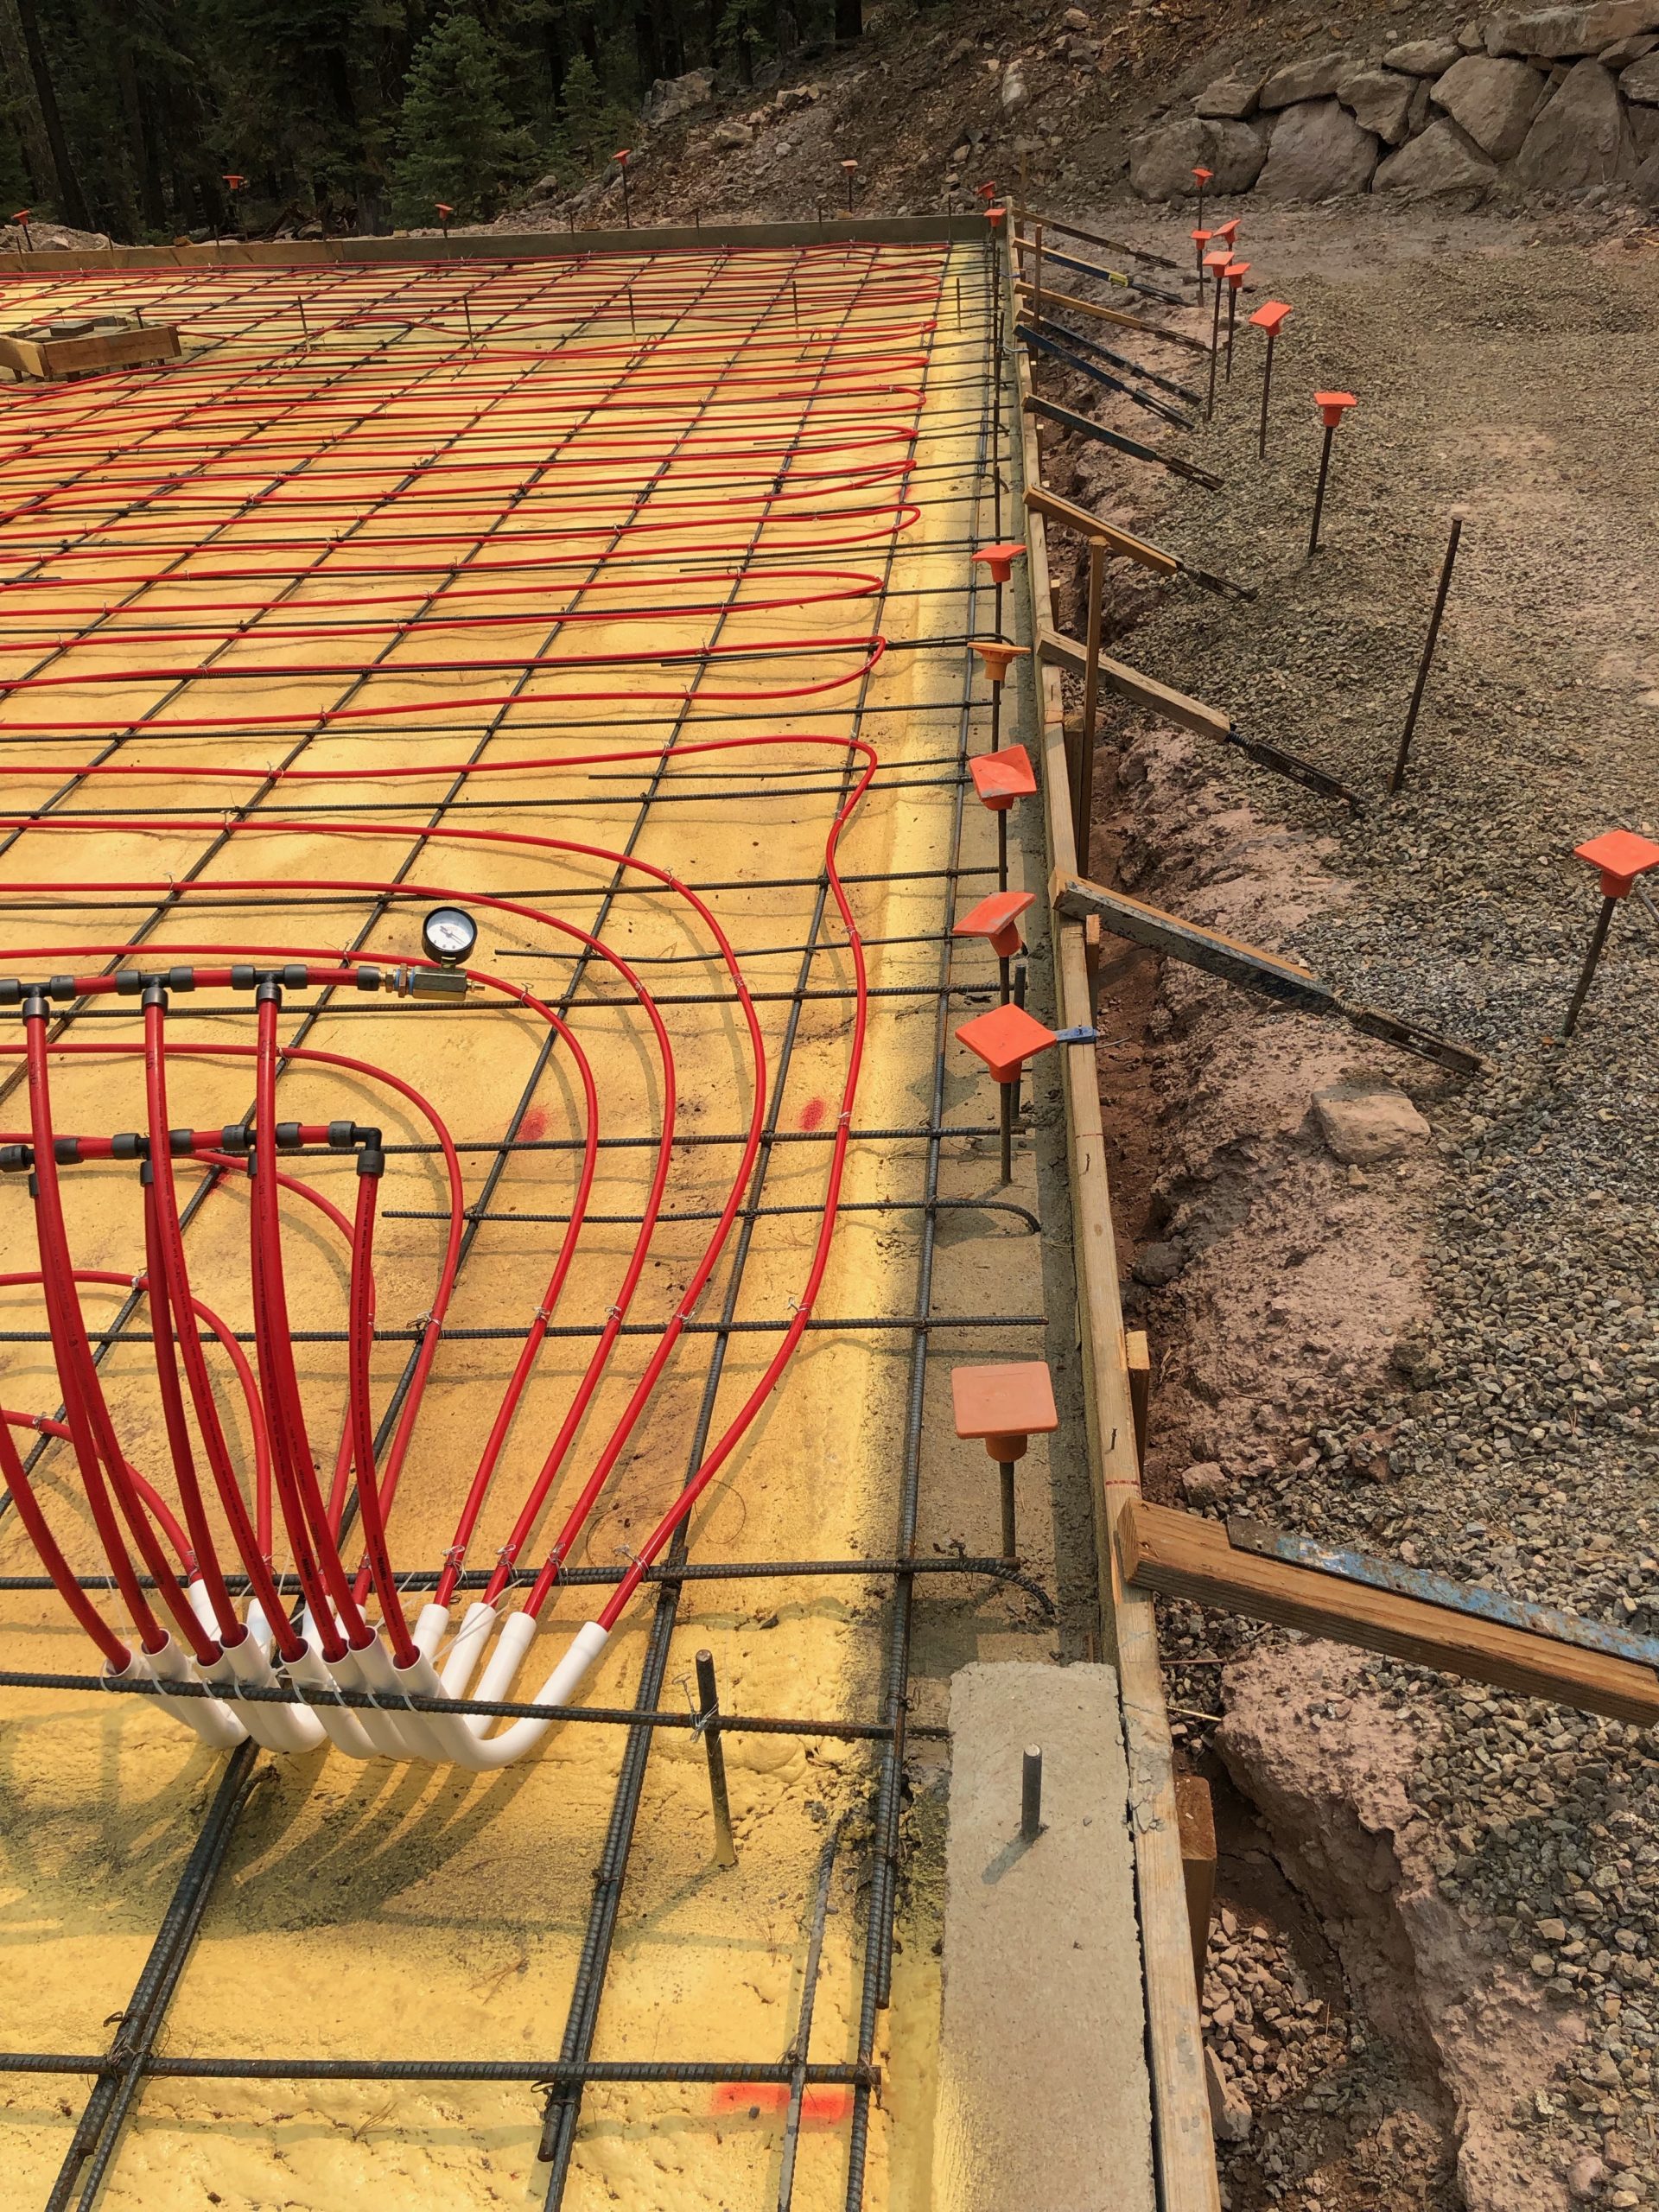
The workshop area would be heated, so we had to insulate under the slab. There are two common ways to do this: use 2″ pink insulation foamboard on top of a plastic sheet that acts as a vapor barrier, or spray foam. Spray foam is way more expensive but much more efficient. It not only doubles as a vapor barrier, but the foam fills in all the little gaps and holes that are inevitable with foamboard.
I opted for spray foam, and hired Sierra Insulation to do it. I had a day scheduled for them to arrive, but by the early afternoon no one had arrived or called me. It took me a while to get ahold of someone, and apparently they were busy with another job and their spray truck wasn’t working right. I wasn’t happy that they didn’t even bother to call and inform me they weren’t going to come. I needed to get the foam in to keep the project moving along, so the company rescheduled some work to have the truck come the next day. The caveat was their generator didn’t work, but they did have the ability to hardwire the pump into an electric panel. Luckily I already ran wire to the edge of the building. The foam guy was supposed to arrive early in the morning..but again, no one showed up. I called and apparently he was busy that morning, but would be there in the afternoon. The company has real bad communication with their clients. He did show up, and I temporarily hardwired his machine into my wires on the side of the building; it was a little sketchy, but I was careful. Spraying foam required a full suit and mask.
Once the foam was sprayed I could move on to the next steps. First of all, the concrete guys came back and laid down the rebar for the slab. Then it was time for the PEX tubing for radiant heat. I had received quotes from a few companies that did hydronic heating, and it was incredibly expensive. However, I only had one shot to put tubing in the slab; once the concrete was poured I couldn’t go back and add it in later. I settled on Leslie Heating to do the setup, with a quote coming in a bit over $20k for it all. I kept them in the loop as my project went along, but once I started getting close to needing them it ended up being hard to get ahold of the guys. Timing was important as I needed to get the tubing down, have an inspection done, and then have the concrete poured. My concrete guys had only one day they could do my pour, otherwise they would have to re-schedule for a month later. This would have put a huge delay in my project and caused me to be building in winter. Eventually I did get ahold of Leslie Heating and the two guys (an owner and his son) came and put down the tubing. They billed me $5500 for this part of the project, which took the two guys about a day and a half. I was starting to wish I did it myself, but I didn’t have the time to research and figure out how to properly do it. The unheated 2-car garage didn’t pass California’s title 24 to have heating. I really wanted to toss tubing in that area too “just in case”, but it would have had to be done on the down low without the inspector knowing. The pour was scheduled the next day after the radiant PEX tubing inspection; so there wasn’t time to add in more tubing and I didn’t want to deal with the issue of getting caught for doing something I wasn’t supposed to do. So, I didn’t do it.
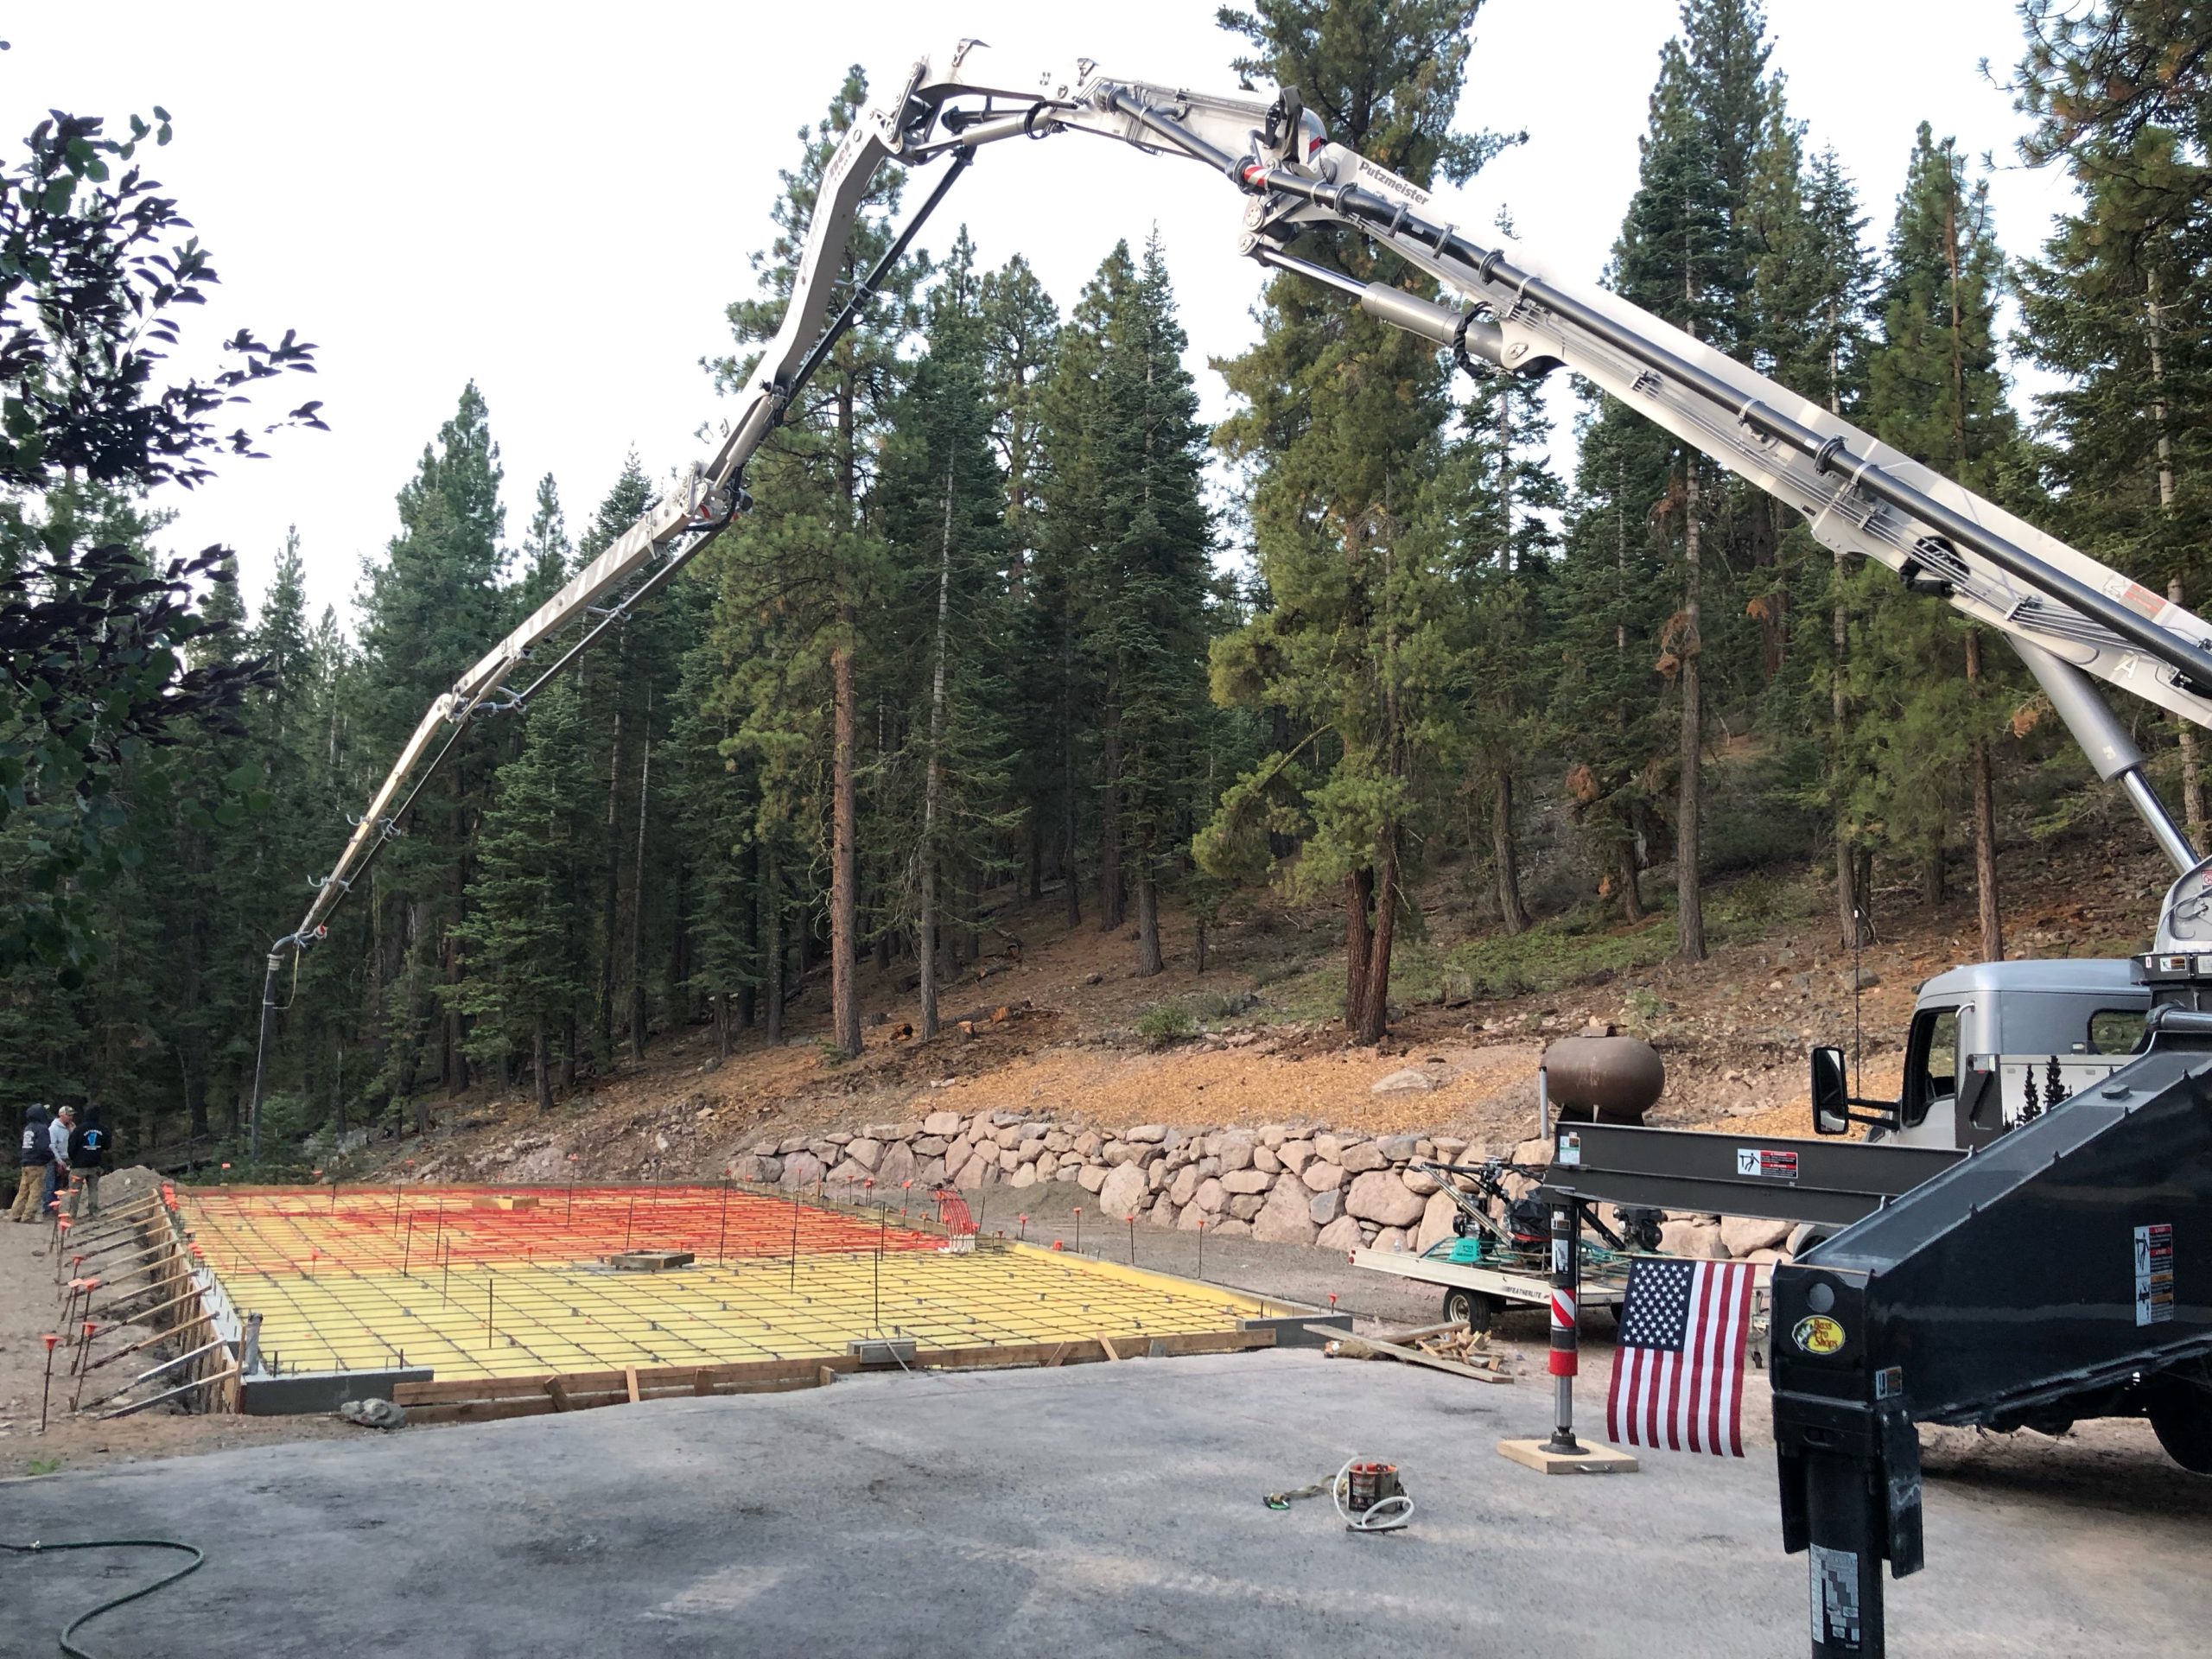
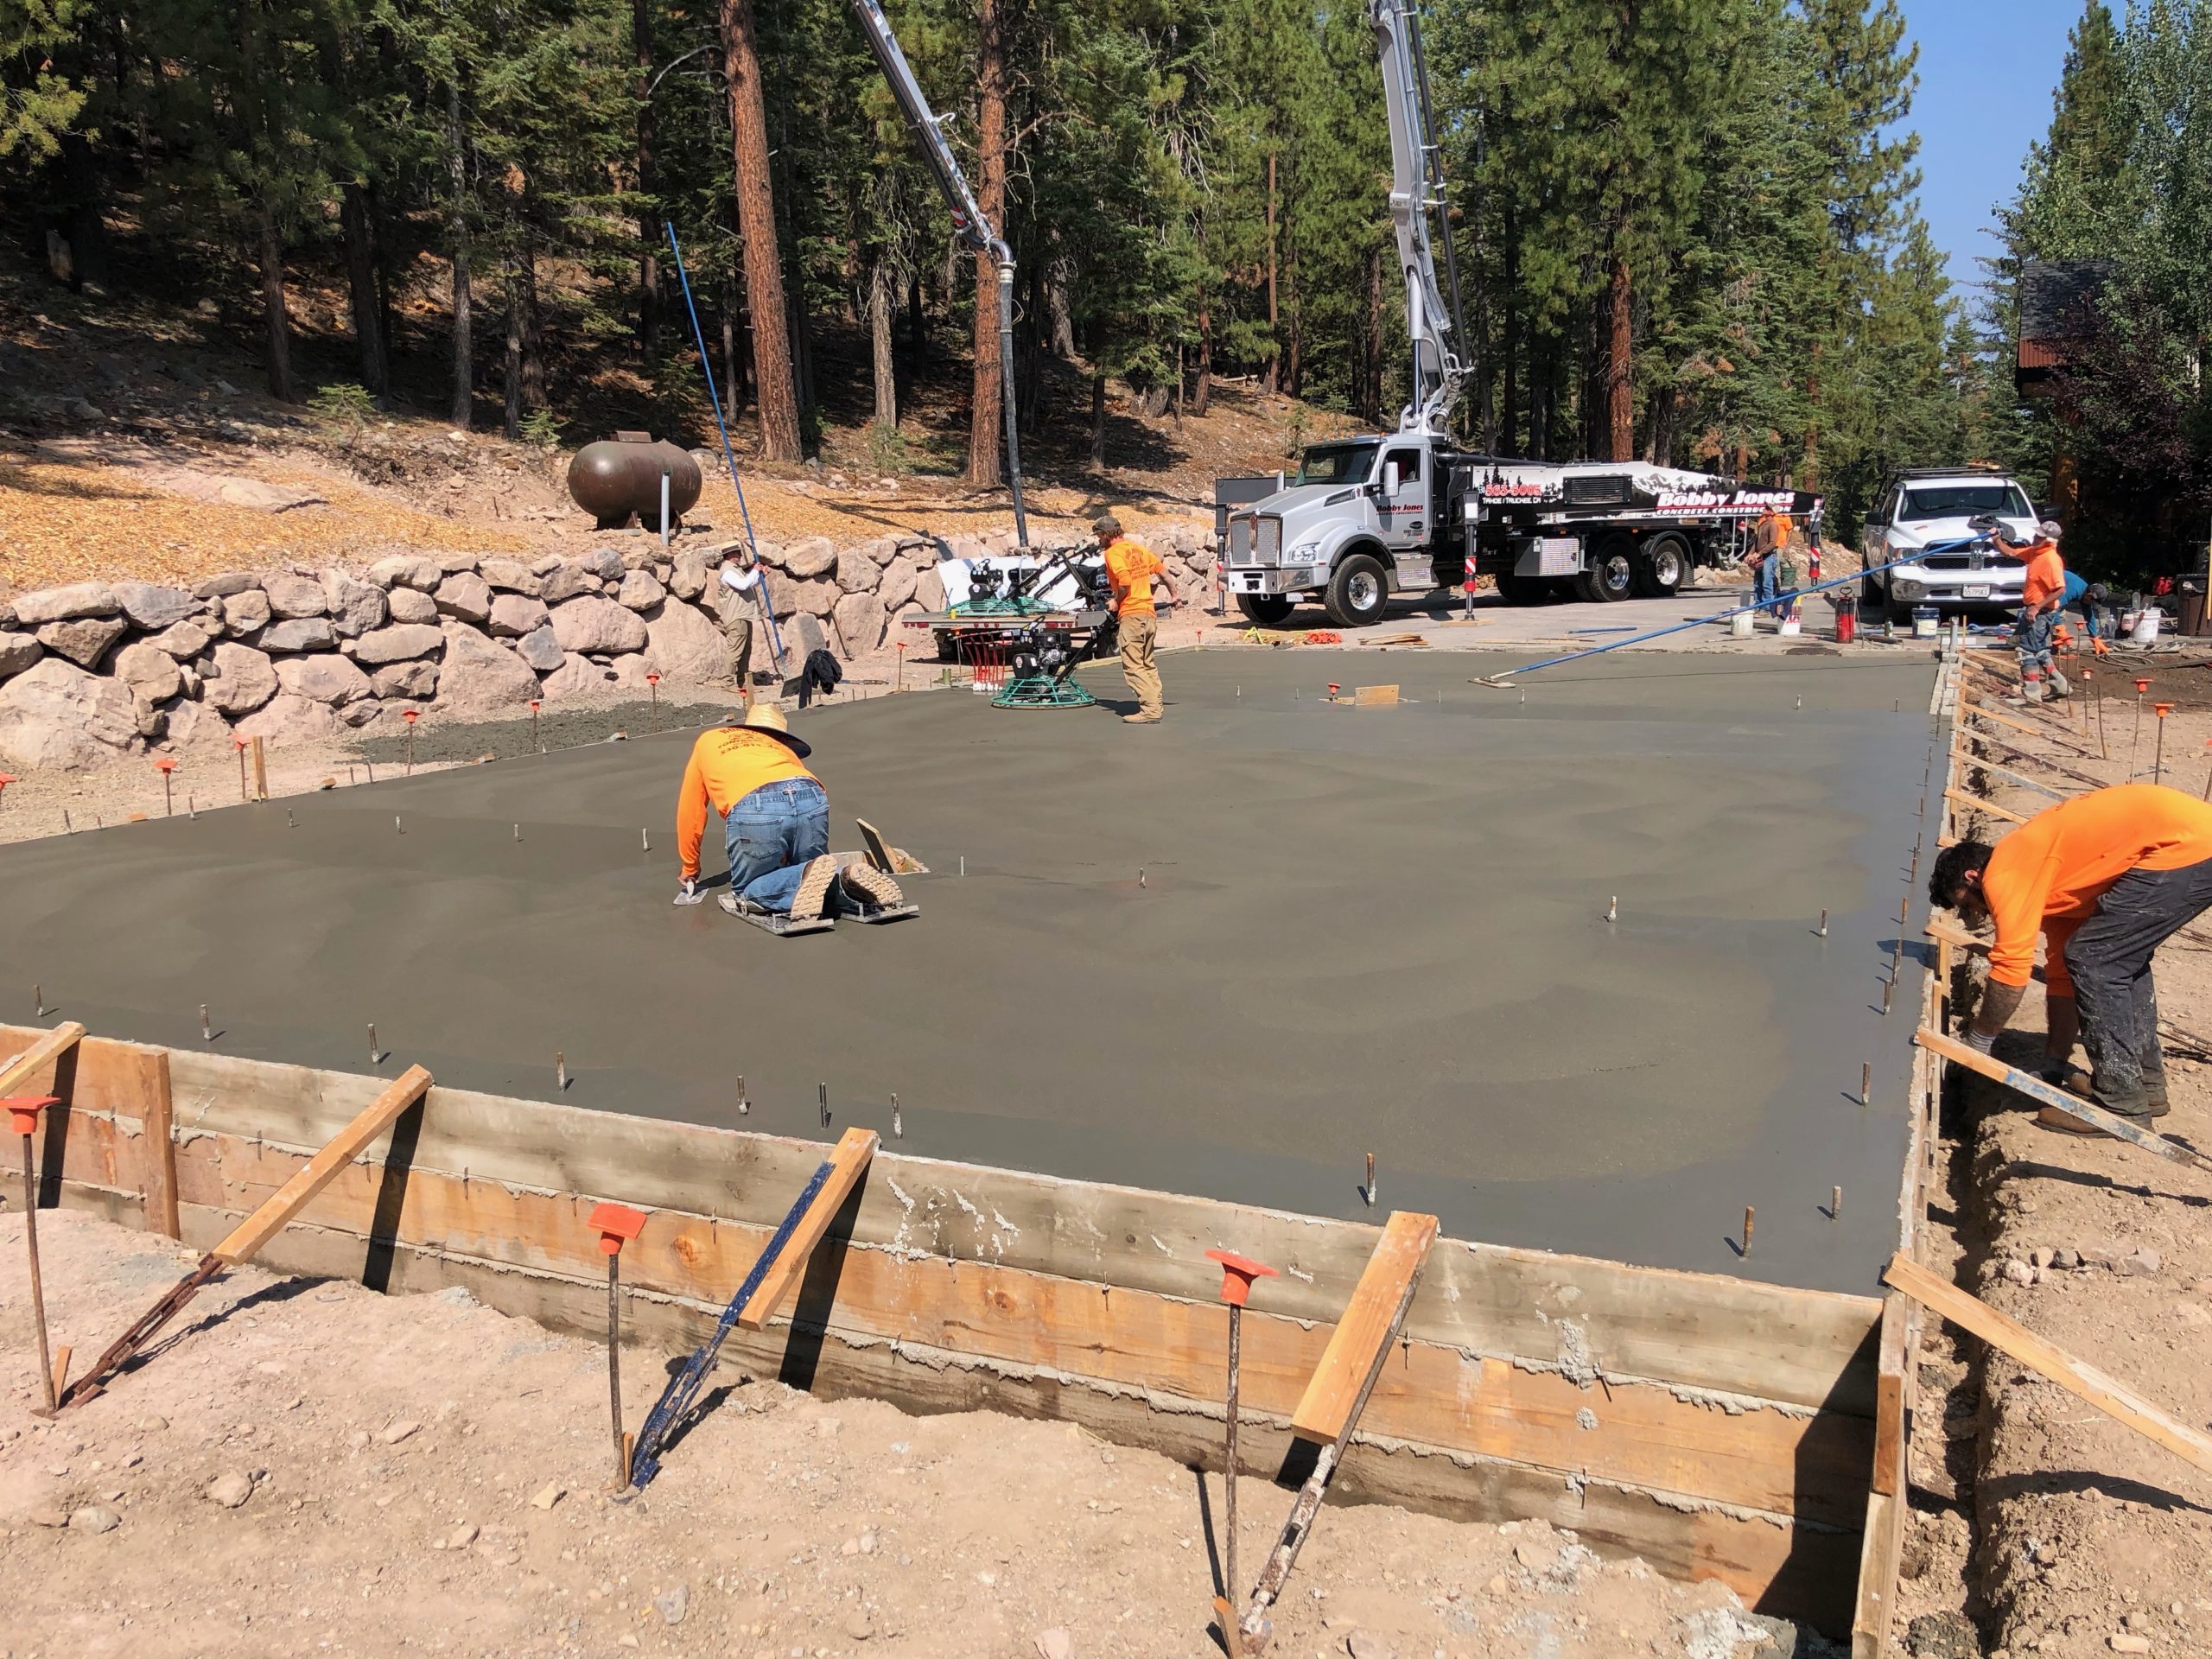
The next after the inspection was concrete day. Bobby Jones Concrete recently bought a ton of new equipment, and they arrived with a pretty new crane pump truck to do the pour. The guys worked quickly and methodically, and did an awesome job of getting a nice flat slab with a good finish.
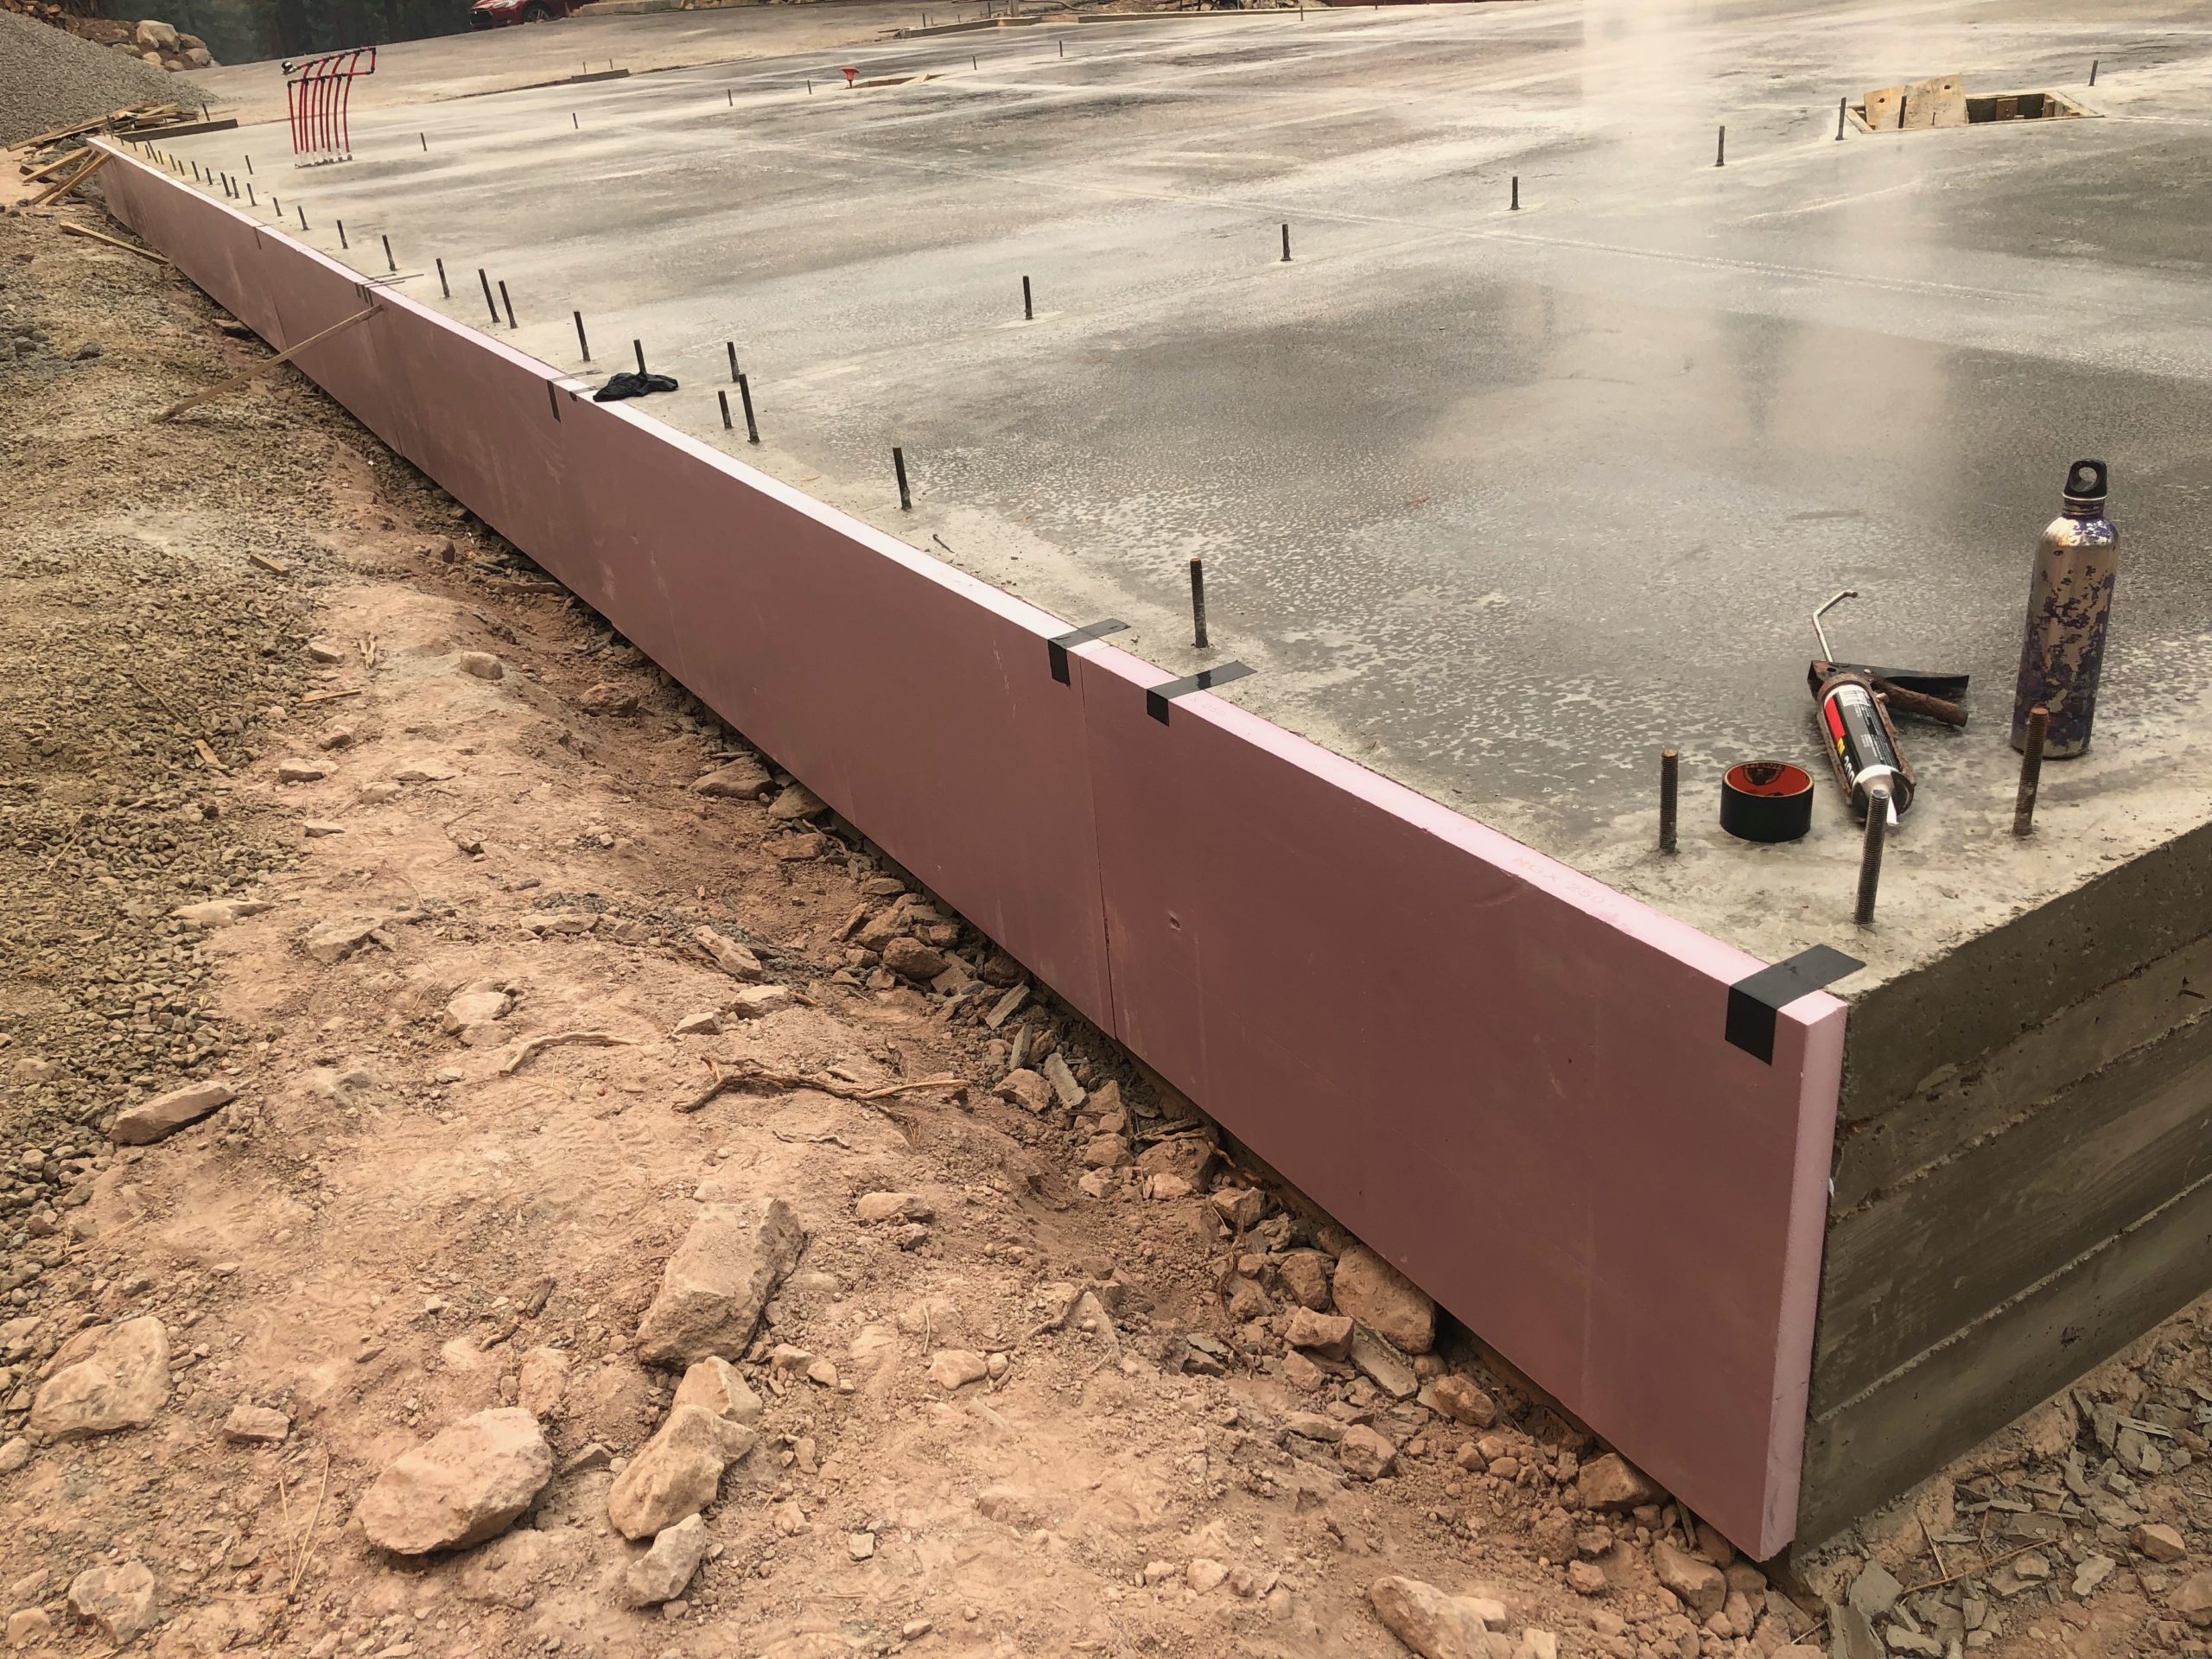
At this point it was back to me to do some work. The plans called for 2″ foamboard outside the slab, but honestly this wasn’t something I noticed until I later looked at them again. The foamboard insulation is required to not have it leak heat out the sides, and was something I initially discovered during my own research on how to insulate a monolithic concrete slab with radiant heat. When I got bids for insulation some of them included this in the bid; others didn’t, and I didn’t catch this rather small detail. Unfortunately I went with a company that didn’t include it, and so I had to add it in myself before the backfill. I had asked the company about it, but they said it wasn’t necessary (I don’t think I agree with that).
At this point I had a nice place to do Cyr Wheel!

To be continued….


[…] In the next post I write about doing the concrete slab! Making a Concrete Slab for my Truckee Workshop Project. […]