Exterior Siding & Roofing – Truckee Workshop Part 12
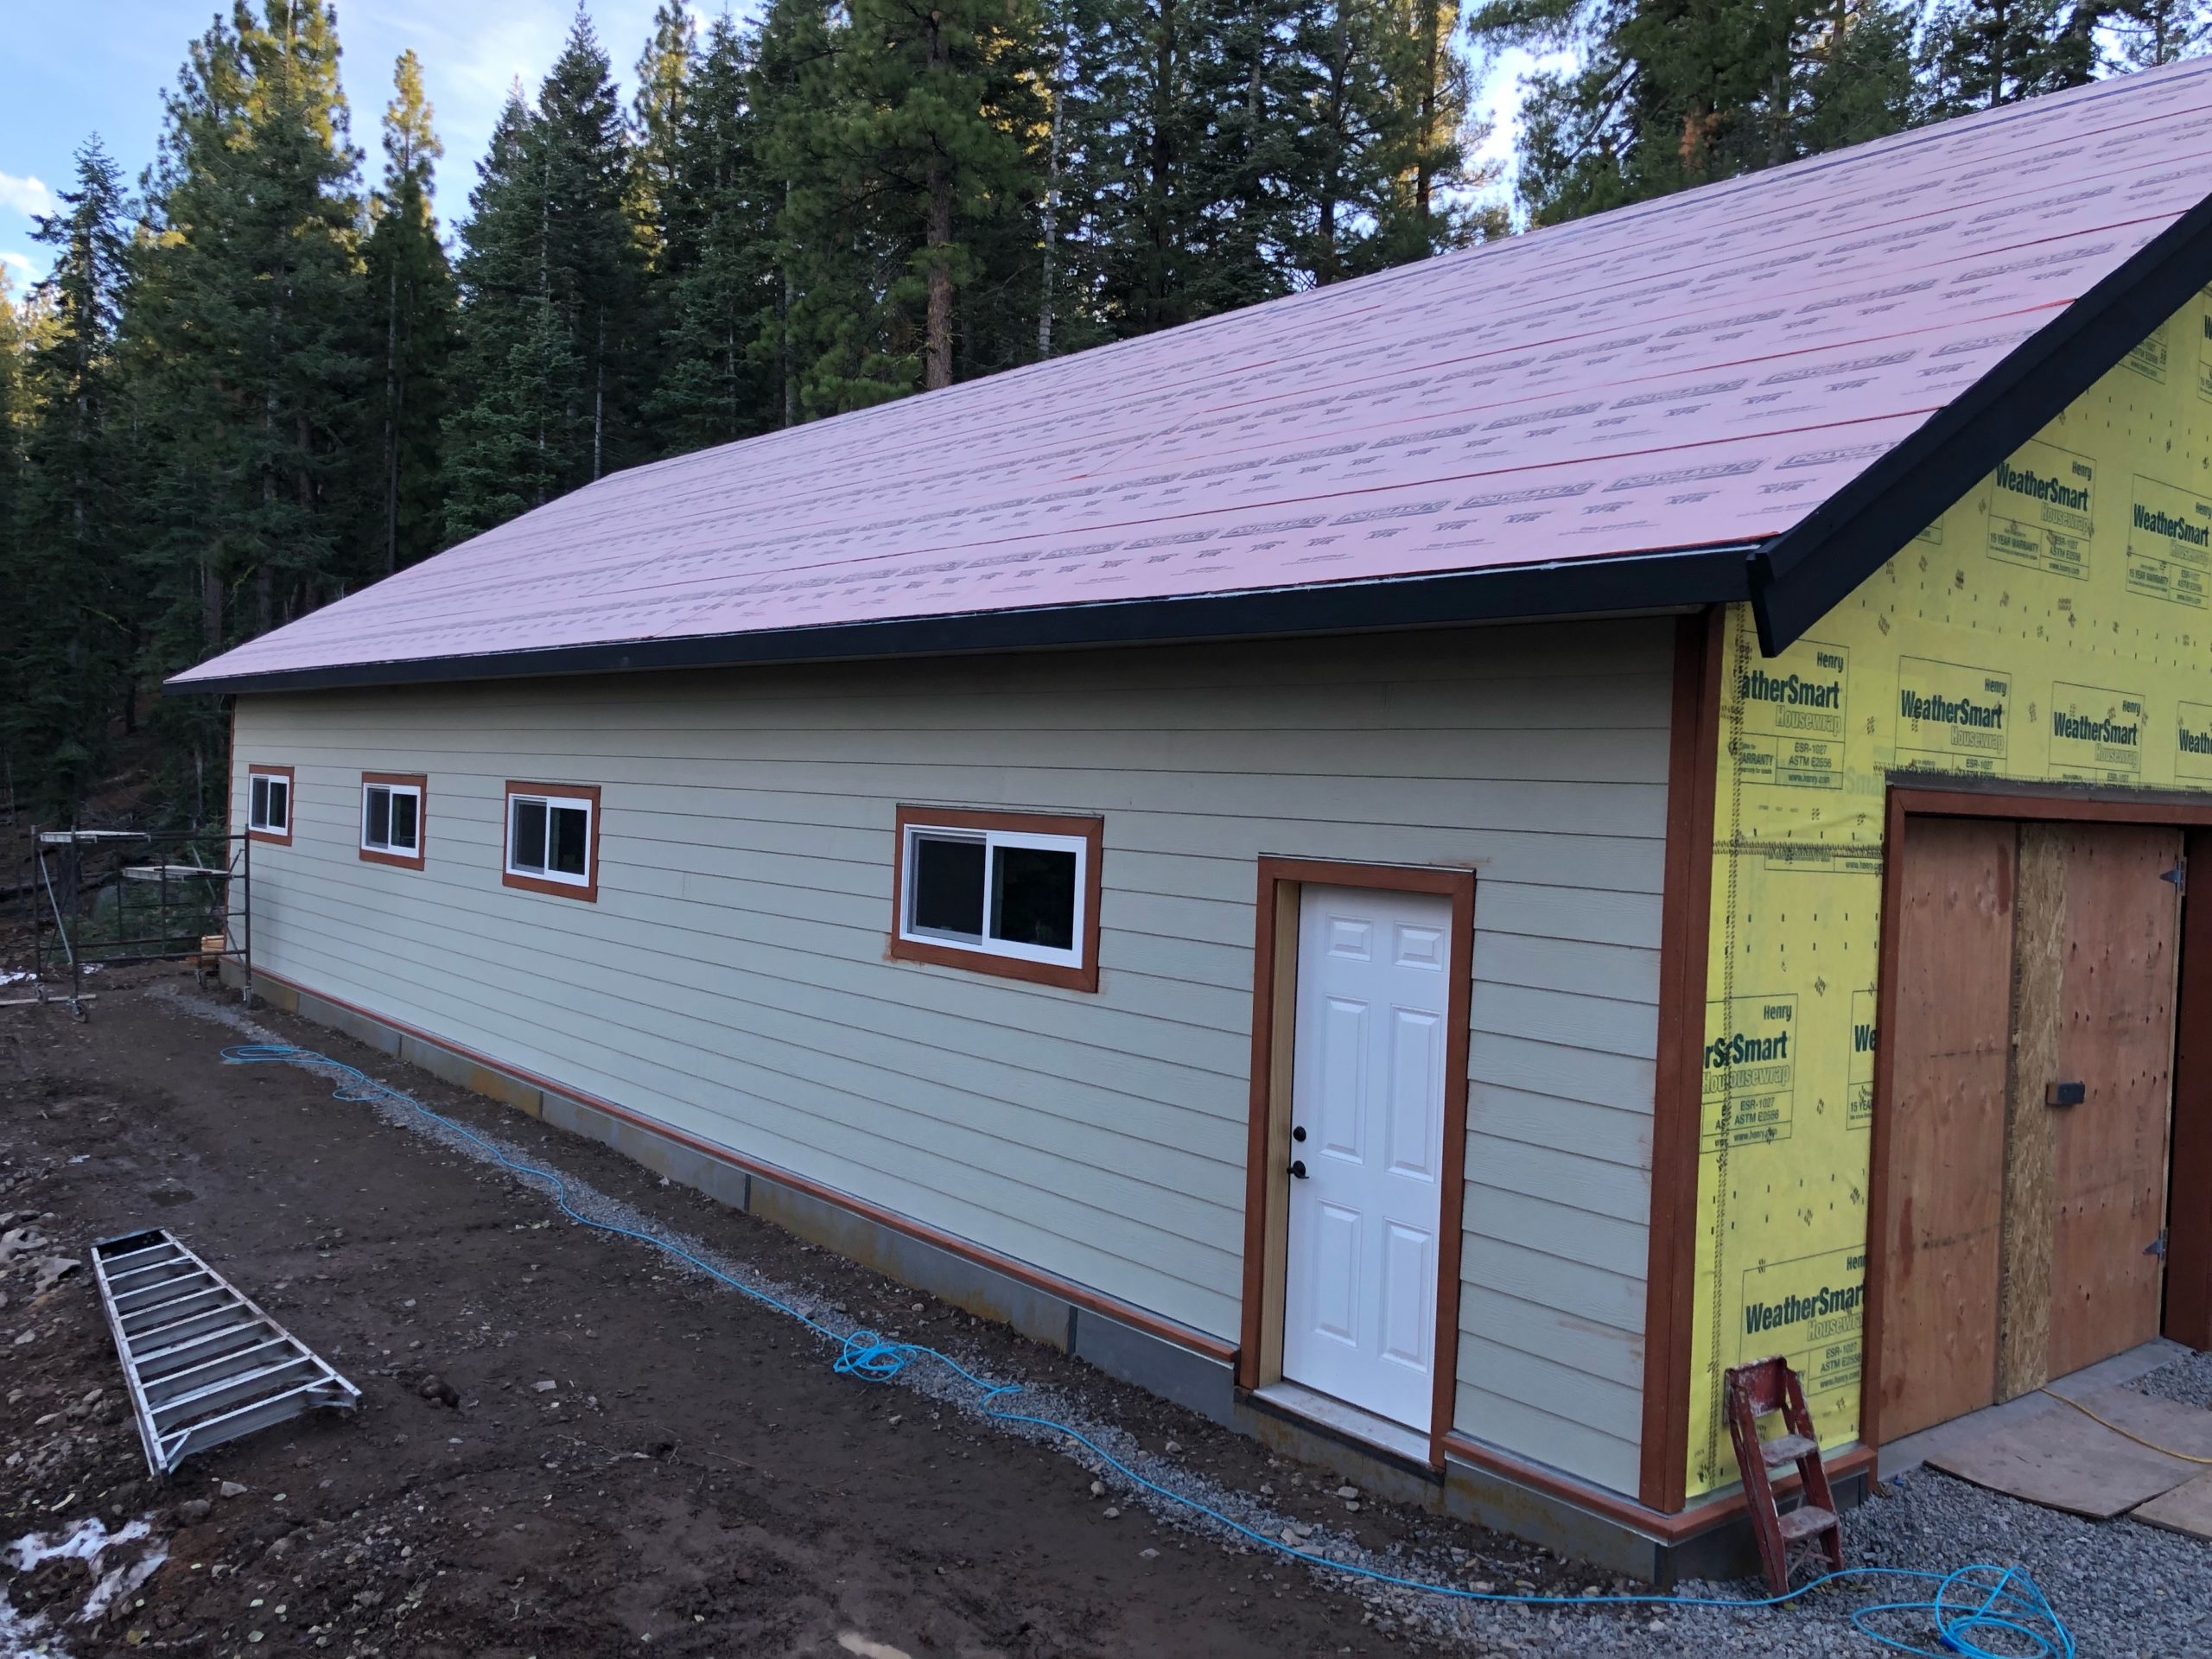
After wrapping the house the next step was to get it sealed for winter. Check out the previous post where I did that work: Wrapping the Workshop. The roofers came and put on the roof underlayment; an ice and water shield that can be a temporary roofing solution. It is good that they did this, as it snowed a few feet. I went up and knocked it off in order to be prepared for roofing day, which took quite while due to rain, snow and other projects the roofers had before mine.
If you are just jumping in, check out all my posts in chronological order for me building my workshop: Truckee Workshop 2021
I wanted the siding to match the main house, which has a cement fiberboard product called Certainteed. It was pre-finished before they installed it, and I honestly didn’t know the siding was fake wood until I looked at it closer. Certainteed was bought out by a company named Allura and they still make the same siding style. It just so happens that Pacific Modern Homes Inc is a dealer for the Allura products and provides it in the wood package. They generally only dealt with the unfinished siding, but I was really interested in getting the pre-finished stuff to more closely match the house. I had PMHI price out the finished siding, and it was quite a bit more; like double what the siding should have cost me. I think this is because they mark it up quite a bit. I could have saved $500 or so if I ordered it through a local dealer in Reno, but that meant I had to deal with getting it shipped to my house — or renting a trailer and picking it up. All of which would take time and money.
Allura said the siding could be color matched by Sherwin-Williams. So, I had them do this and I decided to go with the un-finished siding and paint it myself. It would save quite a bit of money, or so I thought…
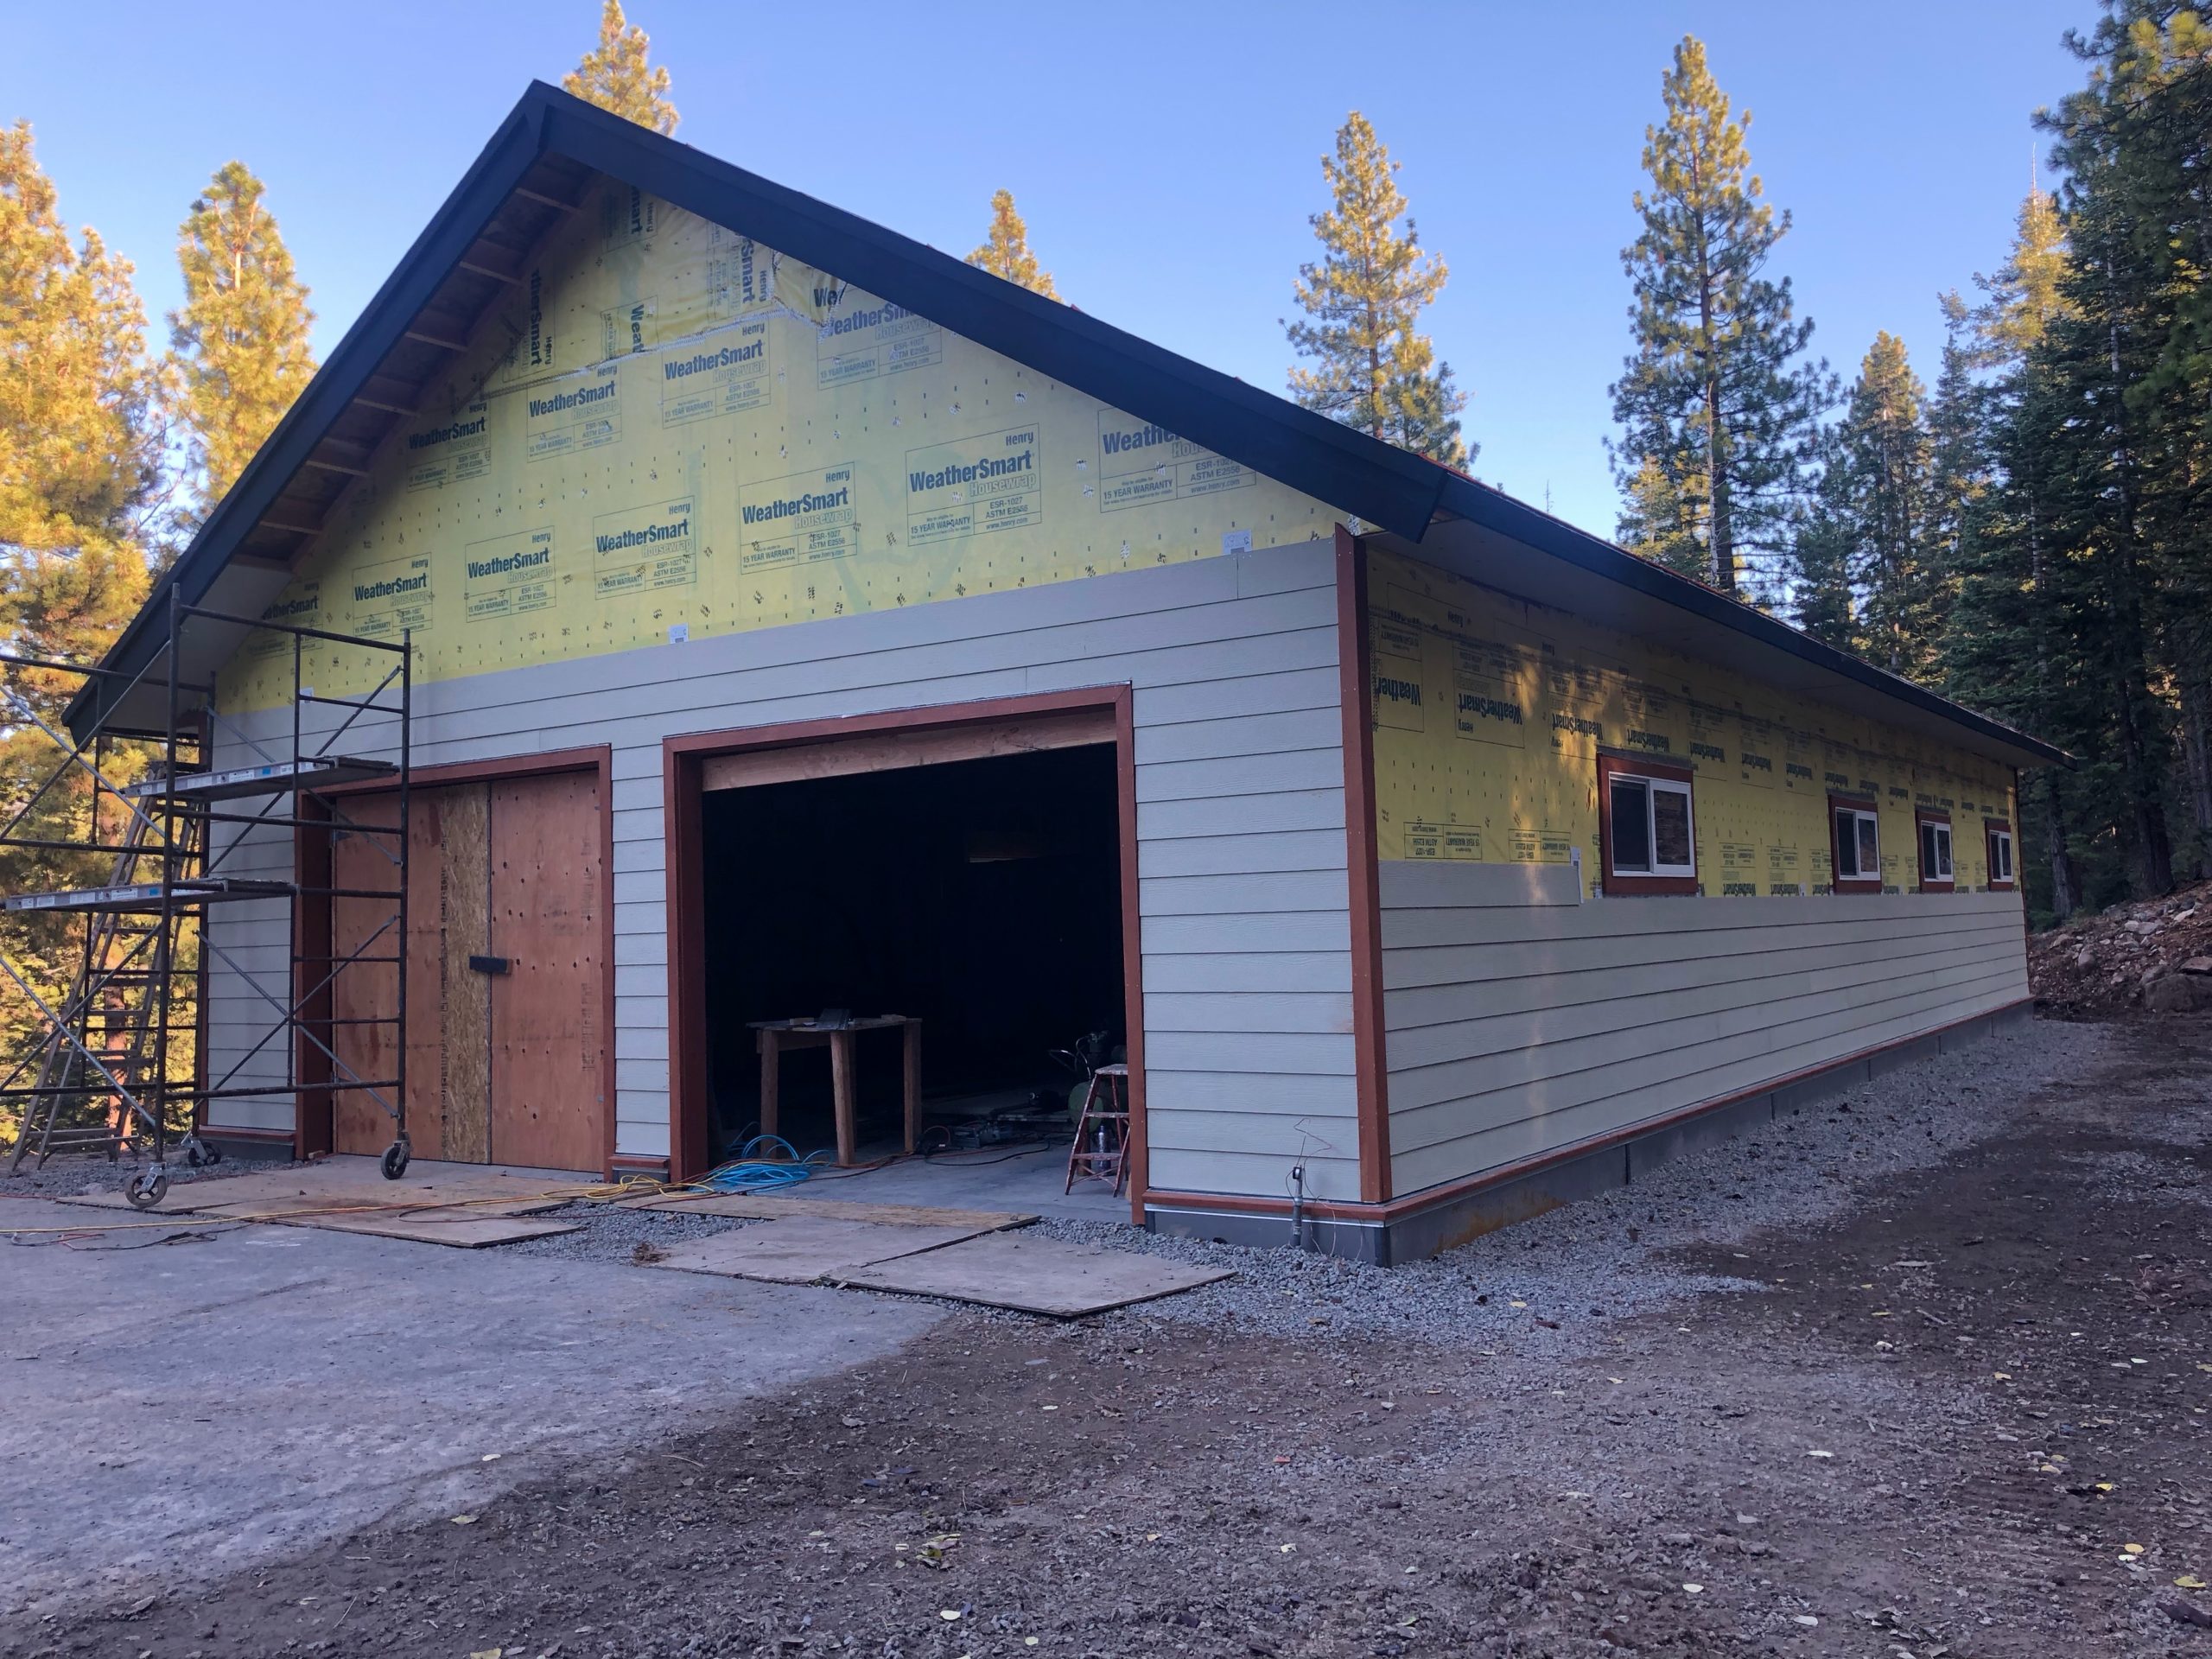
Before I installed the siding I put up the trim. I pre-finished it and nailed it on with my framing gun. I then had some help from Lexi to install the soffit; these were incredibly heavy, hard to lift, and hard to get cut just right. I did break one by attempting to install it myself; I realized it was easier if I cut the 12′ pieces up into 6′ or 8′ pieces; I could then manage them myself without risk of them snapping in half.
Luckily the siding was much easier to install with a jig and nail gun. I bought this Metabo siding nailer [affiliate] specifically for this project and I was pretty happy with it. One thing that made the nailing even faster was this little siding nailer offset gauge [affiliate] — it allowed me to quickly set the proper nail offset for the siding without having to eyeball it and saved a lot of time. The nails were trickier to find; Home Depot didn’t have the size I needed. Our local lumber store had the size, but they were electro-galvanized, and the directions specifically say to not use electro-galvanized nails. Lowes in Reno did have them, so I didn’t have to get those online.
The Gecko siding installation tool [affiliate] also made quick solo work for the siding install. You simply tuck the jig under the previous board and it supports the next board with the right amount of reveal, and then nail it on. The hardest part was cutting the pieces; they are super hard and I had to use a specific fiber-cement board blade on my circular saw. I also purchased a special jig saw blade to cut out circles and clean up some corners.
My dad visited for a few days and helped me do some of the sides; it really made the project go a lot faster and I’m glad he visited! He would pass up boards to me on the scaffolding, lay them out, or nail them up.
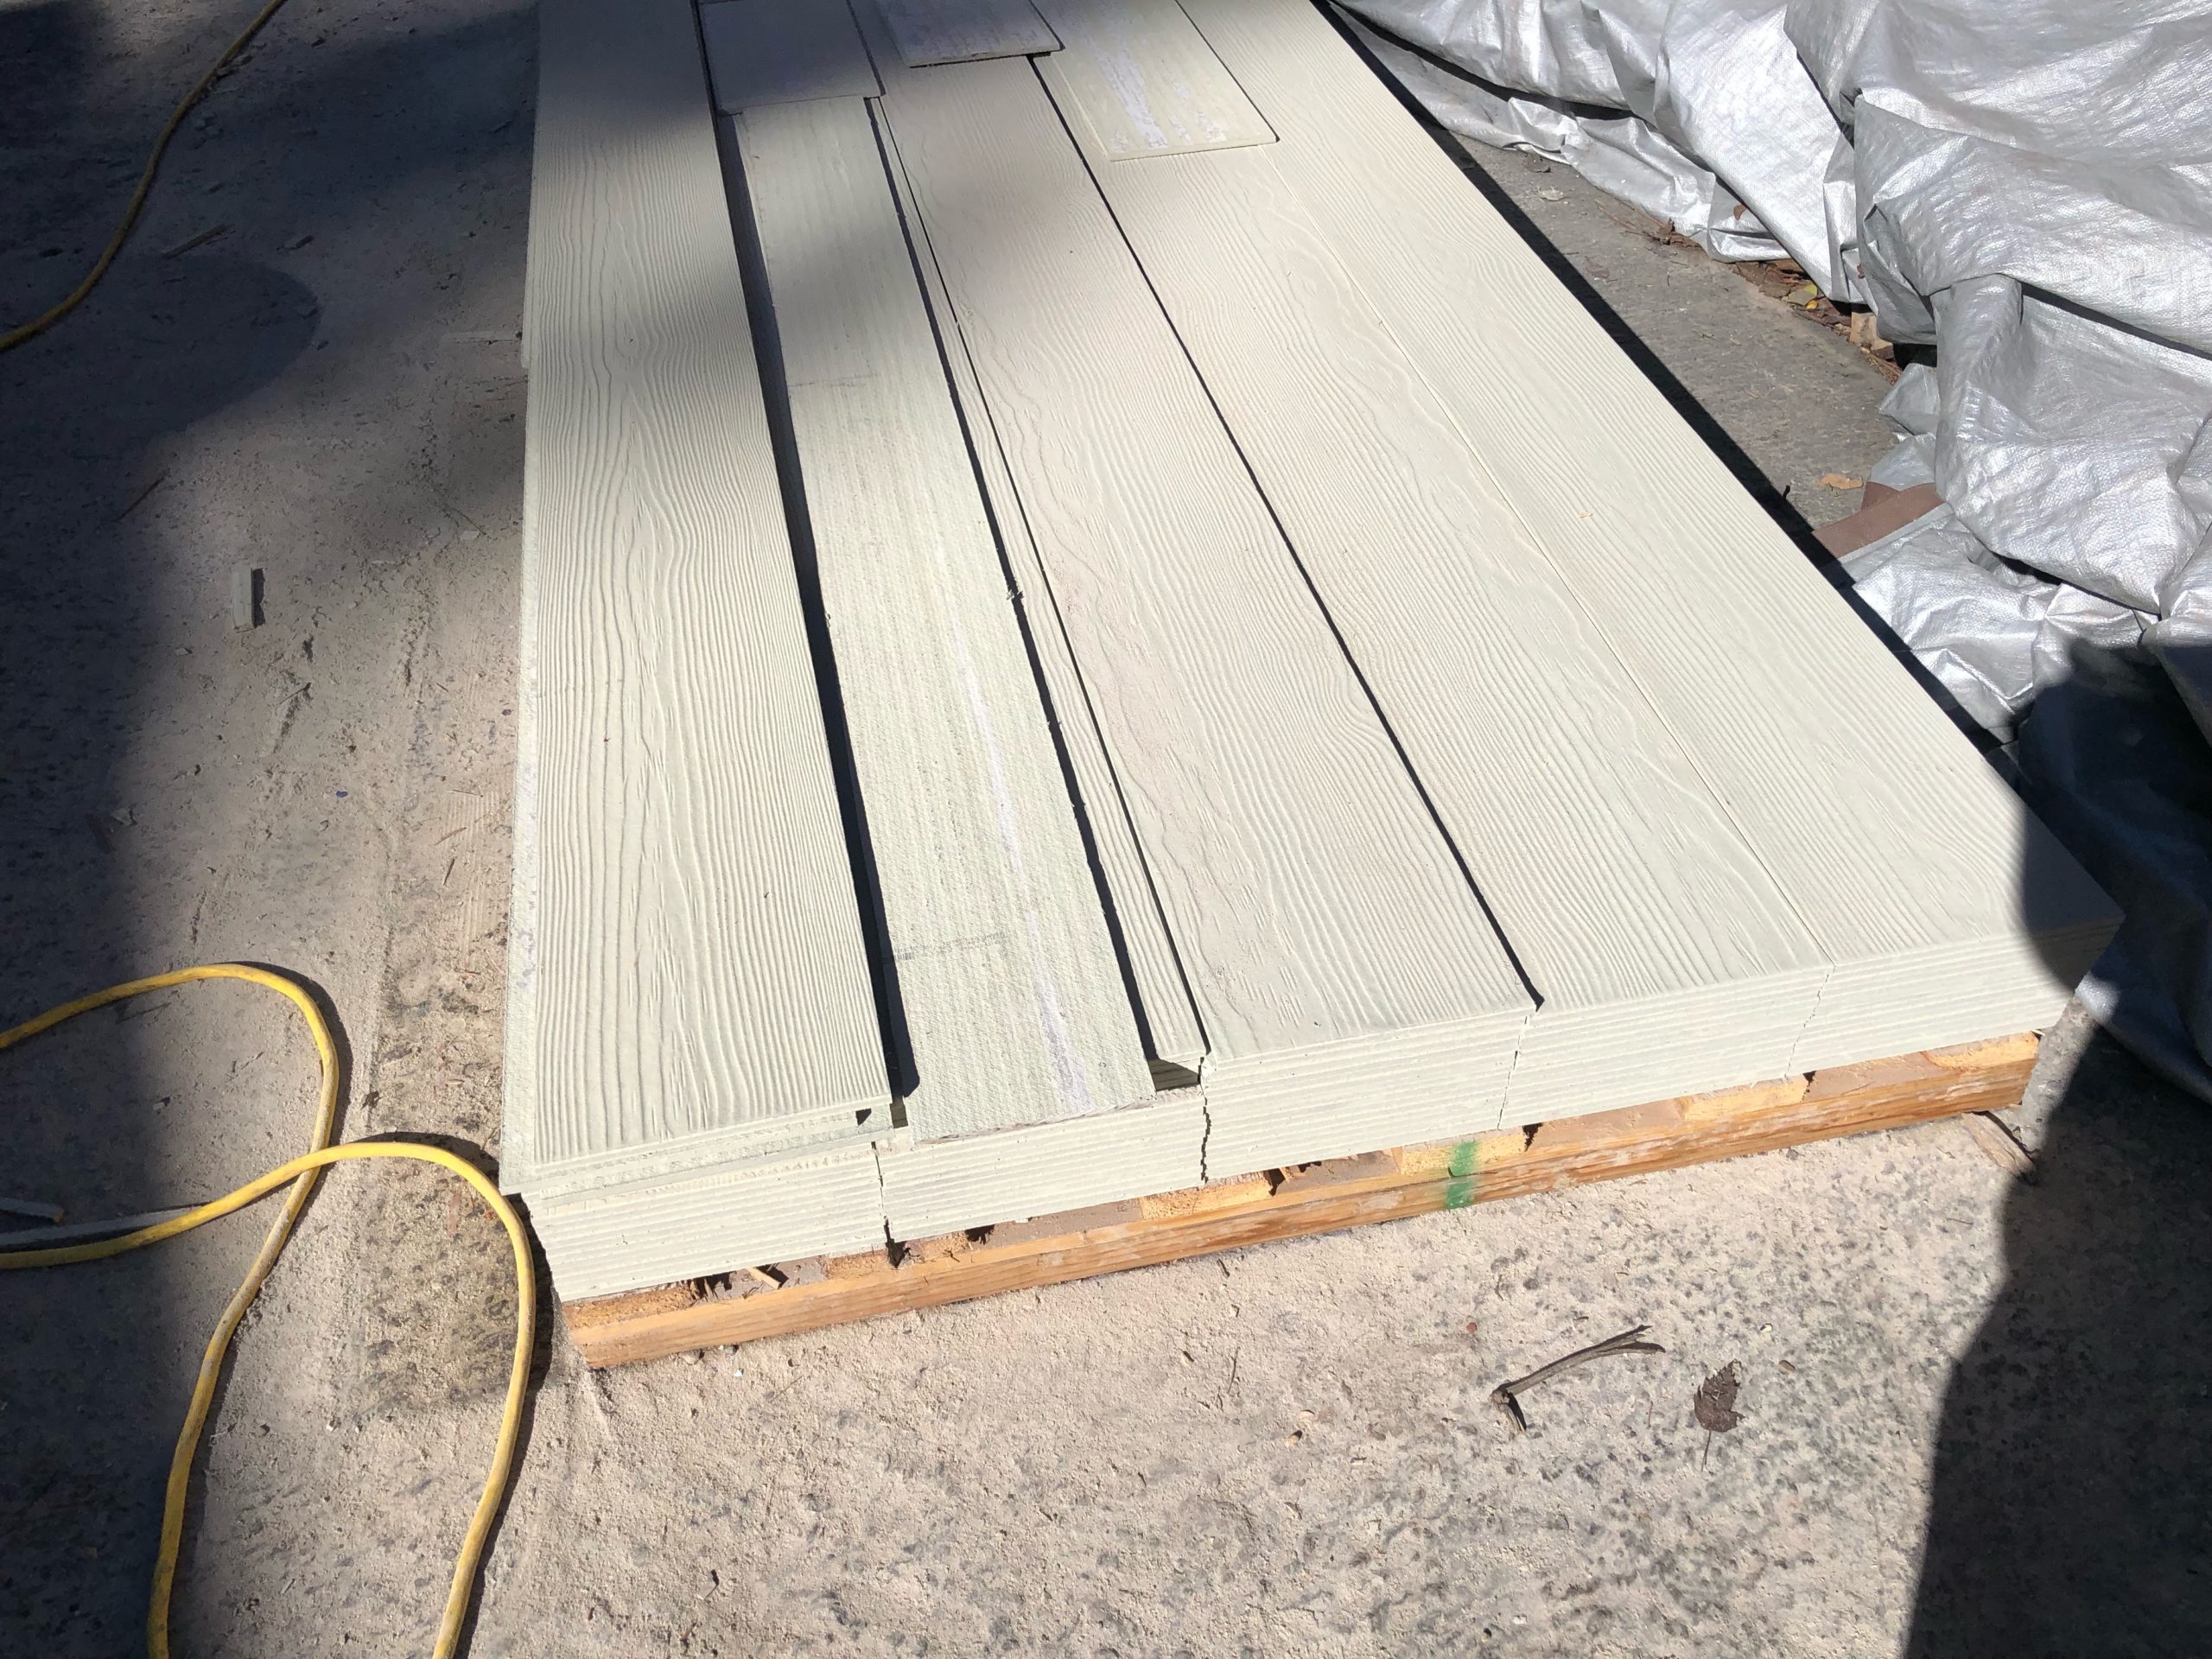
It looks like PMHI way over estimated my siding needs, as I had an extra 80 pieces. At ~$12 a piece, that was nearly $1000 wasted. Note that my price is a guess..as I’m not actually sure what PMHI charged me for the pieces, and it could have been more! I ended up selling them all on Facebook marketplace for $400. I could have kept them around, but overtime they would have just gotten weathered and not been any good to use. I was happy to get a little bit of money back for them, and also have someone else put them to good use.
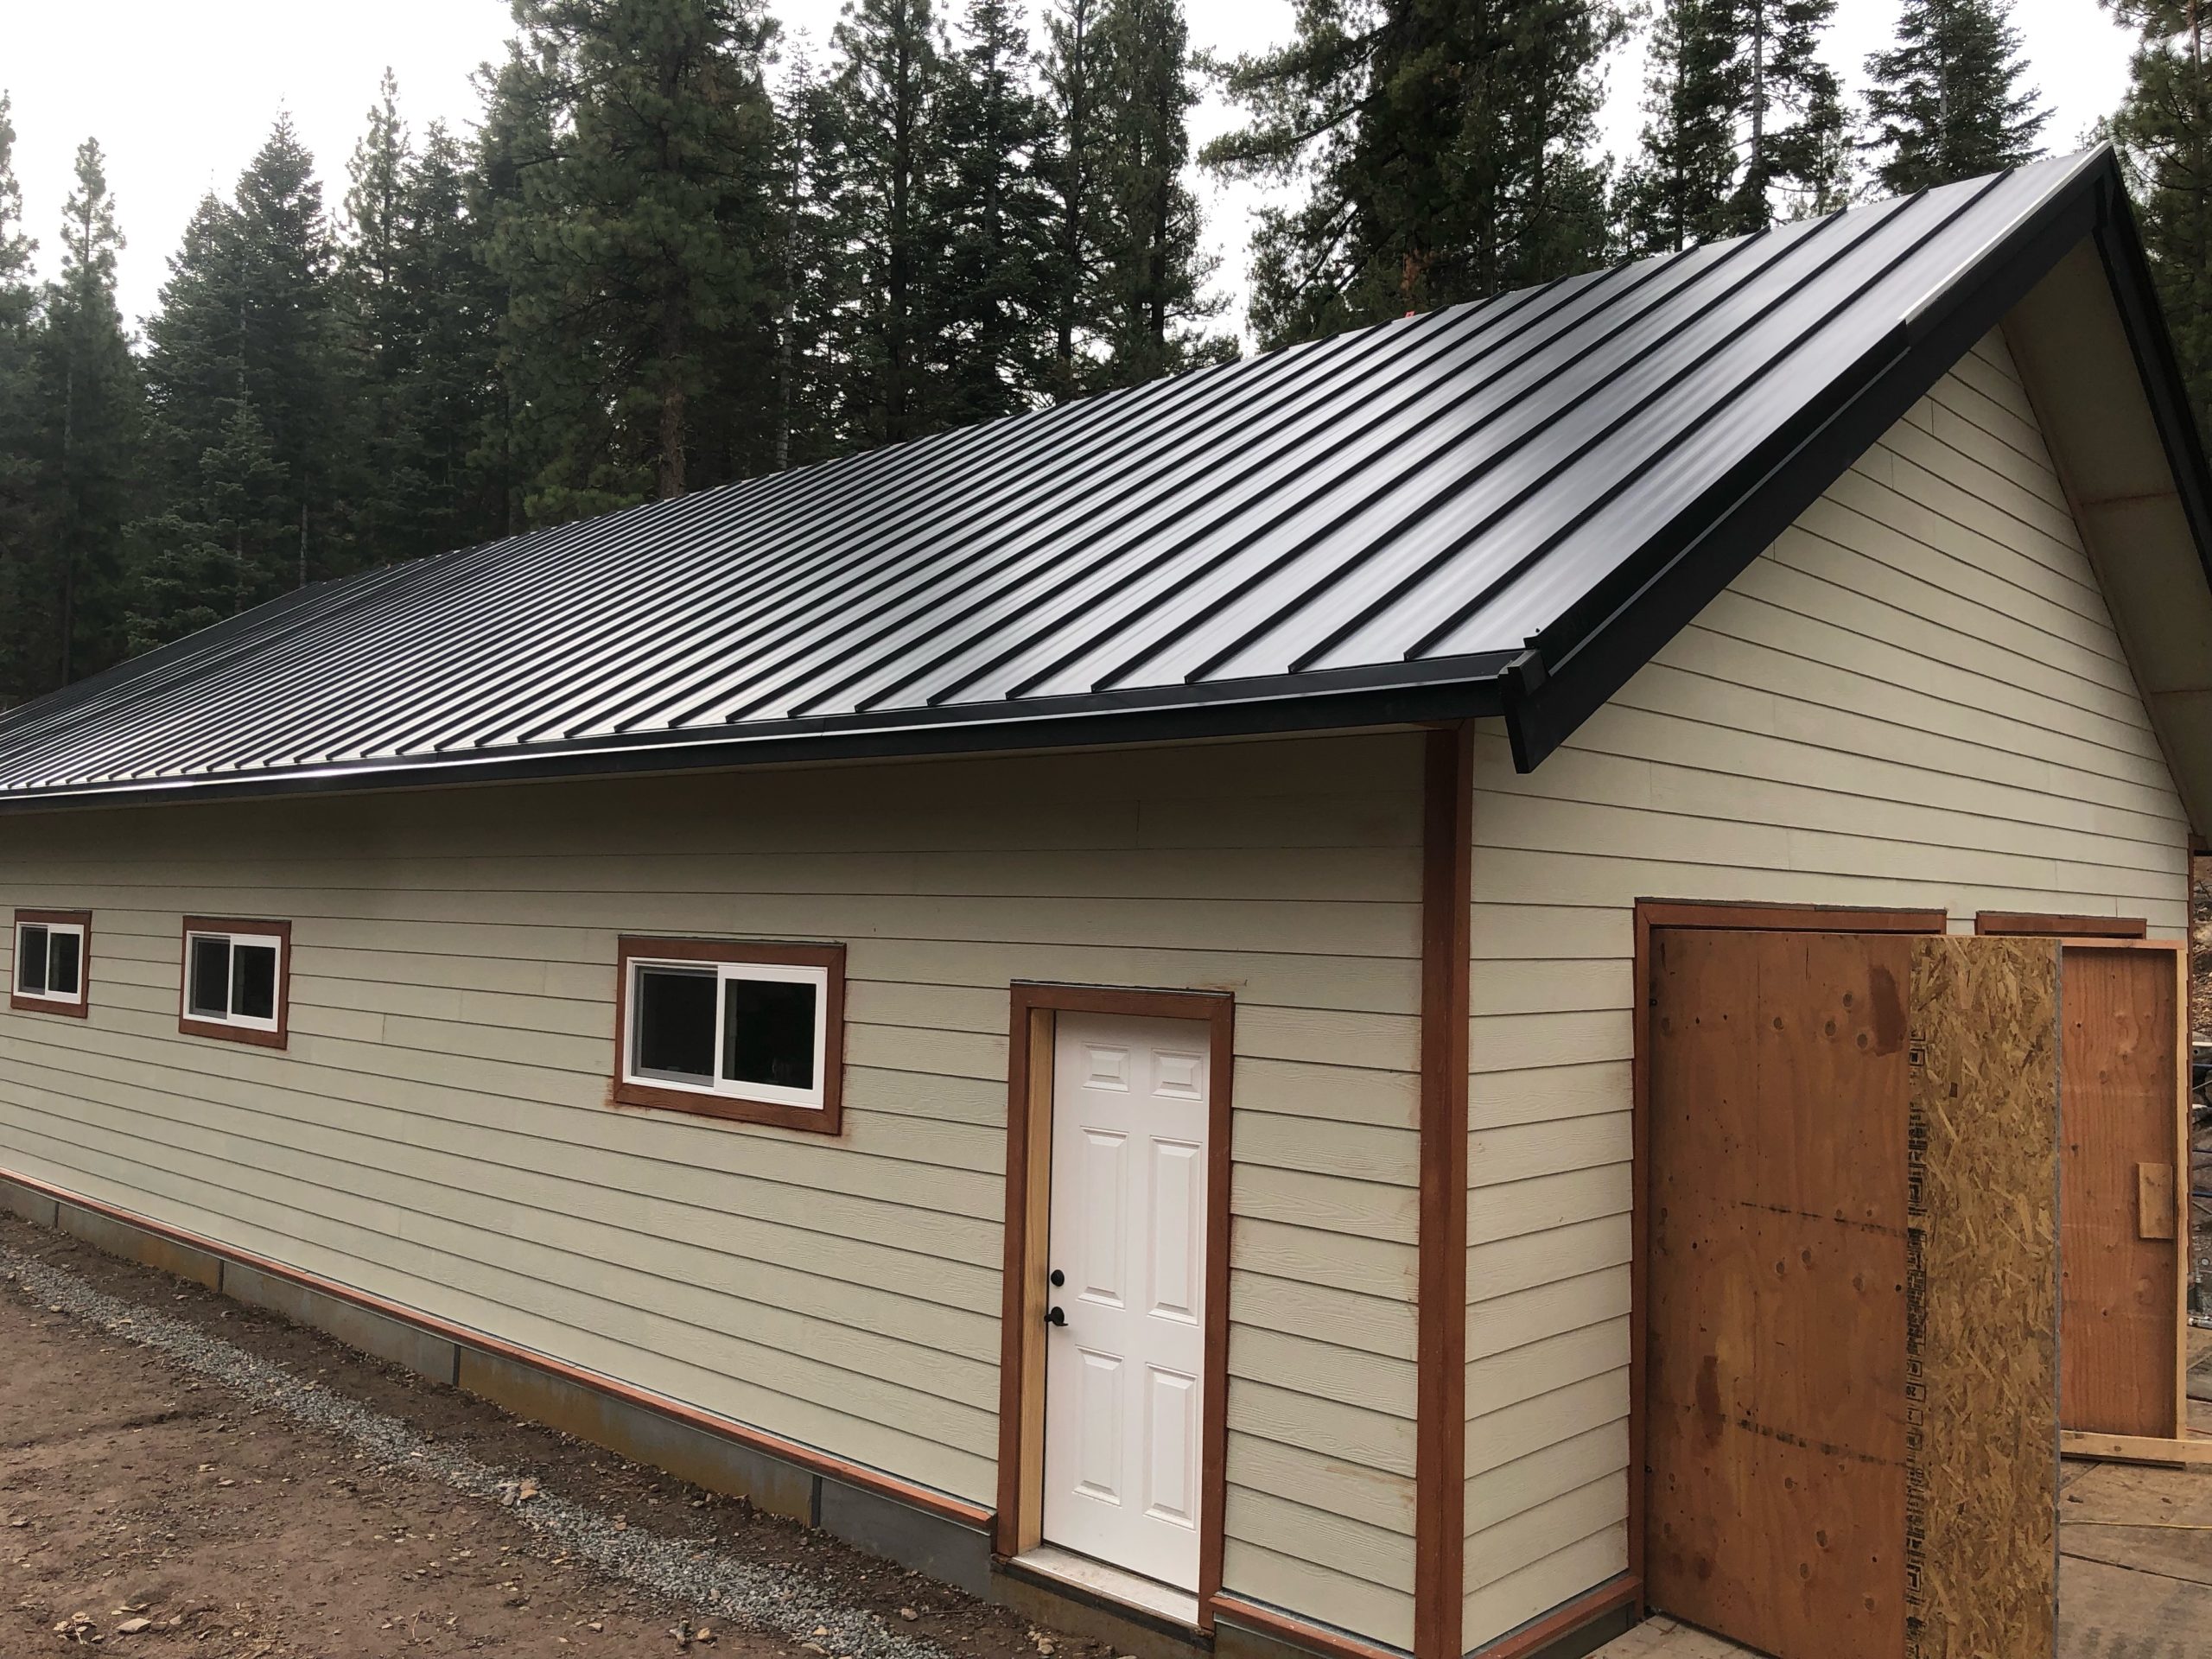
At about this time the rain stopped enough to let the roofers do their work. It took them three or four days to get the entire thing finished, and it looks awesome!
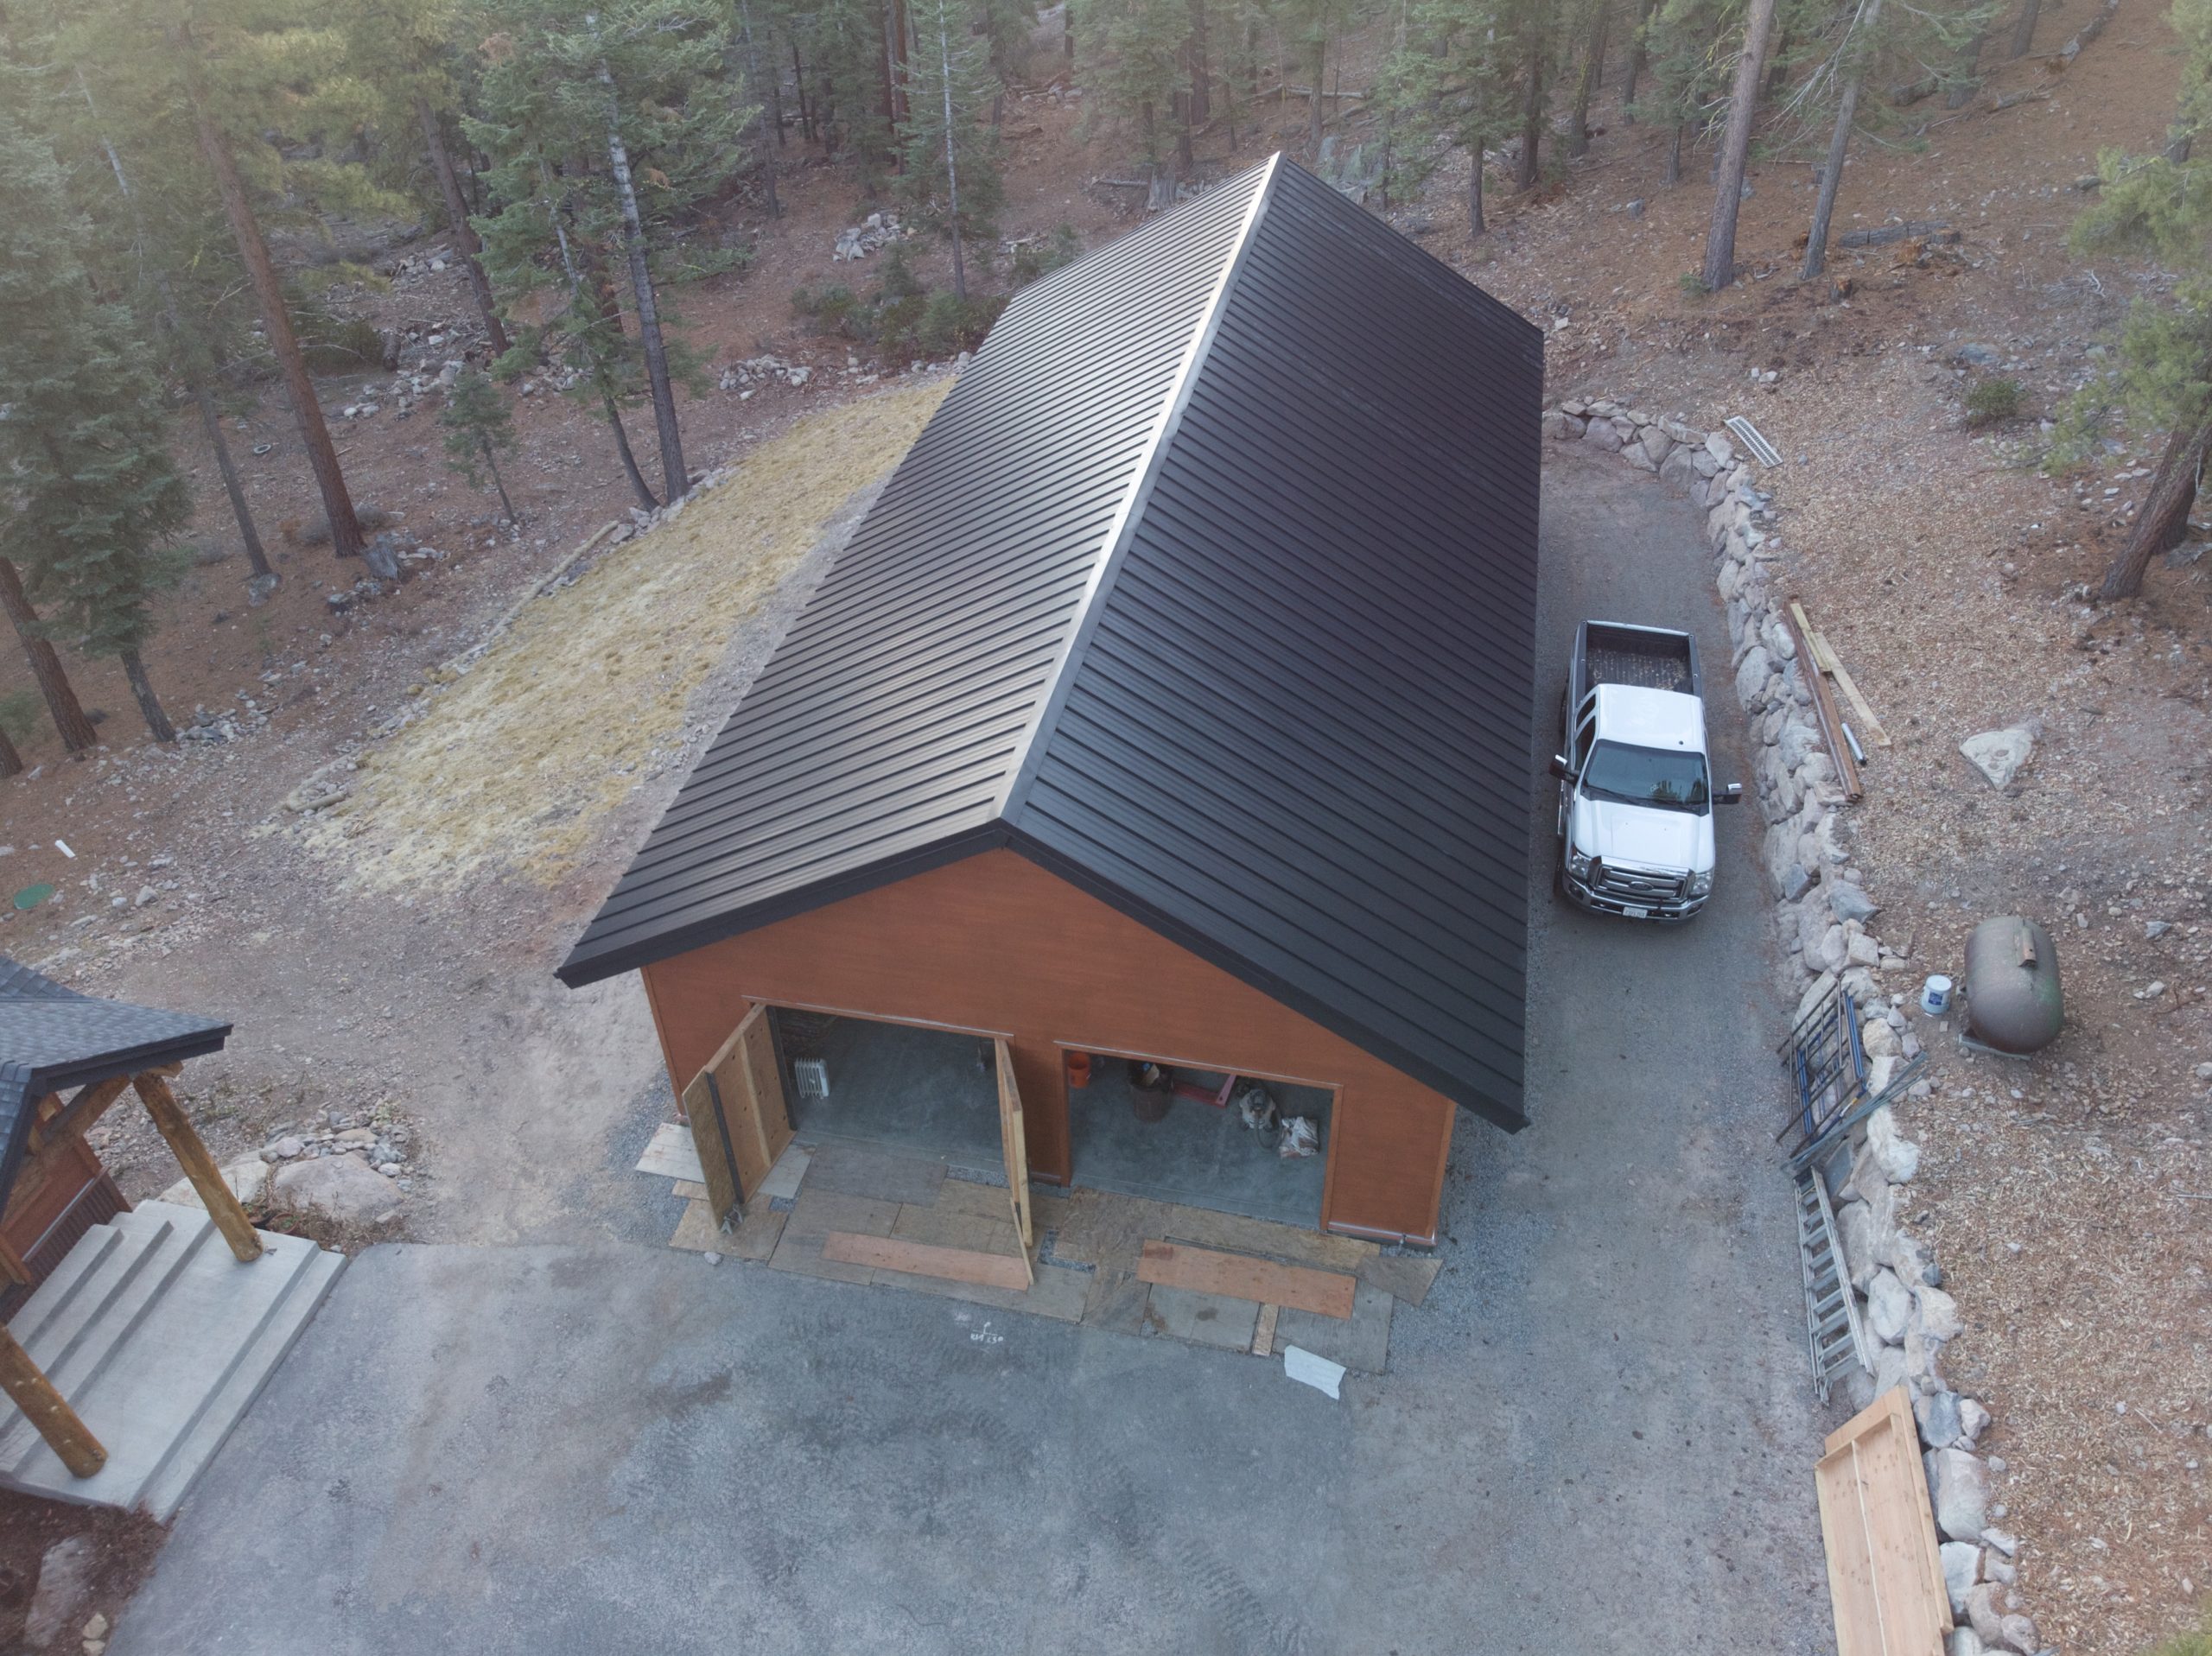

While the roofers were working I was doing the painting. The color is pretty close to the pre-finished house’s color, but doesn’t look as natural. I went with a stain to give it some transparent wood-like look, but that ended up just looking blotchy. So, I had to two coats, which made it opaque. I should have just gone with an opaque stain (or paint) to begin with, or I should have splurged and got the pre-finished siding. I’m also not sure if it saved much money, as I had to buy a lot of extra stain to do the two coats. The cost of paint also went up significantly this year, which Sherwin-Williams charging a 5% delivery surcharge on all their paints, even when I bought them in the store.
The next thing I had to do was to decide on a lighting arrangement. Check out the next post in this series: Workshop LED Lighting Design – Part 13 of the Truckee Garage Workshop.


[…] into some simple decisions in case you are wanting to do something similar. In the last post I wrote about my siding and roofing; the next step was to figure out my lighting arrangement before I could put in the […]
[…] into some simple decisions in case you are wanting to do something similar. In the last post I wrote about my siding and roofing; the next step was to figure out my lighting arrangement before I could put in the […]