Master Bathroom Remodel: Stained & Finished
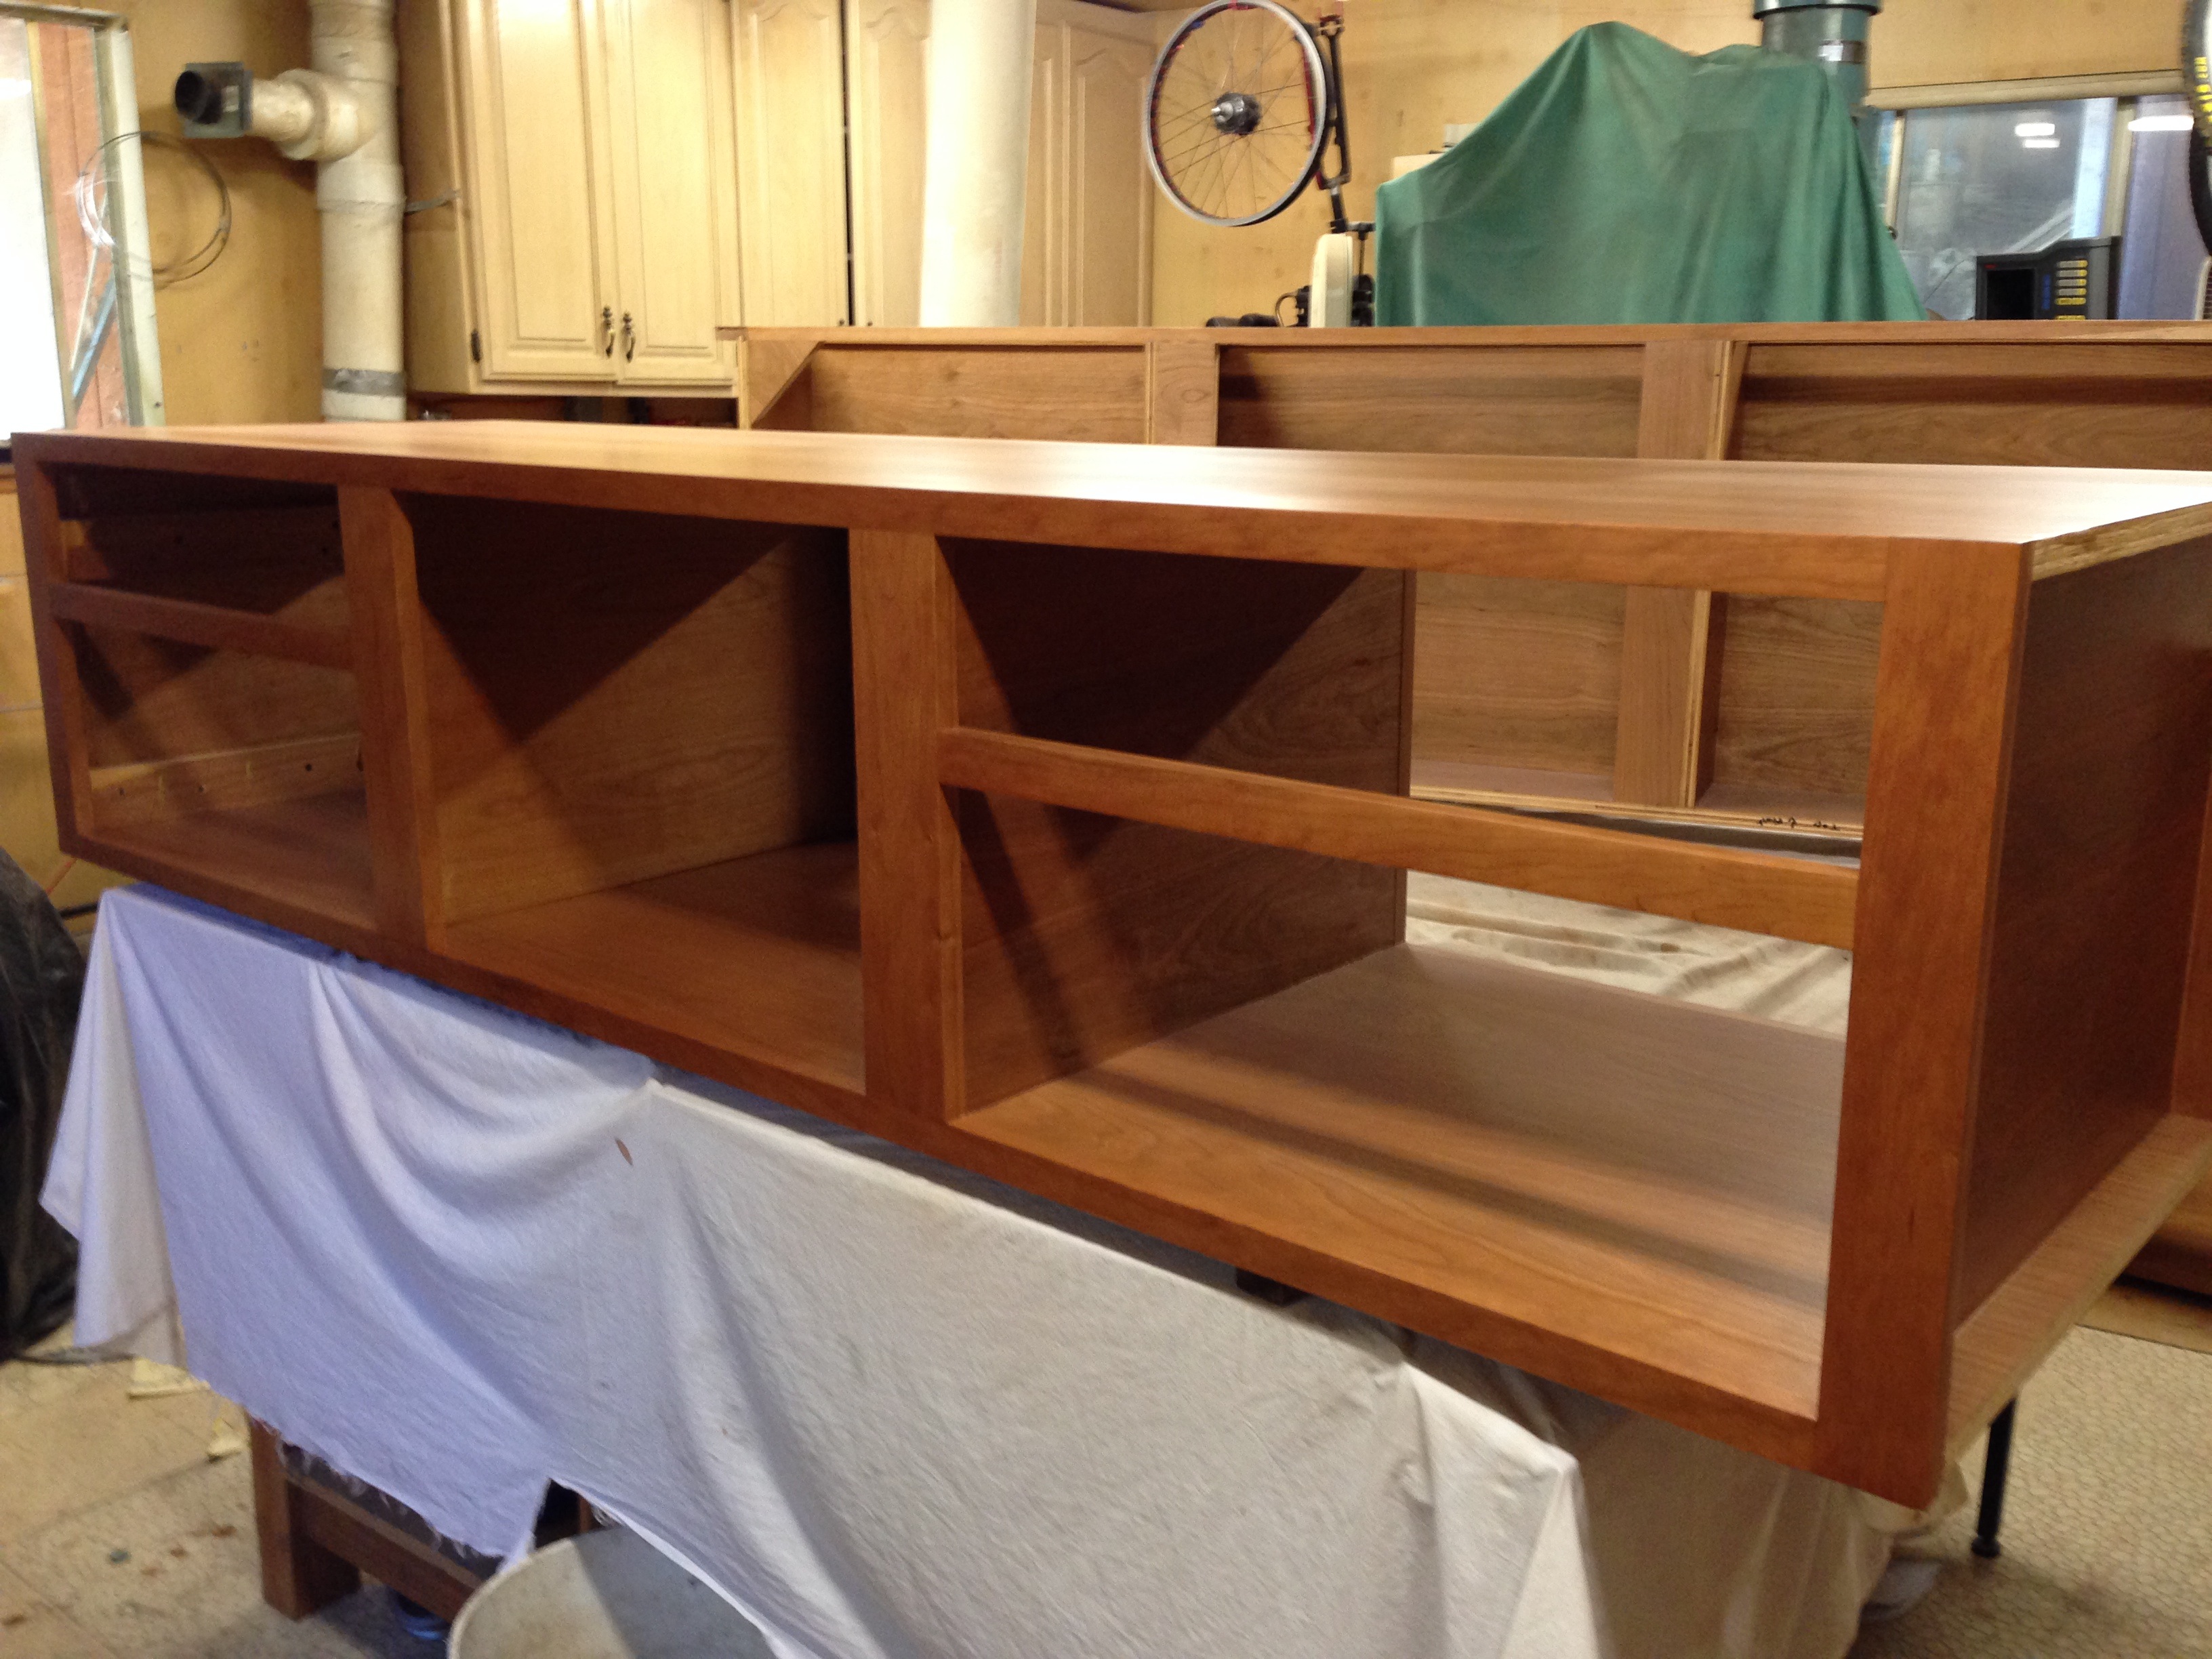
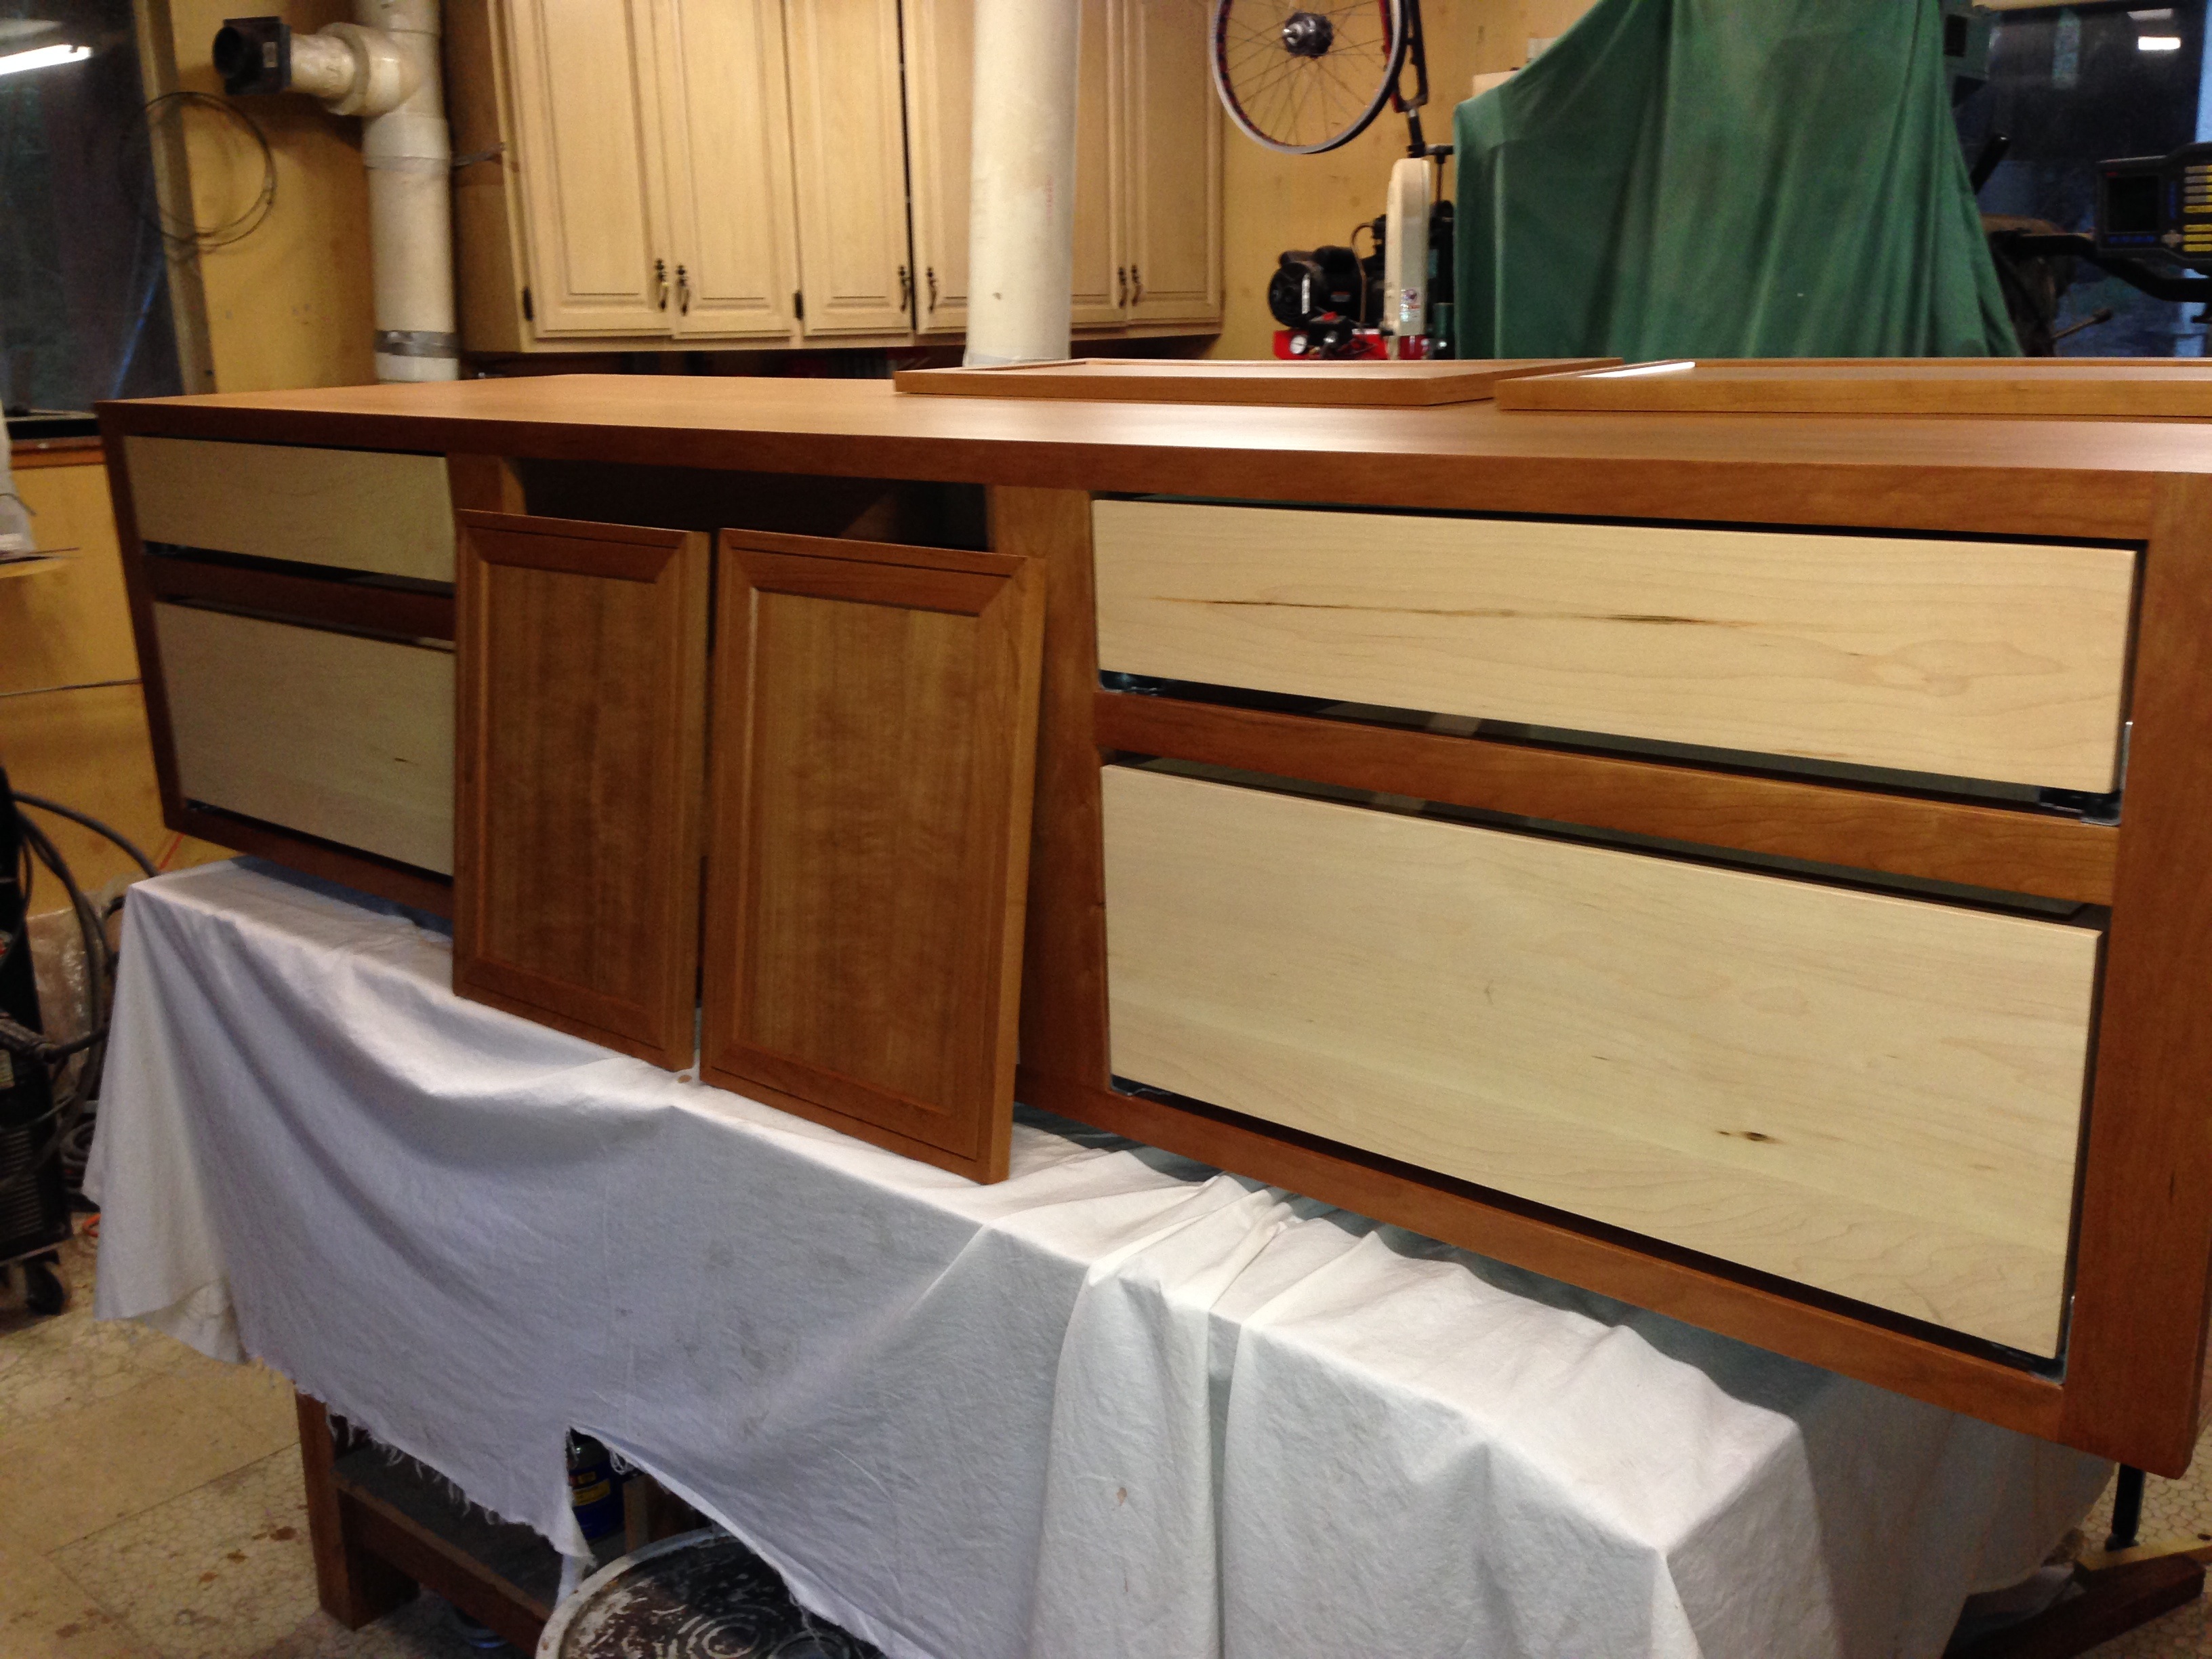
Drawers installed, but the faces aren’t mounted yet:
Here is the installed plumbing for dual showers (one on each side). Here’s the left side; the plumbing runs to the upstairs bathroom:
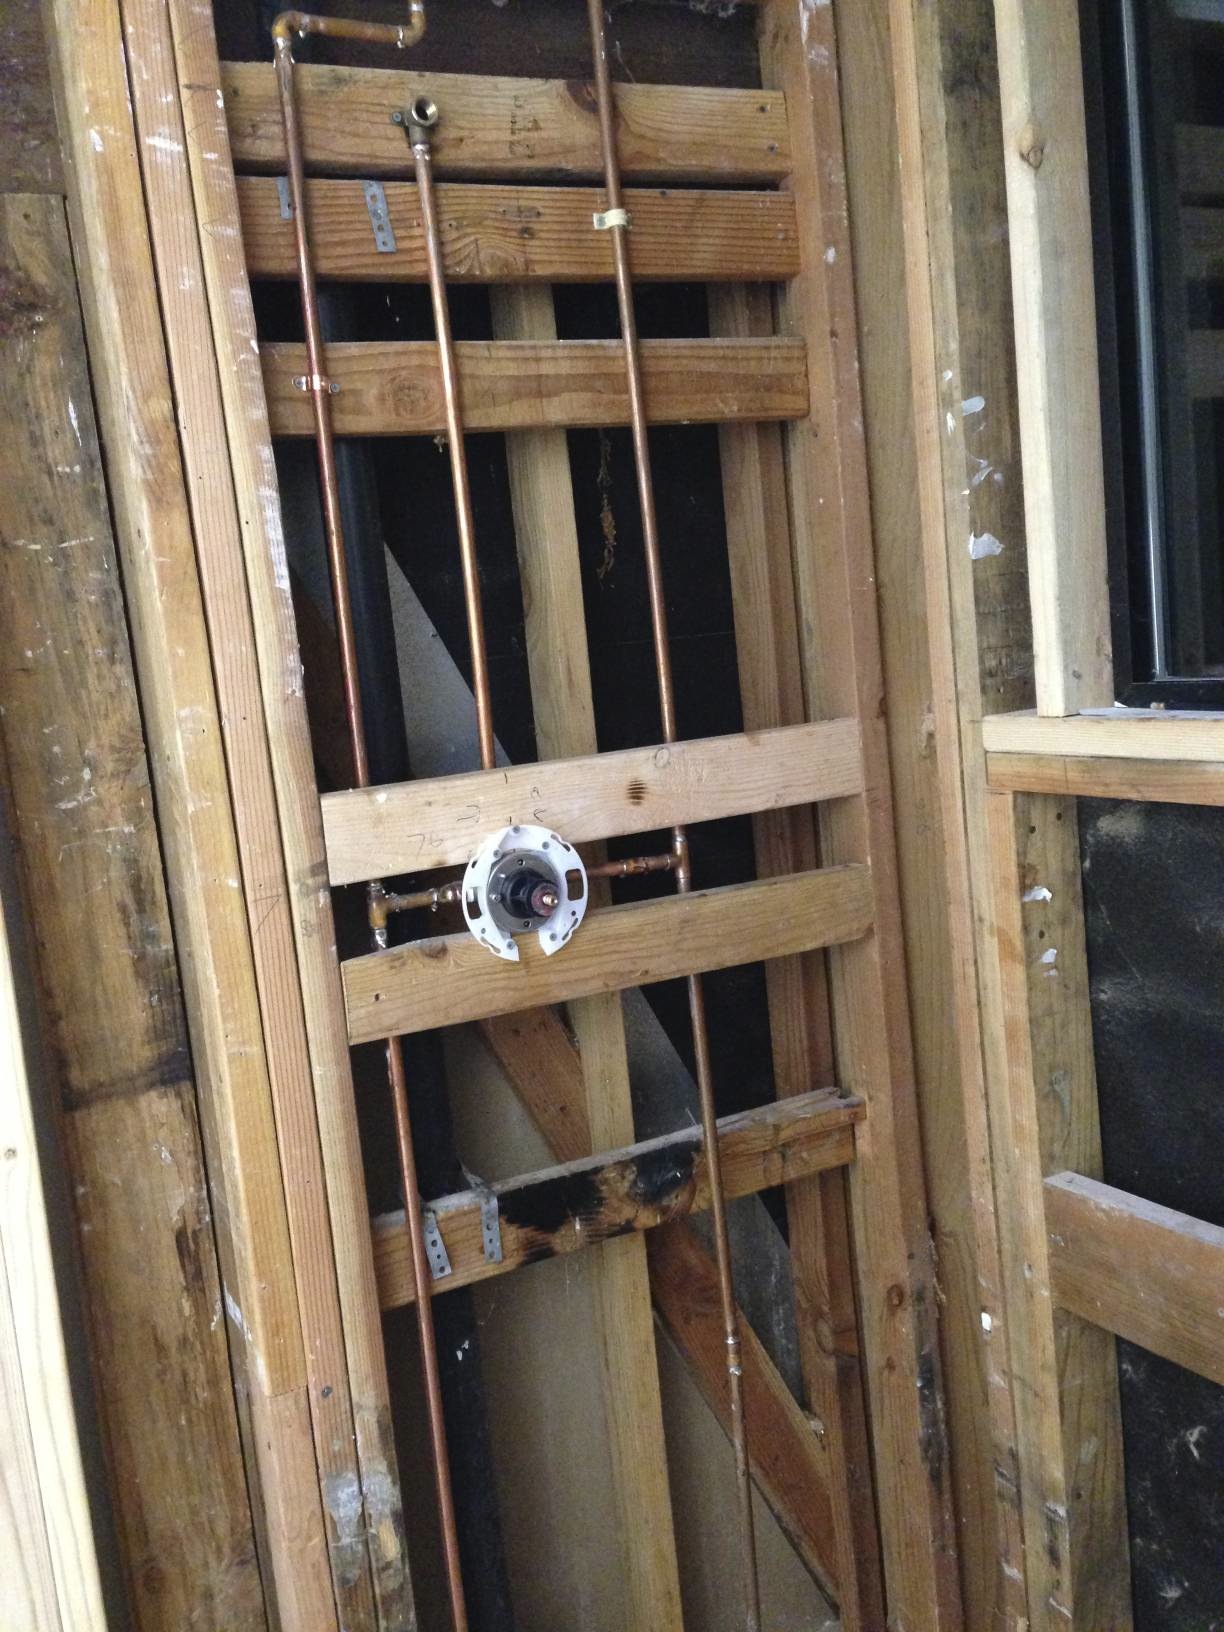
Right side:

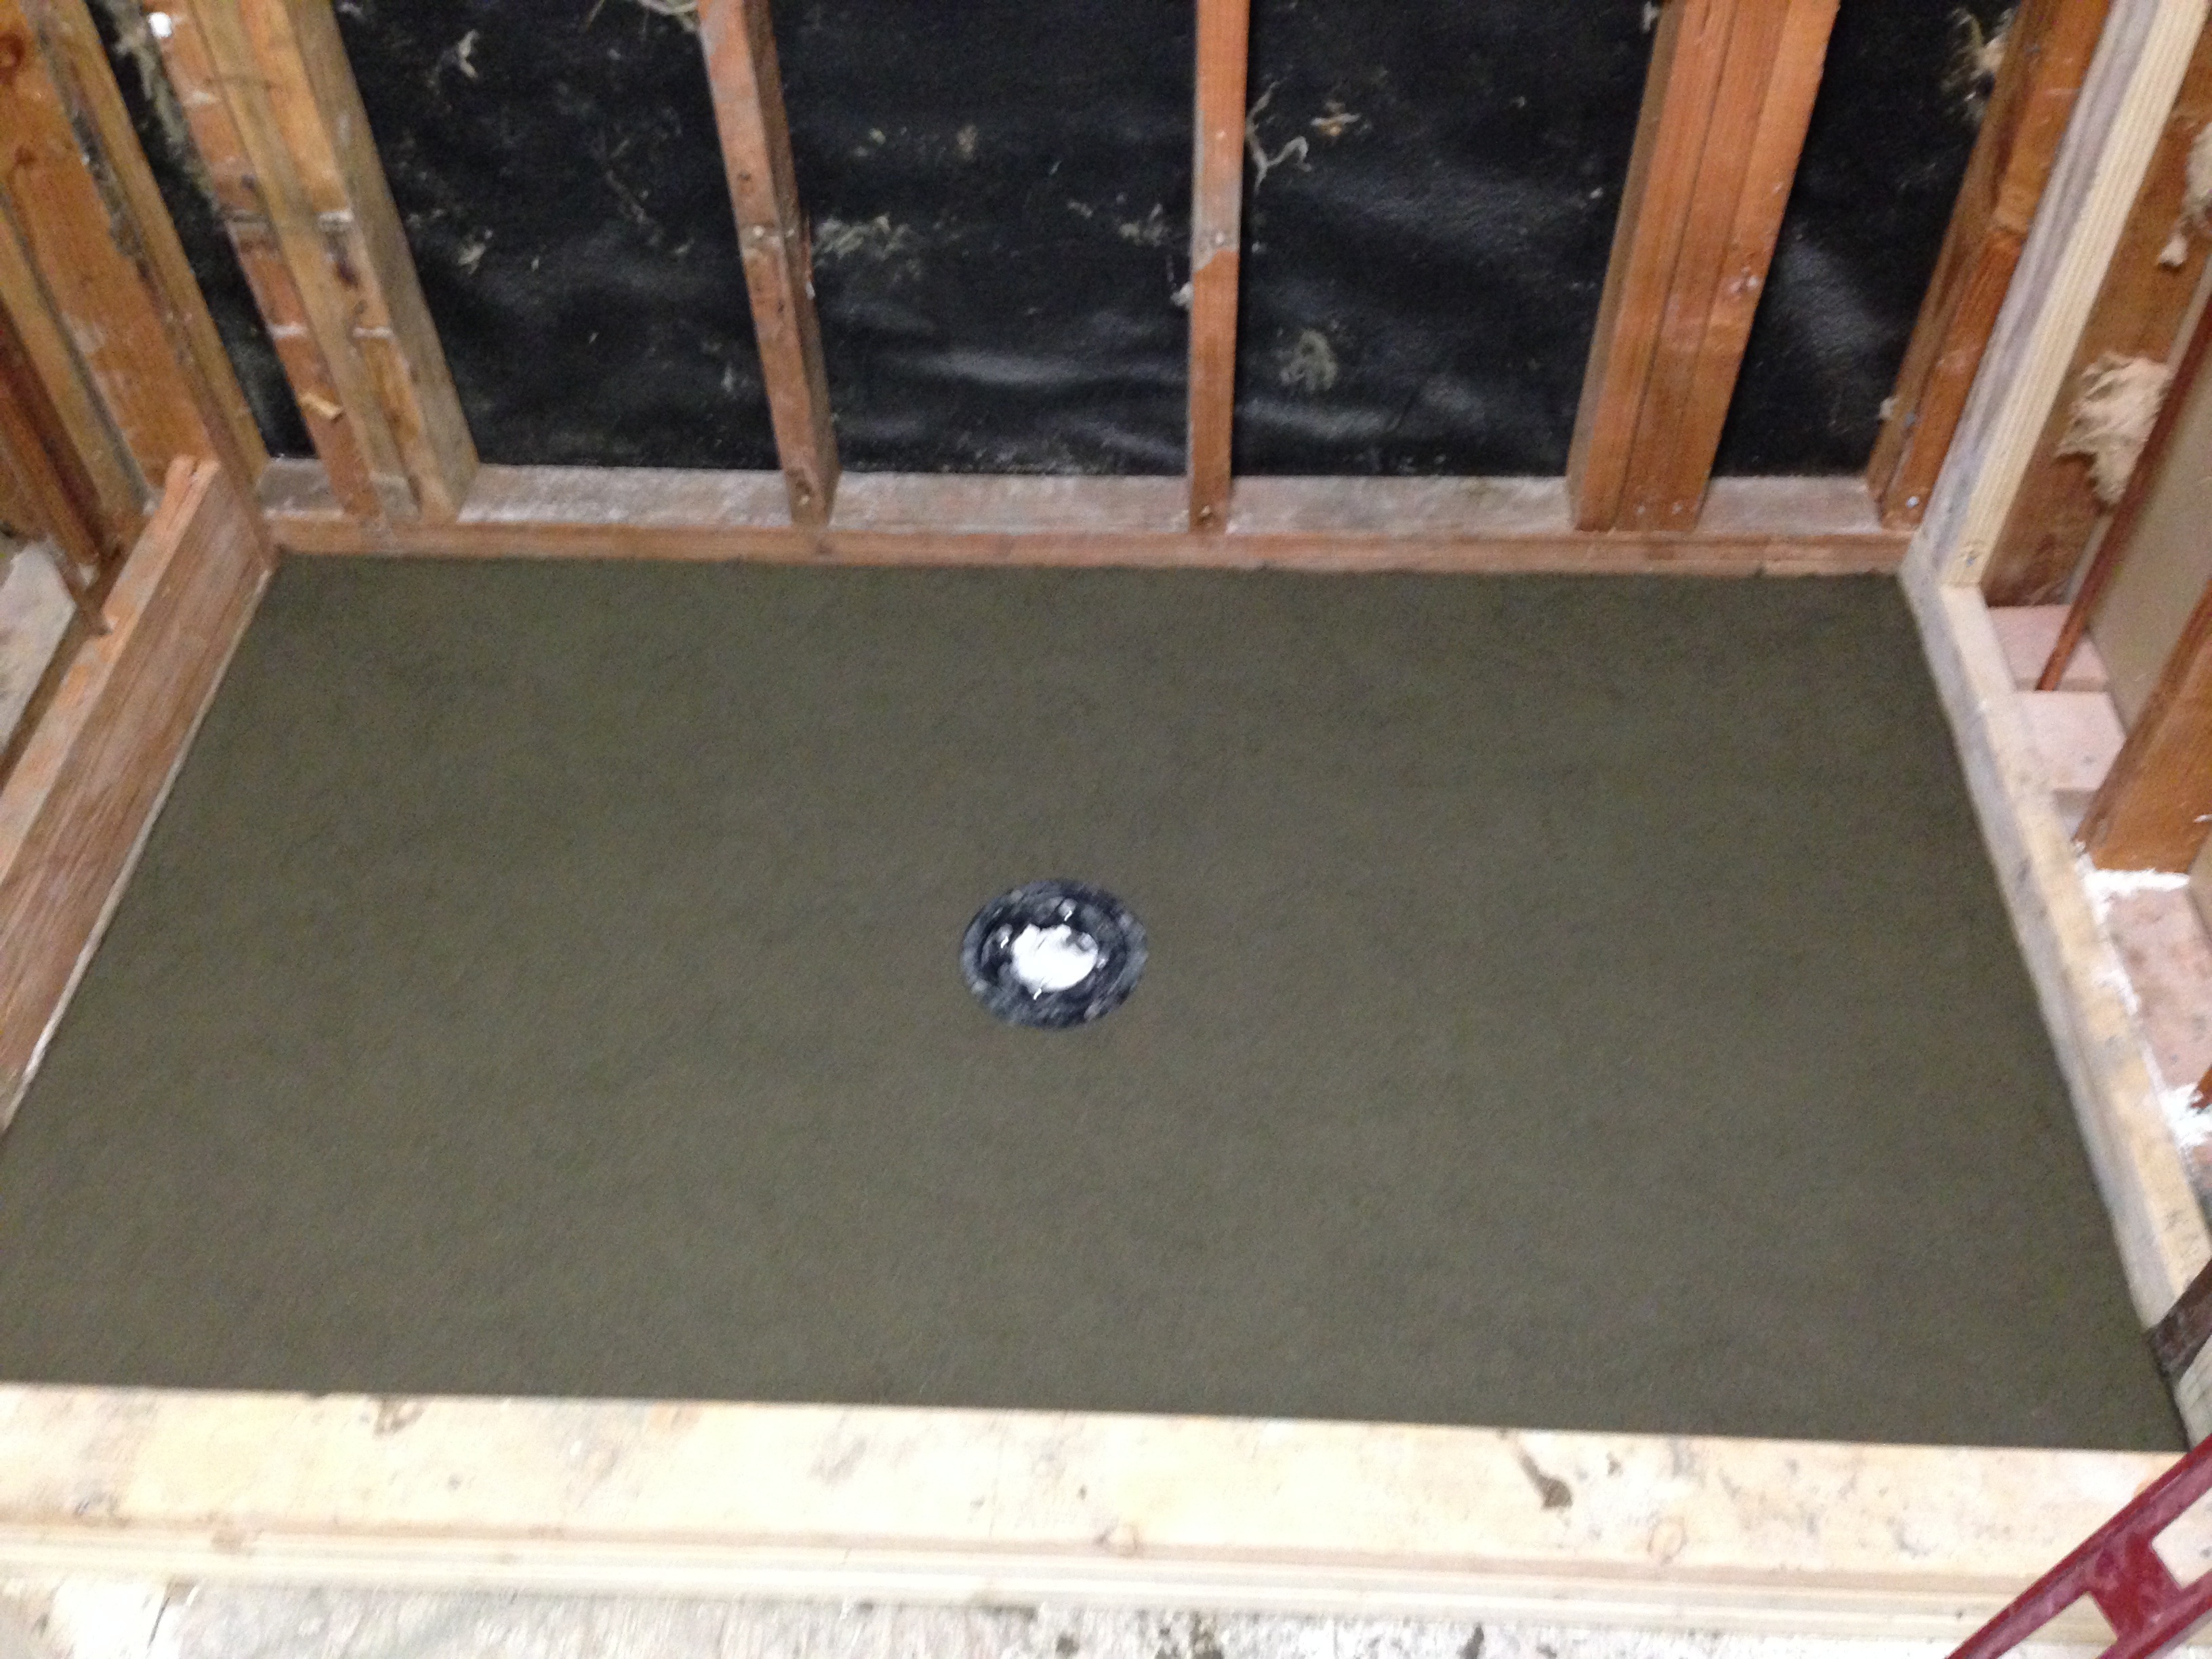
I then built a shower pan according to a tile book I have (and the internet). I sort of took what I thought was the best/easiest approach. I mixed portland cement (type 3/4 is all I could find at home depot), with “medium grit sand” from home depot. The medium grit seems too gritty…and if I were to do it again I’d use a finer sand. I did a ratio of roughly 4’ish parts sand to 1 part cement. What I read on the internet was to add just enough water to make it fully wet…however, I’m not sure this was quite enough water for it to “float” well, and it was really hard to get the proper downhill gradient done right:
After that dried, I installed shower pan membrane from home depot:
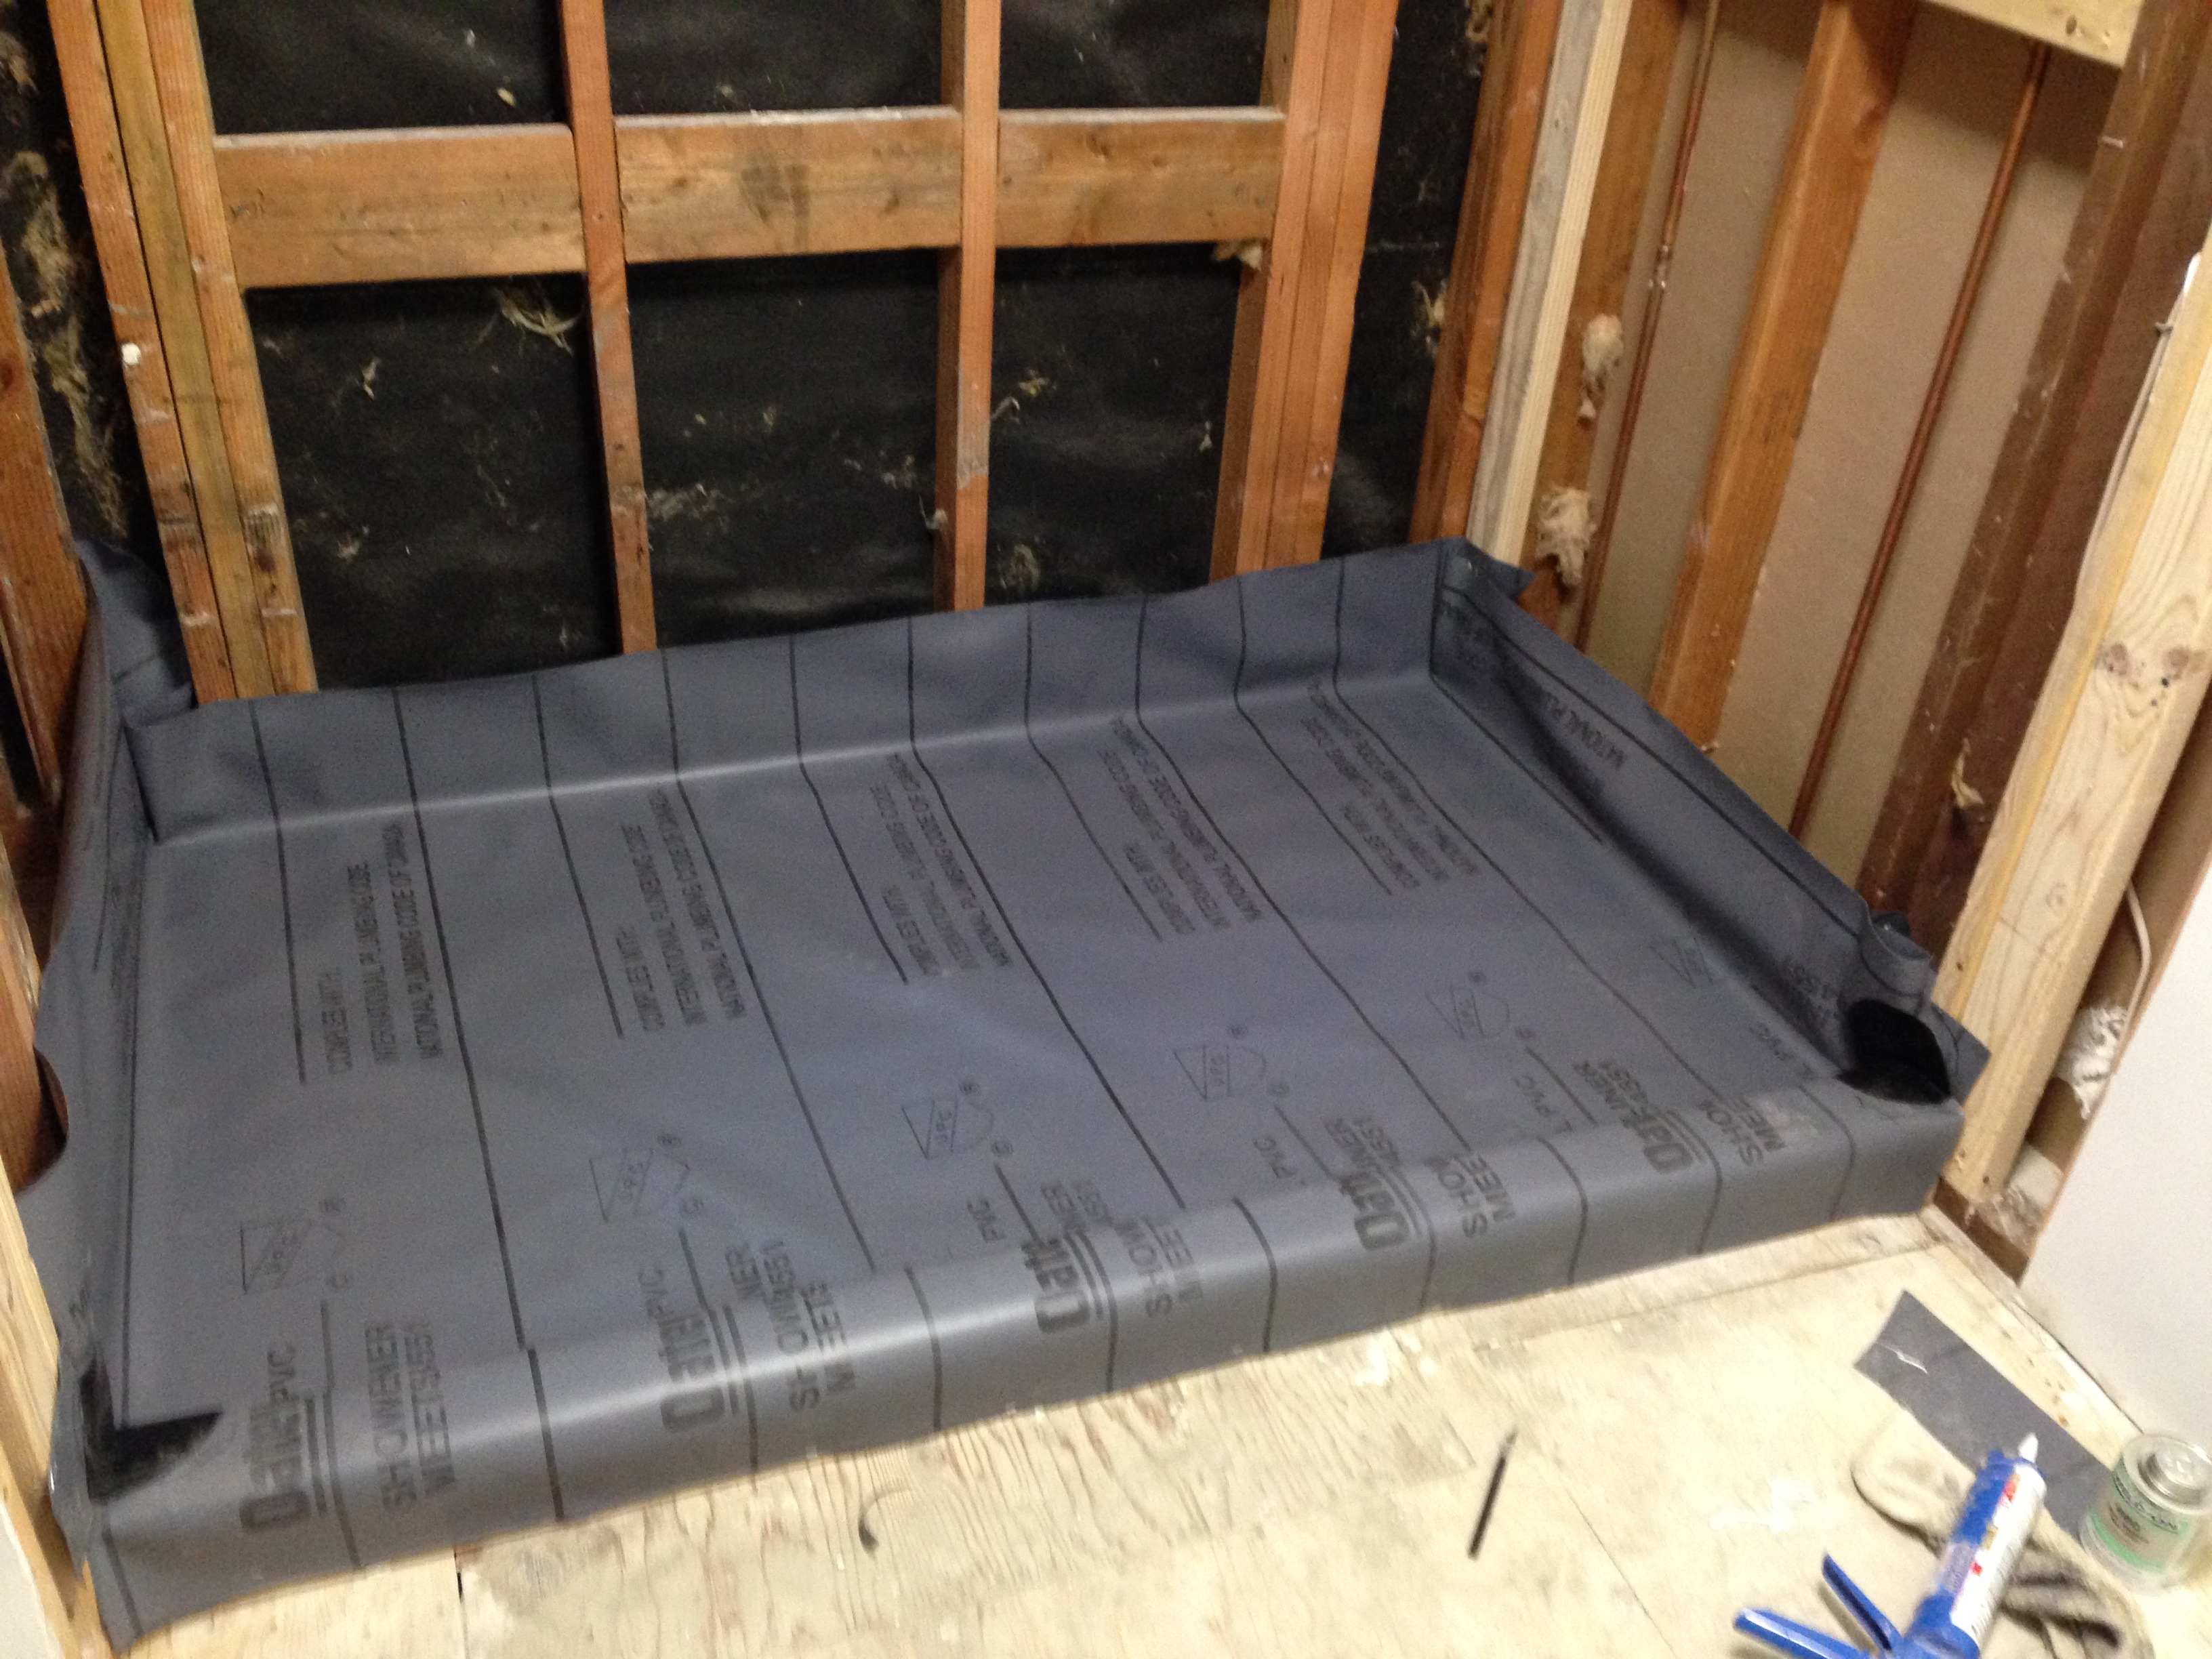
You have to be careful to not puncture it. I installed the drain, plugged it, and tested for leaks; it seemed fine.
I then applied the second section of cement. Depending on where you read, there are several ways to do this; you could first install the cement backer board and embed the bottom part in the cement (but be sure to NOT put the backer board fully down on the membrane; it has to remain 1-1.5″ above it, otherwise you can get water damage as the pan is designed to drain water seepage out). Instead, I opted to put the backer board up later on top of the cement, which was much easier in not worrying about making a hole in the backer board. I’m glad I did it this way.
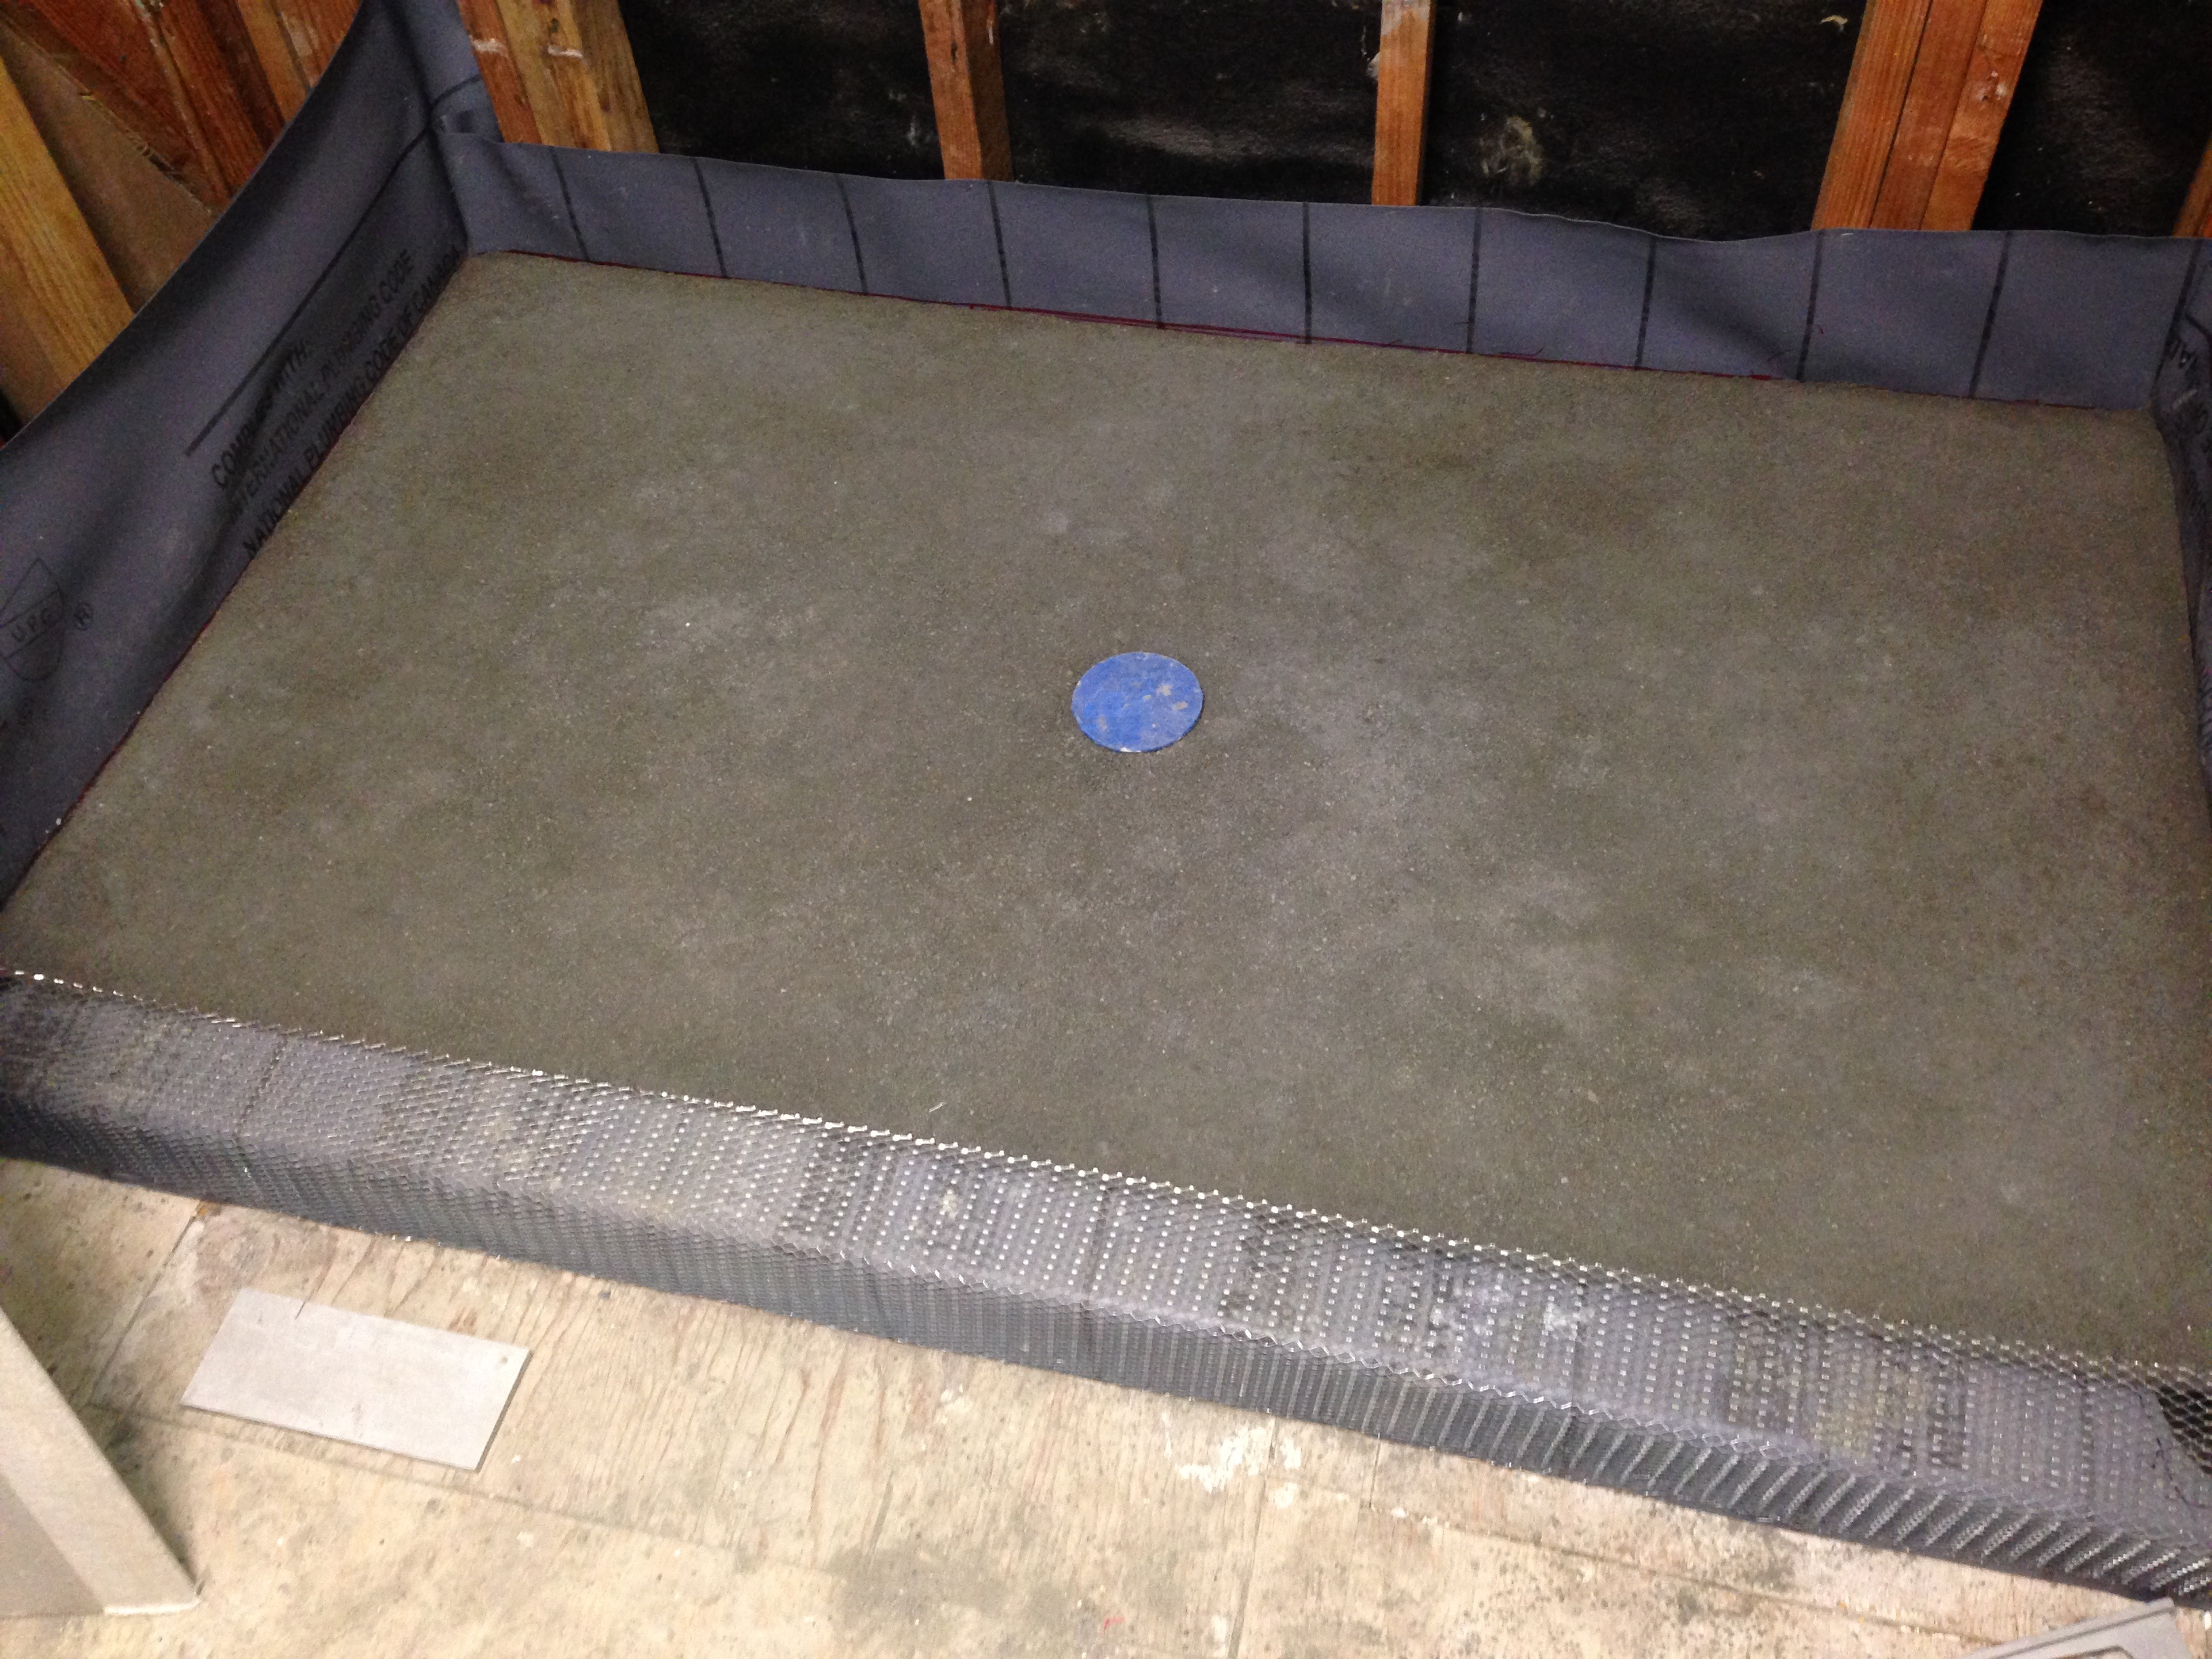
Under the backer board is 15# felt tar paper.
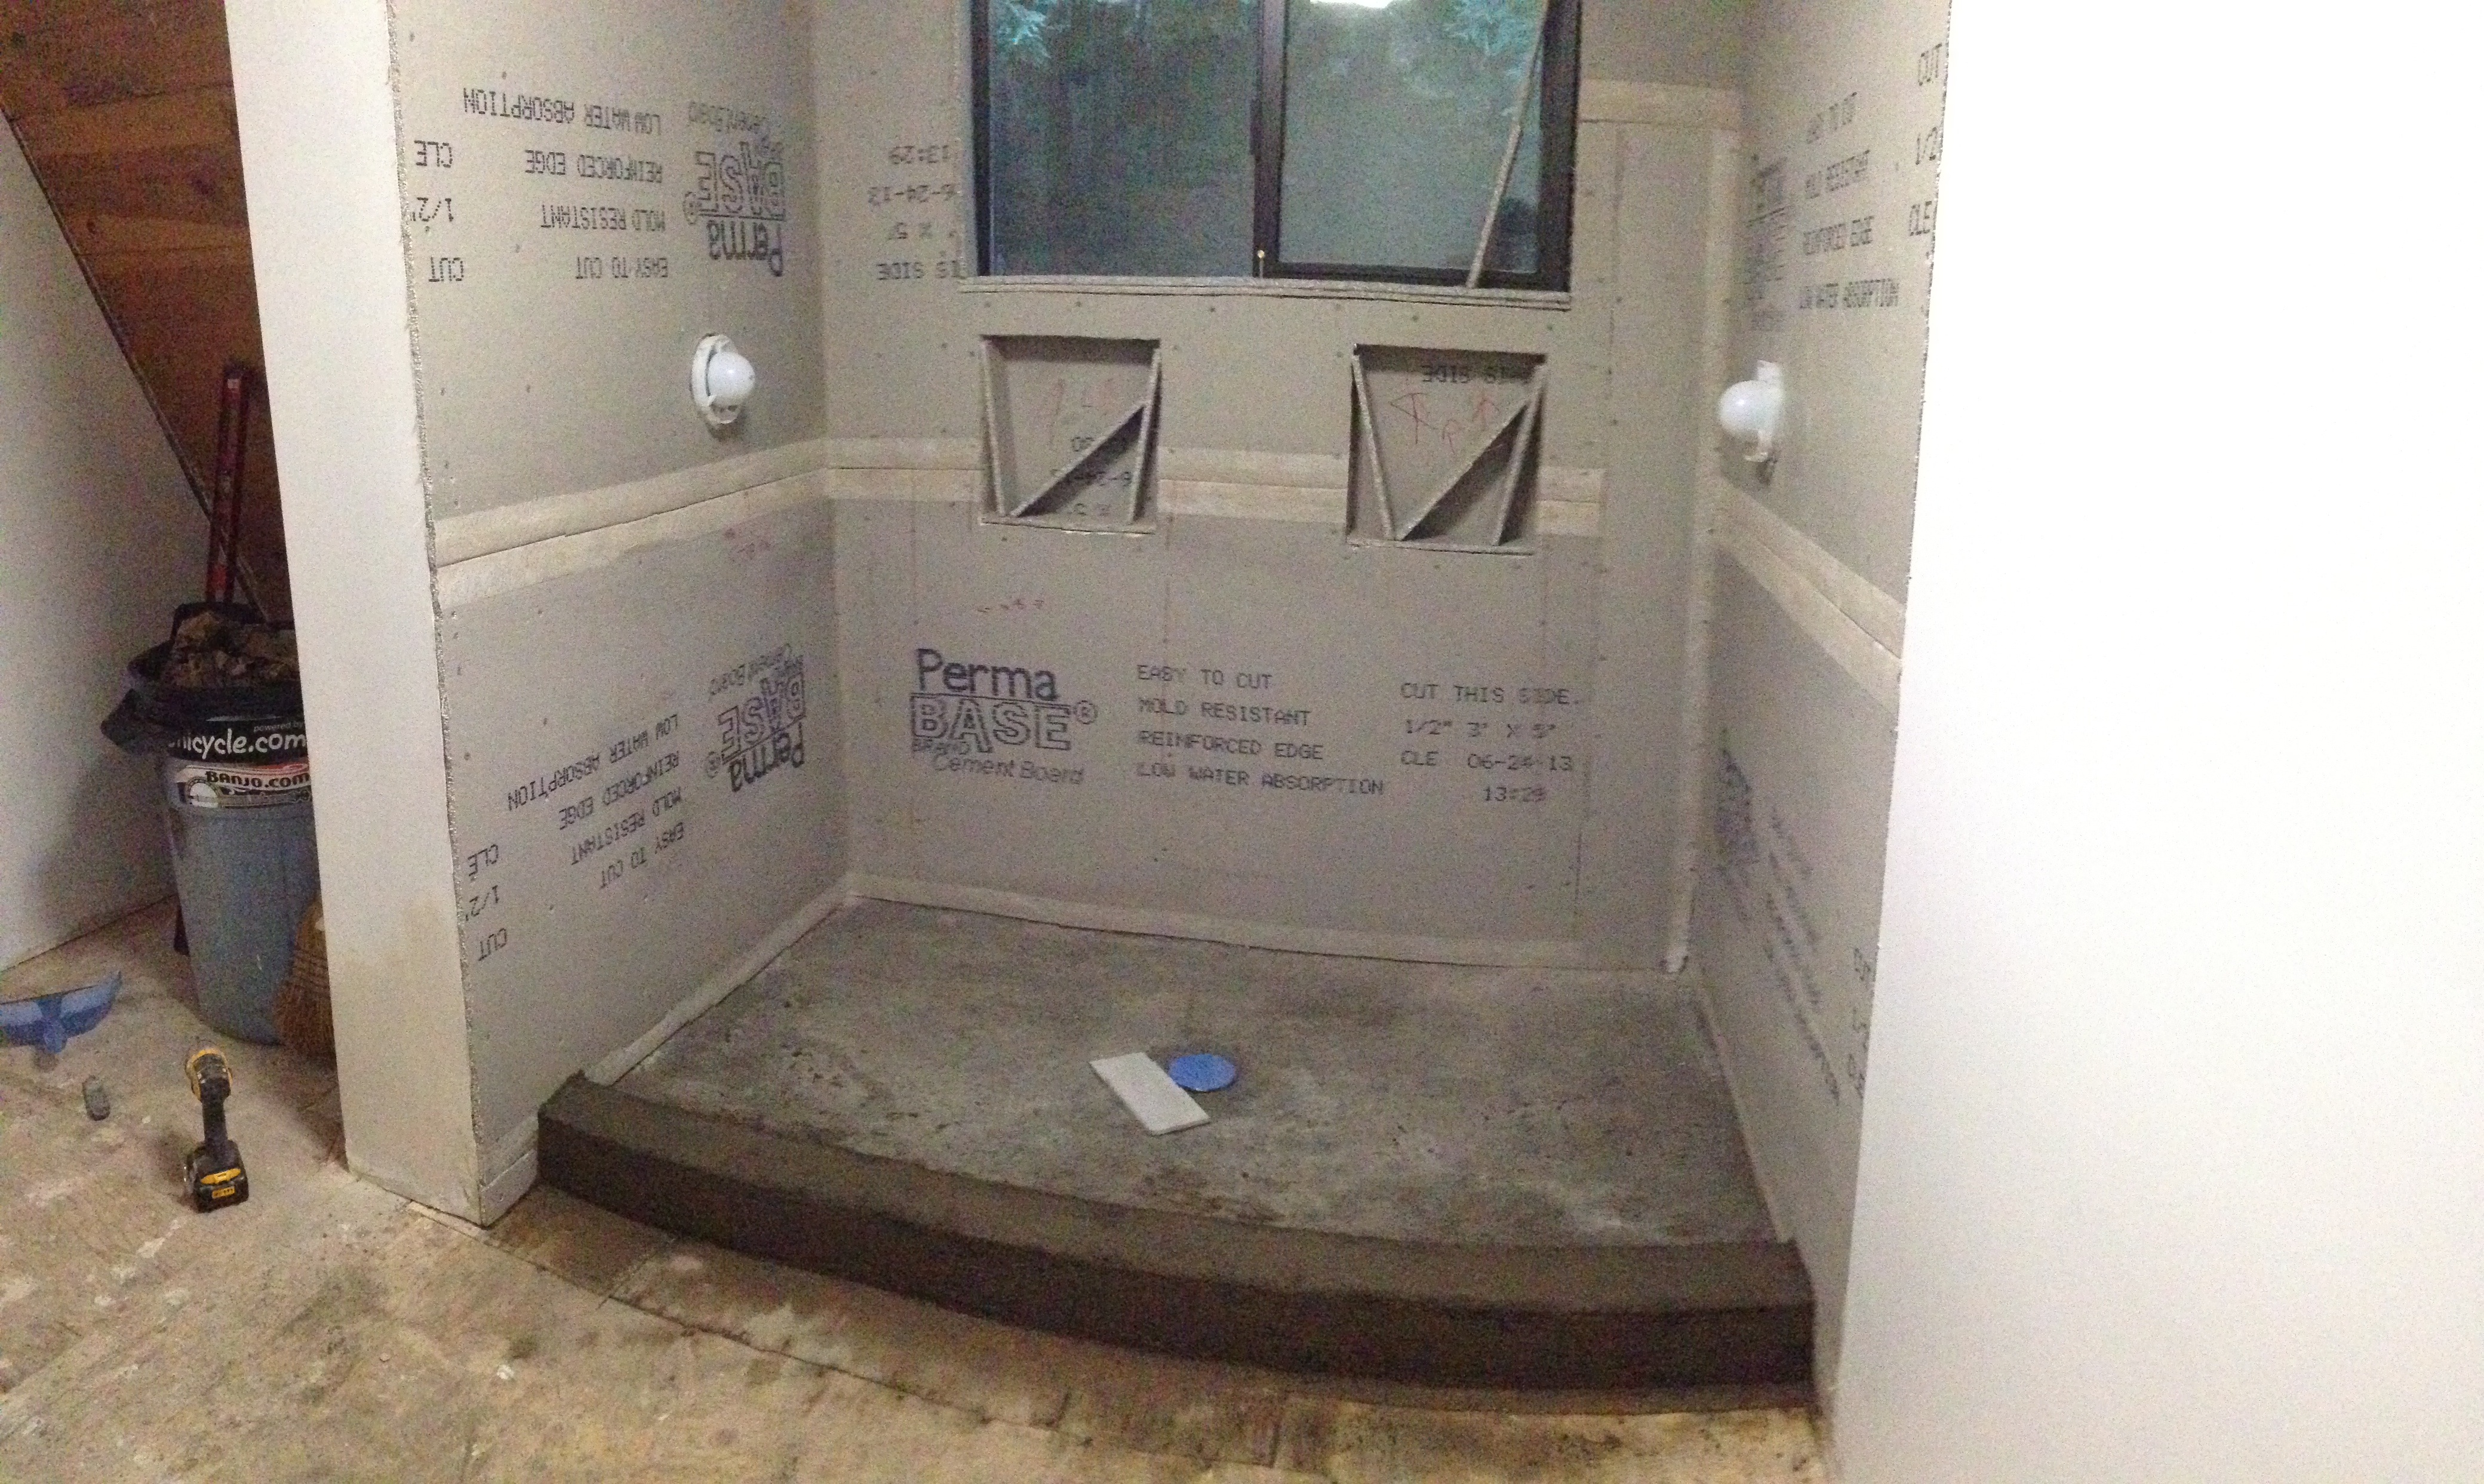
For the threshold, I mixed roughly 3-1 sand to cement, and used more water than before. This was MUCH easier to float..but still not the easiest thing to do. The trouble I’m having now is that the cement base/pan has been wearing a way a bit; the coarse sand on top wasn’t floated well, and rubbed off with me walking on it. I’m going to float a tiny bit (1/8″) more cement on top to smooth it out.
Next, all seams were taped with fiberglass tape and mudded with thinset:
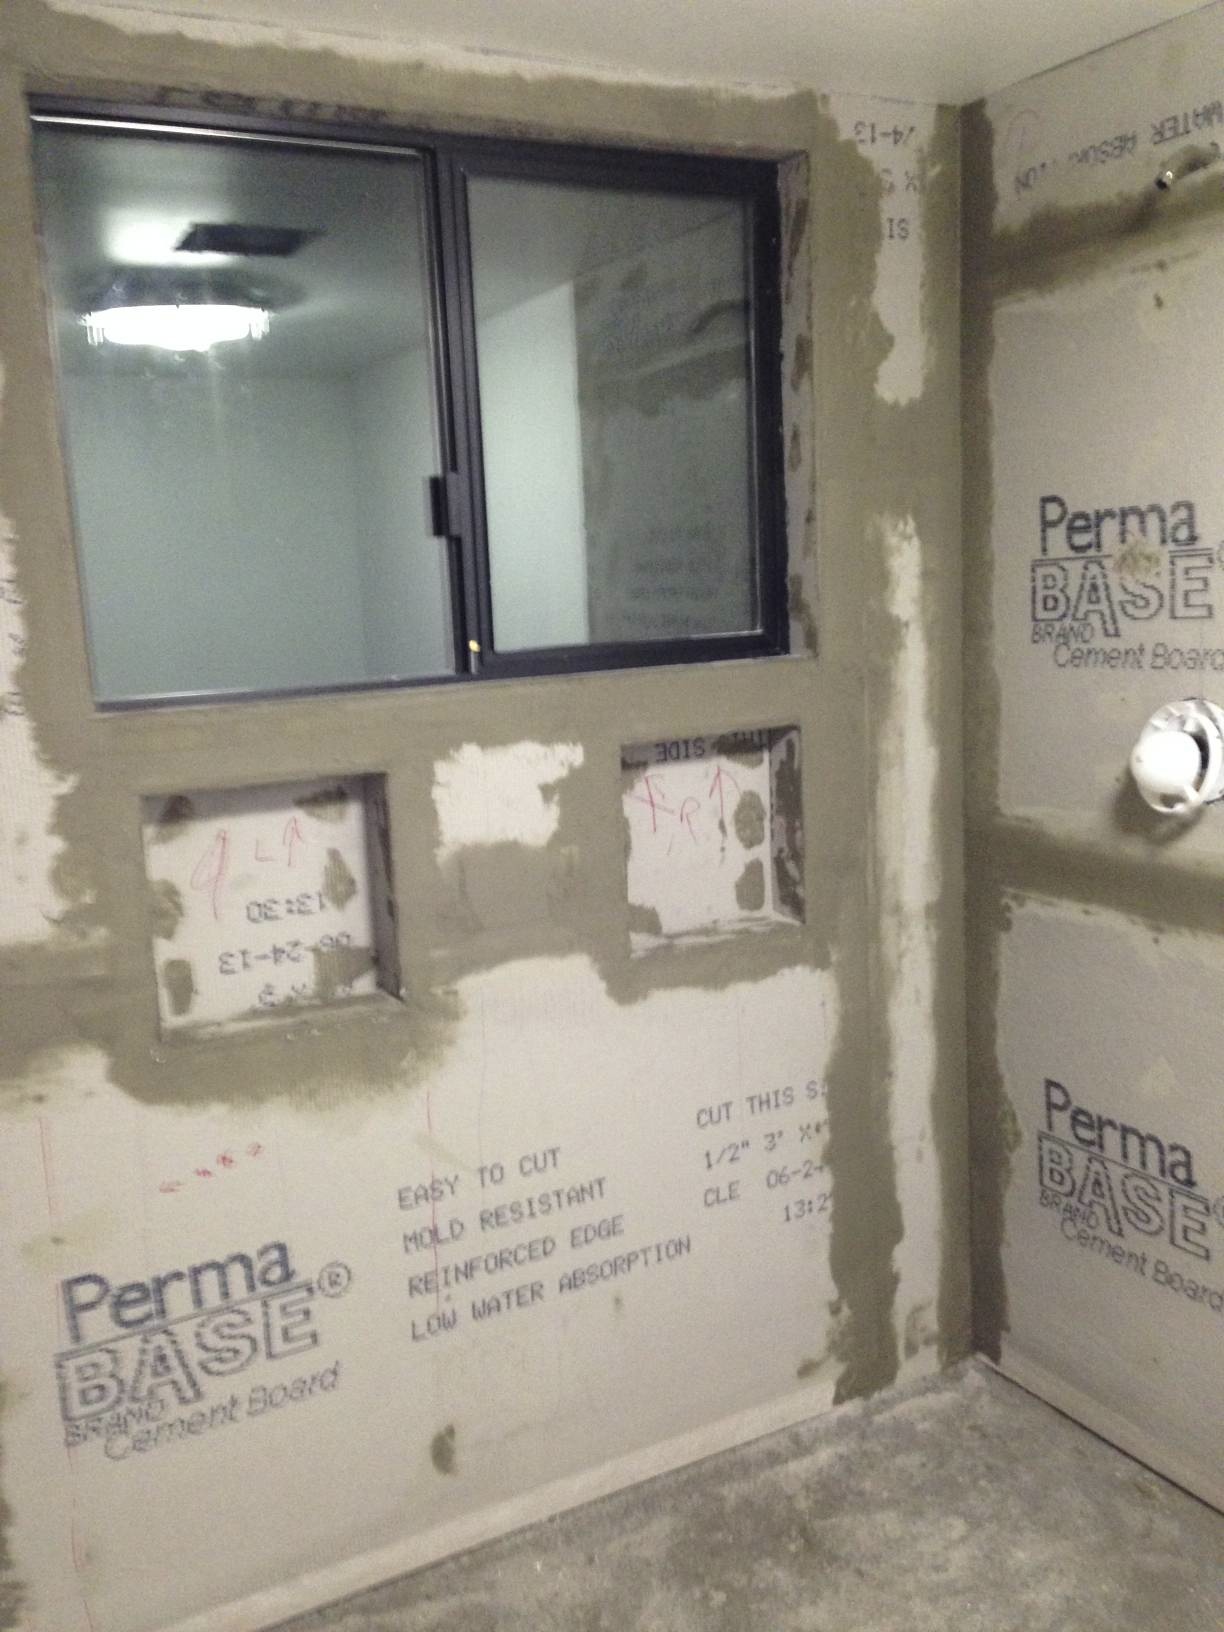
Tonight I put “Red Guard” over the niches so they will not leak. Also on the window threshold. Two coats are required. I also put some on other parts of the wall “just in case”. Tiling will commence soon!