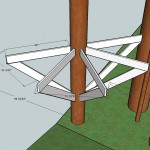
The Circular Treehouse – Bracket Fabrication
I bought some 4” wide by 1/4” thick steel from SIMS metal in San Jose with the intent on using it to make brackets. Now, 4” would be perfect if I used 4x4s for the knee braces, which I would ideally want to use. However, I have 2x8s for free, so I’m going to use those. To create a bracket that holds them, I need 2” wide pieces of steel. At first, I figured I’d just cut the 4” pieces down to size, but I quickly discovered how hard that was to do with a sawzall or jigsaw (with metal cutting blades, of course).
So, I went back to SIMs and bought some 2” wide 1/4” stock mild steel — this is perfect for the 1.5” wide “2x8s”, since the two 1/4” sides takes up the extra 1/2”.
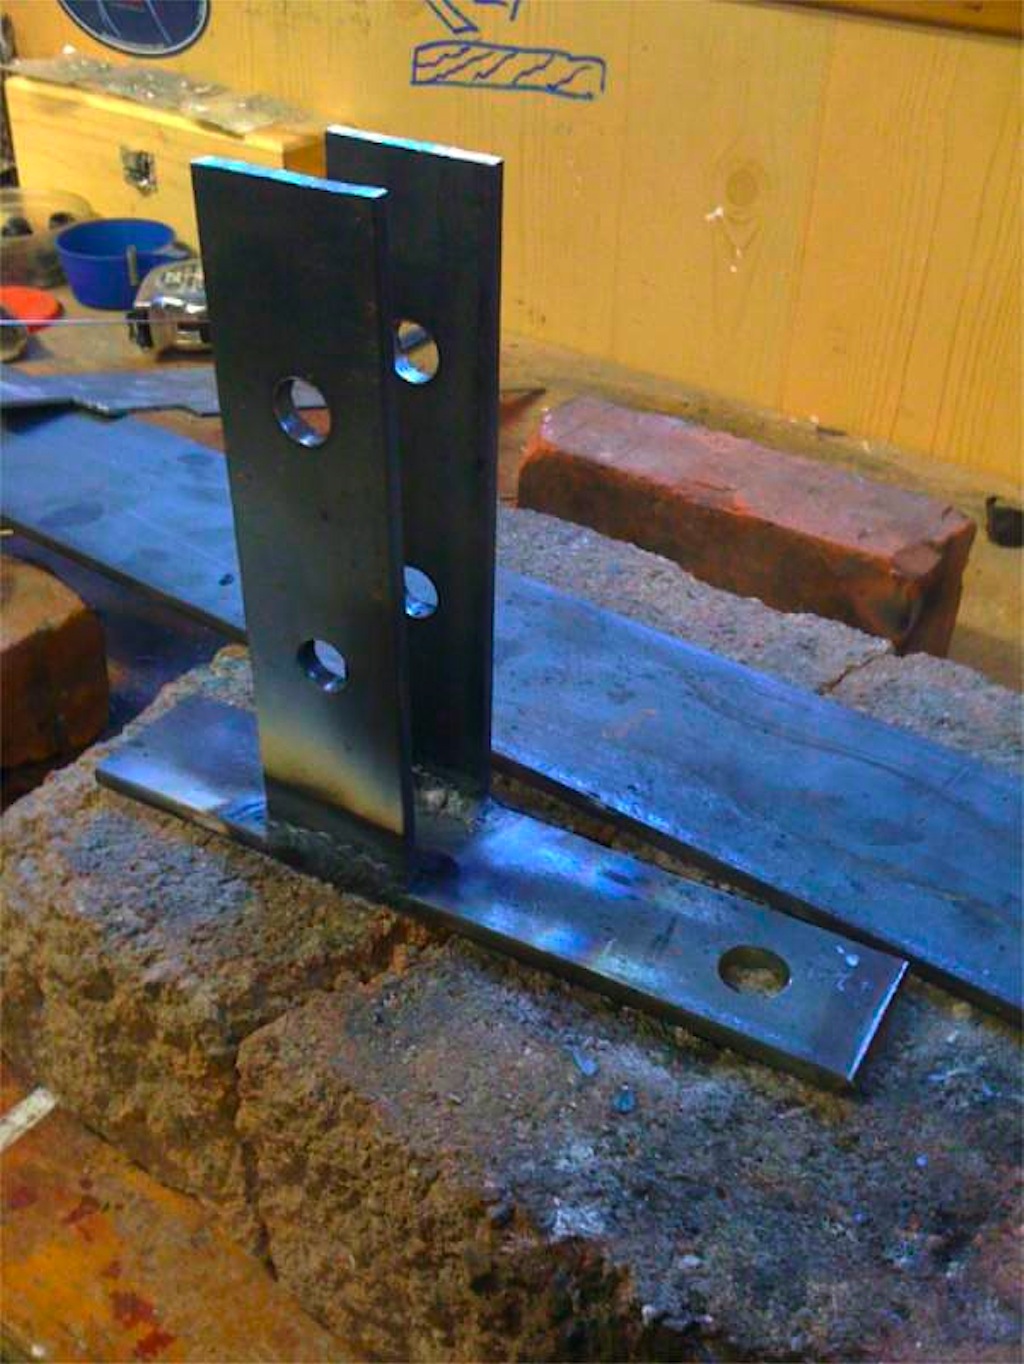
I took some pictures with my good camera and the iPhone. I’ll use the latter since I have them handy on my computer already. I used the mill to create 1.5” spaces out of some square tubing I had; I used them to ensure the spacing was correct when I welded the brackets together. I drilled the holes *after* welding, which was a mistake, since the top was really chattery when I drilled it. I drilled it after to ensure the holes lined up, which seemed like a good idea at the time. Instead of doing that, I now realize I could have just drilled the two sides together at the same time *before* I welded them. Oh well!
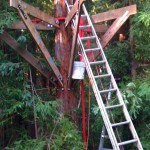
It is really tricky welding 1/4” steel with an oxy-acetylene torch. I used my dad’s old #2 or #3 tip and old torch, which leaked slightly at first and caught on fire near the handle. A quick tightening with the wrench prevented subsequent fires, and I used gloves from then on since it was super-hot welding with lots of heat in order to melt the thick steel. I got some good welds on the outside, but the inside welds are ugly and hard to hit. It makes me wish I had a wire feed MIG welder for quick and dirty stuff like this. I vastly underestimated the time it would take to weld the brackets ,and it took me several evenings of work, and almost an entire Saturday to finish most of them.
Here’s a shot of the lower knee braces. I intended to have the hole for the 3/4” bolt to be at the bottom of the brace (more on that later). You can also see the small 1.5” square tubing spacer that I used when welding and drilling:

For fun, I used the mill to square off the 45 degree angles. It would have been faster to just do it with a file, but the mill makes cleaner and more precise cuts.
For drilling, I used my drill press and a bunch of the T2 tapered drill bits I got with my lathe:
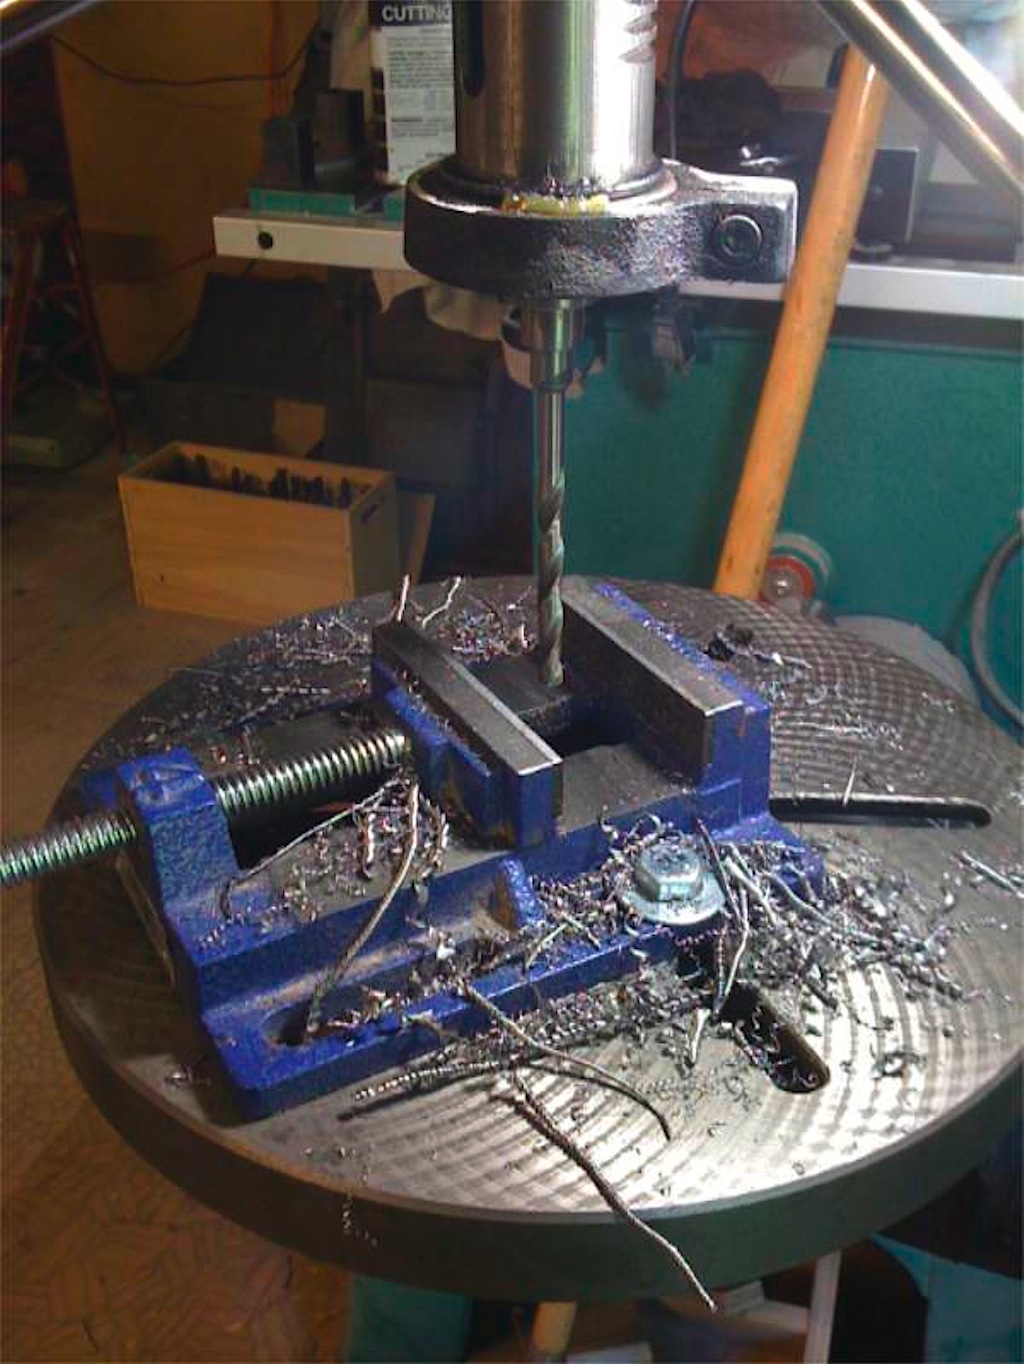
I really need to learn how to sharpen drill bits. I tend to just destroy the tips. I did use cutting fluid while drilling, and drilled out the sizes a few times when working up to 3/4” inches. The brackets will hang off the tree with a single 3/4” lag bolt (more details on that later — I had trouble finding the right ones). The wooden 2×8 knee brace will attach to the bracket with two 5/8” bolts. It’ll be solid (or, so I hope).