I’m going to go over this as a step-by-step tutorial; we need more Cocoa tutorials out there, so this will be one of them!
Start by creating a new Cocoa Bundle inside of Xcode (File | New Project…)
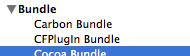
Now, be careful what you name your bundle — the name must correspond to the main color picker’s classname.
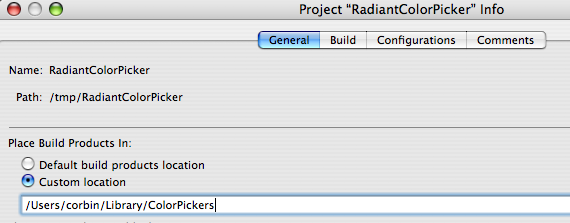
Once you have your project created, double click on the project in Xcode and set the output directory to be ~/Library/ColorPickers :
Note that in order for this to work correctly in Xcode 2.0, you must have Xcode’s user default UsePerConfigurationBuildLocations set to NO. You can do this from the command line with:
defaults write com.apple.xcode UsePerConfigurationBuildLocations NO
Read the Xcode Expert Preferences Notes for more information on this option.
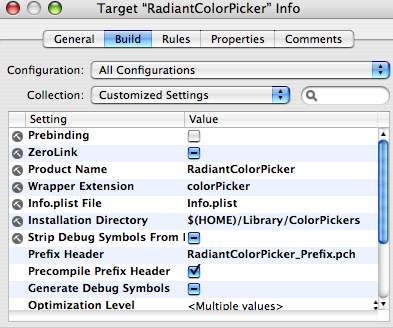
Next, double click on the bundle target to bring up its options
![]()
In the build options, set the Wrapper Extension to be colorPicker and the Installation Directory to $(HOME)/Library/ColorPickers.
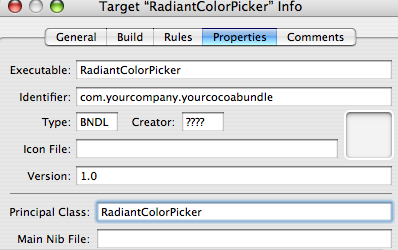
Then, on the Properties tab, set the Principal Class to be your new Color Picker (which we actually haven’t made yet):
Once you have your project setup, you can then start creating your UI in Interface Builder by creating a new empty nib:

Then, you can drag a new view into the nib (note: you must have Tiger to do this!):
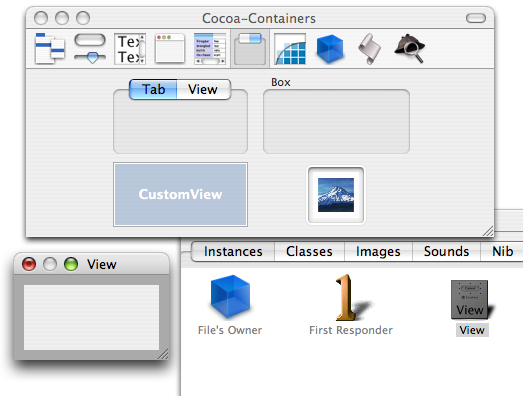
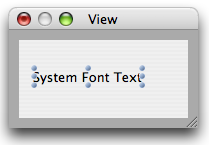
Next, you can setup the UI to look the way you want, save the nib, and add it to the Xcode project (I called it “MyPicker.nibâ€):
Now we want to jump back to XCode and create a controller for the nib file, and the main color picker class.
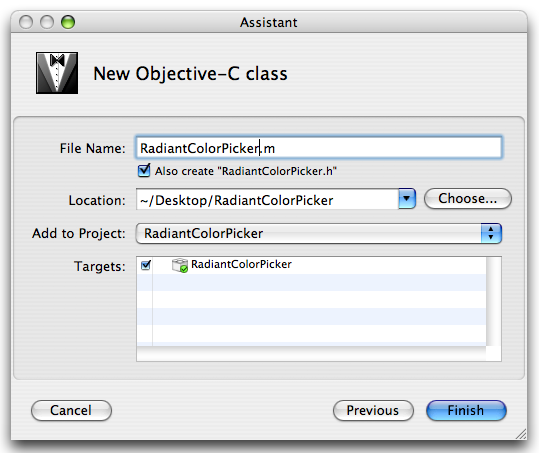
A long time ago, we decided to call it “RadiantColorPickerâ€. In XCode, select “File | New…†and create an Objective C Class named RadiantColorPicker:
Change the class to inherit from NSColorPicker and declare that it is going to implement the NSColorPickingCustom formal protocol.
Some important things to note here: In Tiger and Panther, you MUST descend from NSColorPicker. The documentation incorrectly states that you can implement NSColorPickingDefault or descend from NSColorPicker (note that this will be fixed).
@interface RadiantColorPicker : NSColorPicker <NSColorPickingCustom> {
@private
  // Add two outlets to access things in the nib file we will load
  IBOutlet NSView *mainView;
  IBOutlet NSTextField *textField;
}
@end
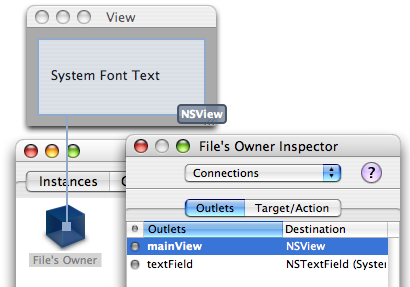
The “mainView†will be the view that is placed in the Color Picker, and the textField will give us access to our TextField. To set those things up in the nib file, drag the RadiantColorPicker.h file from Xcode and drop it into the nib file in Interface Builder.
Click on the “File’s Owner†in the Instances of the nib file, and set the custom class to be it:
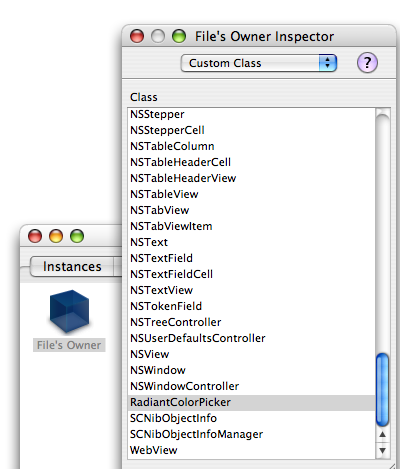
Then, hook up the outlets. It is important to drag the mainView outlet to the actual view itself:
(okay…this is just a start. I’ll eventually finish this).


Good beginning – I’m looking forward to the conclusion :) .
May I suggest that you remove the bits that push the “UsePerConfigurationBuildLocations NO” preference on users? It needlessly complicates the process, and as part of a tutorial, people are liable to assume they have to follow your lead in this regard. Steps that require a user to change his or her workflow preferences probably don’t belong in tutorials.
Instead I’d just emphasize the necessity of installing the built product in the proper location before testing, and let the user decide how they want to accomplish that.
Daniel,
Thanks for the info! It does make it slightly more complicated, and they don’t have to do it. It does allow one to easily “make a change and debug”. Without that, they will have to place the resulting binary into the proper location before seeing it work.
More or less off topic: But why is your language set to German in IB? Erstellst Du GUIs in Deutscher Sprache ?
anyway. thanks for the infos.
Volker: funny that you should notice that! I frequently run one computer in German, another in French, and another in English. It helps me learn the languages. That screen shot is from my mac running German, however, IB and Xcode aren’t localized.
Another solution for the “debugging plugins” type scenario is to use an alias or symbolic link to the item in your built products folder. Symbolic link is probably a safer link for more compatibility. This lets you spend most of your time safe in the knowledge that you’re running against a “release” version of your plugin. Then when you want to work on debugging a built version you can move the release version aside and install a symbolic link. I use this technique frequently when debugging Safari plugins.
Daniel: that’s a great idea! I should collect a lot of these methods and write up an entry on them. I frequently debug frameworks (AppKit), so I really need the output directory setup correctly for convenience.
Corbin; Funny that you run one in English then :-)
Hi there Corbin,
Are you planning to finish this up any time? I’d like to make a Cocoa color picker, but am a Cocoa newbie, so the rest of the tutorial, showing how to get something to actually build and work (even something super limited) would be great.