Plug Bug: Water proofing the motor area
One of the problems with the electric motor is that it is exposed to the elements underneath the car. I don’t want to get water in my Warp9 and have it fry, so I needed to do something about it. I first enclosed the area with plastic, and completely sealed it off; definitely water tight, but it seemed to cause the motor to run quite a bit hotter than it usually did. I didn’t like that.
I investigated what other people have done with other bugs. Some solutions involve not driving in the rain. Others are having half the motor exposed, but having a simple splash guard. Others use a blower and blow it into the motor on the brush side. There are kits that can do this; evsource.com has a forced air blower kit. I may eventually do something like that, but dislike forced cooling for two reasons: 1. the fan will be noisy and 2. it will draw power.
So, here’s my passive cooling option that I’m going to do. I’ve used it in light rain, and the motor area stays bone dry. The motor doesn’t seem to get any hotter than it did before. I’m not sure how it would do in really heavy rain, but hopefully it would shed enough water to keep everything okay. The final result has some cooling vents on the side, and exposes the rear slightly to allow air to escape.
On the car around the motor:
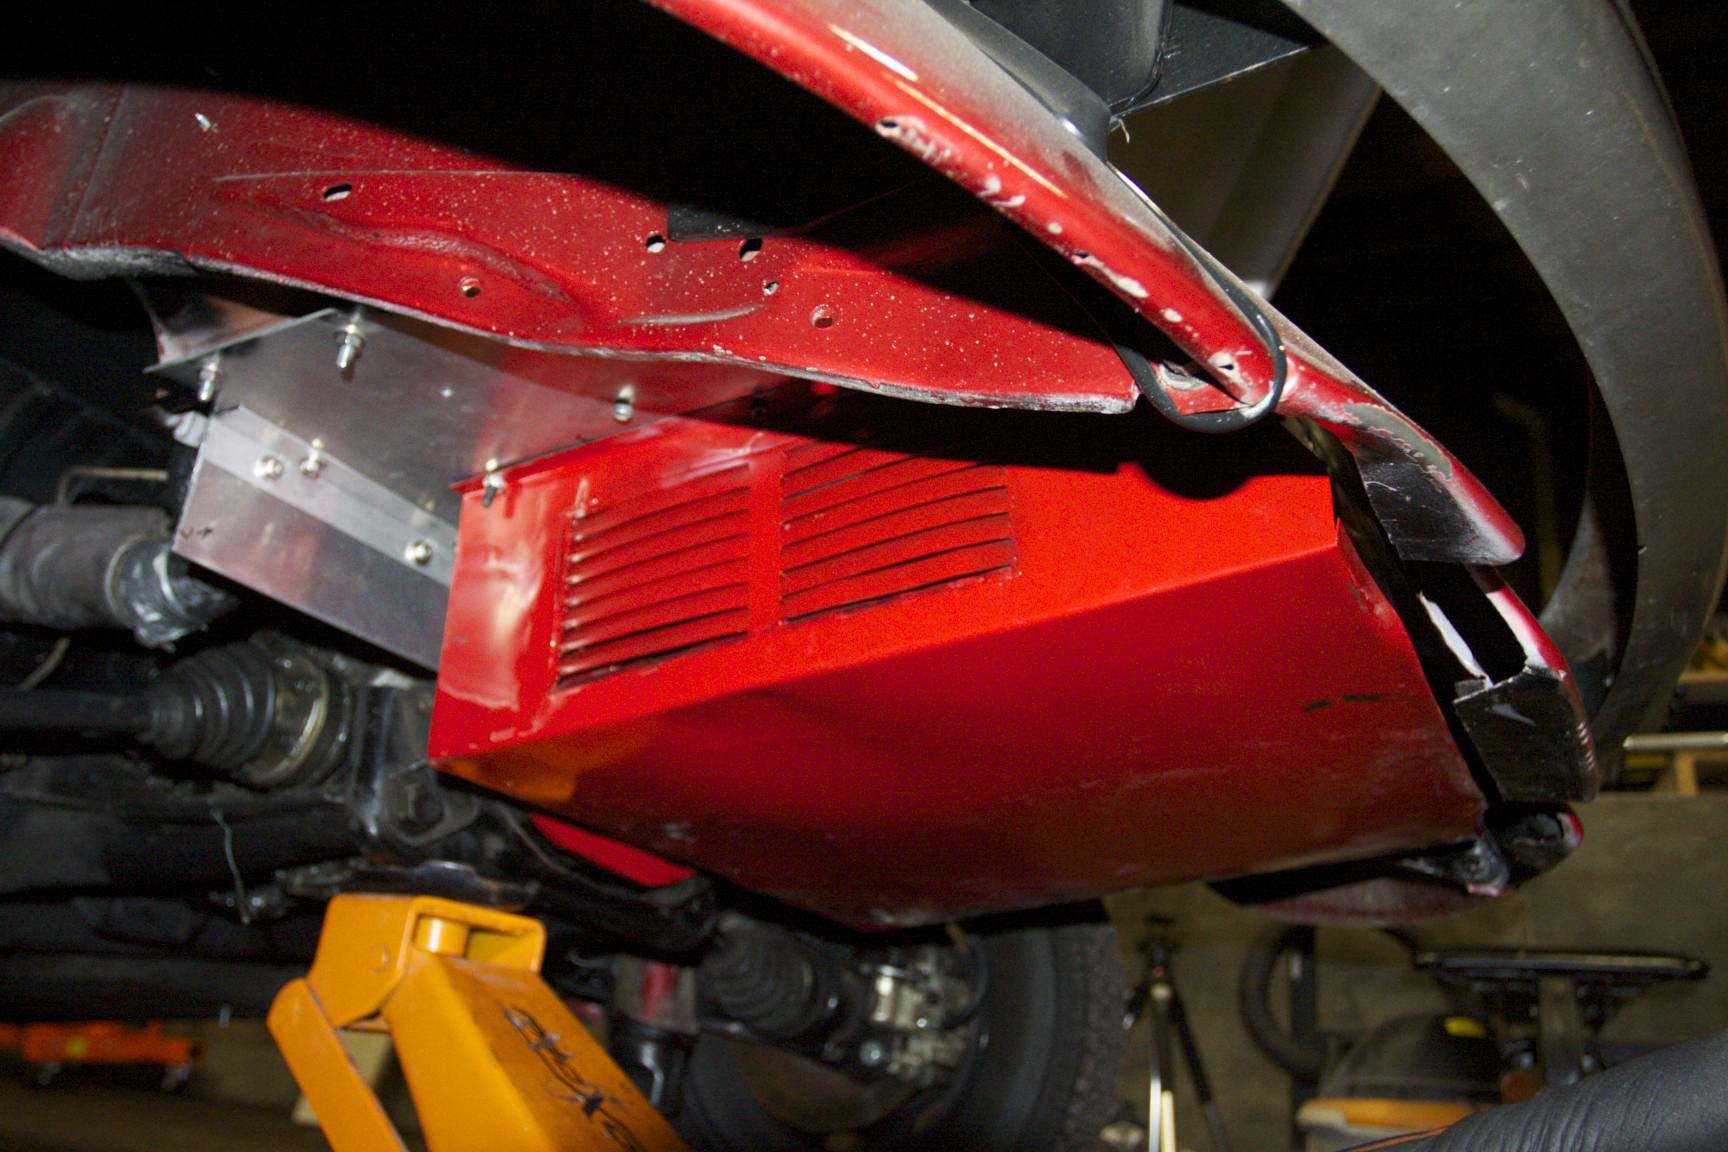
The rear engine exhaust pipe holes now are cooling holes for the electric motor.
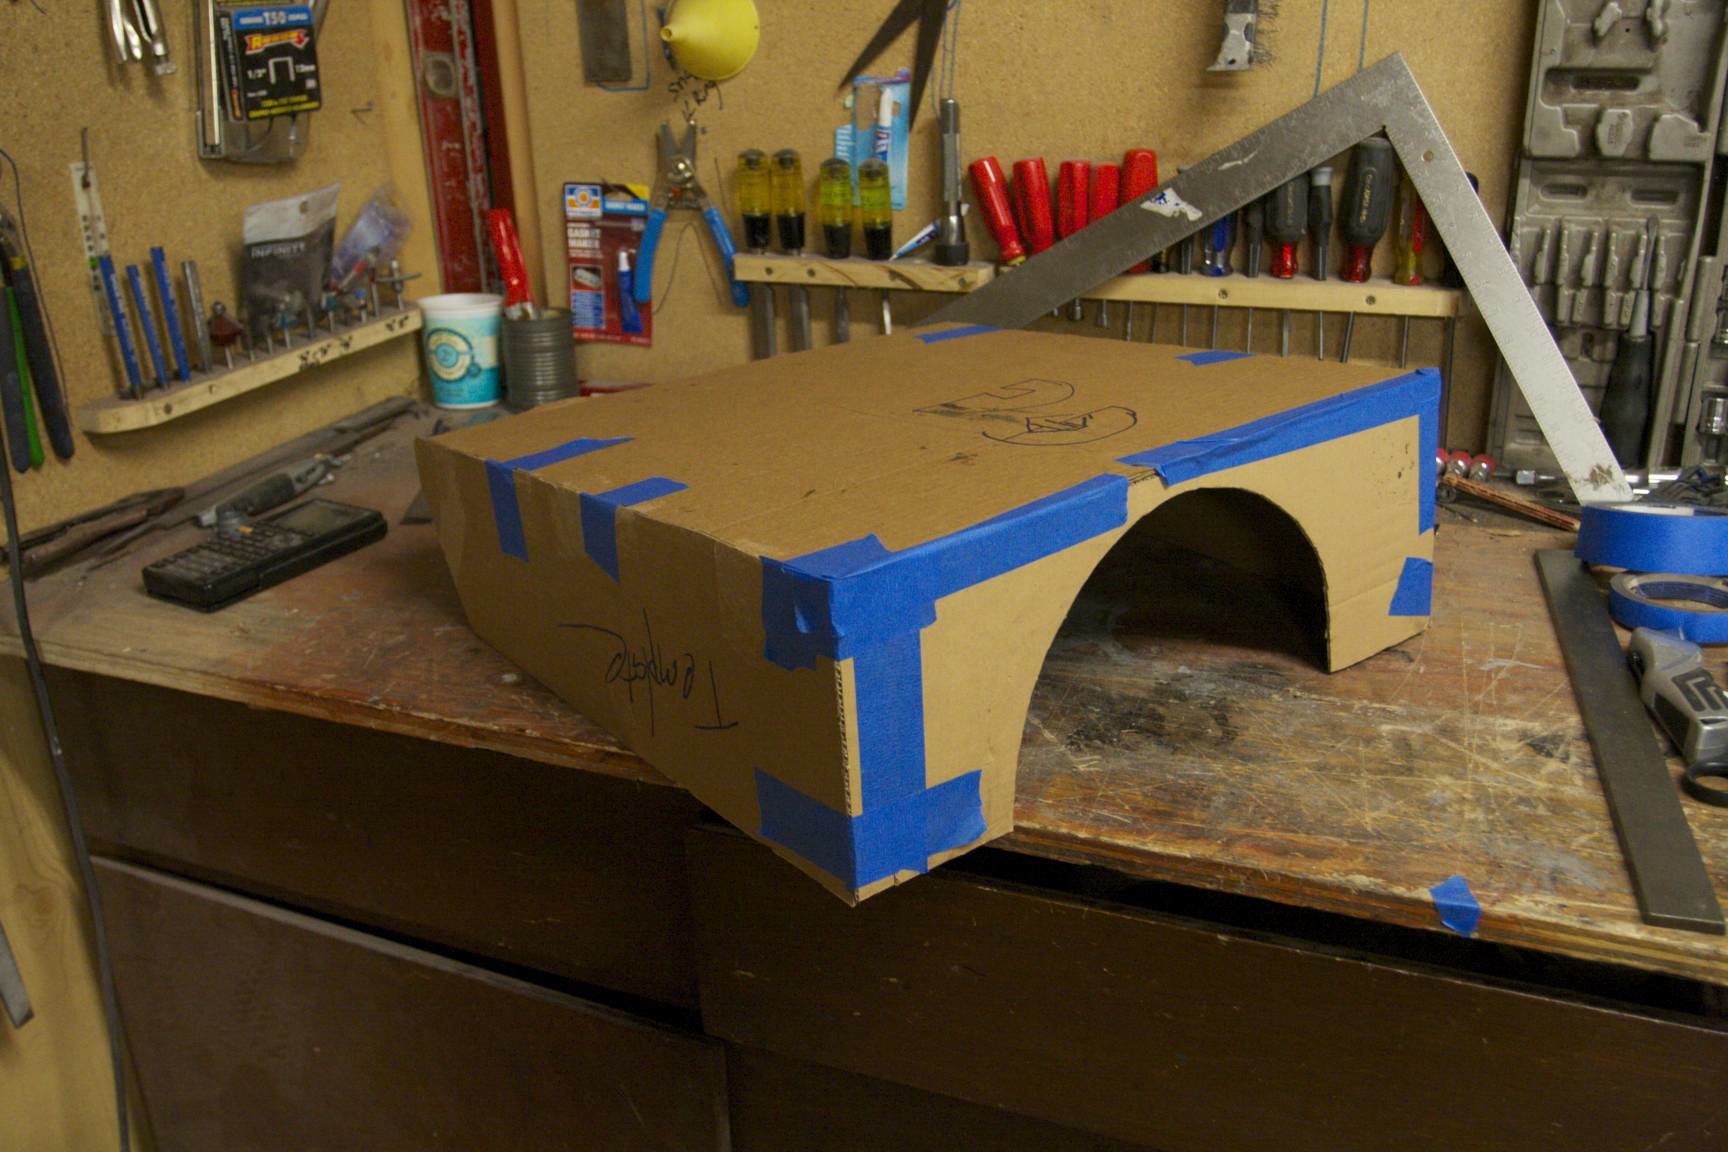
Here’s how I made it.
I created a template around the motor out of cardboard:
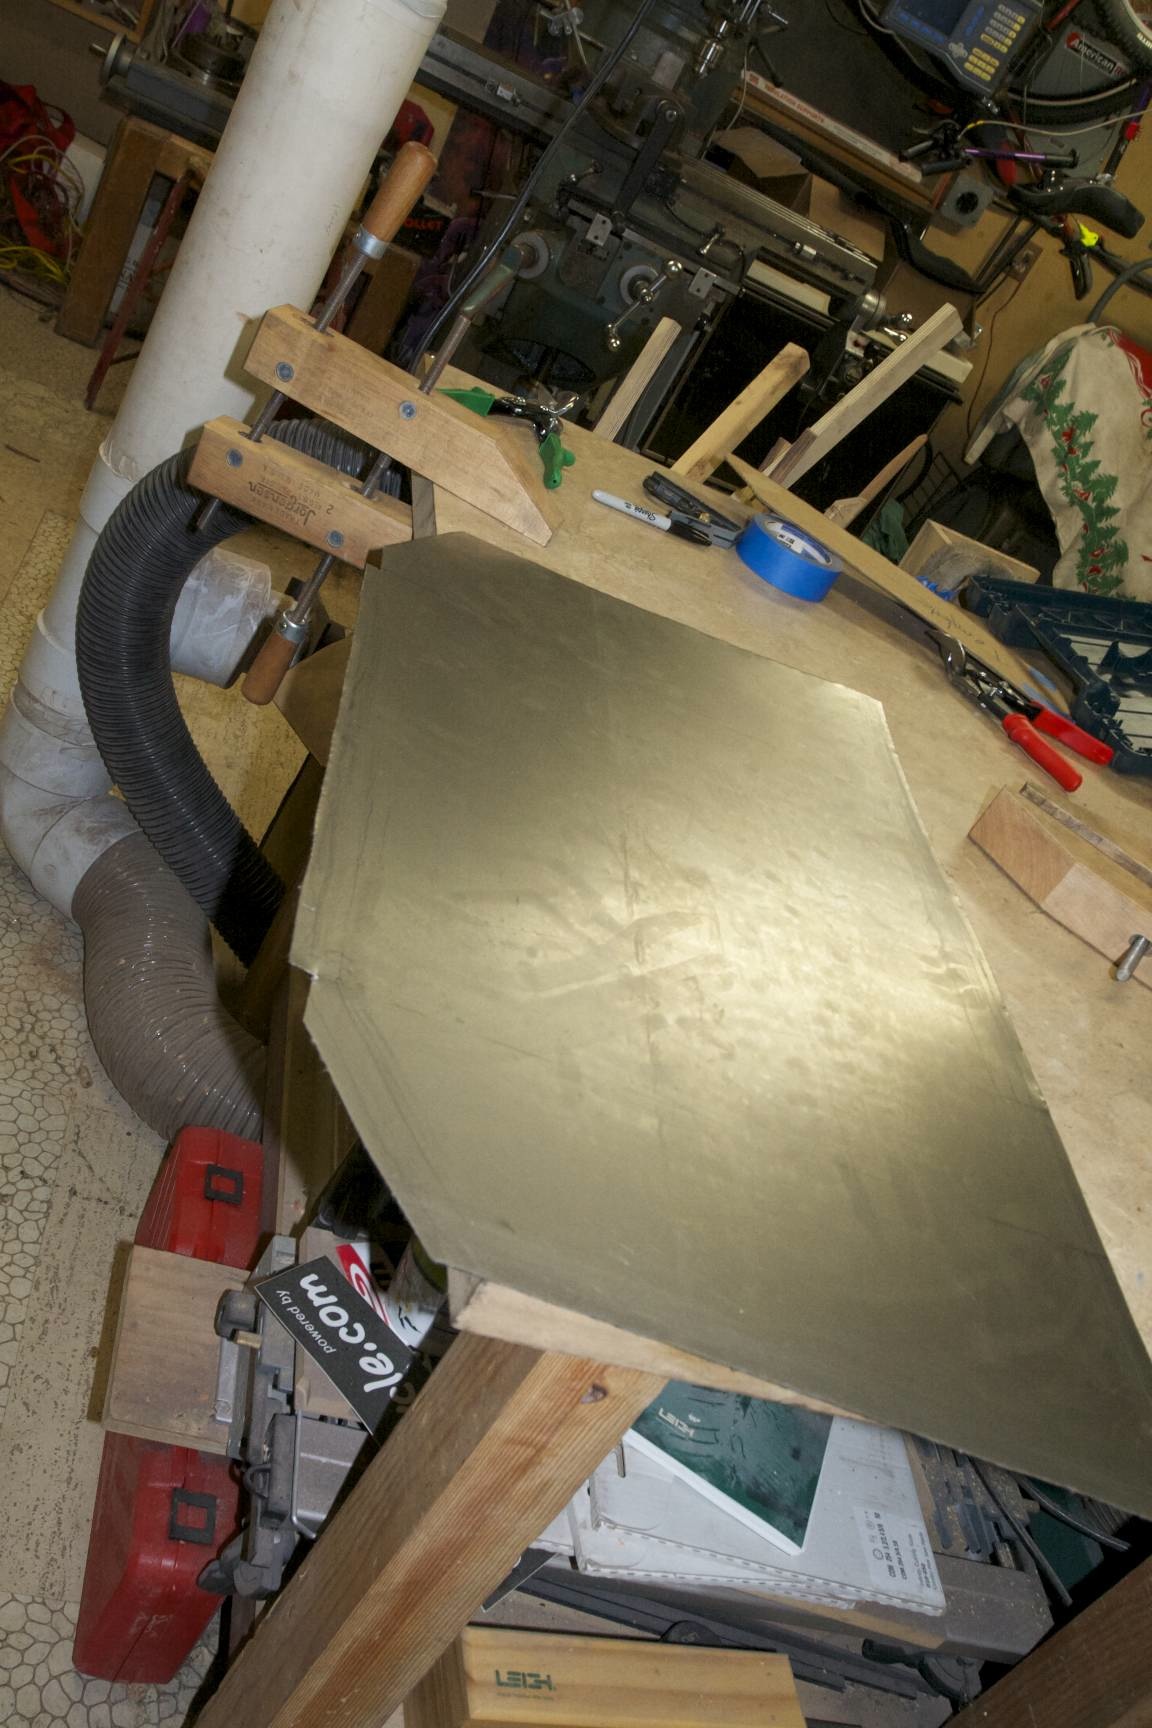
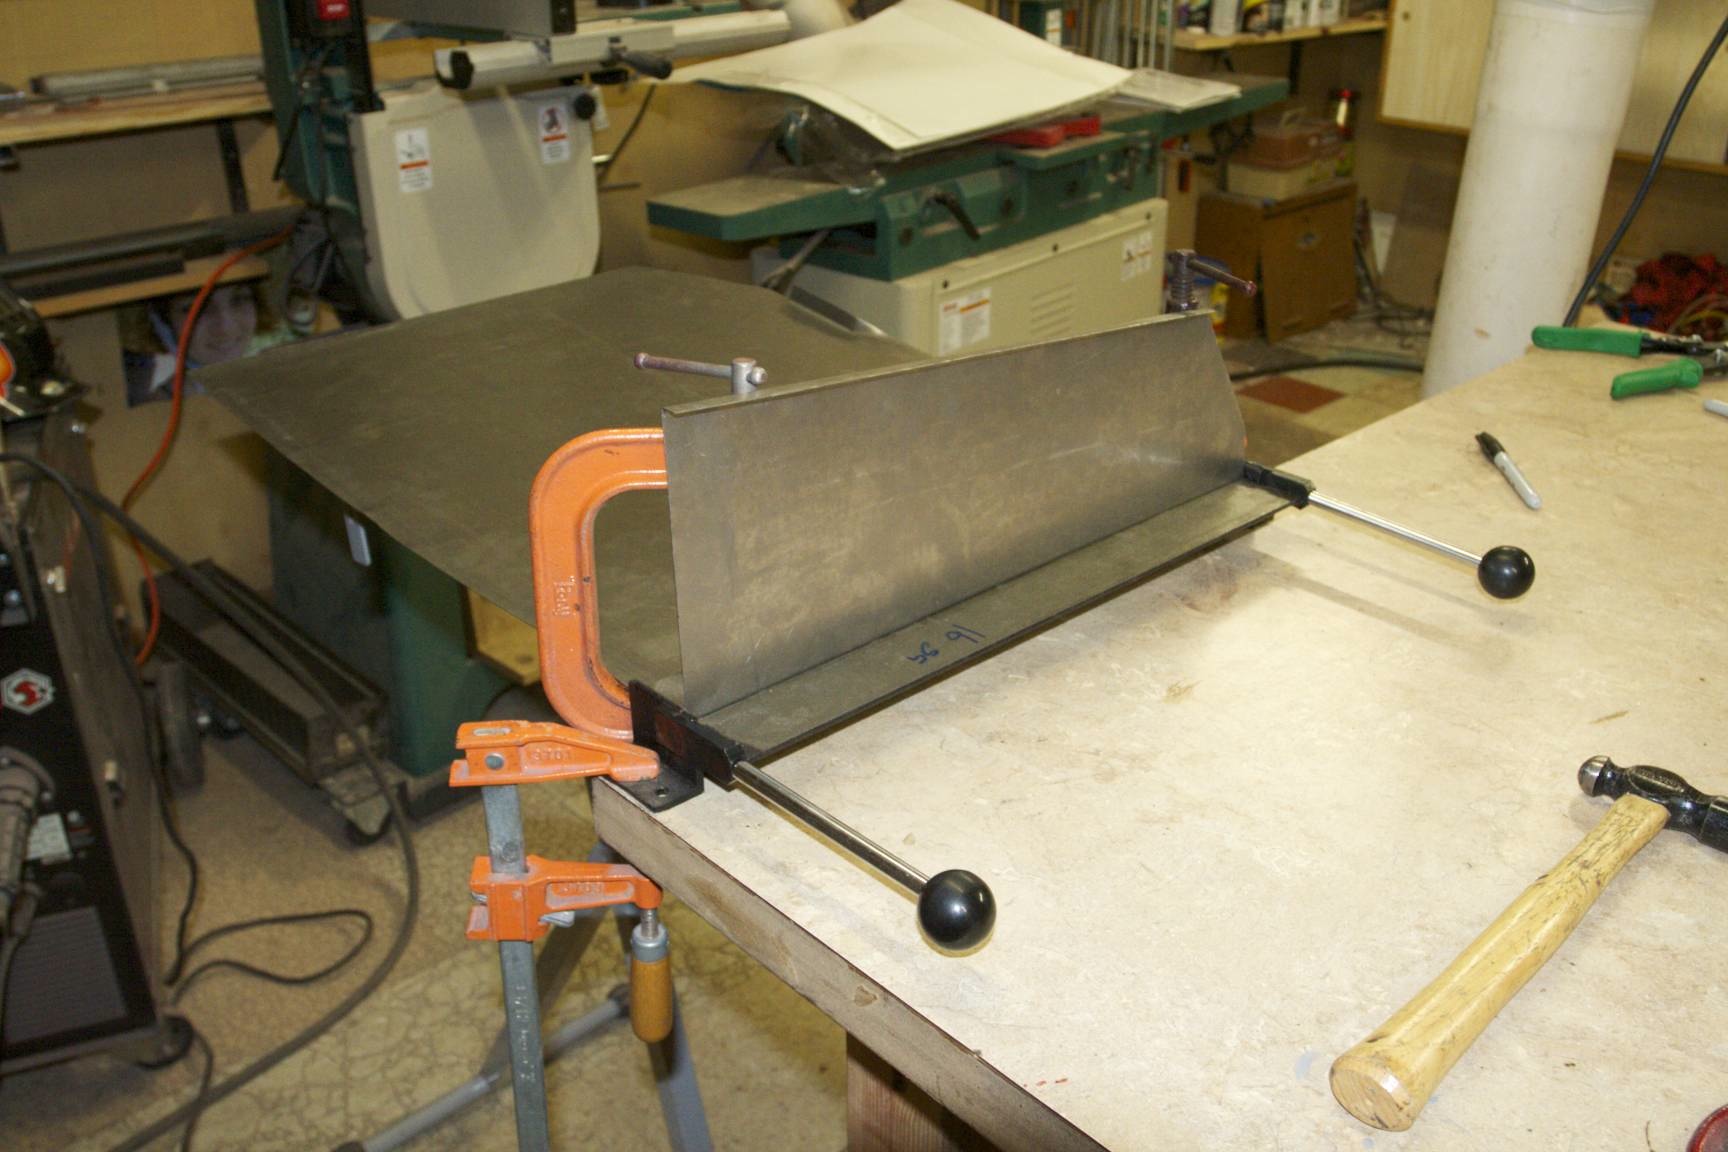
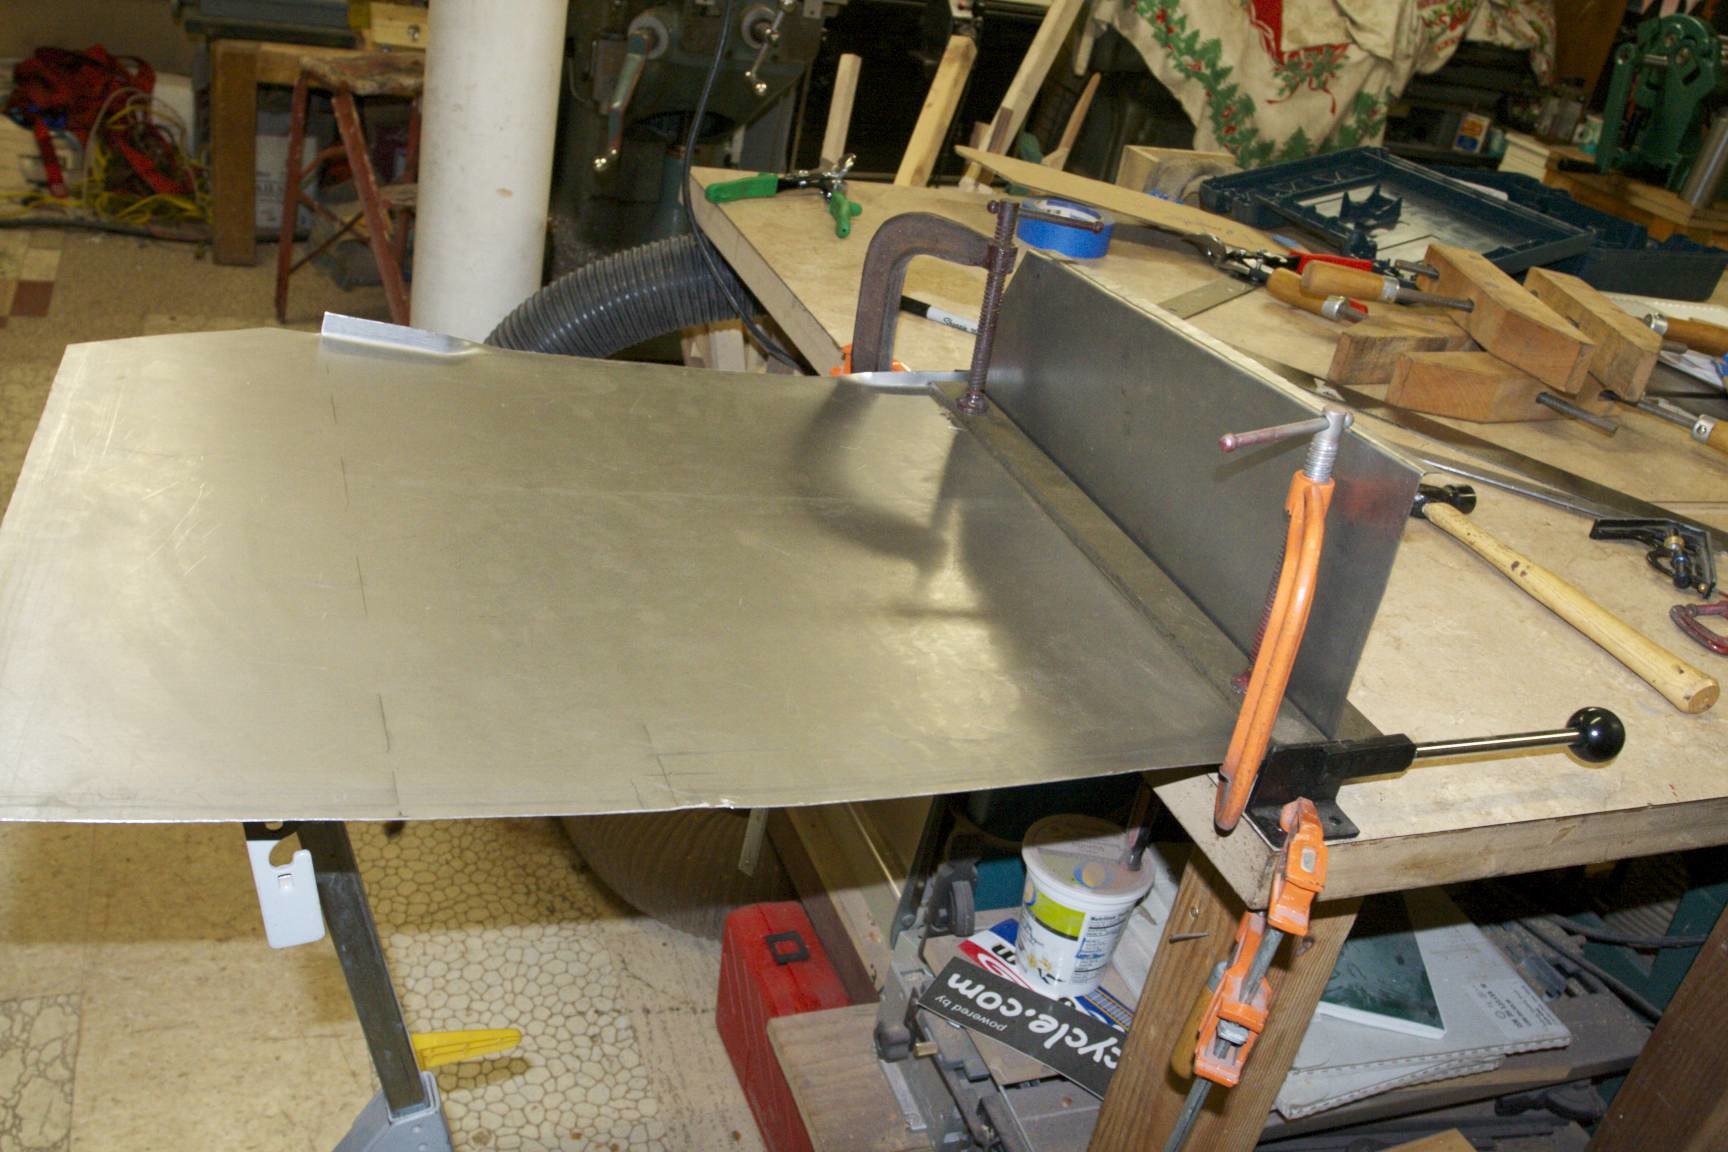
If I had a finger brake, I could bend all the pieces in one go. I bought a little Harbor Freight $40 brake instead, and could only bend the sides. So, I got it out of 22 gauge sheet steel:
And used the brake to bend up the sides:
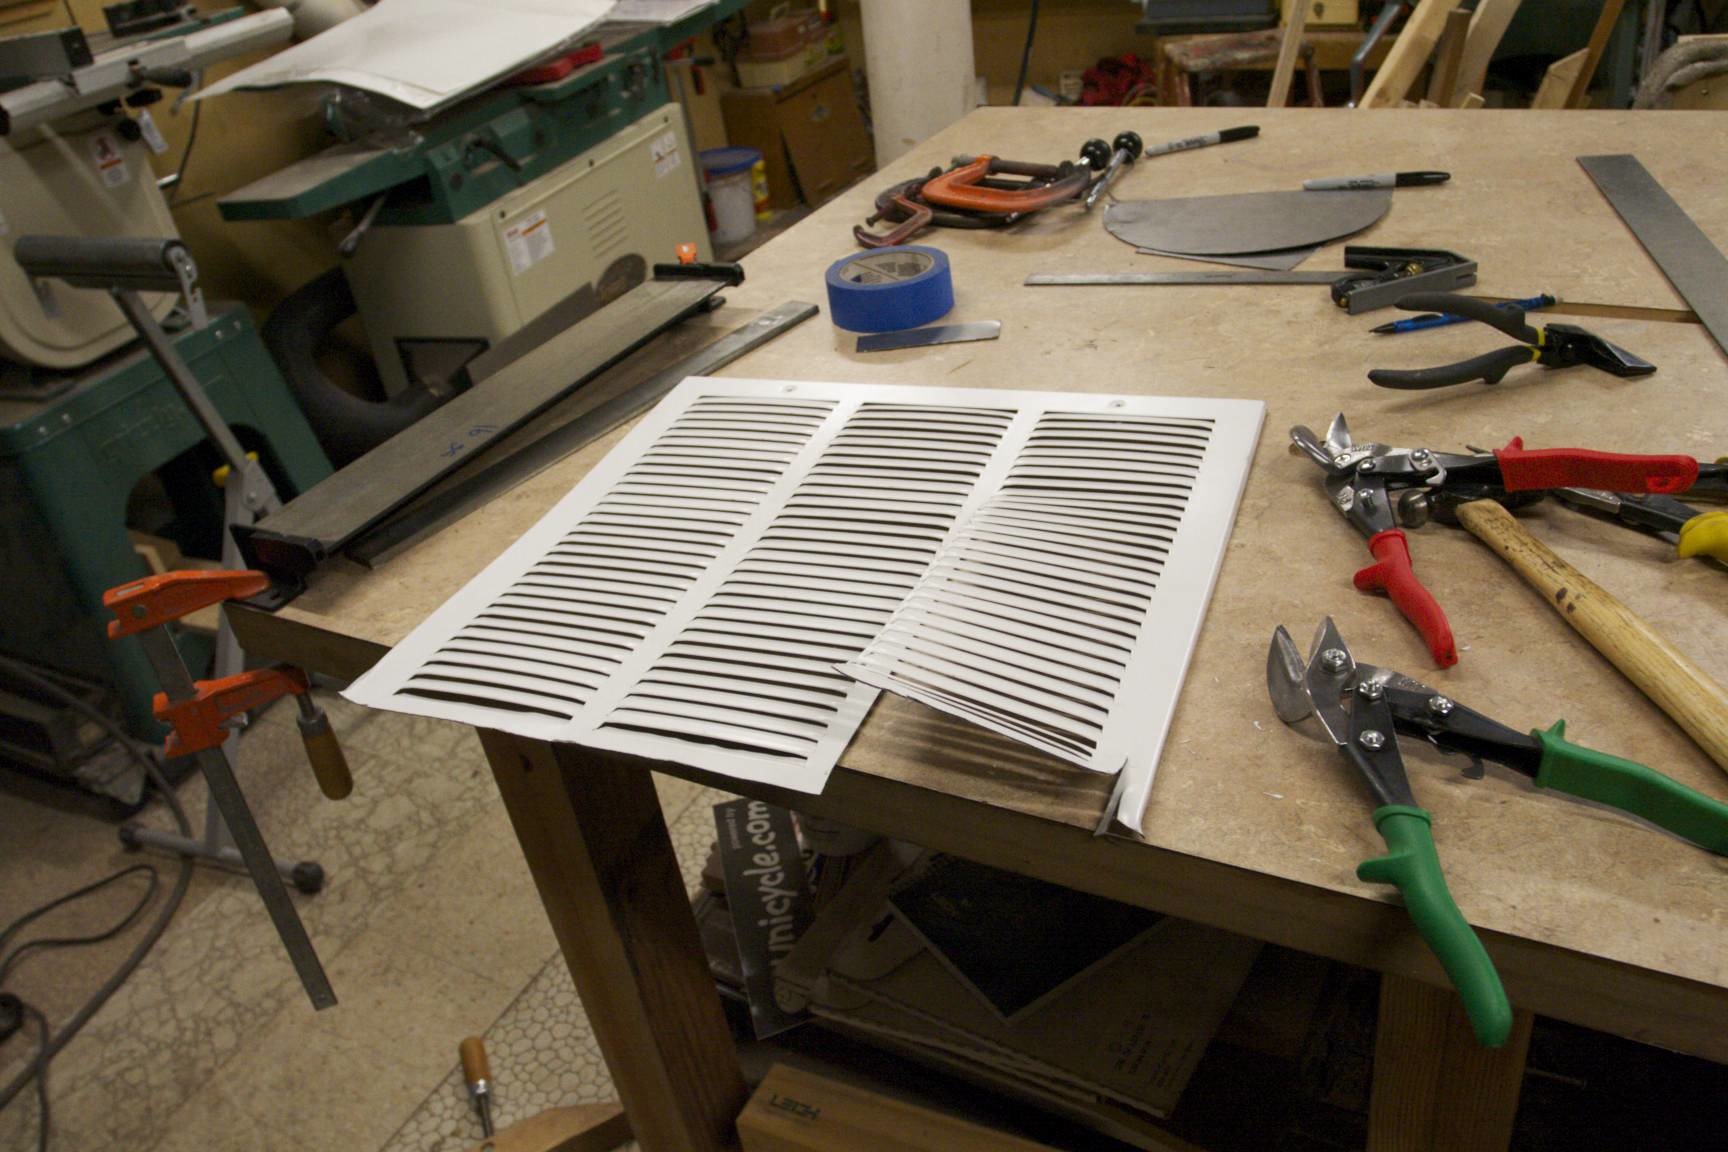
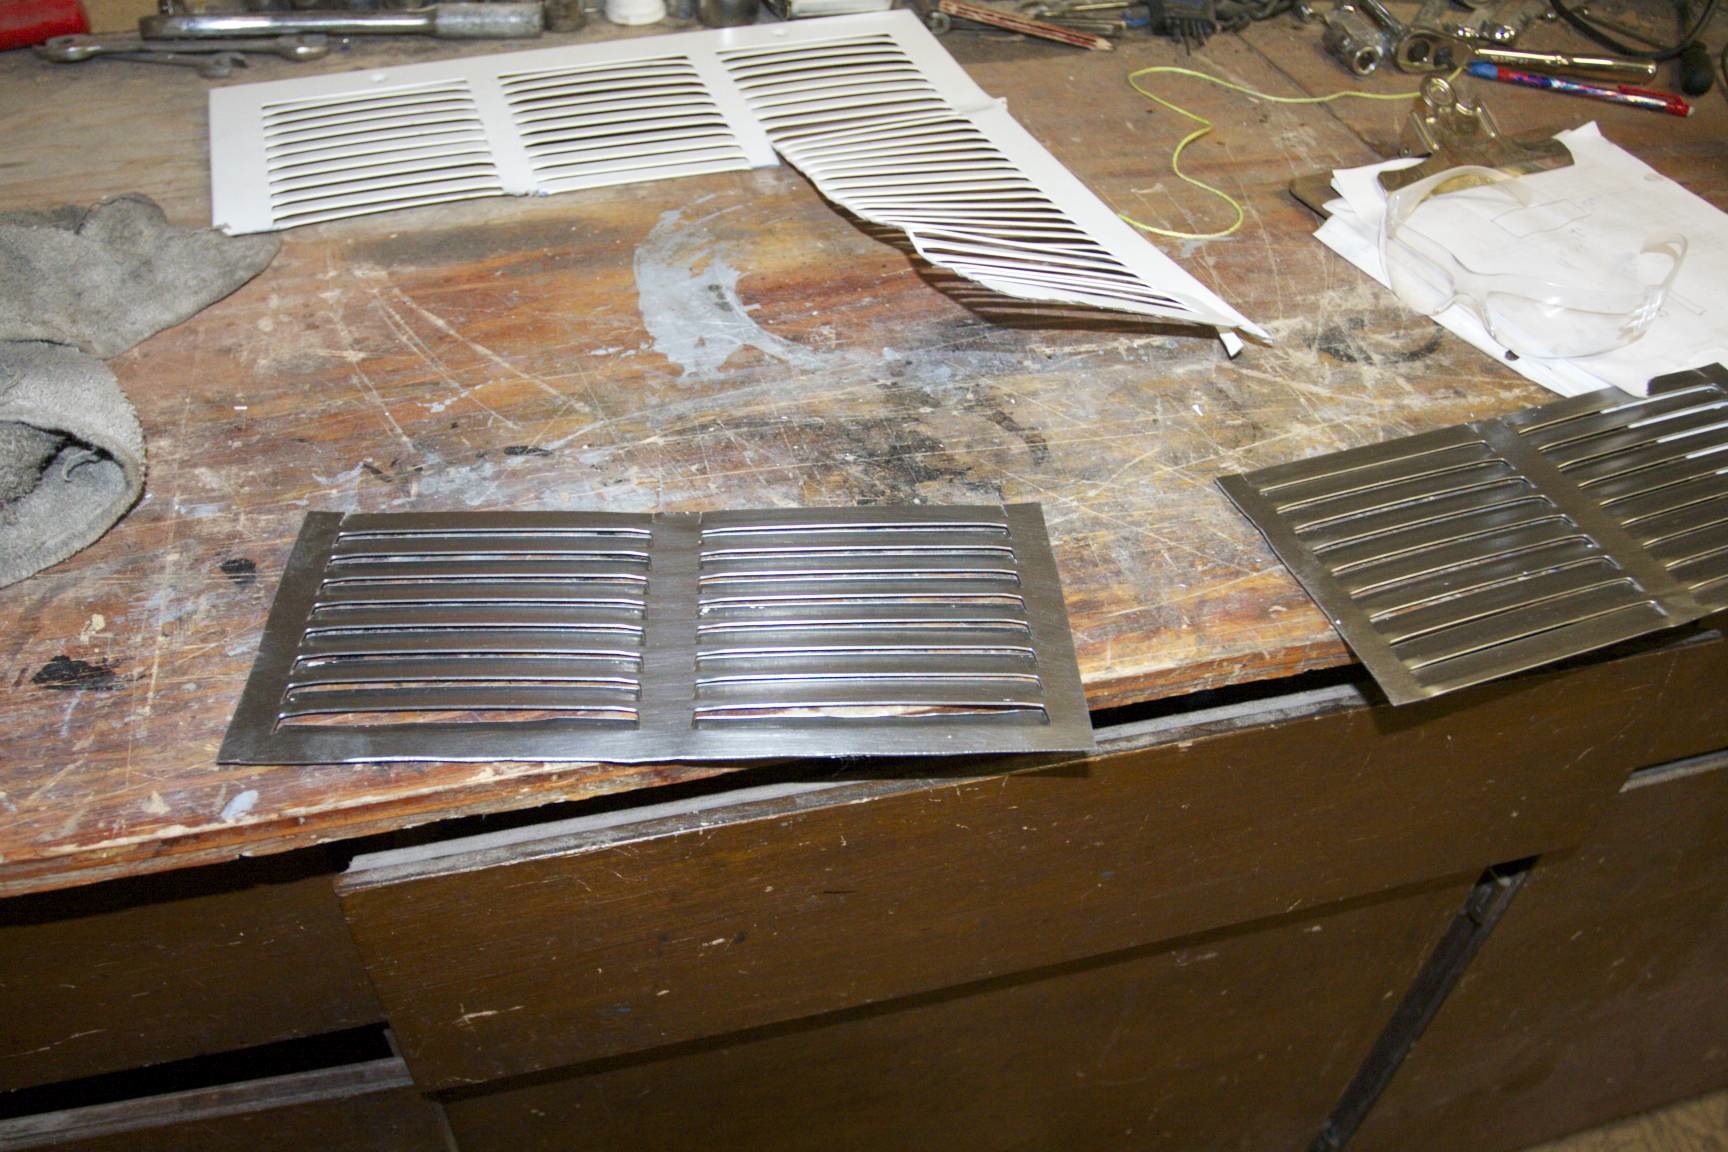
I cut out some pre-made vents from Home Depot (~$11) and stripped the paint:
The top on the sheet metal was also bent to use as a mounting area, and the vent location was marked:
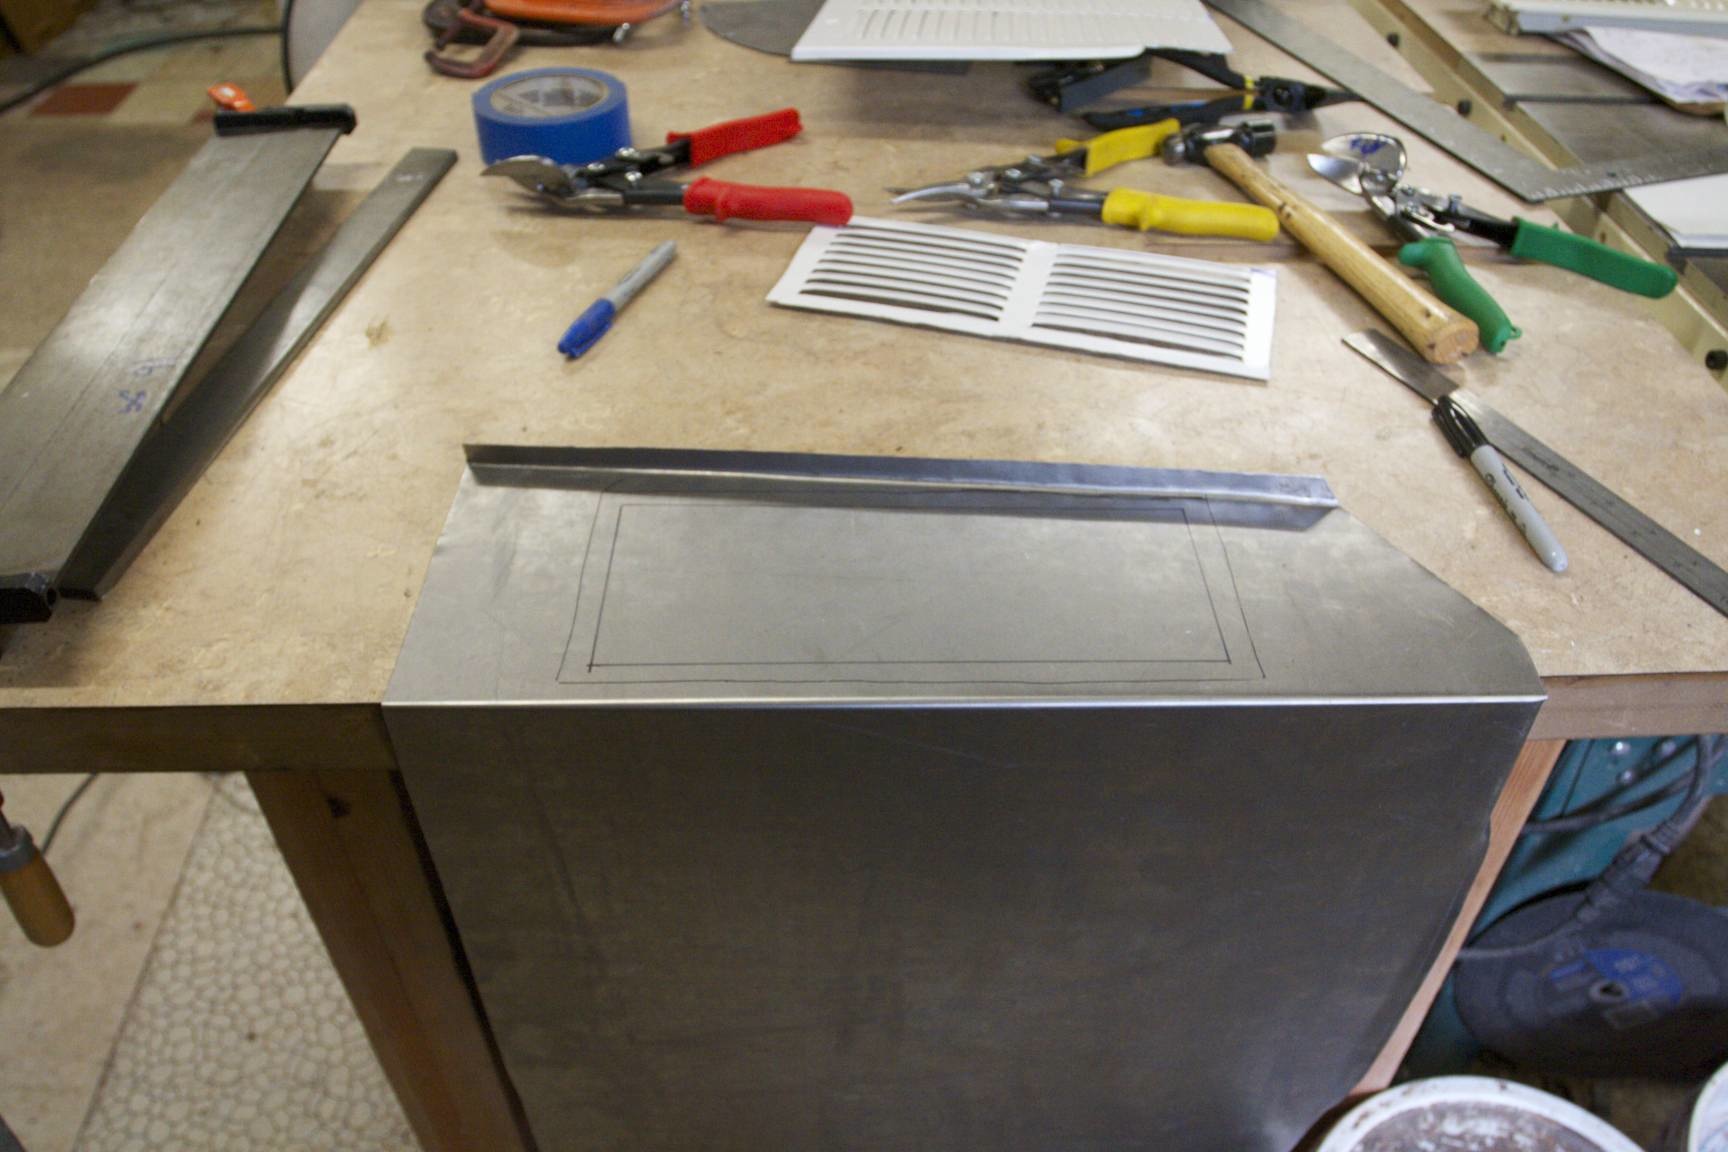
The side holes should have been cut out before any bending, but I did it after:
The vent after stripping:
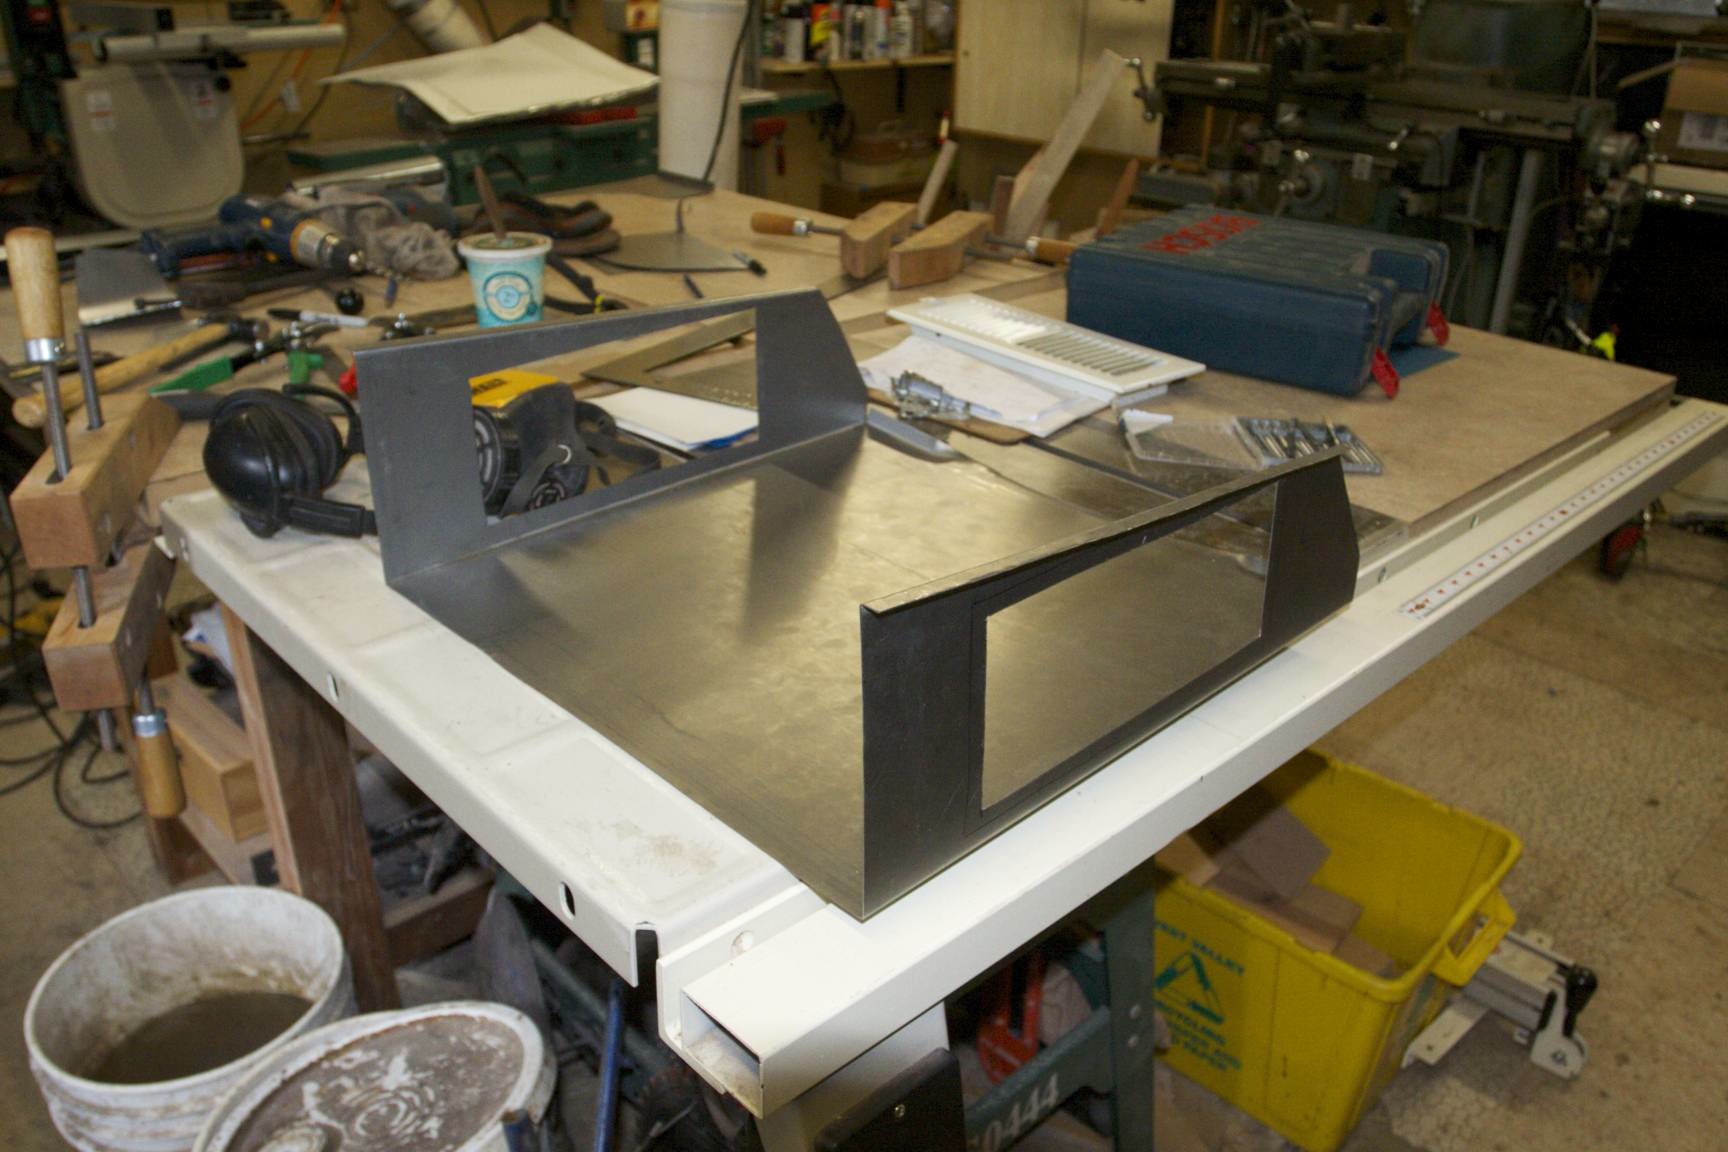
Now, any type of welding on sheet metal is a pain! My MIG welder was melting holes in it too quickly, and torch welding was doing the same with a 0 tip. I needed a smaller 000 tip to do it right. Instead, I brazed it on..which was also tricky to get right and looked ugly:
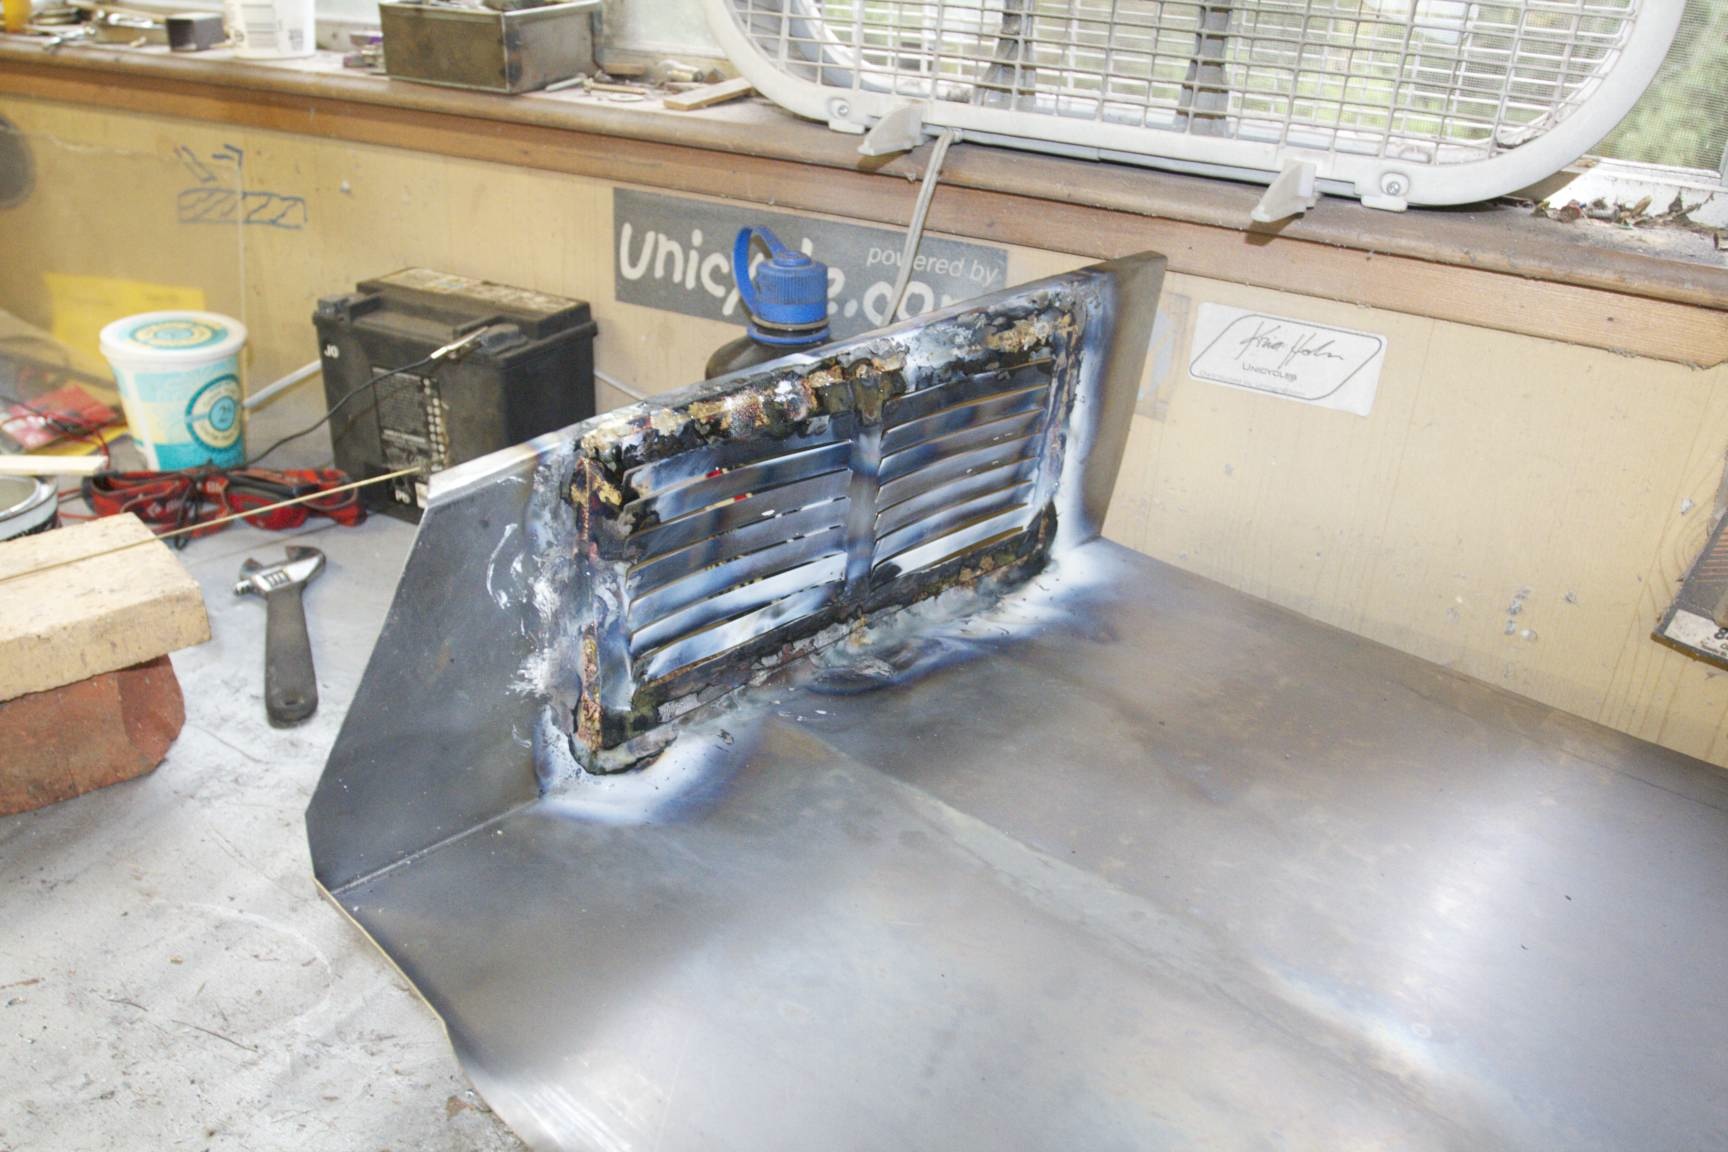
The front piece that covers the motor area was also brazed on; also a pain to get on:
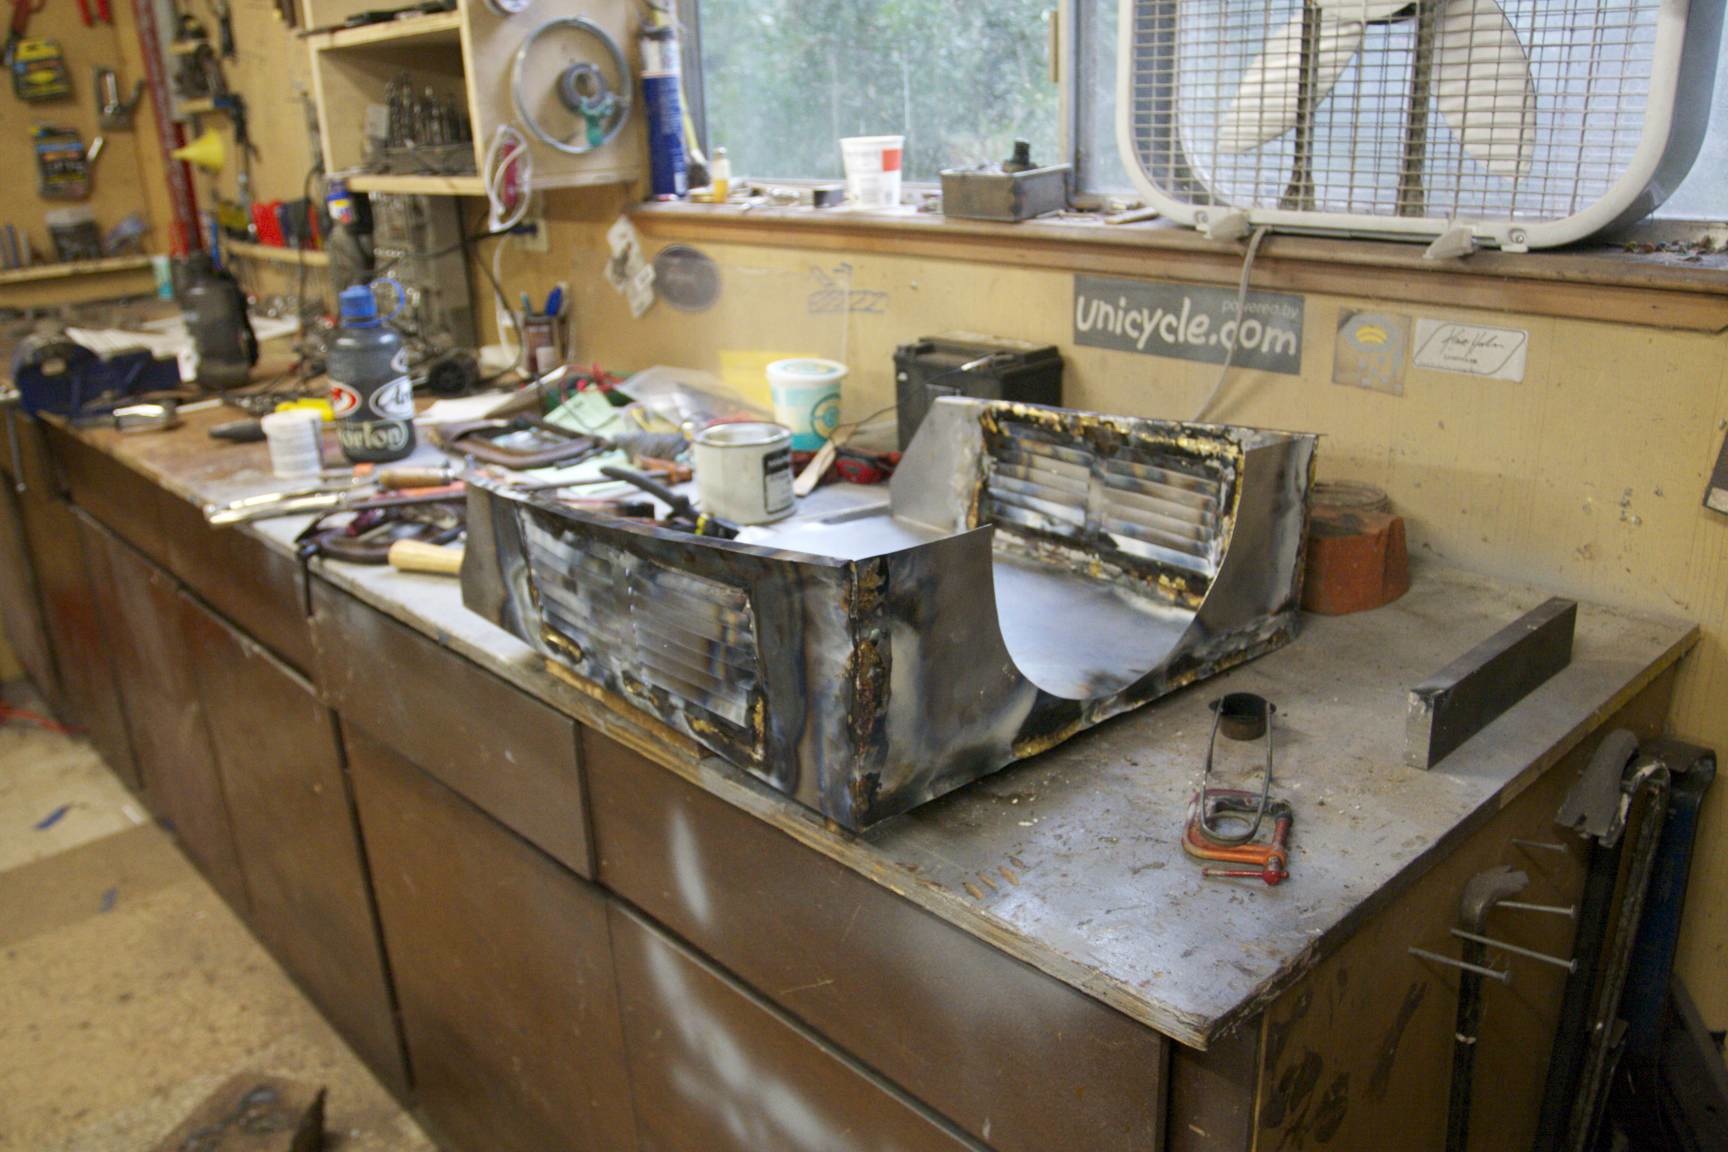
I cleaned it up with water, filing, grinding and sanding:

You can’t really see it, but in the above picture there are some drain holes drilling in to allow any water that does get in to seep out.
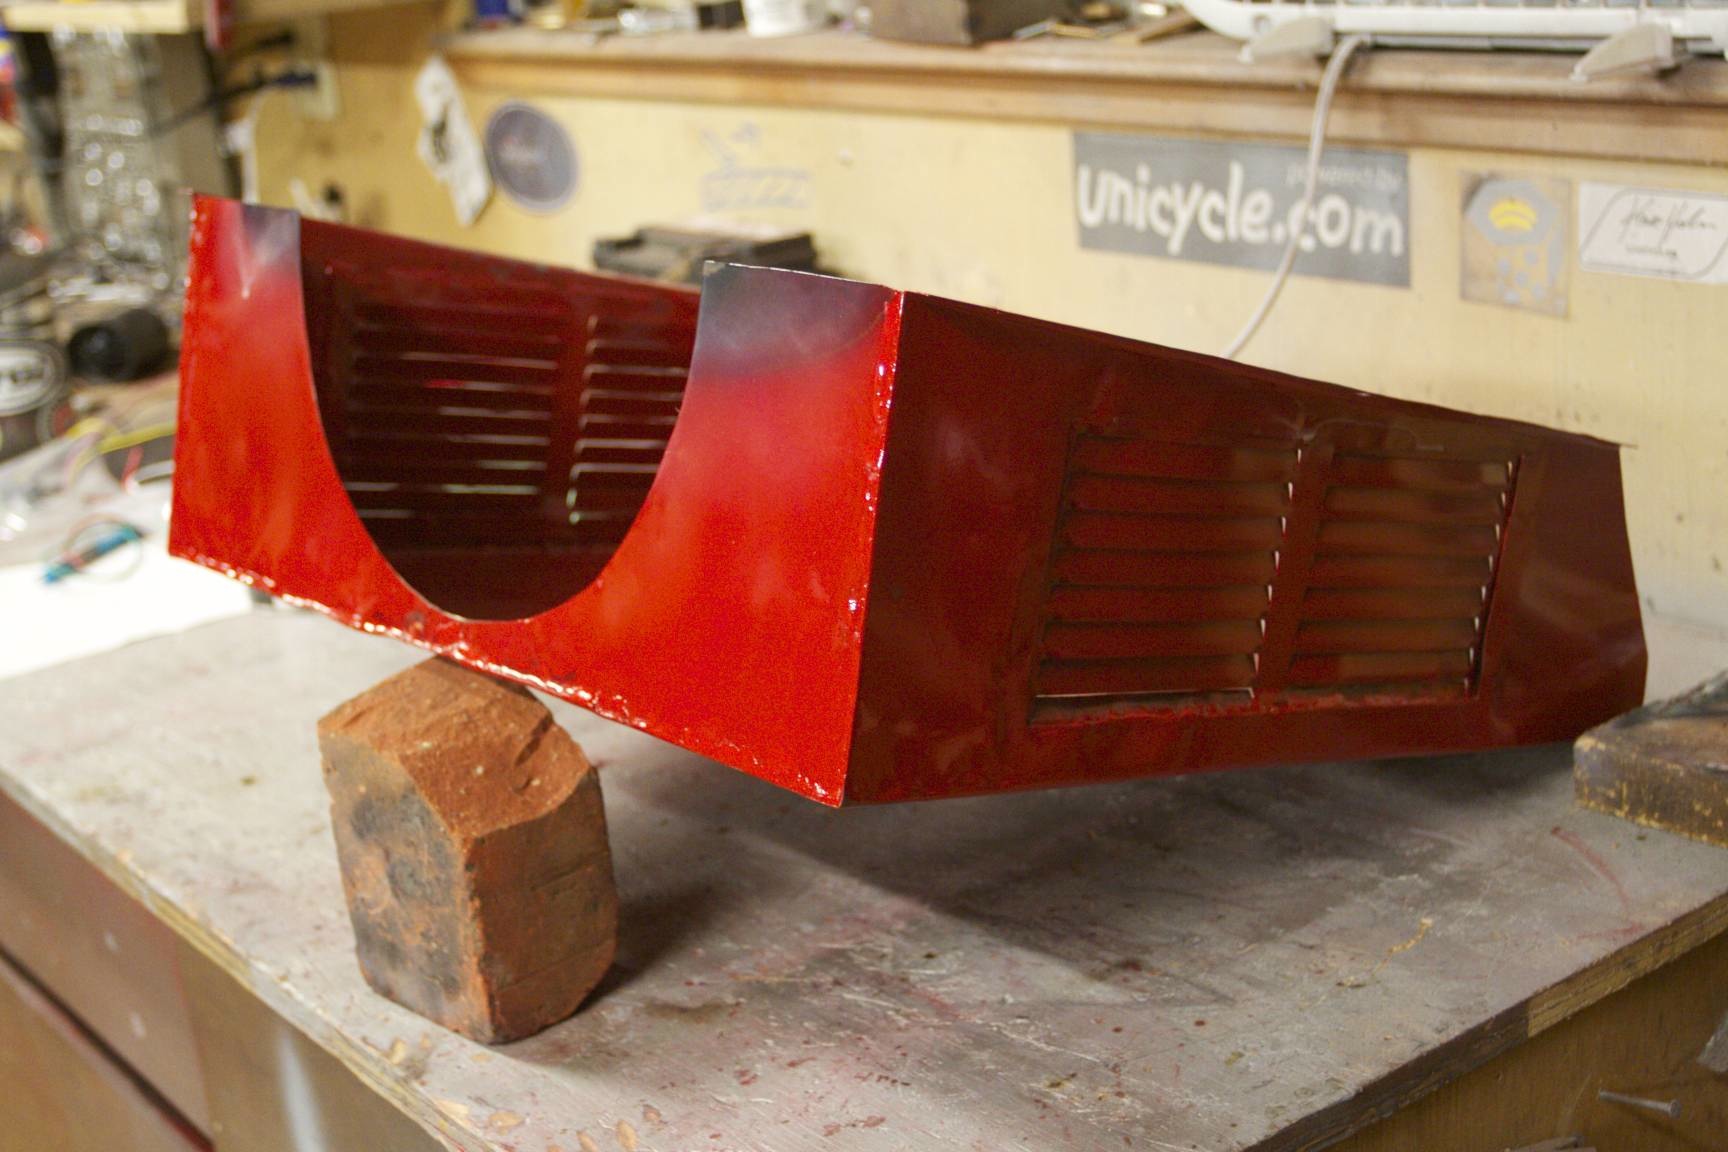
I powder coated it red:

It barely fit in the oven, and the paint burned in a few spots where it touched the oven’s heating elements, and some spots didn’t get powder due to me touching it to get it in. But that’s okay; no one will see it, so I just sprayed it over with some clear gloss spray paint to make sure it doesn’t rust.
I have about 150 miles with it on. So far so good…but the rain has been light!