LED Cyr wheel jig completed, and casting
I completed the jig, centered it on the wheel and then screwed the jig to the wooden sliders:
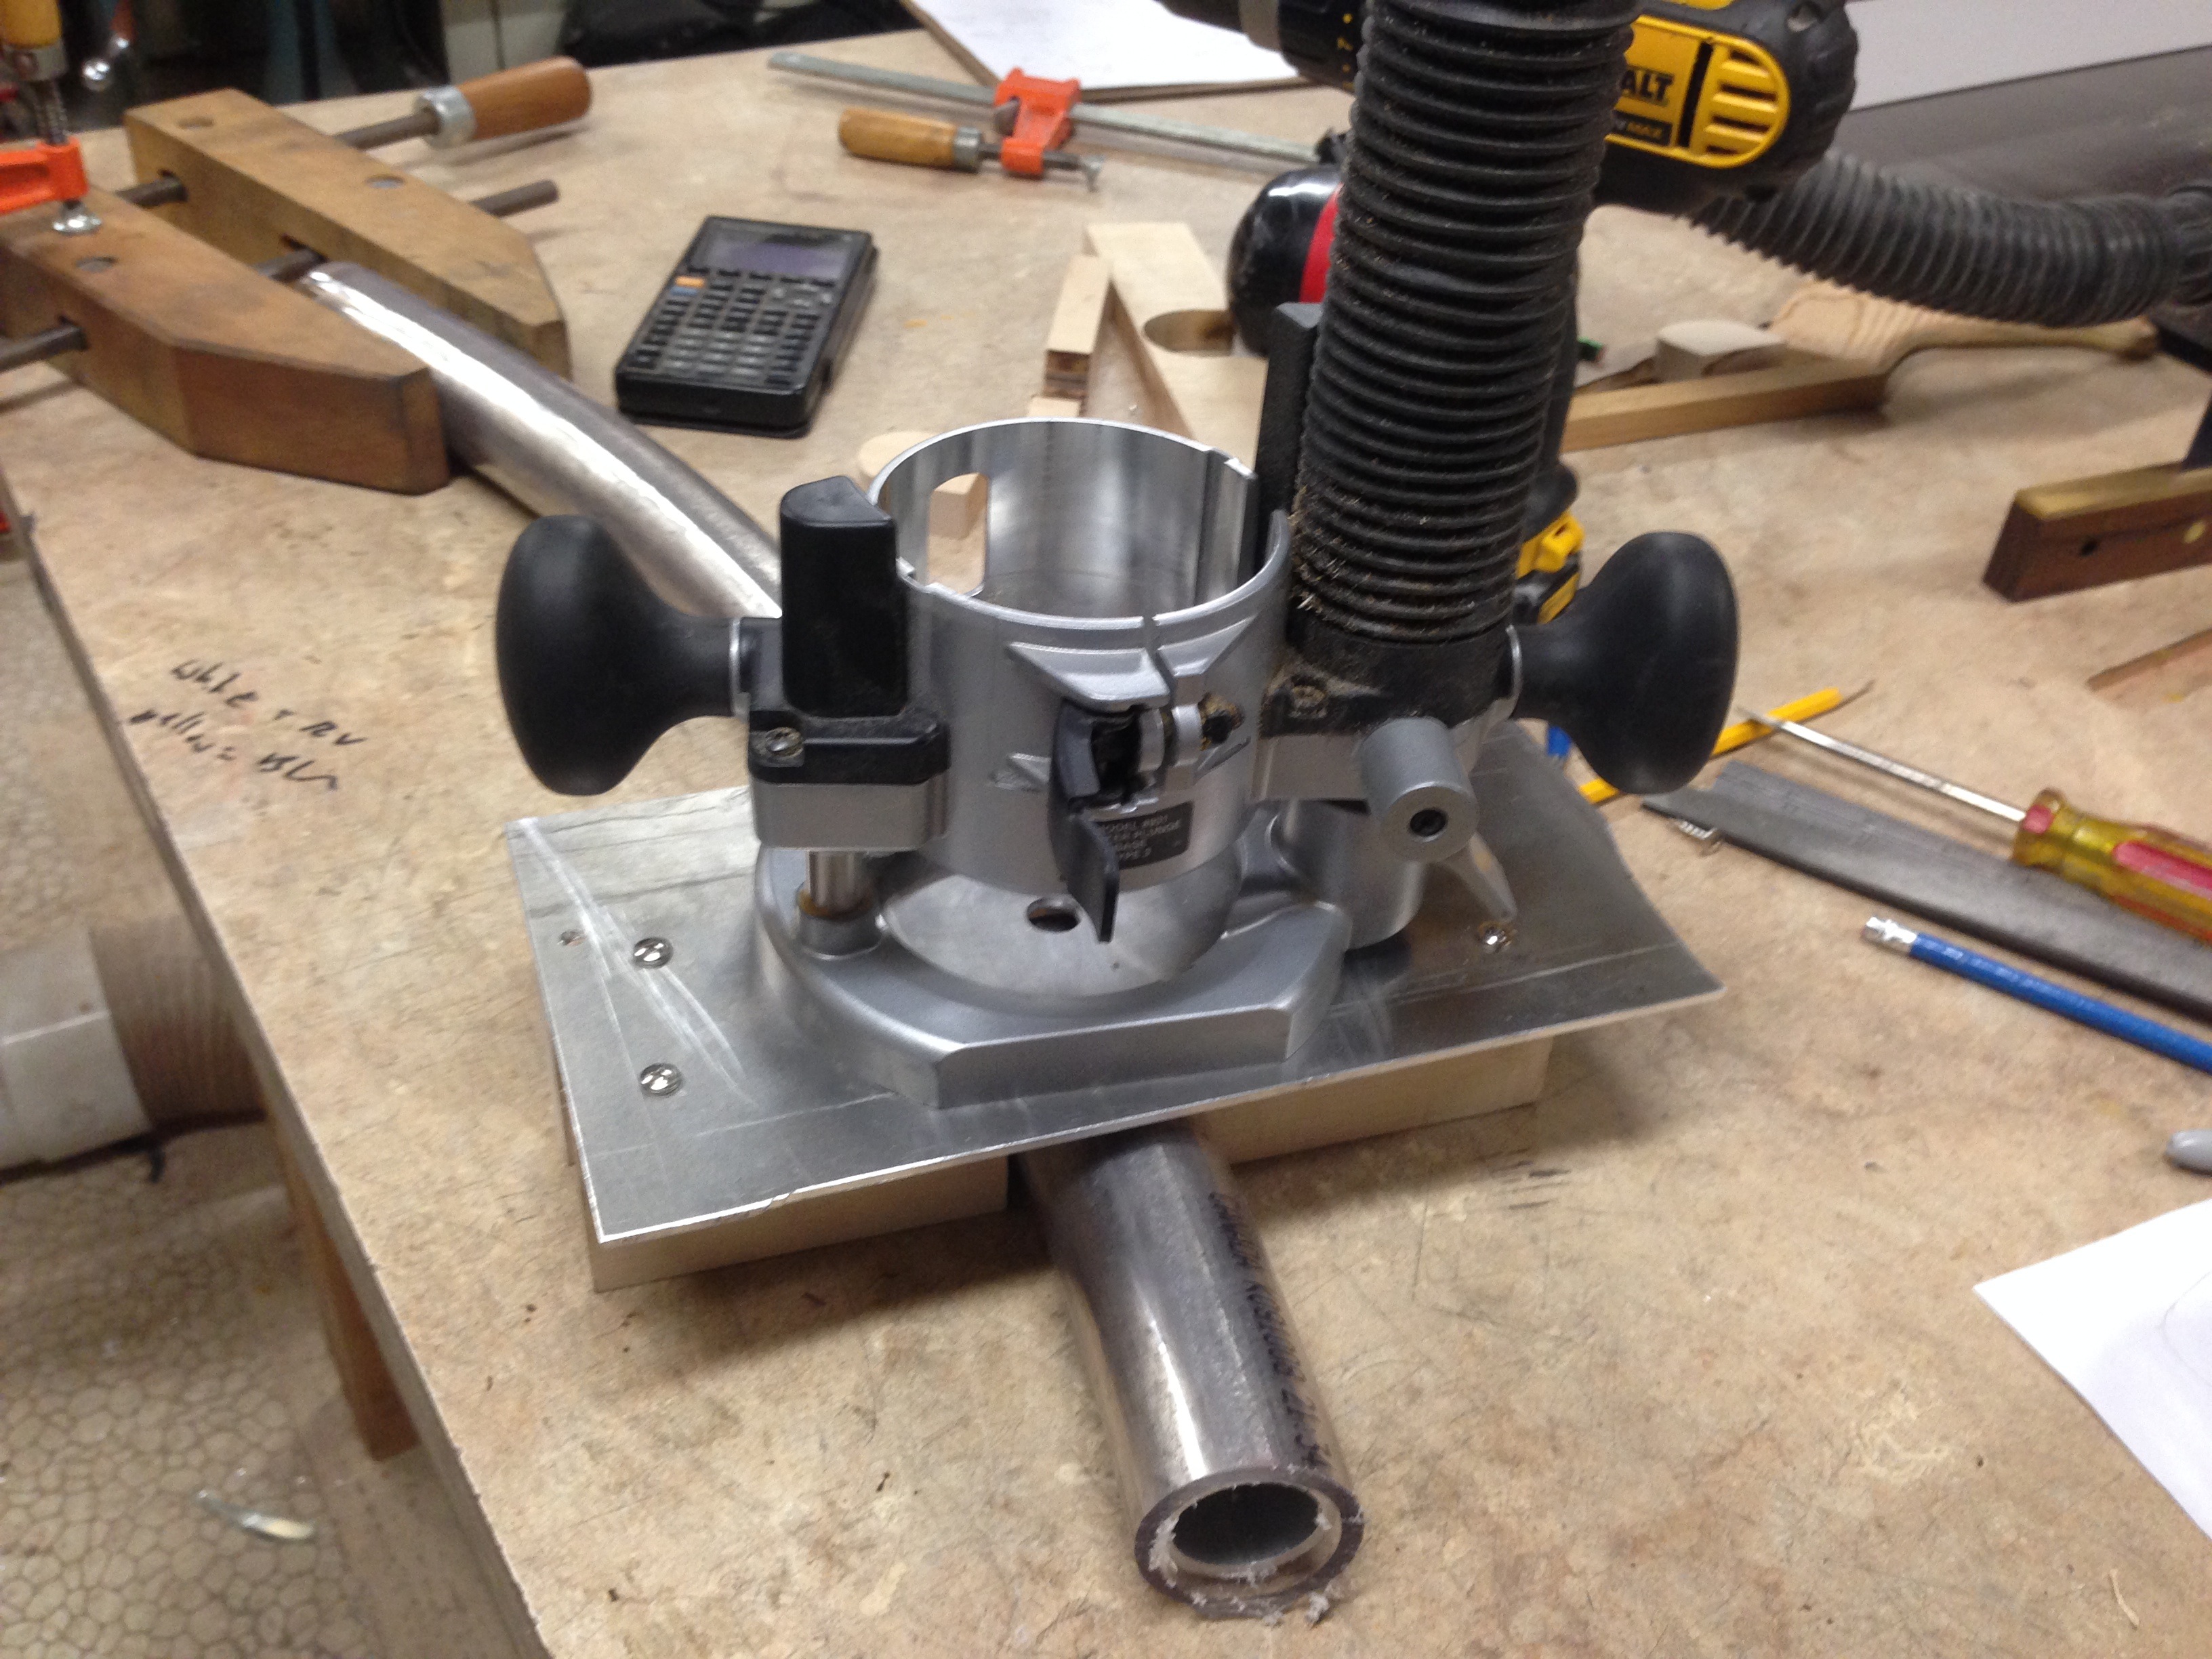
I took the jig off, and cut out the center hole to be bigger than 1/2″ (I think 5/8″)
It slides pretty easily along the tubing:
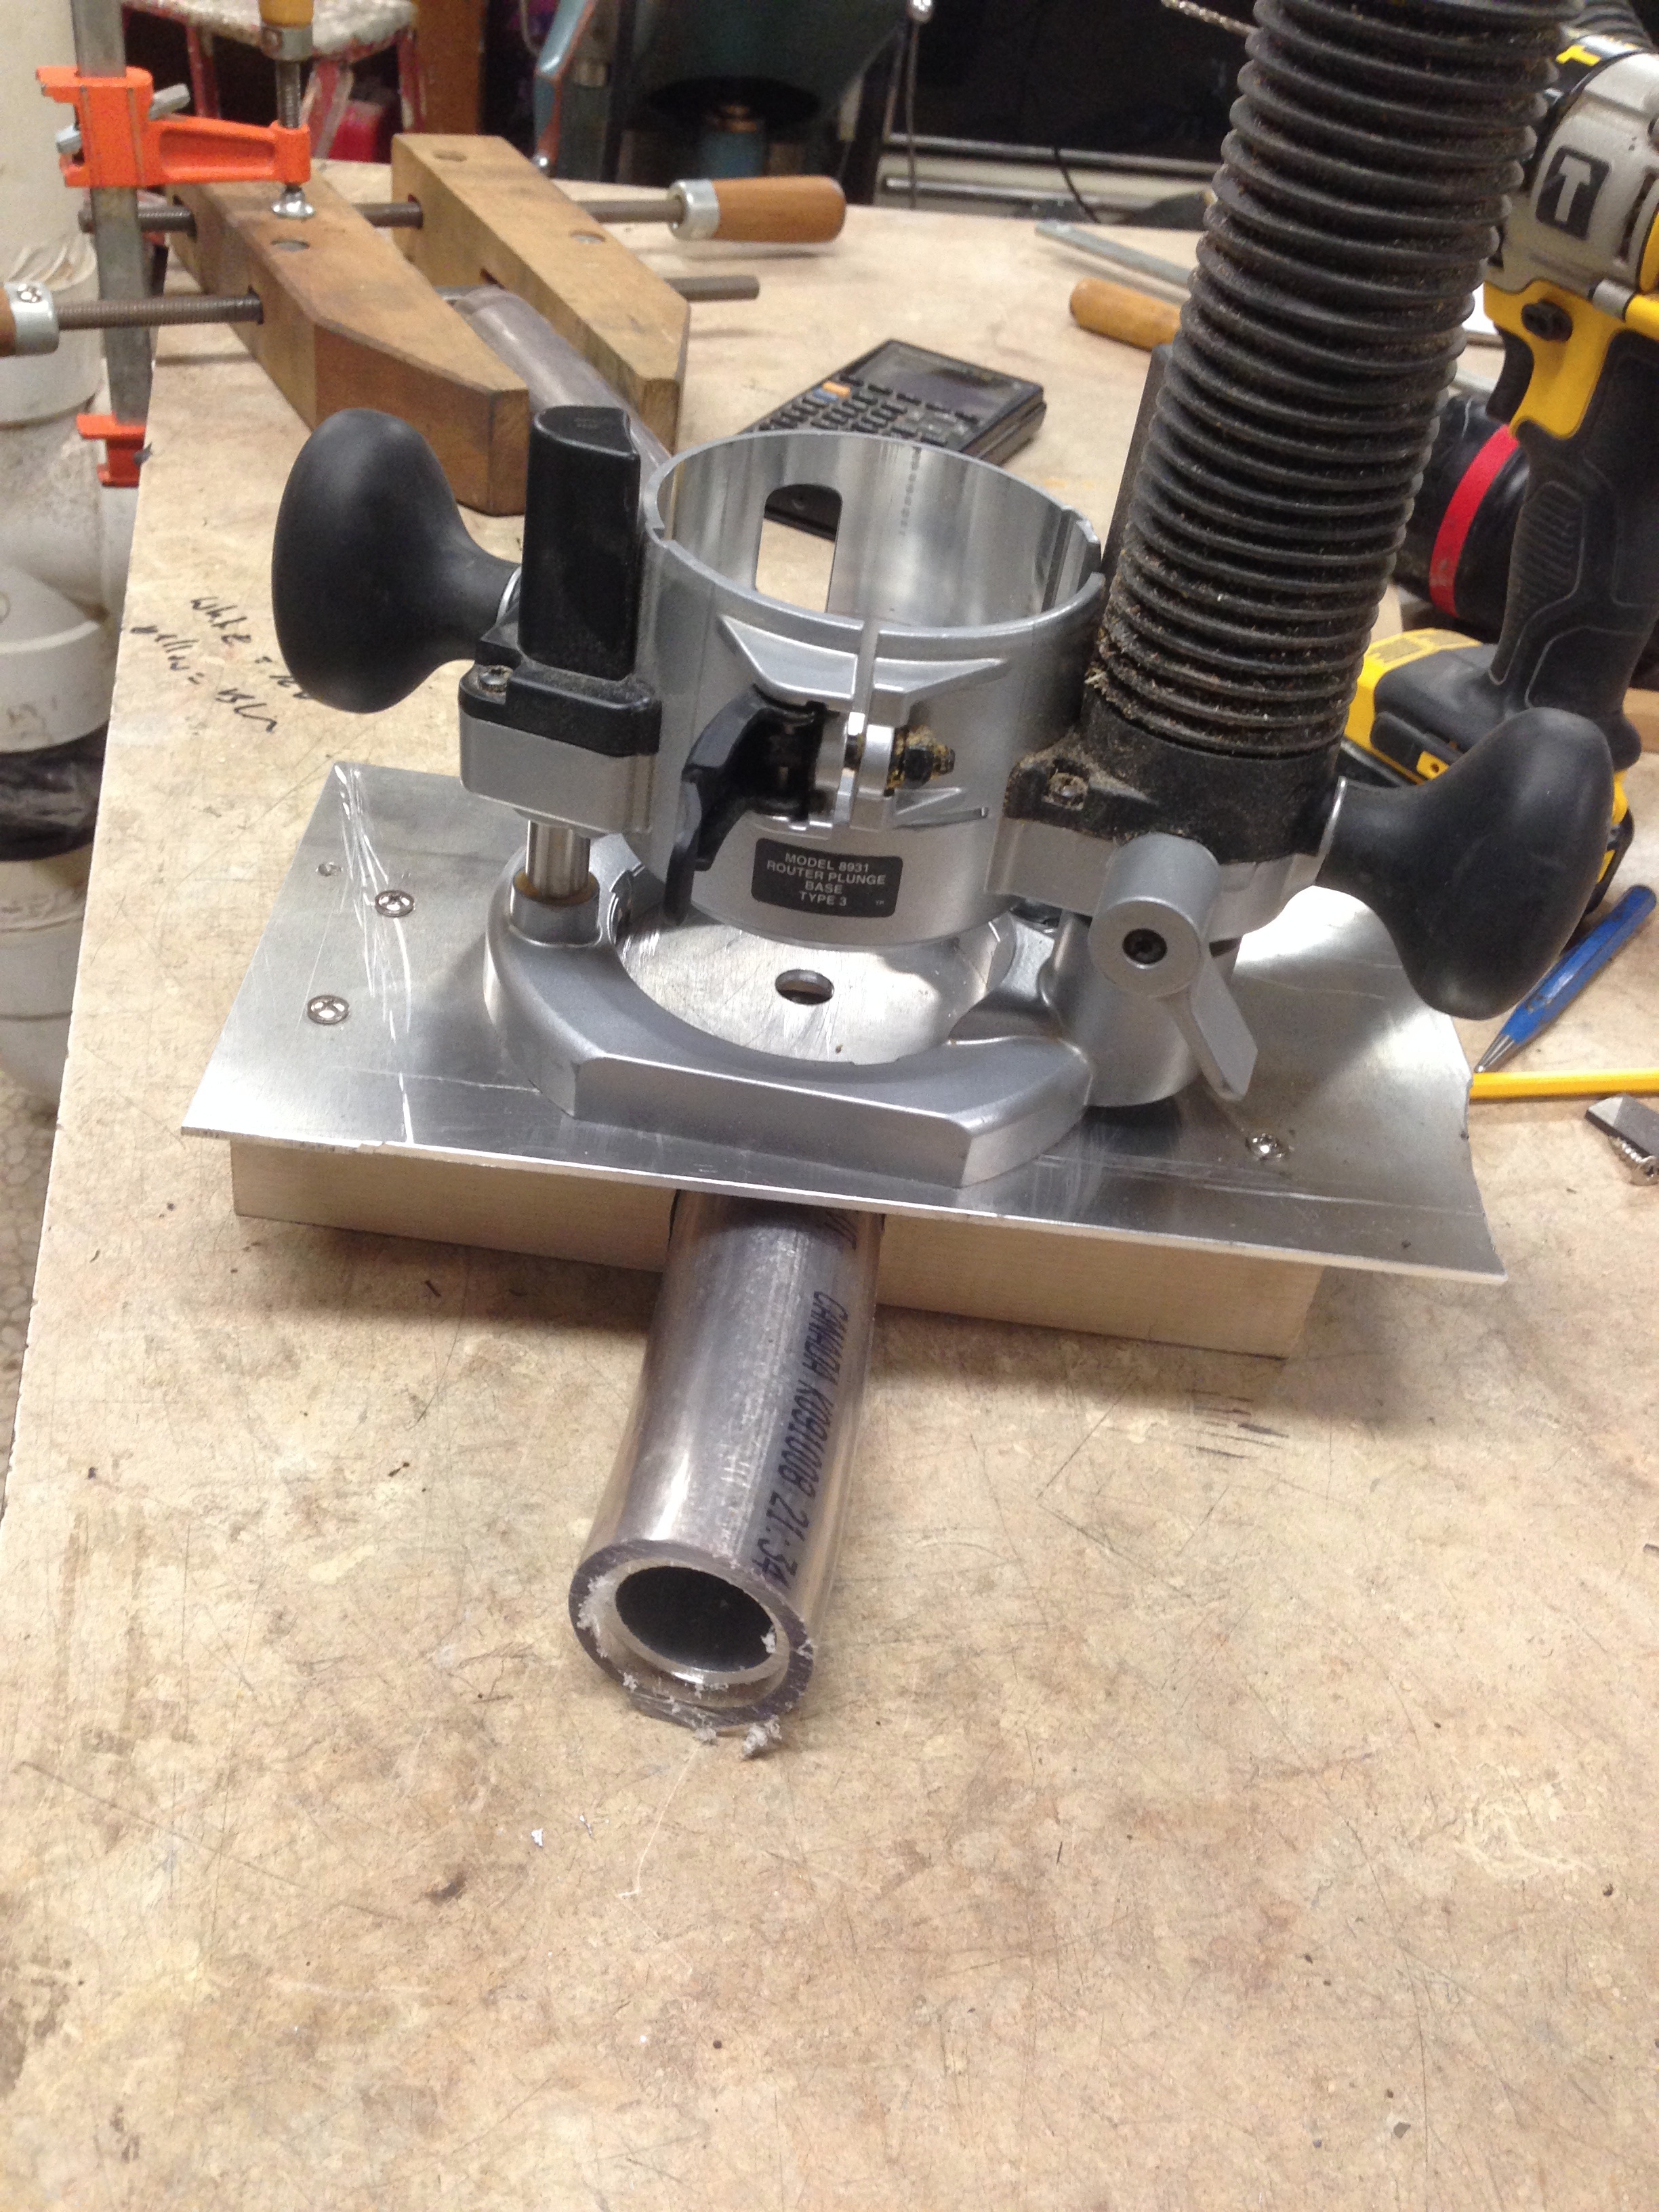
I stuck in a 1/2″ end mill (the width of the LEDs) and played around with it until I got the depth I wanted. The jig is fairly simple, and works pretty well!
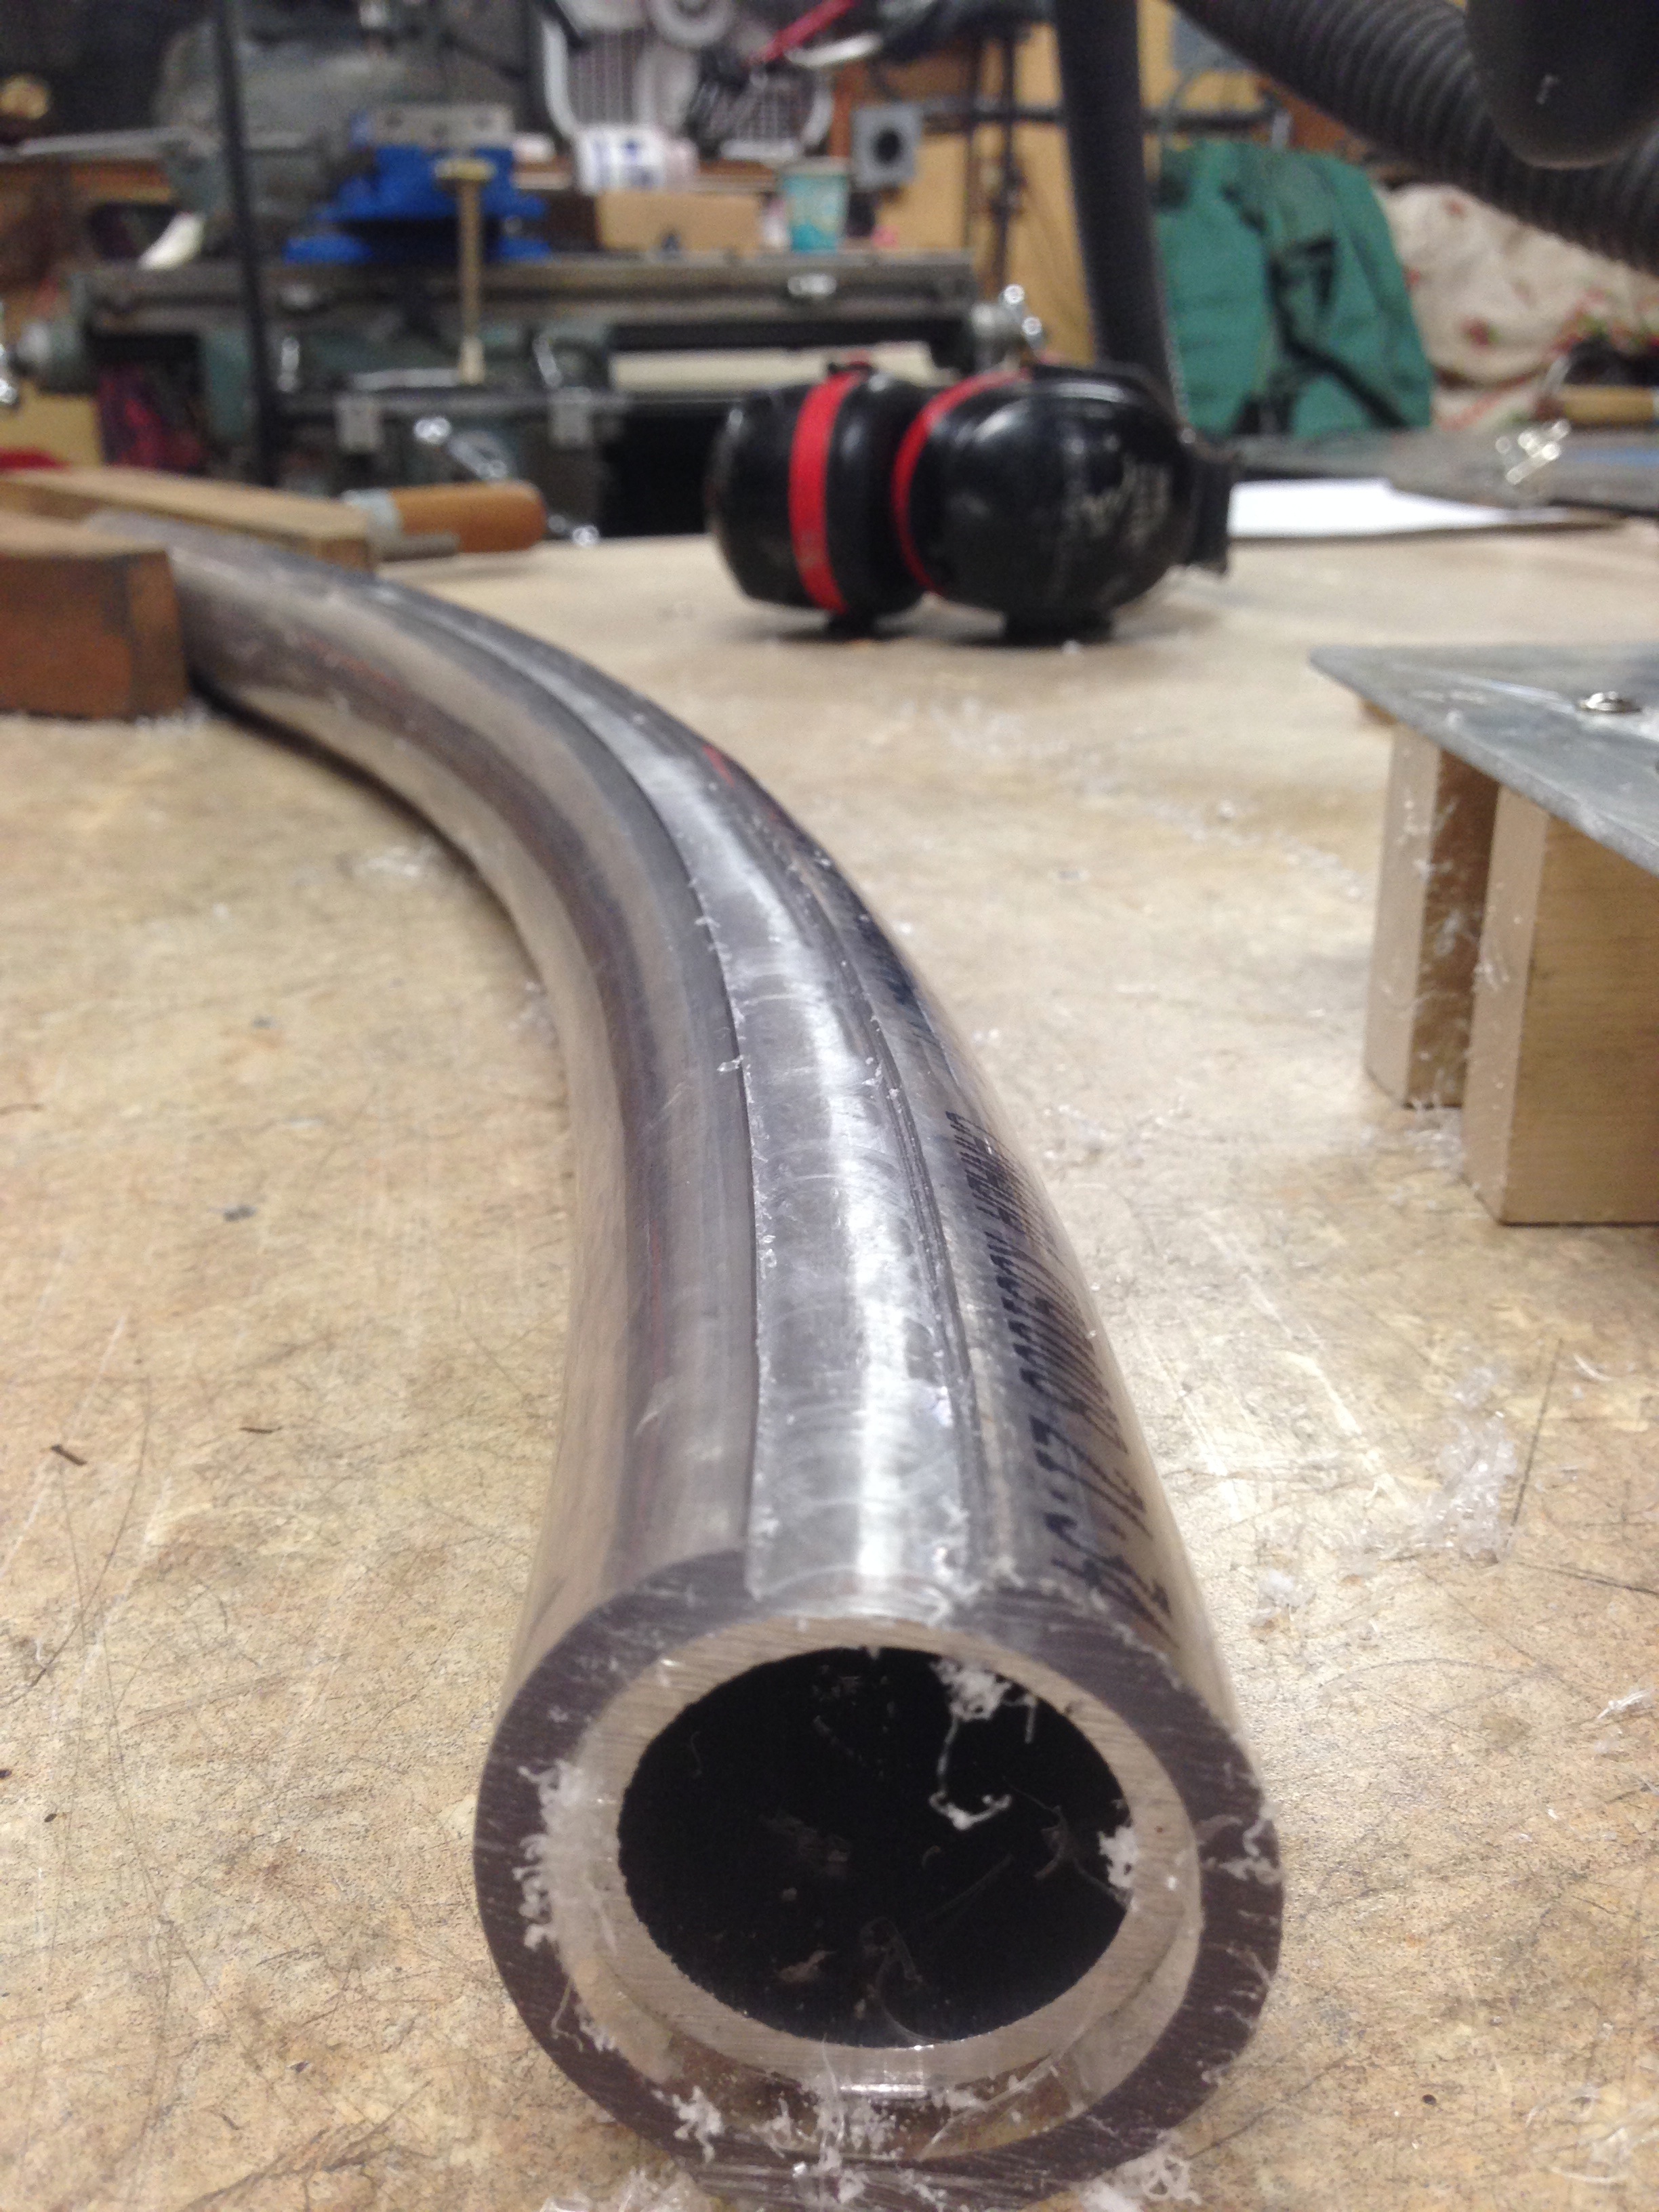
That is a nice clean, straight cut. Done in two passes.
Now I’m playing around filling it with the SmoothOn EpoxCast. It is mixed by weight, so I got a cheap scale from Target today.
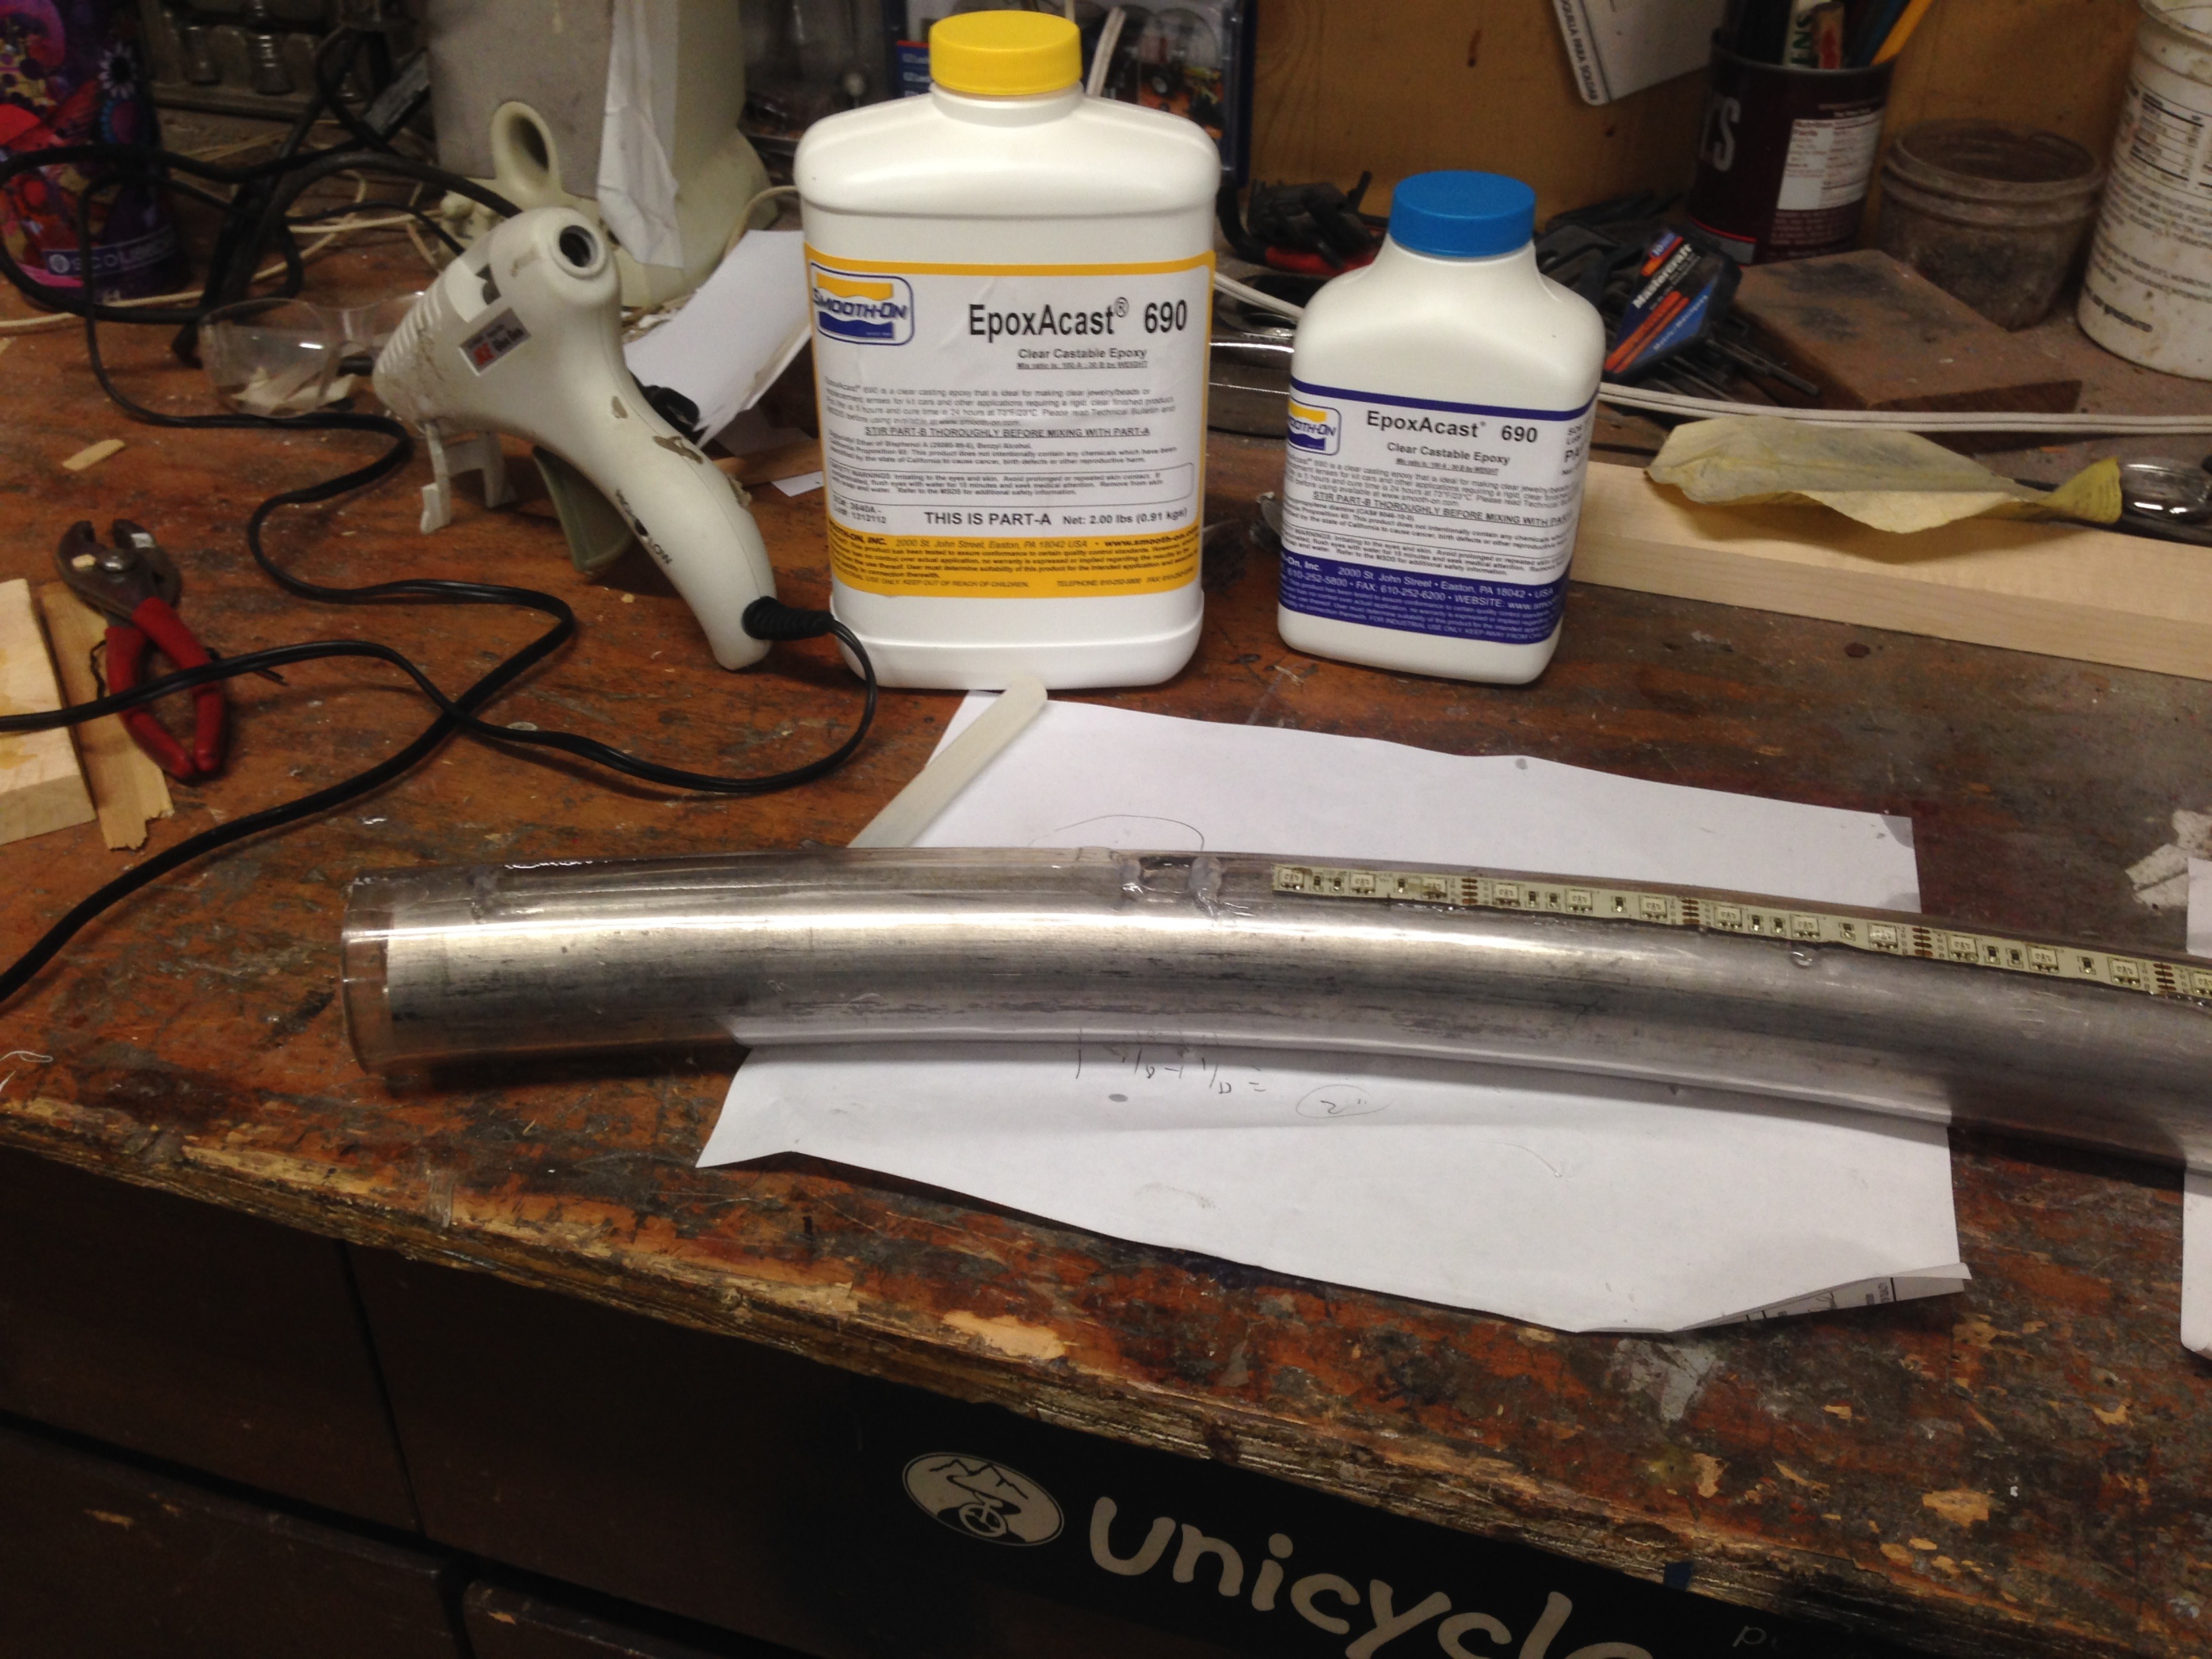
Things I learned: the wheel needs to be perfectly flat, otherwise the smooth on will run out of the groove. Or, I need a way to make a cast holding to pour in the smooth on. I played around with casting in some old LEDs. It’ll take 24 hours to dry before I see how well it holds and what it is like. The stuff is super clear though. You do have to be careful using the EpoxAcast — proper gloves, and breathing mask are required!
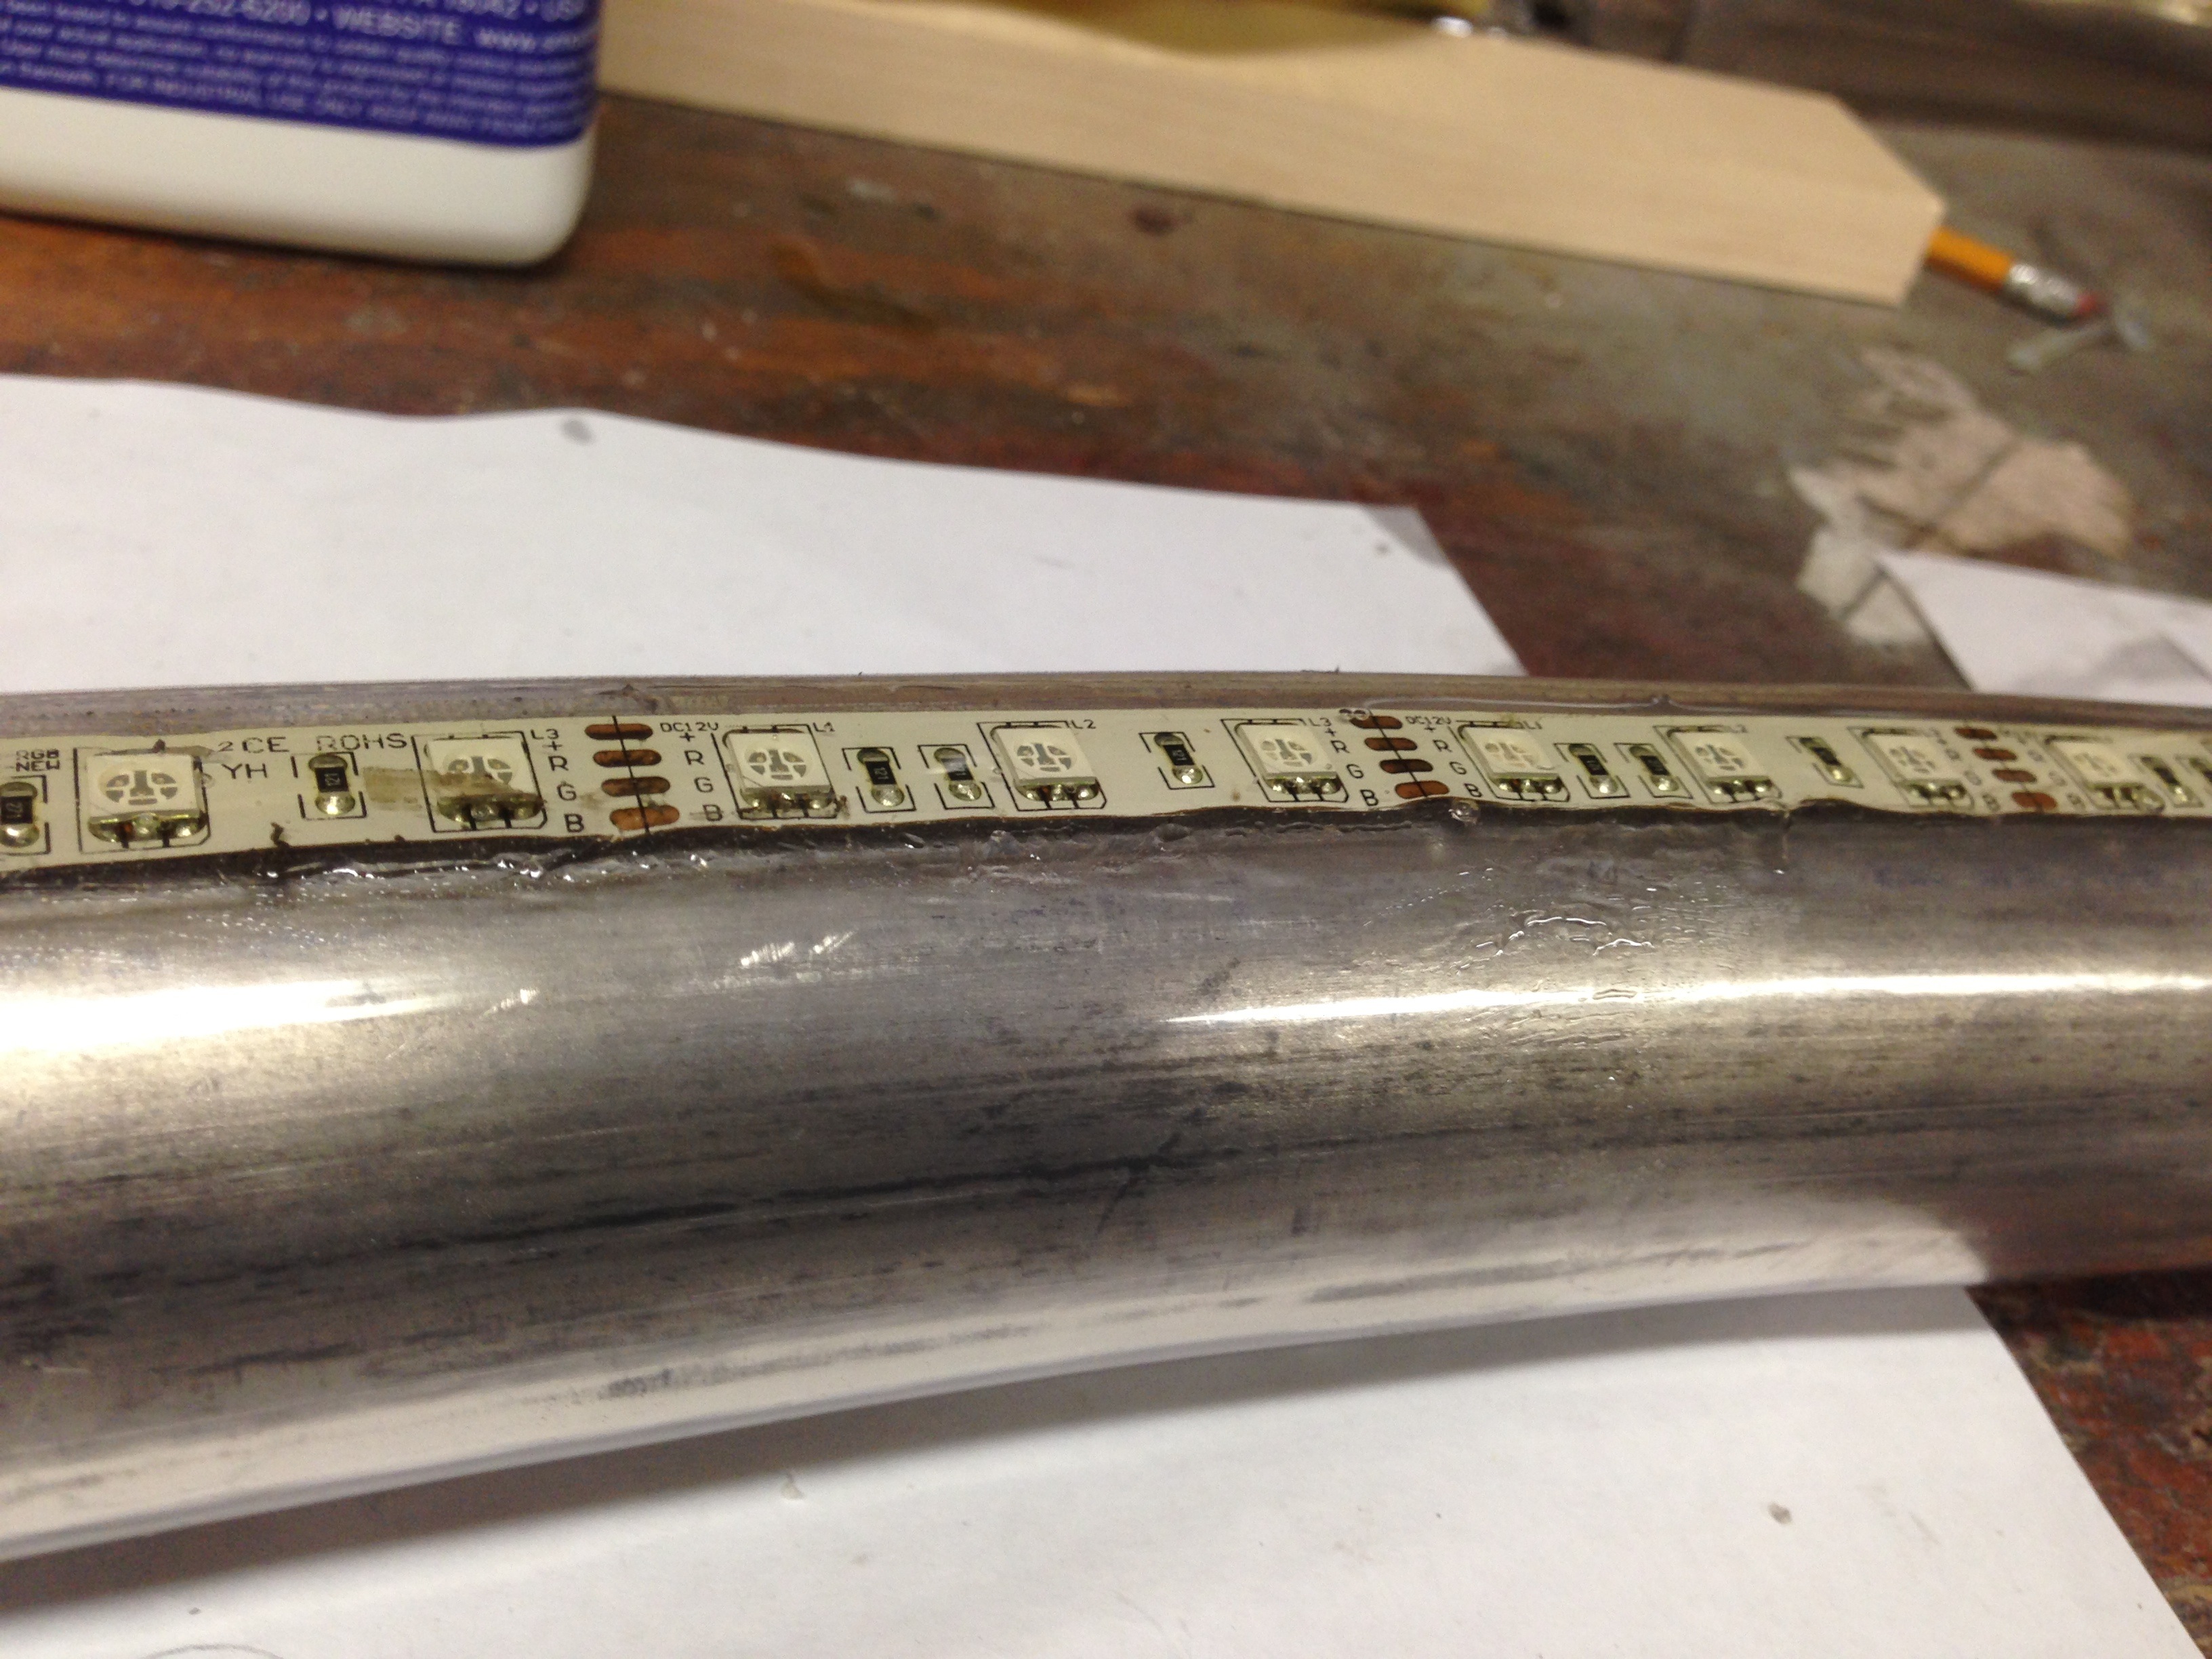
The old LED strips I have (one color at a time, analog) have a hard coating to protect them. The new ones I bought have a soft coating…so, I’ll probably remove it, or buy non-water casing LEDs next.
I don’t think I can cast on the inside of the wheel…so I’m going to go for one strip on each side.


NOTE: first I hot glued the LEDs down to hold them in place. Then poured the casting over. I’m experimenting with just casting on top..and with putting some packing tape on top to hold it in better.