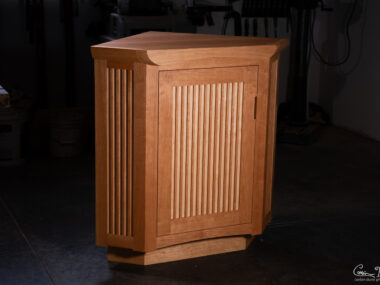
Making the LED Cyr Wheel / Roue Cyr – version 1
Edit: 12/28/2013: Here are some problems I am having with this LED Cyr Wheel v1
I used a new technique for bending wheels; this time, I used a cheap Harbor Freight rolling bender with modifications from the 4×4 Forums that provide “weld on” wings, and the ability to make it motorized with a Harbor Freight pipe threading machine. I couldn’t roll the complete circle with it attached to my stand below:
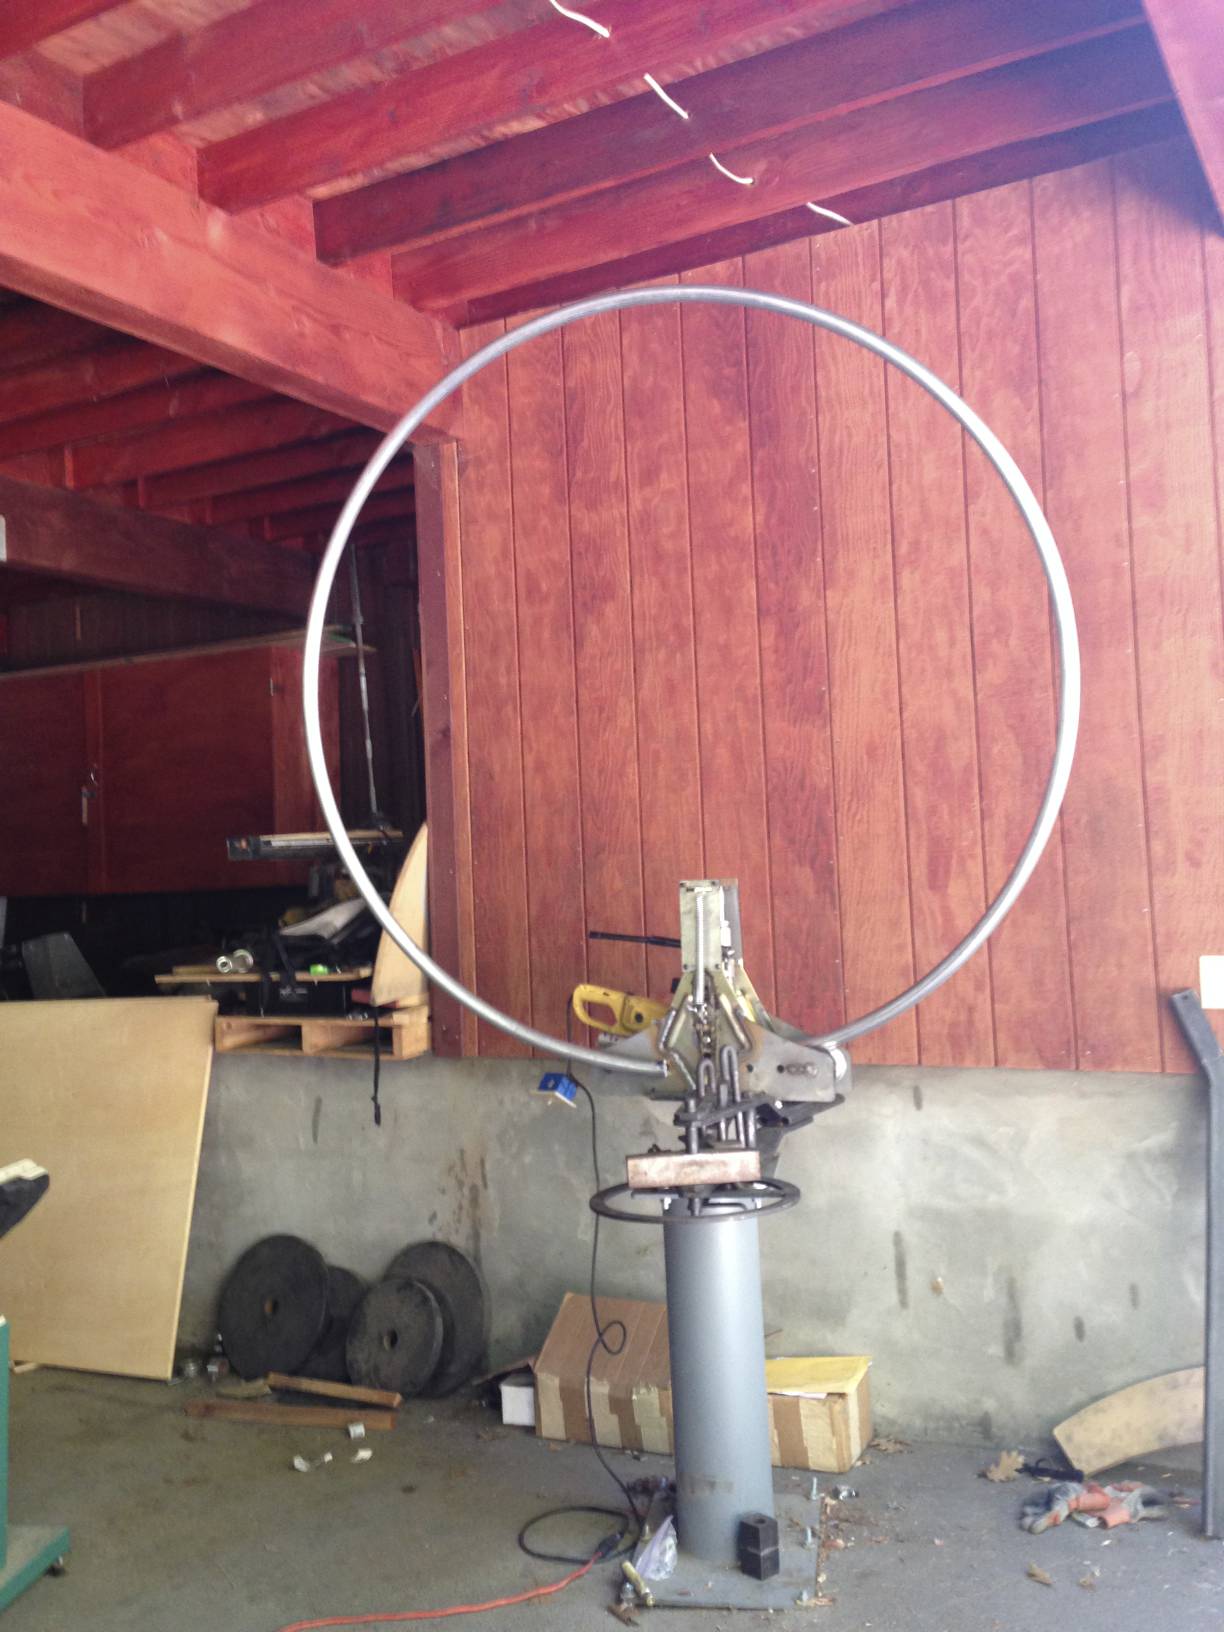
(the picture shows it fully rolled, but it was AFTER I and moved it). The problem is my tubing would hit the top of my carport before I could make a complete circle. So, I rolled it mainly on the side, and made the Harbor Freight pipe threader have an on/off switch. This was more of a necessity rather than an innovation, as the switch on the thing failed. I quickly realized it was much easier to operate without me holding the switch on and it was quite handy to have an on/off switch instead of a button.
General parts list:
Arduino Micro Pro
Analog LED strips (ie: one color at a time, NOT individually addressable because I didn’t have enough memory in the Micro to do it)
N-channel MOSFETs
1 1/2″ OD aluminum tubing (with 1/8″ sidewall)
Steel tubing for inserts that fits the inner diameter (1 1/4″ OD, but I turn it on the lathe to make it fit better)
PVC tubing
High temp clear hot glue gun glue
Strong packing tape
8 1.2v rechargeable batteries
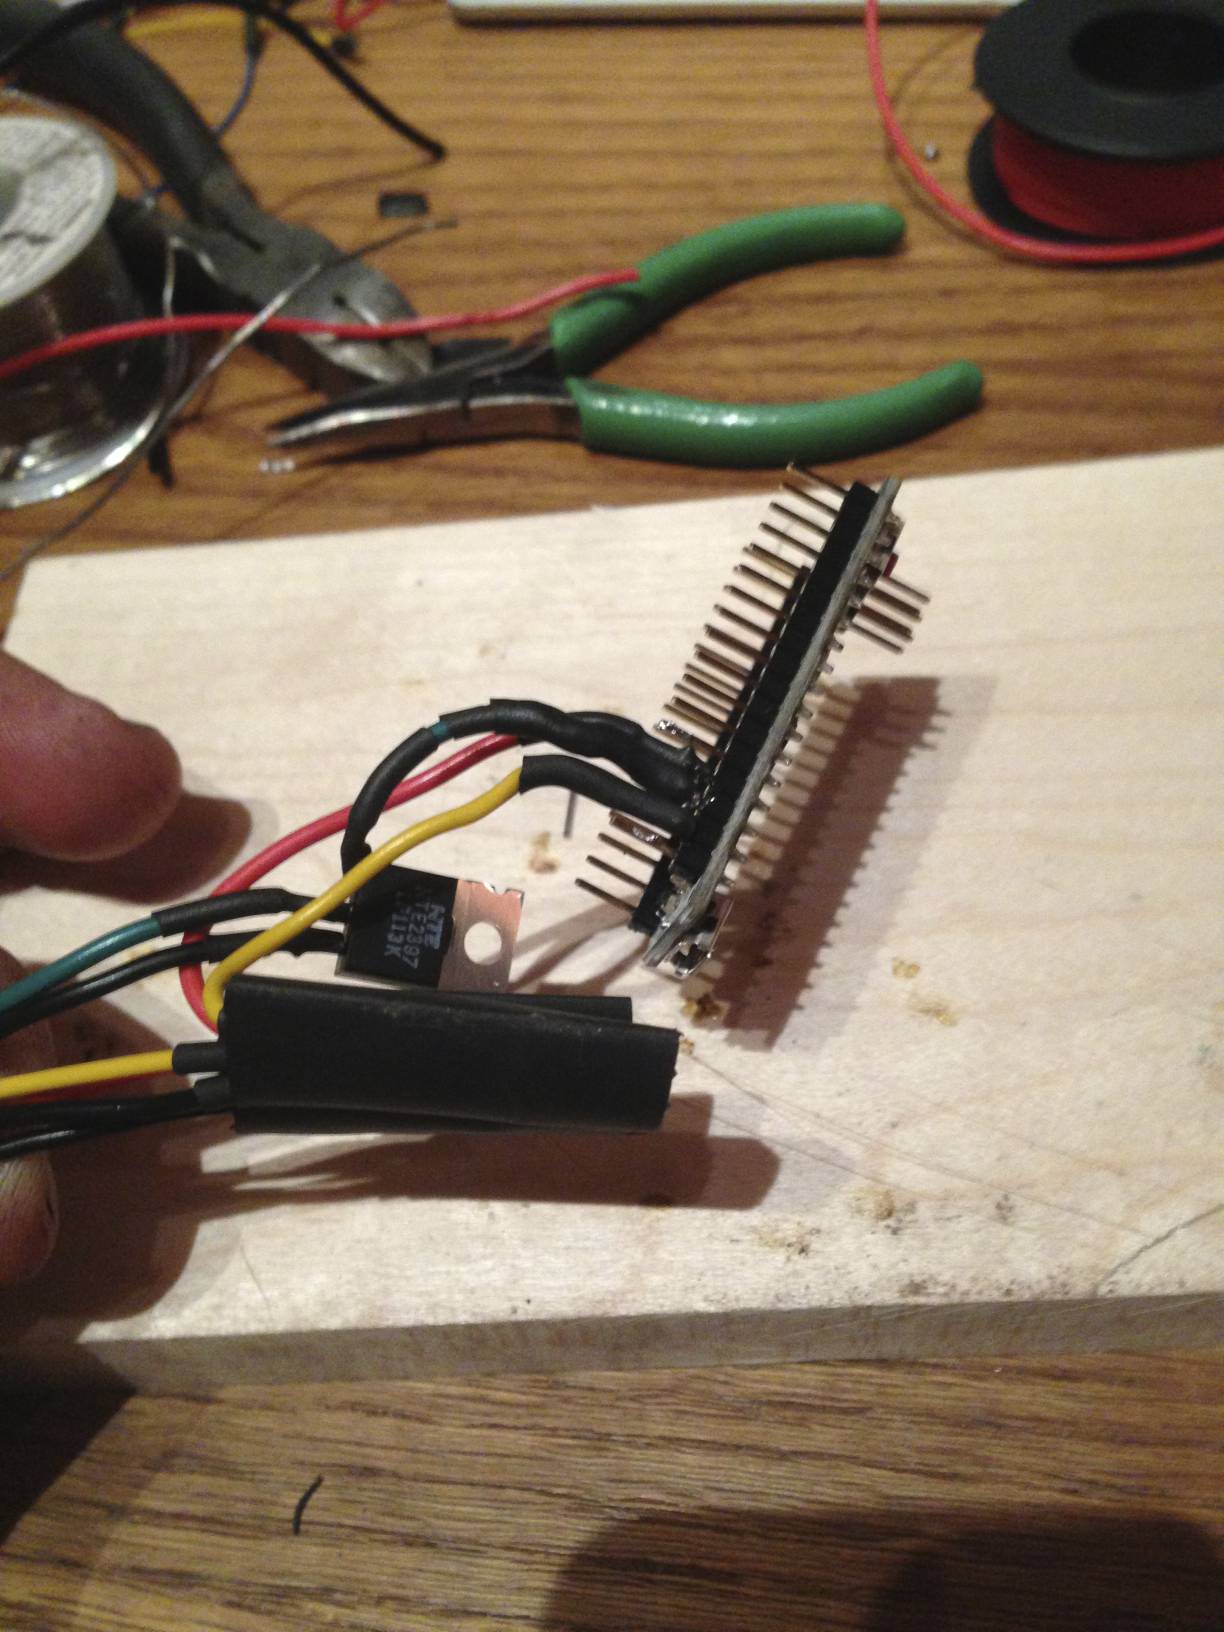
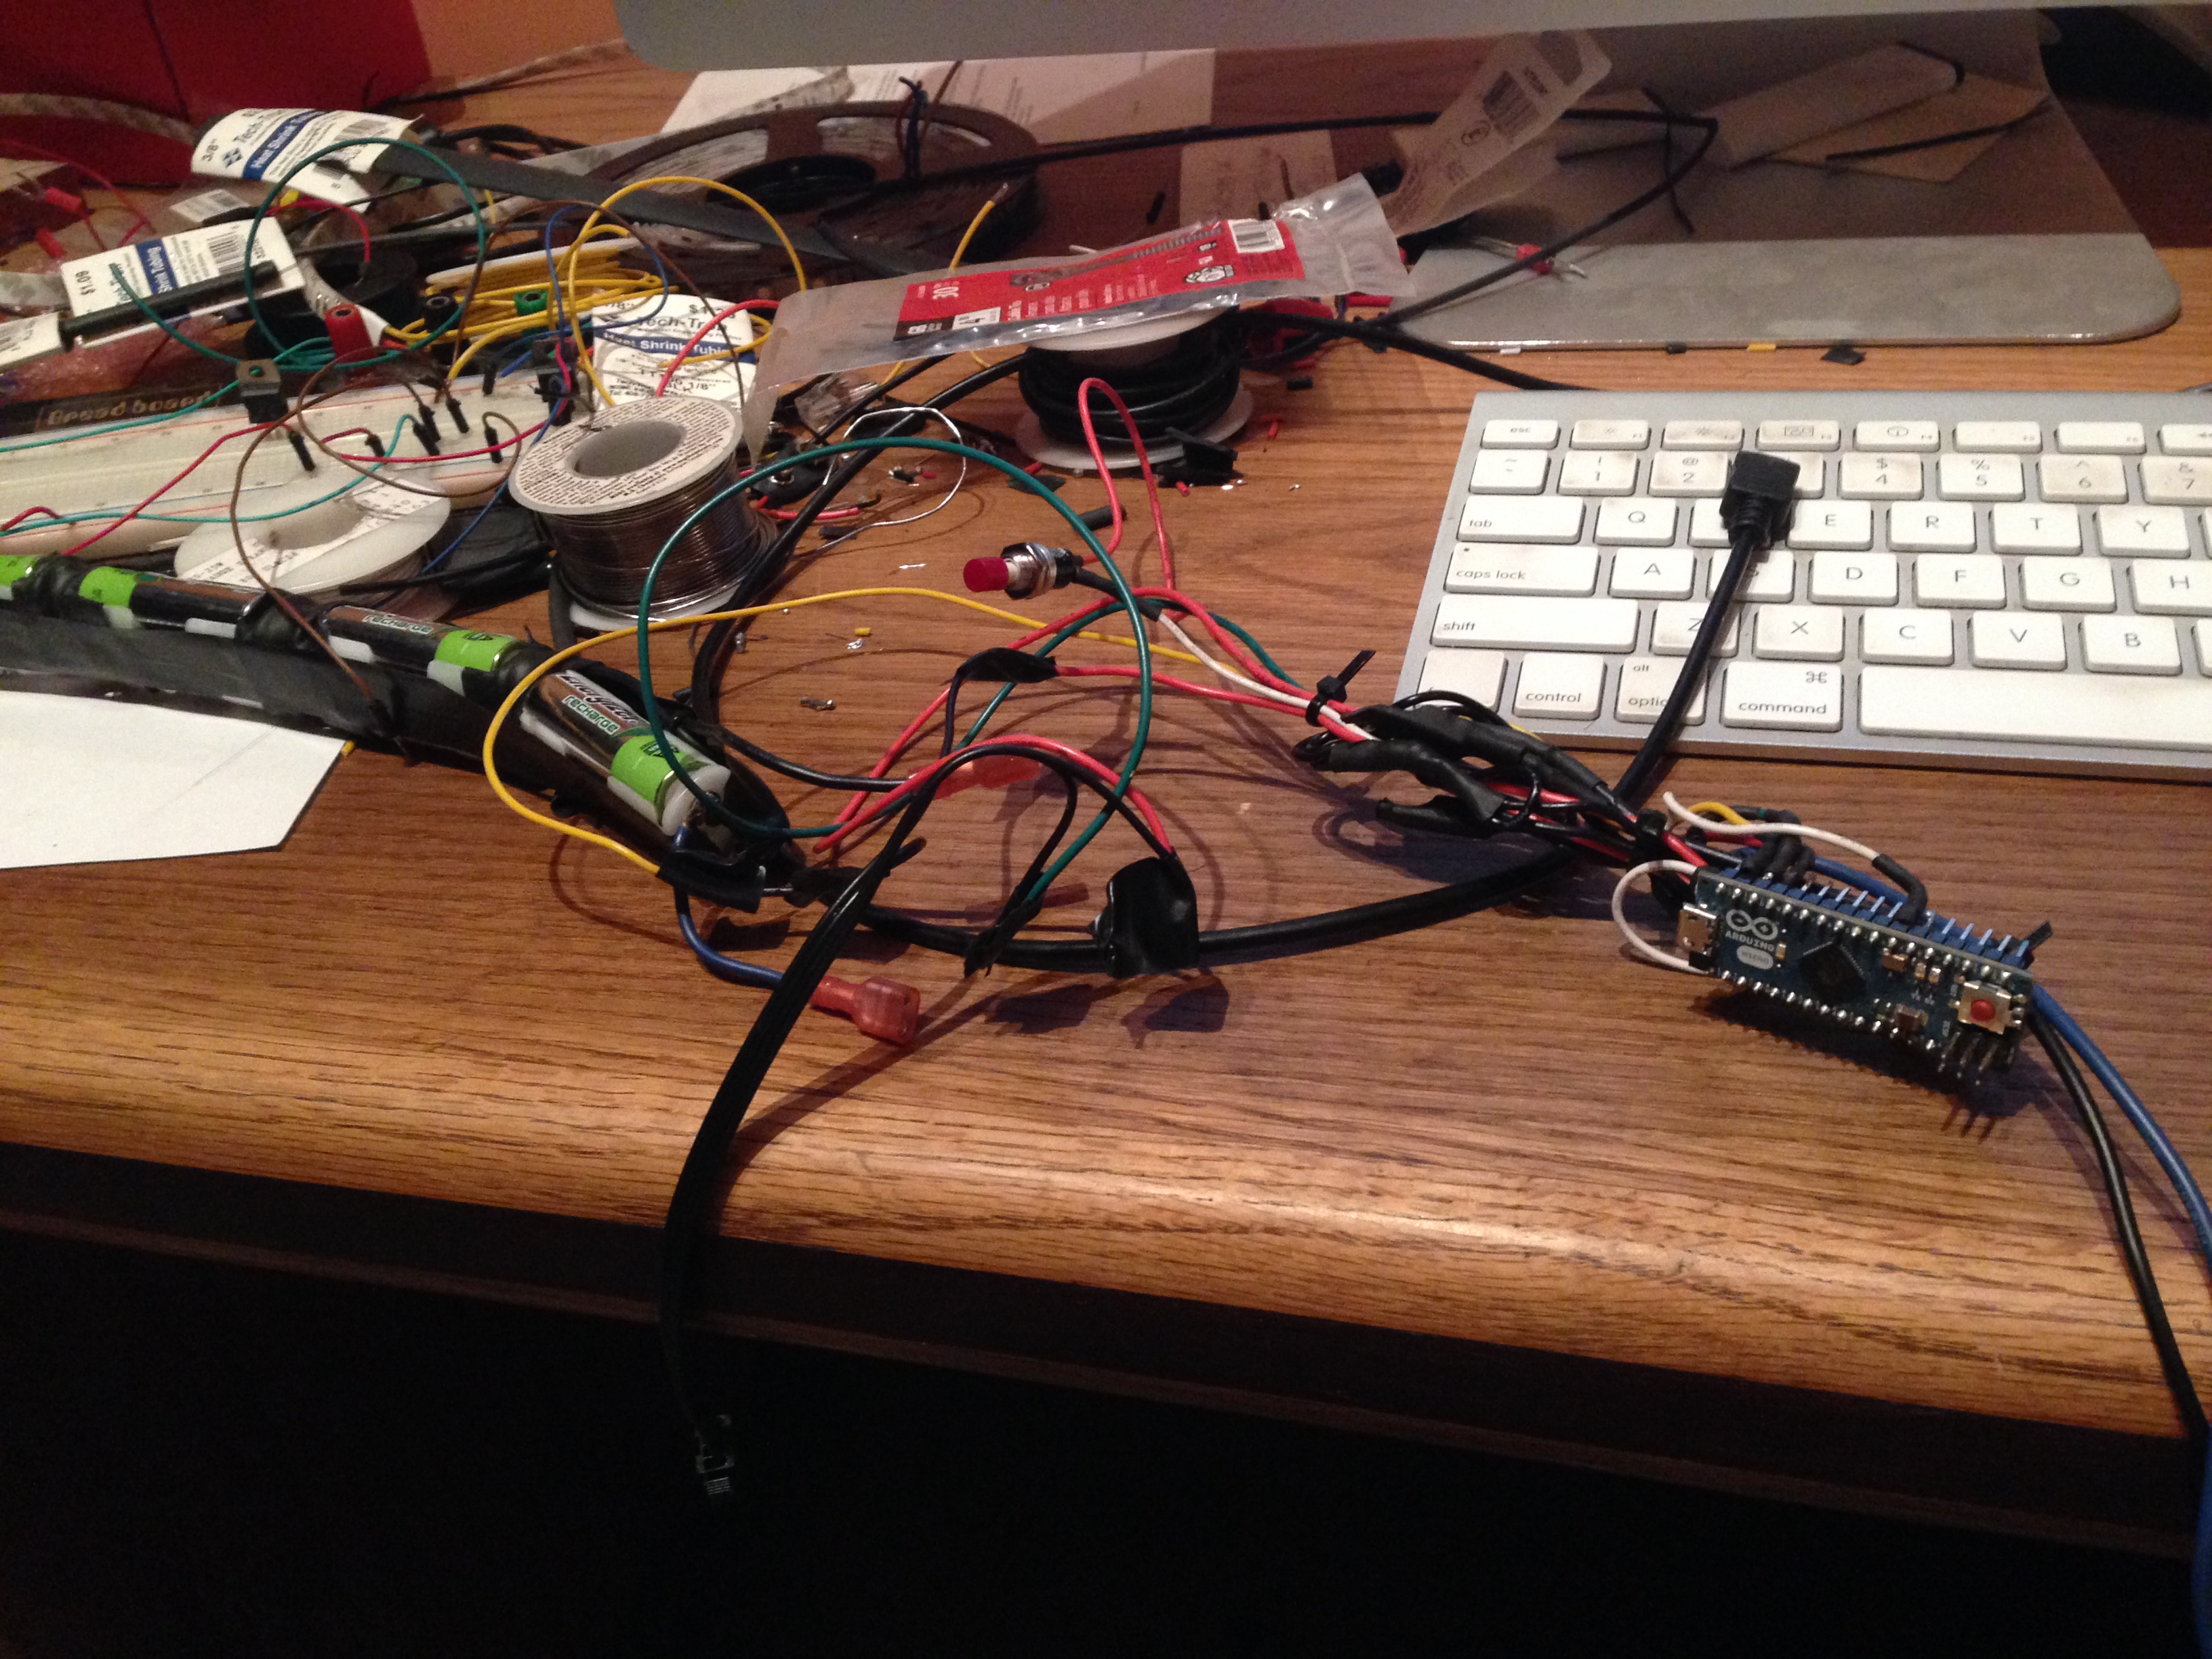
The controller is an Arduino Micro Pro. It is small enough to fit in the wheel. I wired it up as recommend by Adafruit’s LED strip guide which is to use an N-channel MOSFET (from Fry’s electronics) as seen here:
The battery pack is made up of 8 AA cells. Each cell 2-pack AA battery pack holders from Fry’s (Radio Shack also has them, and you can buy them online). I wired the pack up in series to create about 9.6v total; a little low than the recommend 12 volts to drive the LED strips, but it worked fine. If you use non rechargeable batteries they are at a slightly higher voltage, and will give you 12v out.
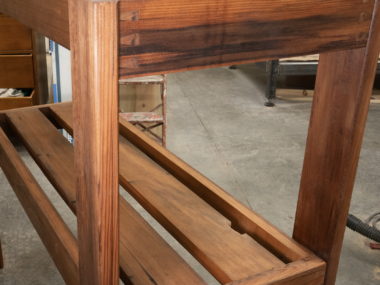
Each section of the 5 piece wheel is independent and can be taken apart. I soldered into the LED strips for each wire (one for each color, red/green/blue and a 12v source), and drilled a small hole close by them. The hole is past where the insert comes up to; however, if I were to do it again, I’d put the hole further away from the insert, as the wires inside sometimes bunch up. The wires go inside the wheel (through a grommet) and out the end:
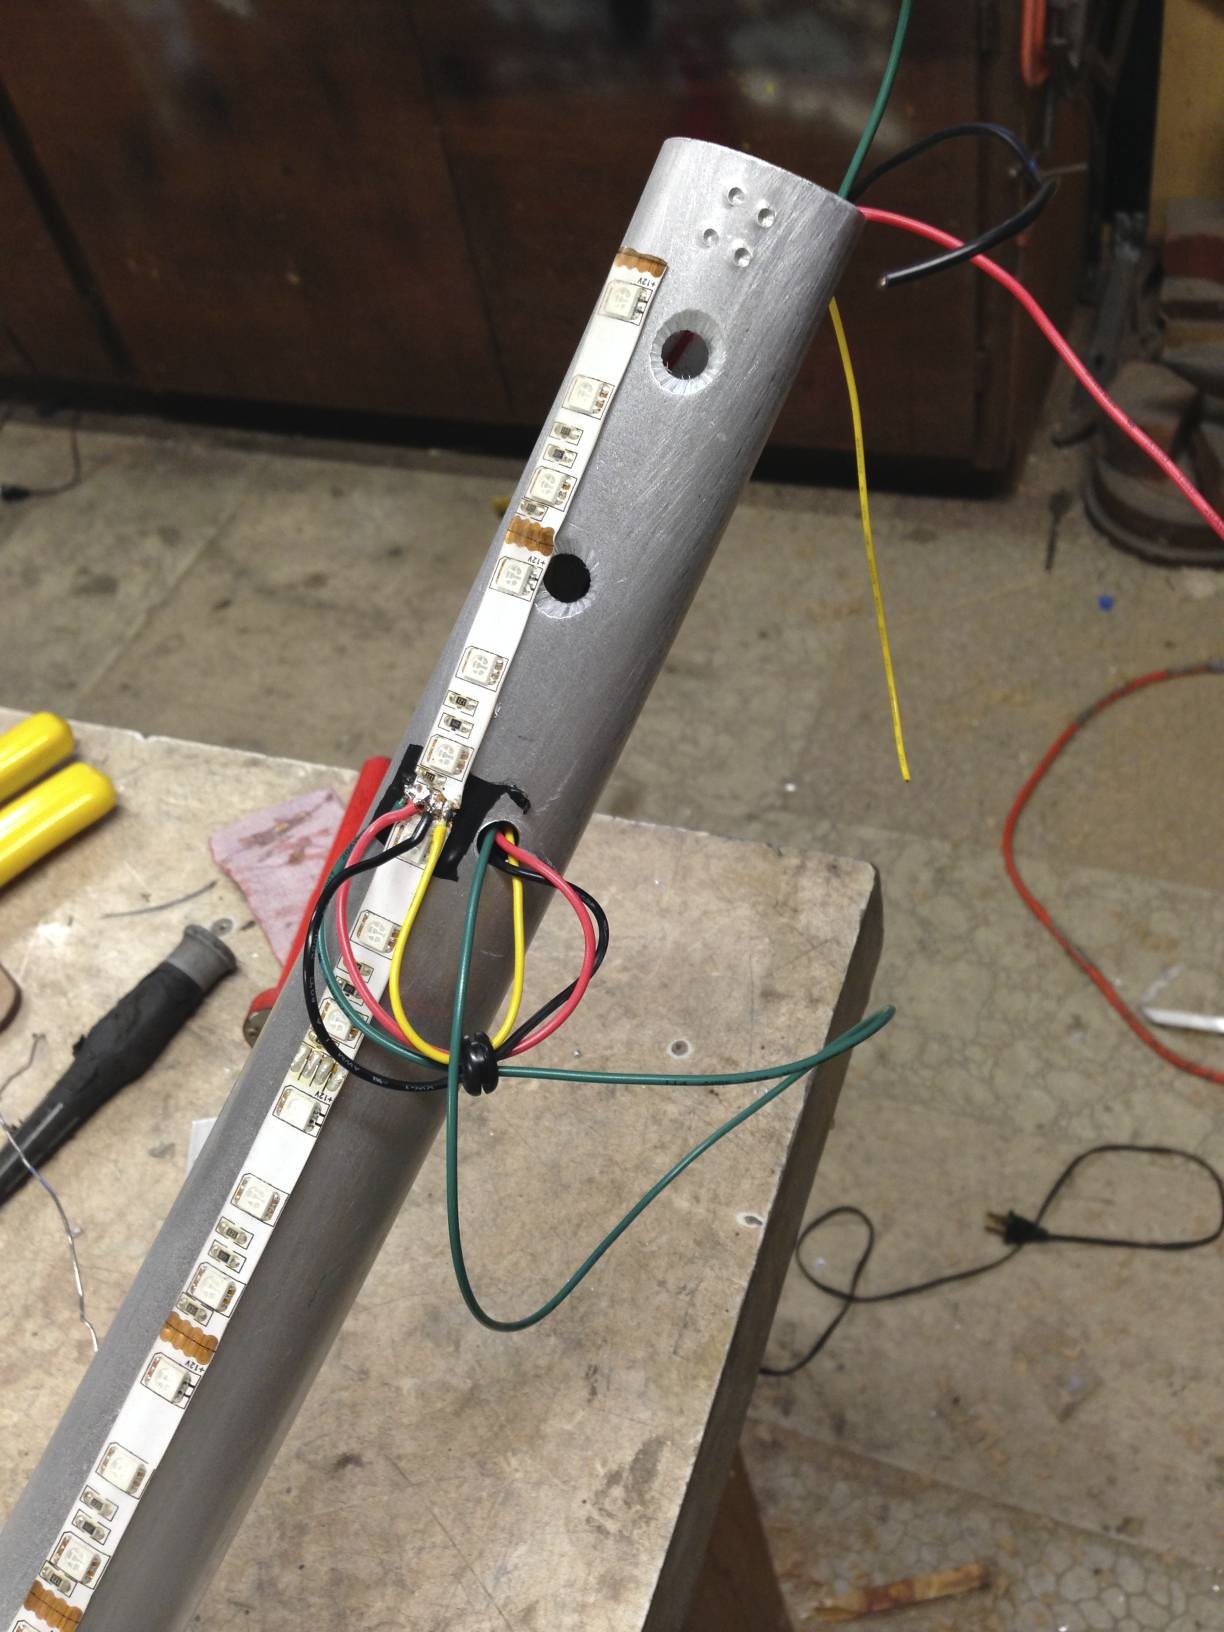
In the picture above, the LED strip is way too close to the insert holes. I originally was going to run two strips; one on each side of the holes, and slightly off the inner diameter so I wouldn’t apply too much pressure on them. I didn’t do this because of time (and cost), and wanted to see if the LEDs could survive with my weight (the answer is no…many are loosing a few colors when connections break due to my weight on them). When I put the wheel together I initially had a short; it was because the metal screw grounded the LEDs right not he above insert hole. I had to pull the LEDs off and move them over a bit to get it to work.
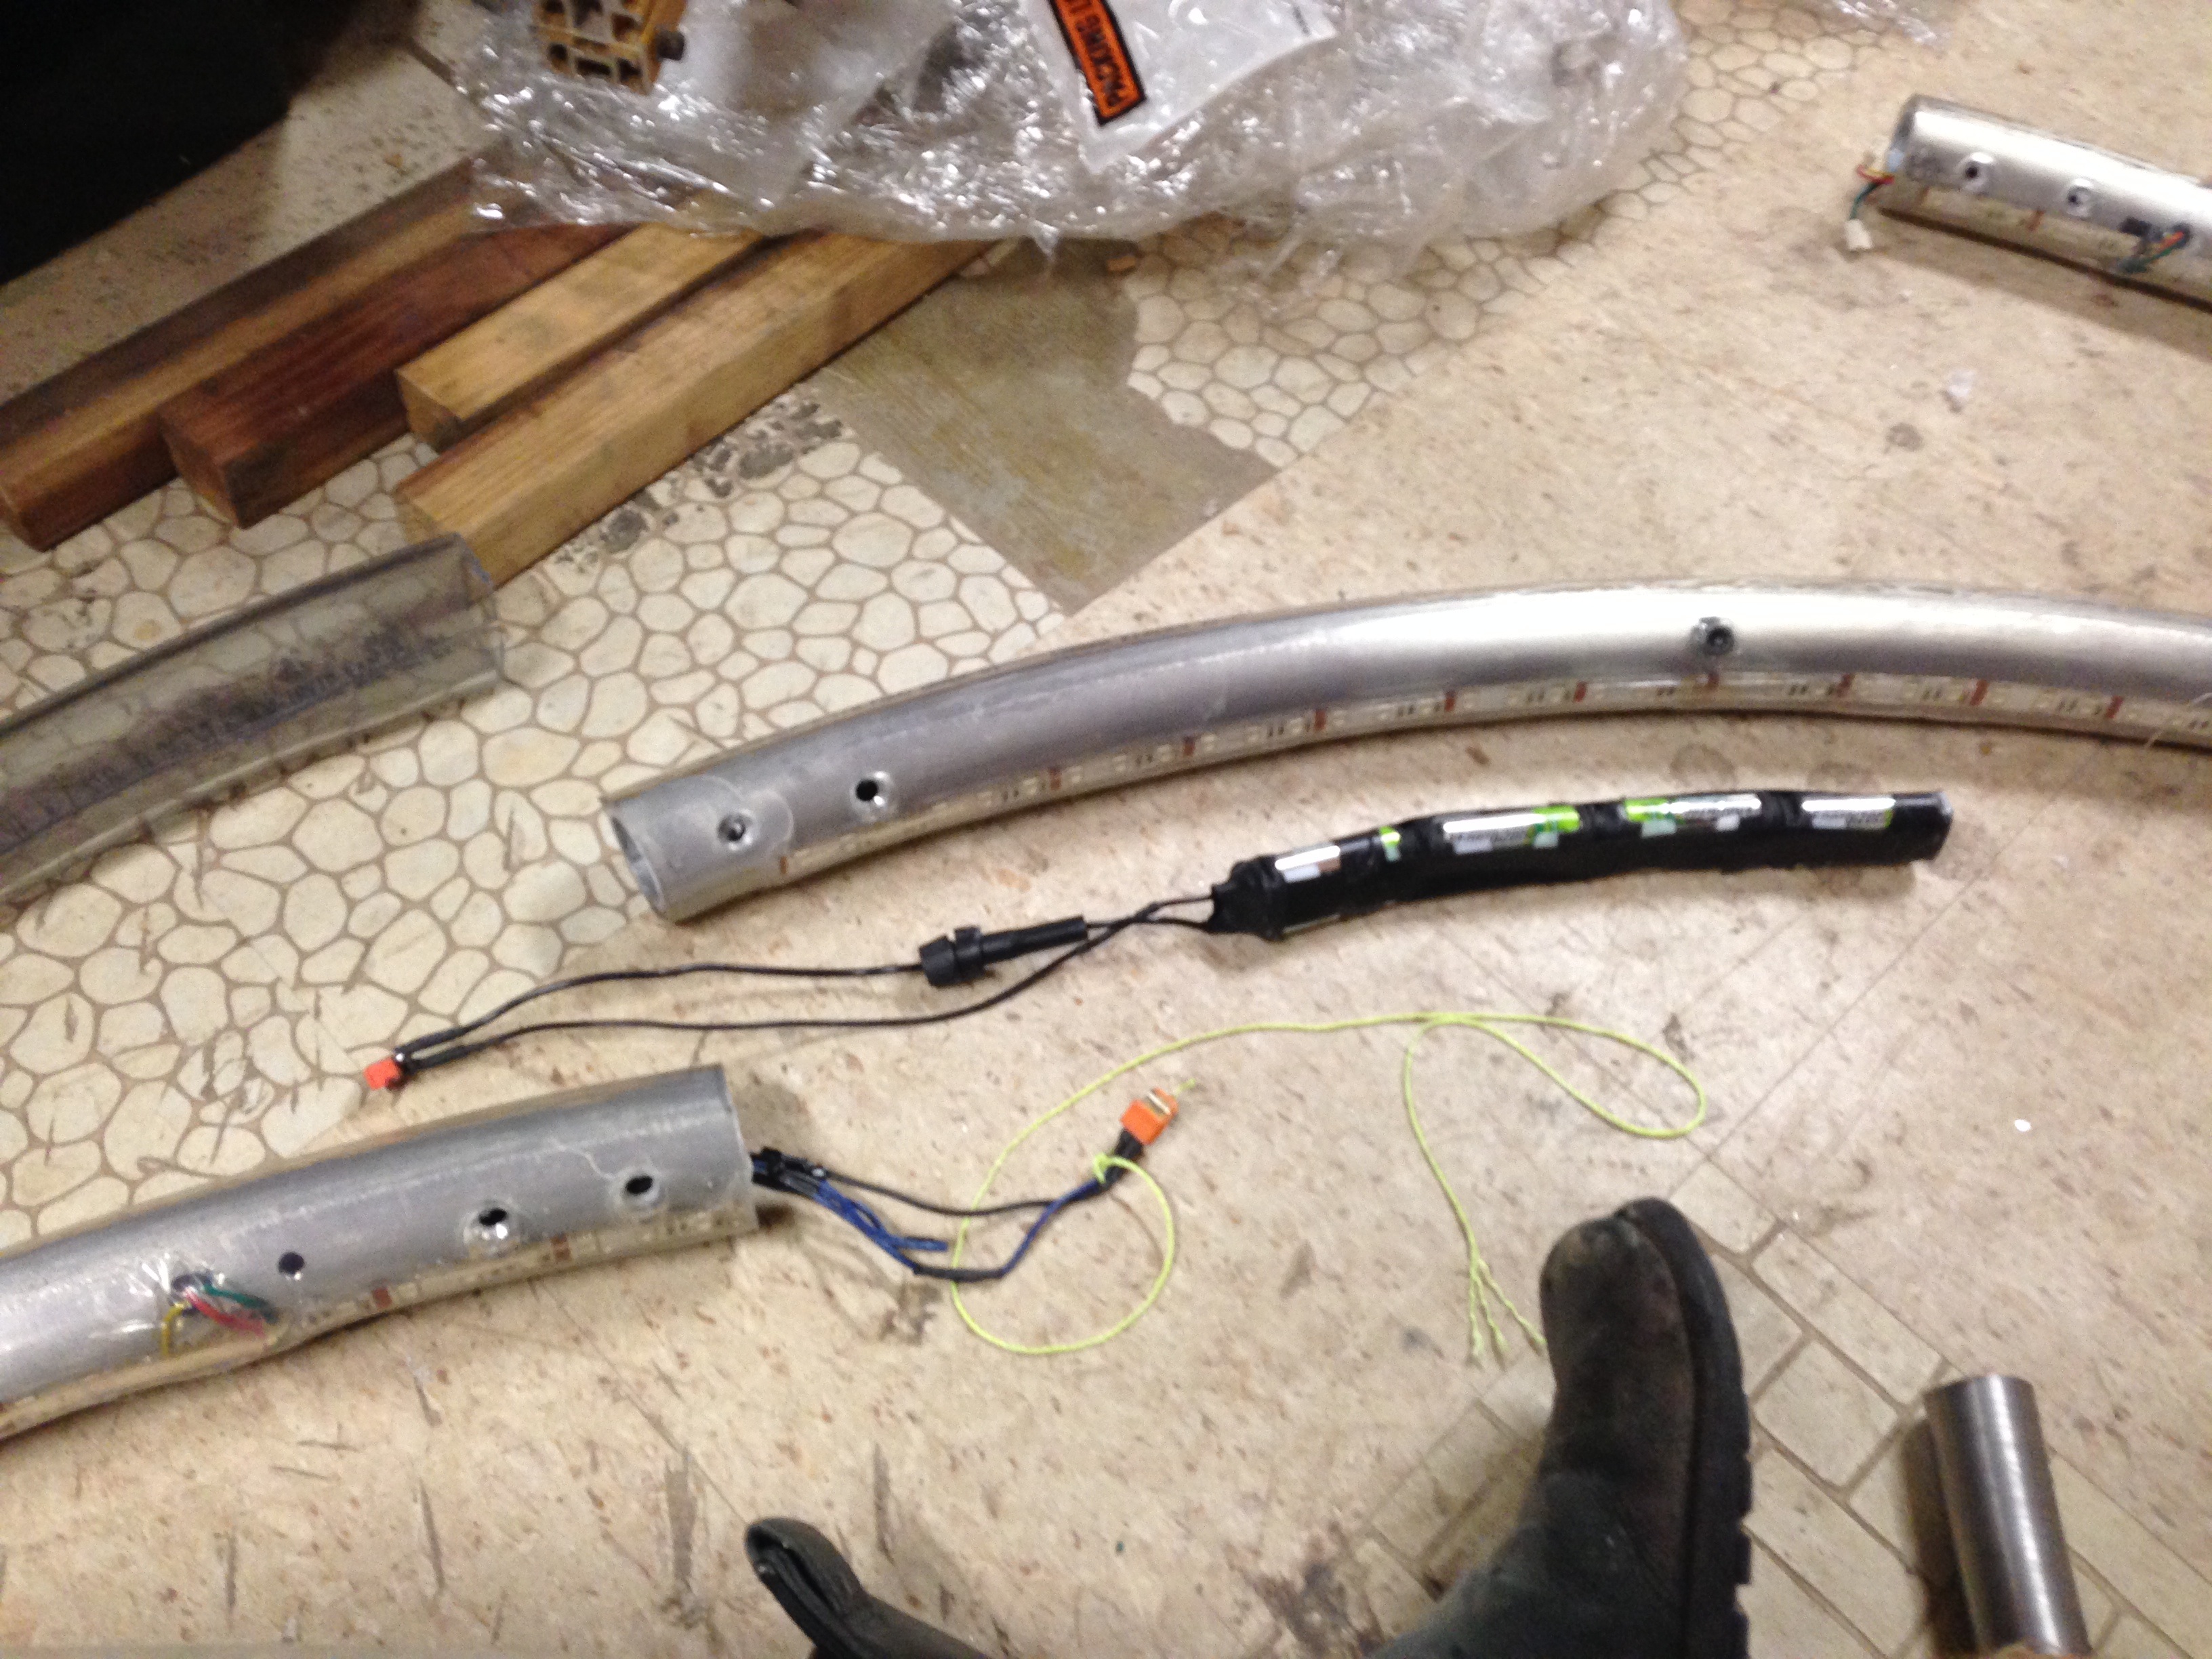
Once out the end, I installed connectors. These connectors suck and I just got them from Frys…instead, I wish I would have had time to get some good ones from the internet (two are also silly; only one is needed but it is what I could find on short notice). The wire lengths are long enough to go past the insert on one side, and on the other piece that mates to it they are short; this is so you can take one side of the insert off and disconnect it easily, without having excess wire (which would be hard to push into the wheel).

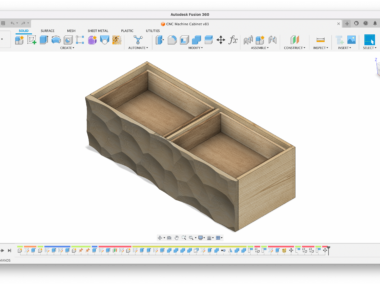
Here’s the battery detail; in this picture it has a fuse..but the fuse was too big and I had to remove it. The arduino is stuffed into the side on the left, and the battery fits on the side on the right. It just slips into the wheel and there is a “stop” that prevents it from going into the wheel too far. The stop is just a screw drilled and tapped (you can see it on the wheel, adjacent to the second battery from the right):
The insert can be used to push the battery pack inside the wheel. The pack is removed by pulling on the wire; the cells can be removed and recharged.
The arduino is stuffed into the left side of the wheel; it is held in by friction and nothing more. I can pull it out (gently) by using the wires…it is sort of tough to get out, so I embedded a metal wire inside to help me get it in and out. If I were to do its gain, I’d make the wiring sleeker so it slips in more easily.
The inserts are steel tubing; I think I used 3/16″ thick tubing, and turned it on the lathe to fit inside the wheel (like normal). For the 1.5″ outer diameter aluminum tubing, I think I turned the outer diameter of the inside steel tubes to 1.228″ (they should be 1.250″ if they fit perfect…but they need some slop to slide in without trouble). 1.235″ was too big still.
That’s the basics. I have videos detailing it that I’ll post too.
Things I didn’t post: the tubing was cut and re-glued together with a hot glue gun and high temp clear hot glue. I then put packing tape over it to make it smoother. It works “okay”, but they come apart over time — especially after a week at burning man. I’d like to find some material that is better at gluing the PVC tubing together, or gluing it to the metal wheel.
As I mentioned before, some LEDs are dying. My weight on them makes them loose a connection and they don’t do the full color spectrum. I need to figure out how to solve that. Another problem is that if the wheel is dropped or hits the ground hard, it will black out; I have a bad connection somewhere, and rebooting is pretty slow (I need to remove the Arduino boot loader to make it boot faster)..