How to make an Elithion BMS Display
Here is directions to make your own Elithion BMS Display. Use at your own risk!
Parts required:
Arduino UNO – (the Leonardo will NOT work) – ~$30
Sparkfun CAN Bus shield– $45
Adafruit proto shield – $12.50
Adafruit 2.2″ TFT LCD Display – $30
Extra long male/female header pins for the Arduino
8 wire shielded cord – $3 (Frys Electronics)
Serial port + wire to tap into your can bus (or plug directly into the Elithion CAN bus output)
NOTE: this project could be made *much* more cheaply by using a different display, and making your own CAN Bus setup instead of using the shield. I finally have enough hardware experience to probably do that at this point, but the above parts made this project really easy.
History:
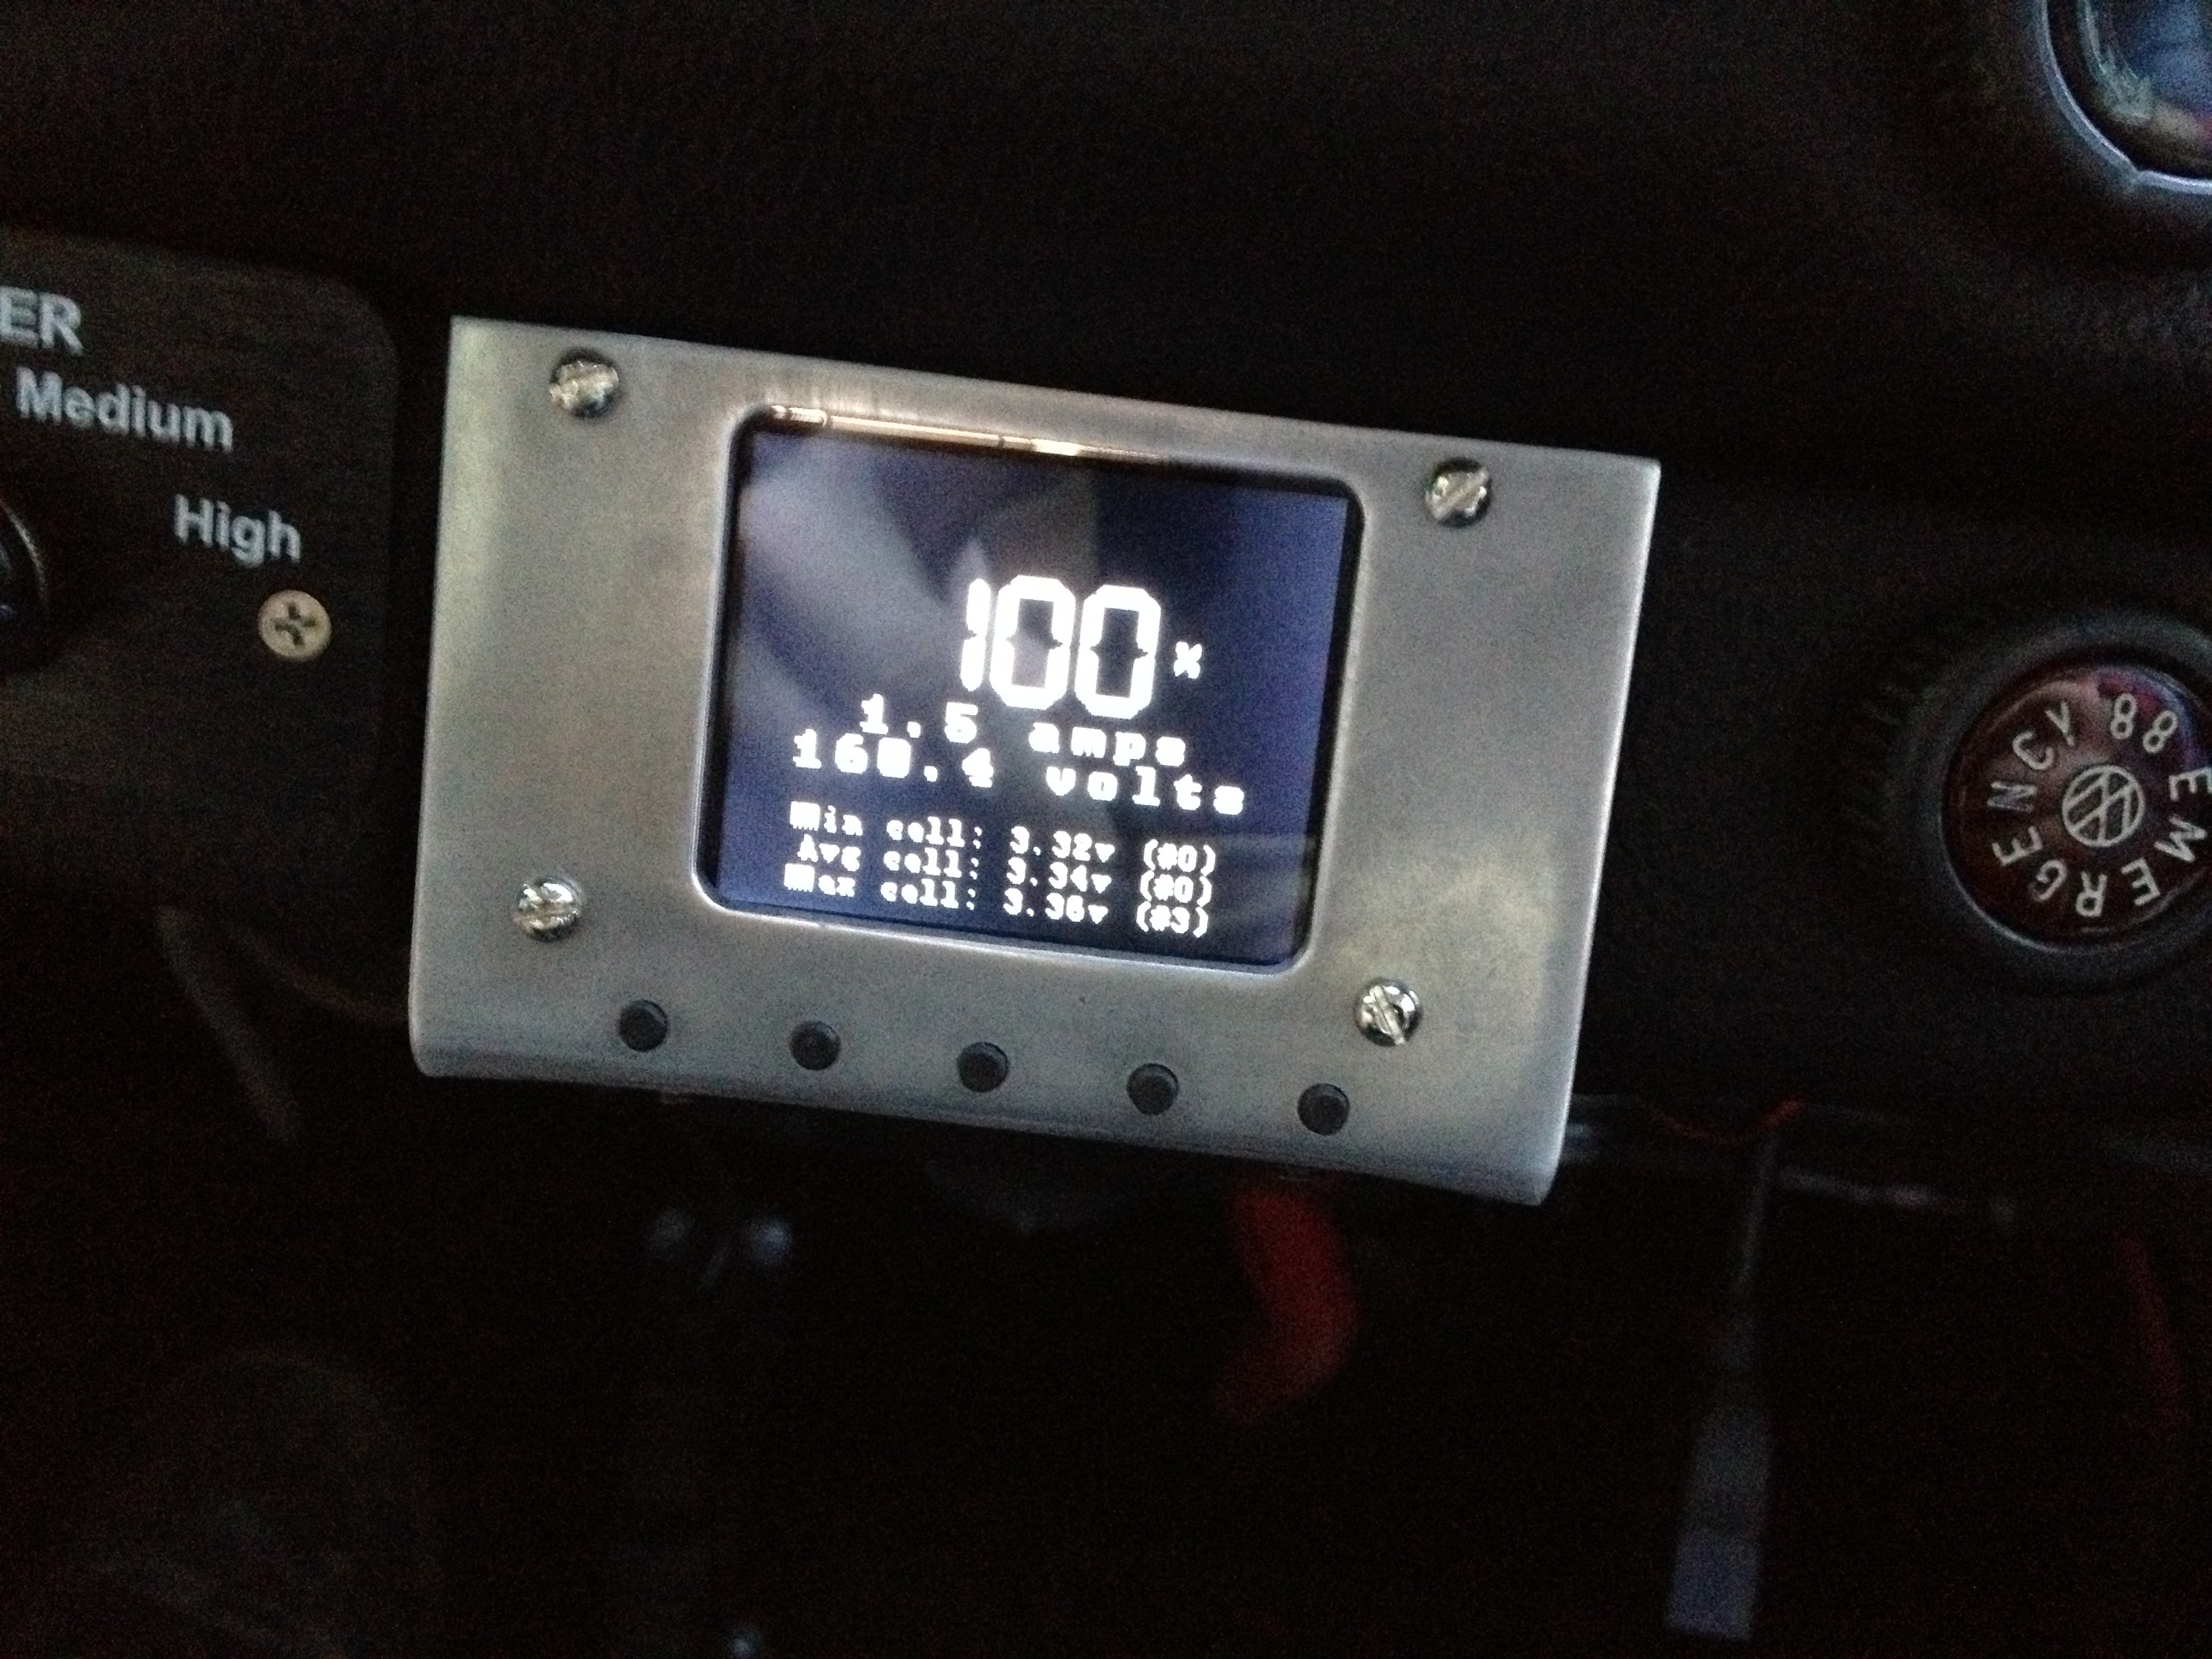
Read my concept Part 1, research notes Part 2, and see Part 3 pictures. For simplicity, I’m going to let you decide how to connect the things together with wires/plugs, and I’m only going to show where the wires go to.
Steps:
1. Use the extra long female header pins and solder them to the proto shield. This allows you to plug it on top of the arduino and stack the shields.

2. Wire the protoshield to the display. See the adafruit tutorial for information/details, and wire it how they say. However, connect the CS pin on the display to pin 3 on the Arduino UNO. This pin can be changed to any pin you like; you will just have to modify the code in BMSDisplay.cpp to what you choose:
#define DISPLAY_CHIP_SELECT 3 // the only variable pin (usually pin 10, but we want it on 3, as the Can bus shield uses 10 for chip select)
#define DISPLAY_RESET 9 // Don’t change
All these pins can be seen in the initializer for the UTFT display in code:
UTFT g_display(ADAFRUIT_2_2_TFT, MOSI/*11*/, SCK /*13*/, DISPLAY_CHIP_SELECT, DISPLAY_RESET);
In my shield, I wired up each pin to the display using a little connector I got at Fry’s. It plugs into the right side of the shield, and I use red jumper wires to connect each pin.
3. Tap into your CAN bus on the Elithion. Take a look at the CAN bus shield schematic — specifically, the top right section shows the DB9 (serial) plug. The serial port on the shield needs to have 4 wires plugged into the Elithion Can BUS output: 5V+, Can High, Can Low and Ground. You can either solder these directly onto the Can Bus shield, or use a serial port and length of wire to allow it to easily be plugged in and out. Look at the schematic to see which wire goes where if you are using the serial (DB9) plug.
4. Compile my code and upload it to the Arduino UNO. Hook the Arduino up via USB. This step requires you have the Arduino software installed. And the appropriate libraries that i wrote/modified. On my Mac, the Libraries are installed in ~/Documents/Ardunio/Libraries/ –I think this is the “Sketchbook location” option in the Arduino app’s preferences (IE, mine says: /corbin/Documents/Arduino).
4A: Copy UTFT_Adafruit_22TFT to your Library folder.
4B: Copy ElithionBMSCanBus to your Library folder.
4C: Download the ElithionBMSDisplay main project and put it wherever you want (usually ~/Documents/Arduino, but it doesn’t matter as much).
On a Mac, open BMSDisplay.xcodeproj in Xcode. Make sure you have the Upload scheme selected:

and do a “build” in Xcode. This builds and uploads the code to the Arduino.
If you don’t have a Mac, you can probably rename the BMSDisplay.cpp file to BMSDisplay.pde and open it up in the Arduino app and compile/upload it. I haven’t tried this though, so it might not work.
5. Plug the shield into the Arduino UNO, and then the Can bus shield on top of that. Hook up the display wires. Hook up the CAN bus wire to the Can bus shield. Turn on your car; the Arduino will be powered by the can bus v+ line.


