Plug Bug: Stereo
I wanted to have a good sound system in the car. I bought an Alpine stereo and a set of speakers. I was initially going to mount them in the doors, but I read that is bad idea for several reasons. For one, the door panels are rather weak, and a hard door slam could throw the speakers out. Second, the doors are made to get wet inside, and I don’t want the speakers to get water damage. Luckily, I ran across some “front speaker panels” on jbugs.com and ordered those. I bought 6.5″ component speakers and I was hoping I could figure out a place for the tweeters if they didn’t fit in the speaker panel. However, I made them fit and here were the steps.
I figured out roughly where the panels would go. Here’s the driver’s side:
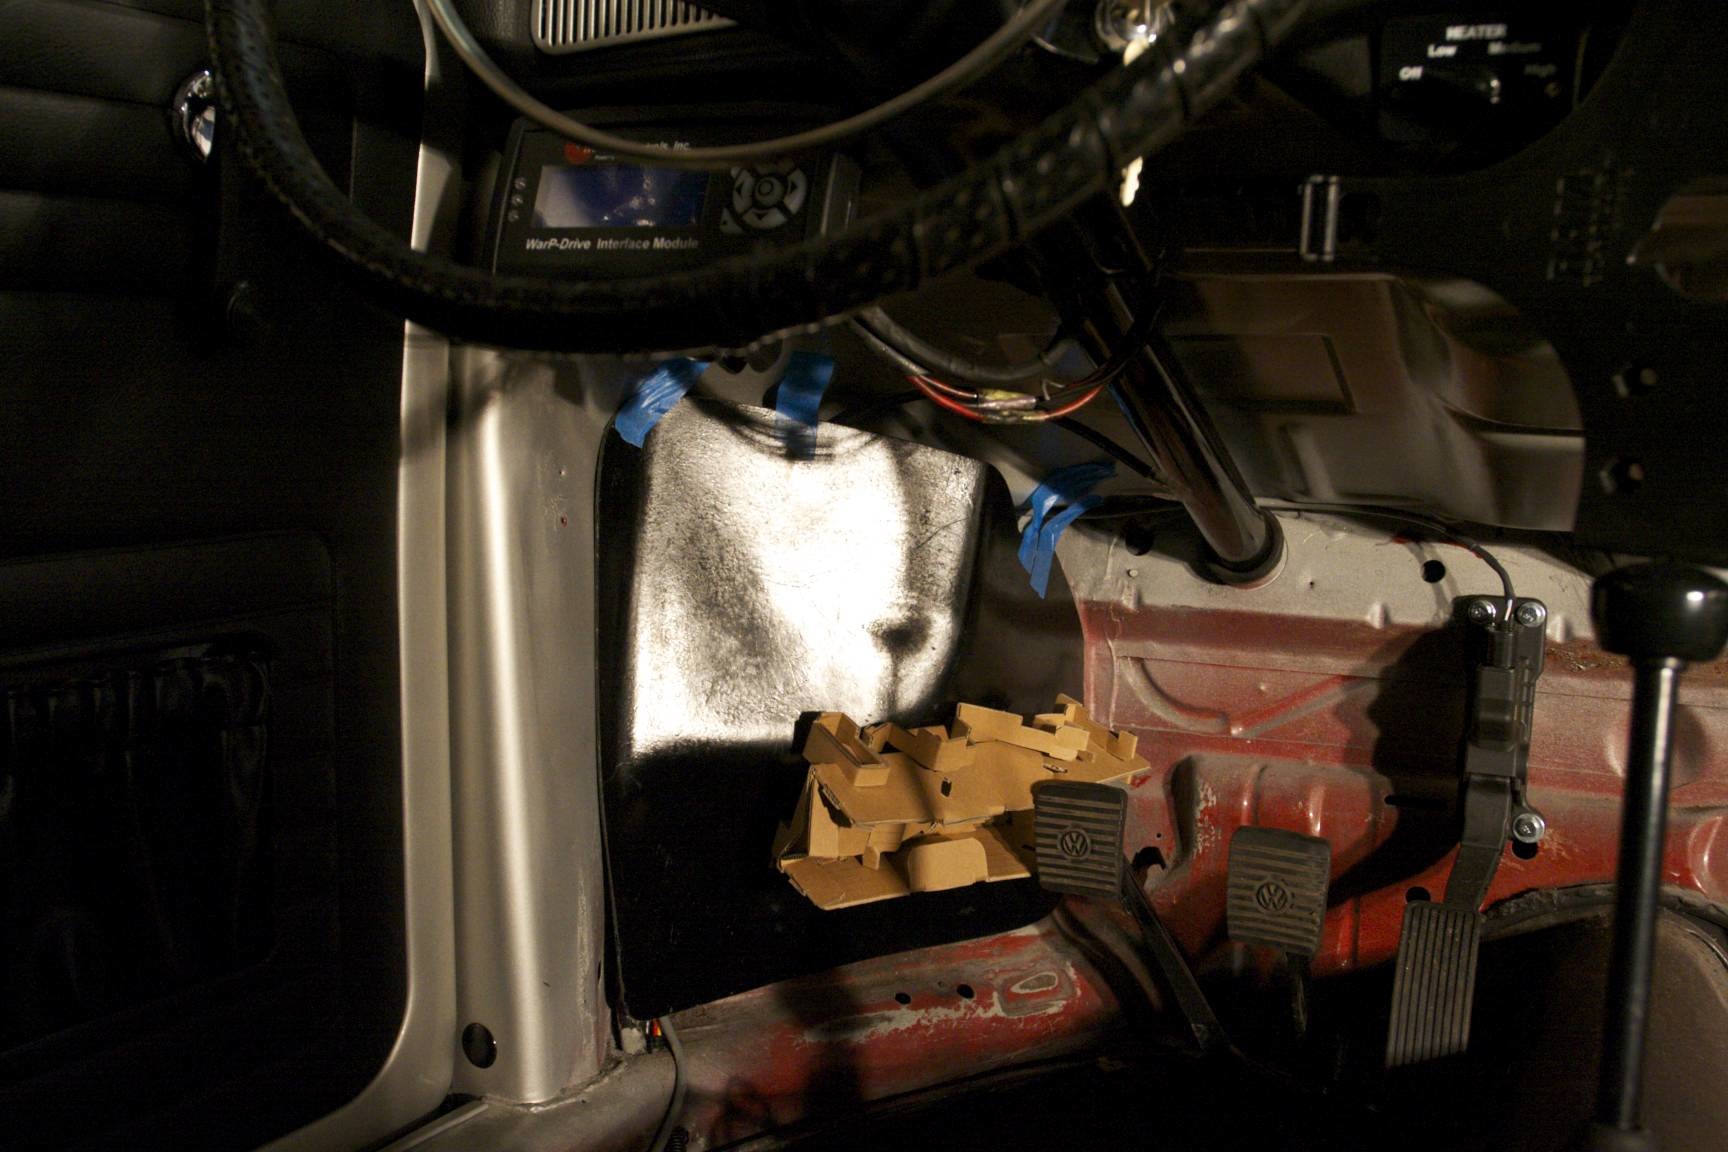
The ’69 bug has a heater vent lever on the post mount. The panel wasn’t fitting quite right with it on, so I removed it. I put it back on later on top of the panel, and that seems to work great.
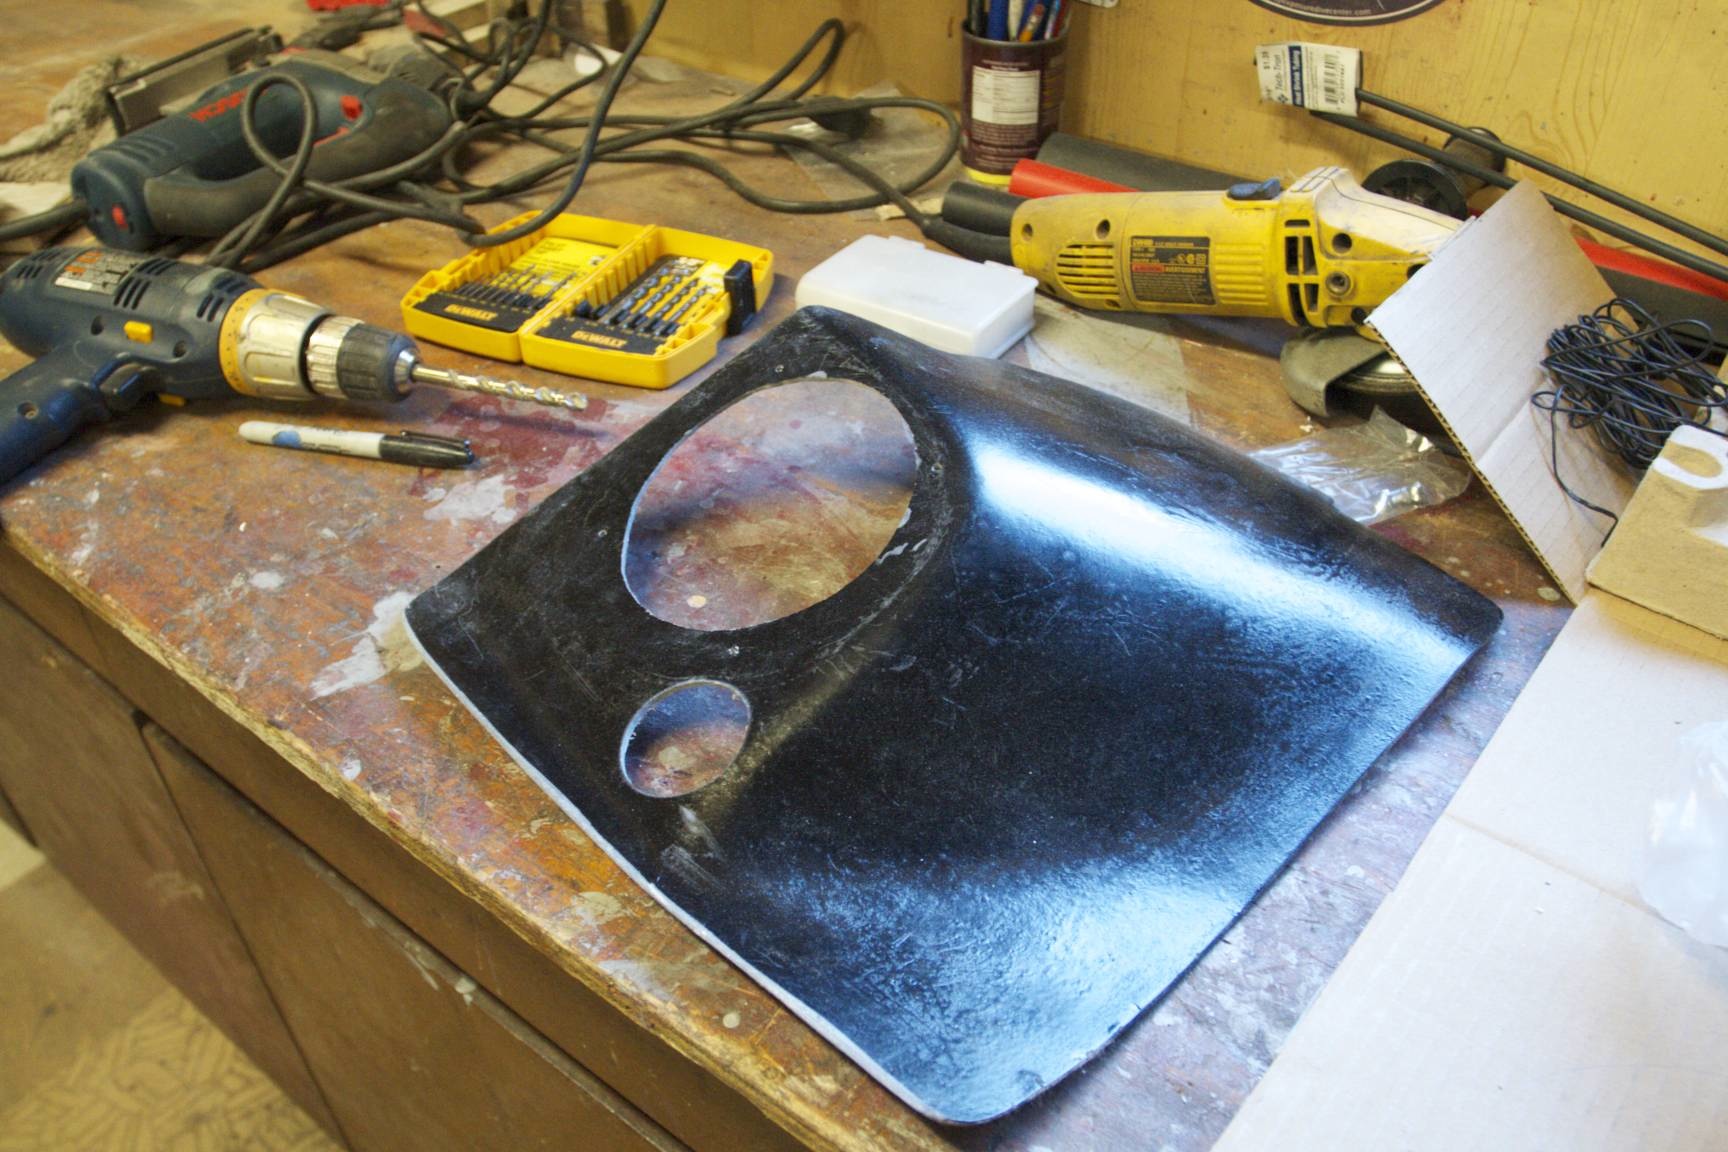
I made a template for the speaker and tweeter and cut out holes. I put the speaker location as deep a location as it could go in the panel. The big hole was cut out with a jig saw, and I used a hole saw for the small tweeter hole.
Despite the location, I still had trouble with the back of the speaker hitting the back of the bug. Purists, shut your eyes: I just took a hammer and hammered out the wheel well area from inside the bug to give me more room. That worked. then covered it with some carpet/sound deading material. It was simply glued on with spray adhesive glue from Home Depot:
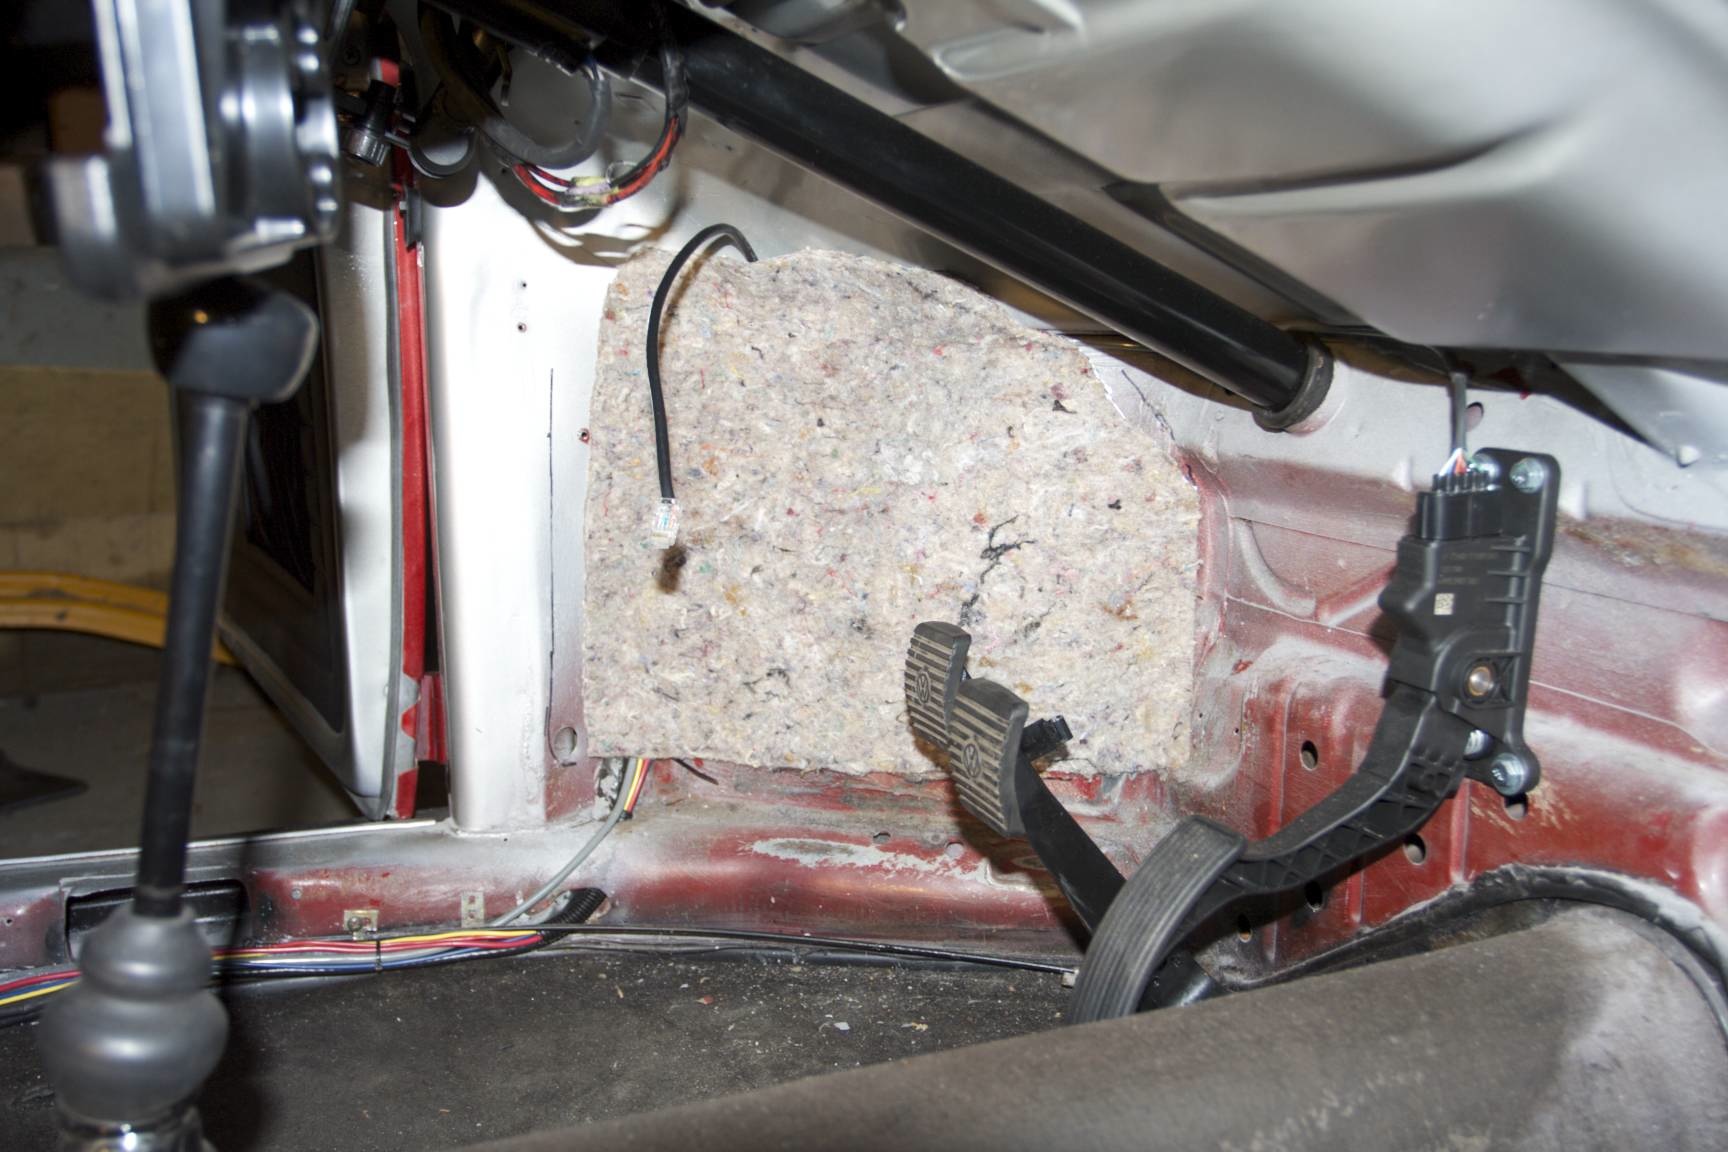
The above is also a great picture of the accelerator pedal. It is just mounted with 3 bolts/nuts.
The panel is then bolted on with some provided sheet metal screws. I first drilled a 1/8″ pilot hole.
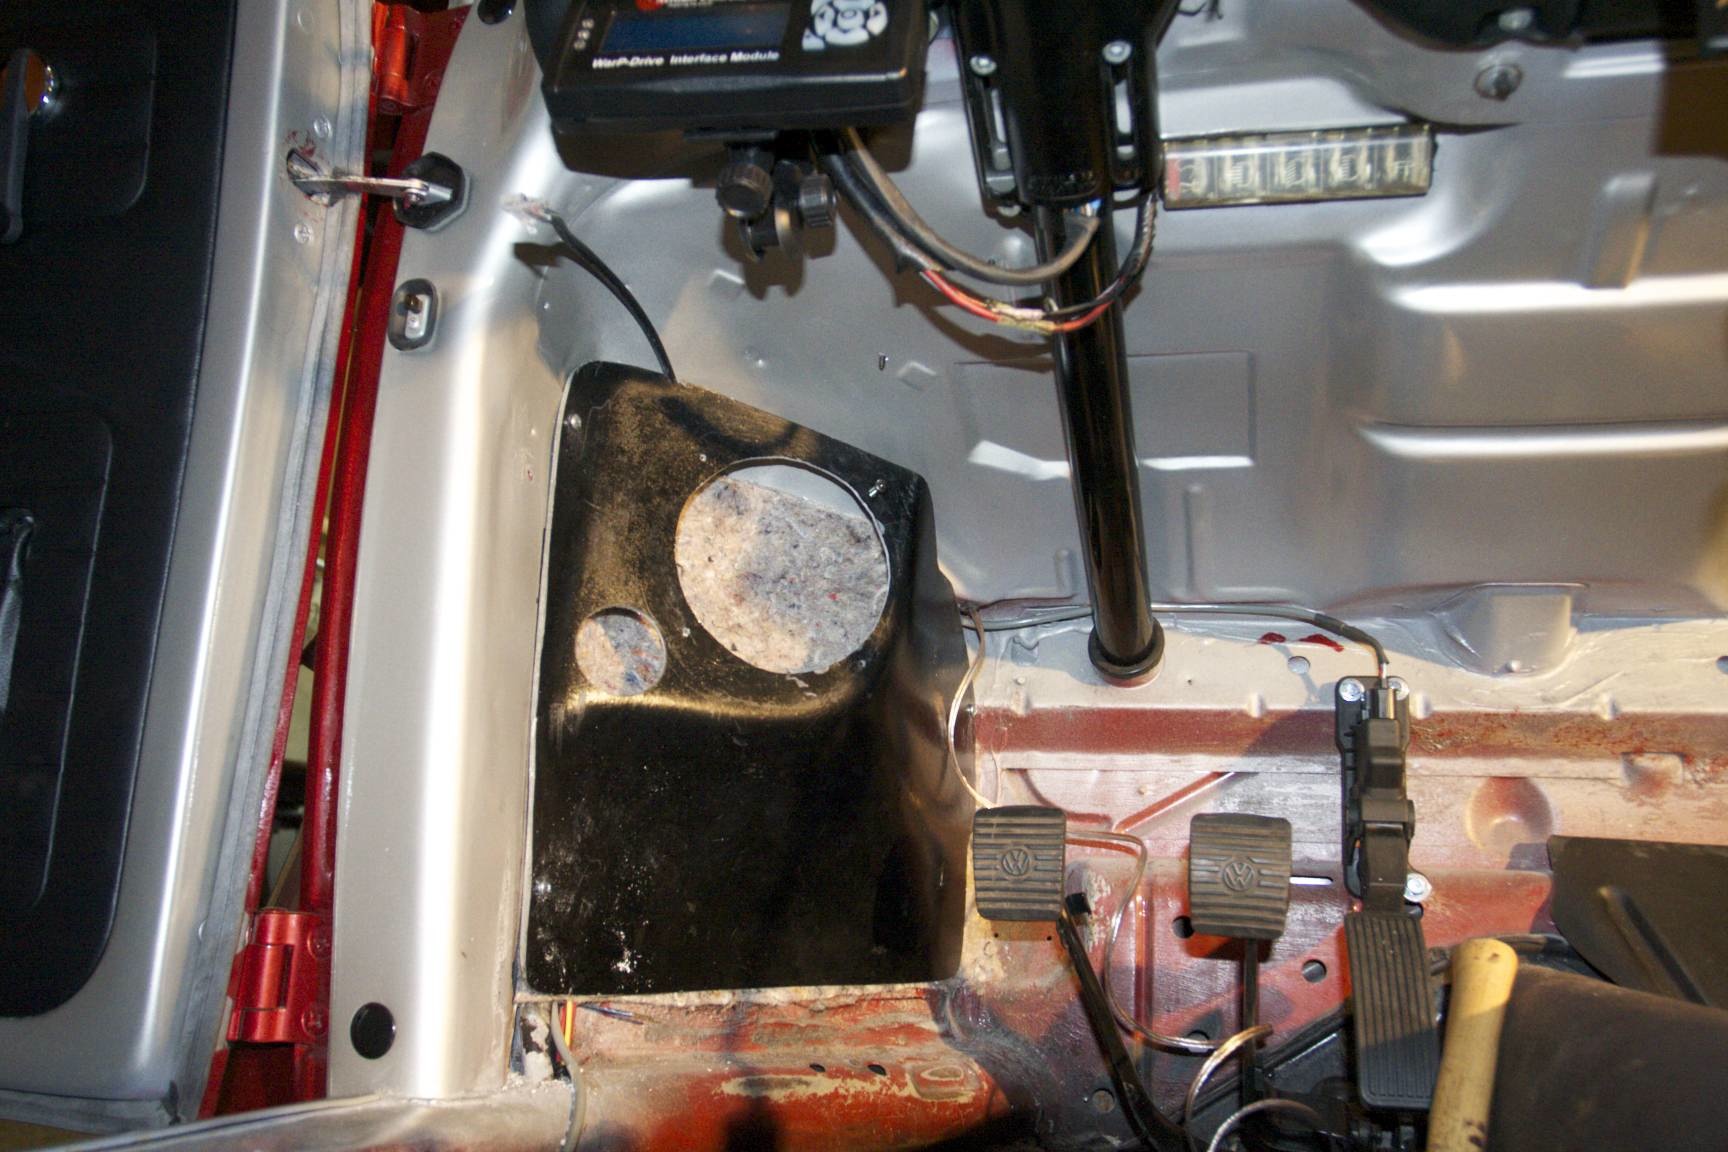
Piece of cake! it only took all day to do this and the basic wiring/install of the stereo.
And the speaker mounted:
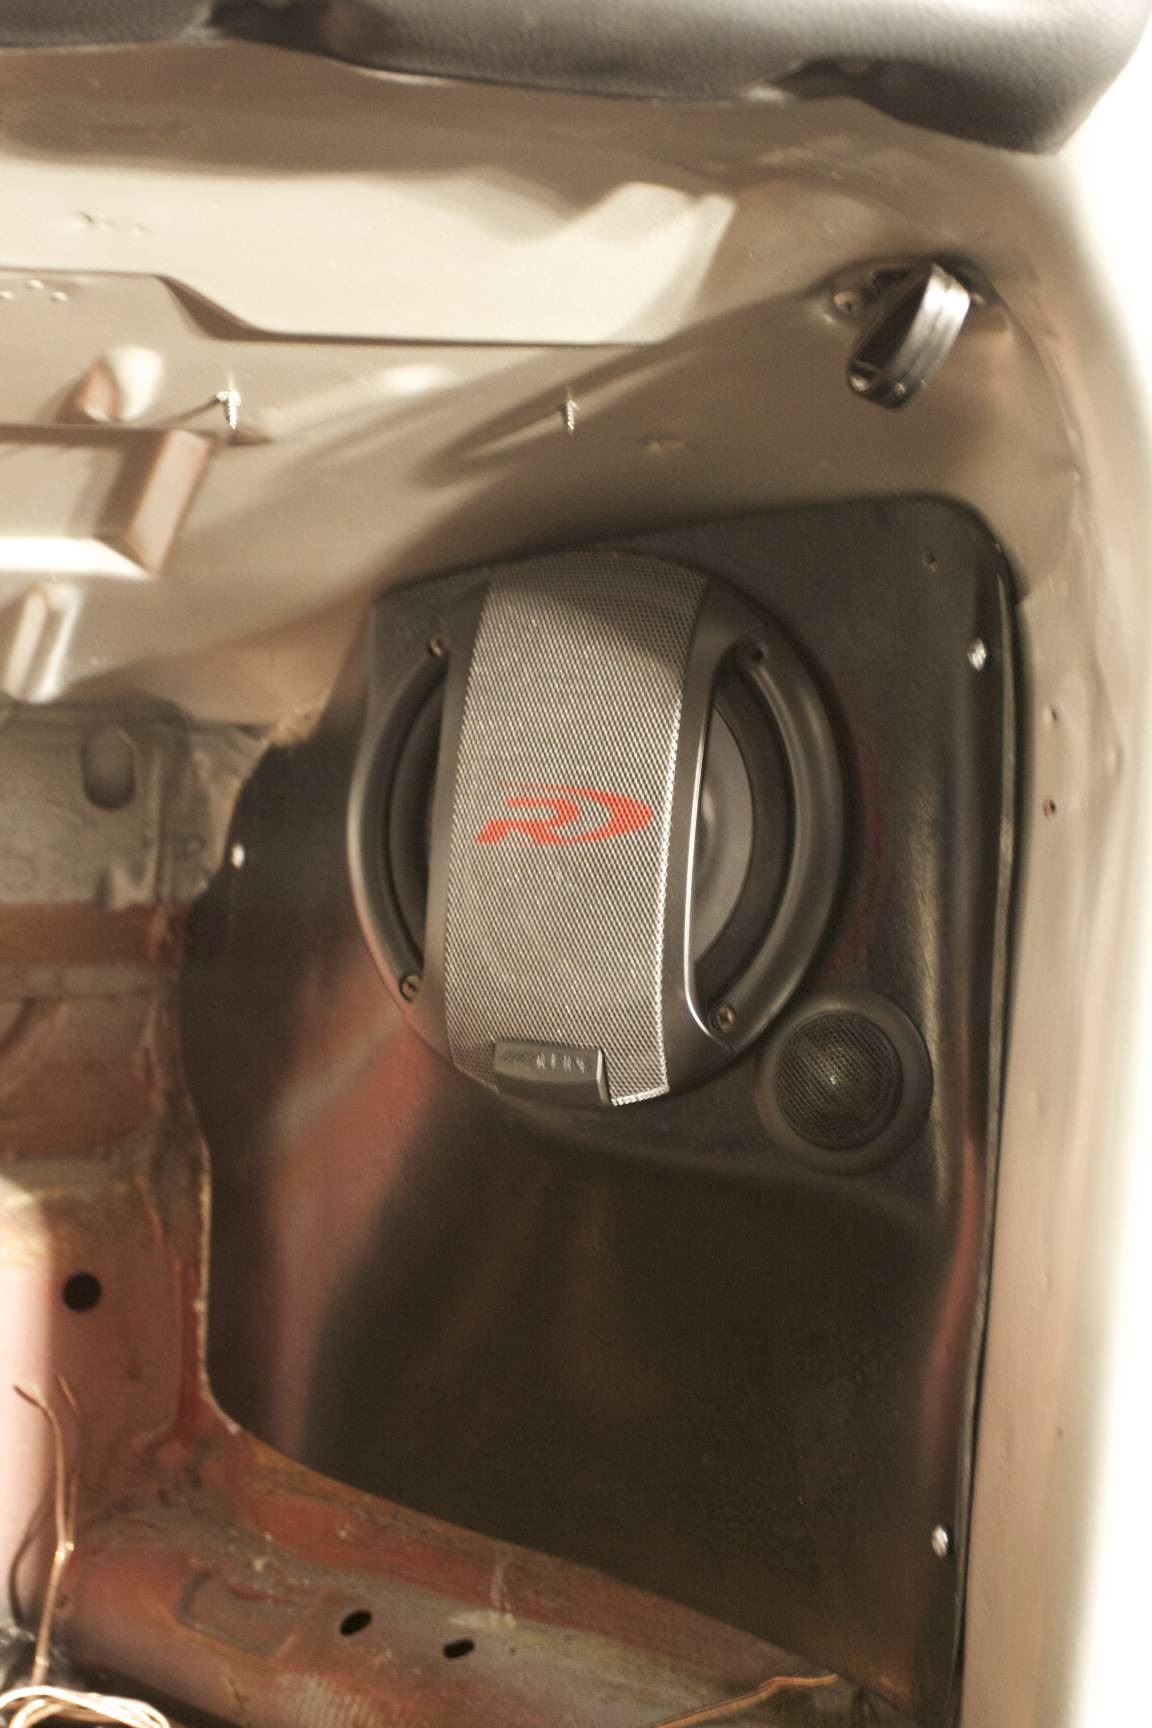
I’ll carpet over the speaker panel once I get all the High Voltage wiring done.
The stereo itself fit into the dash with some slight modifications. I had to cut down the metal slot a little bit with a dremal to make it fit. Installing the wires was a piece of cake compared to everything else I’ve done so far.
Here it is powering the iPad:
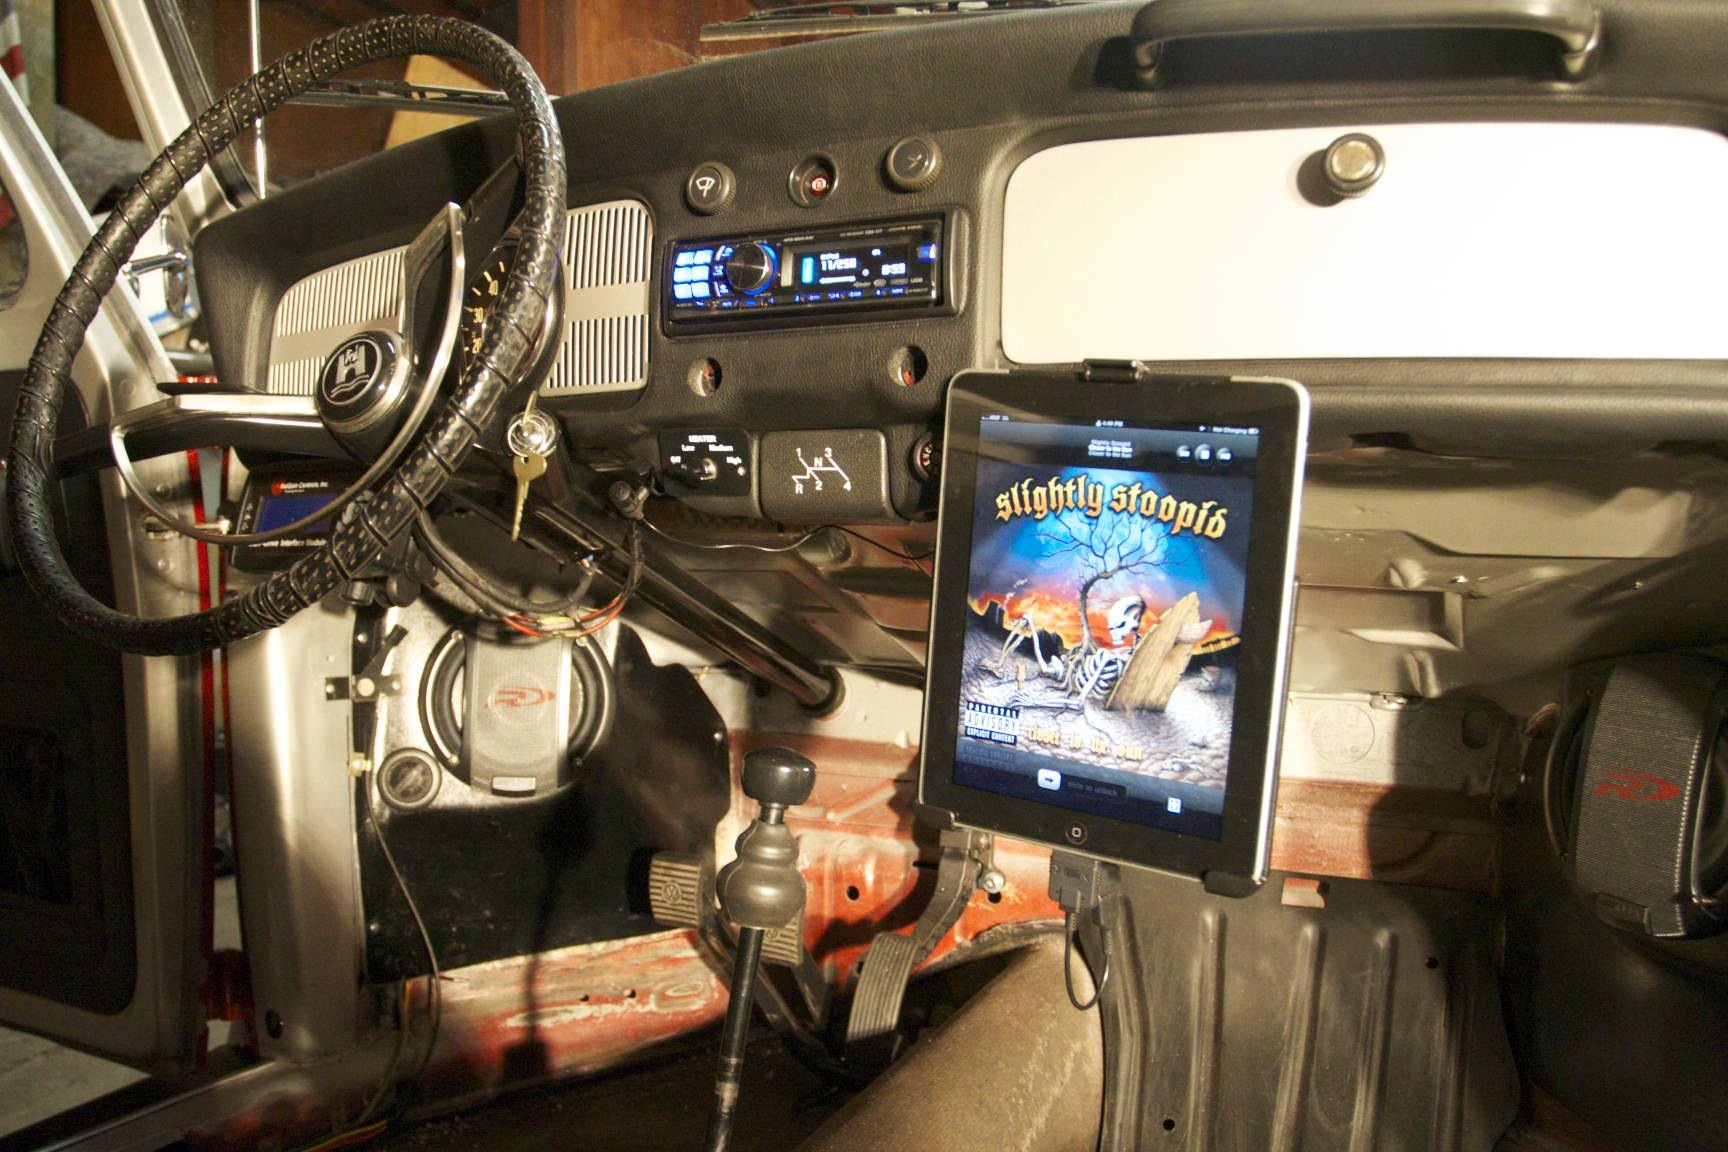
The head unit is an Alpine CDA 117 and the speakers are Alpine Type-R SPR-17S 6.5″ components. I’m not super happy with the head unit and I mainly picked it because it was supposed to have good iOS support. It can control the iPad/iPhone okay, but it is really slow to seek from one song to another. If I preset my songs before plugging it in, then it works alright. I can (purchase!) an external input that lets me plug it in with a traditional 7mm jack; I’ll probably do this so I can control the songs with the iPad itself (it is such a faster way of doing it!). Another thing that wasn’t so good was that the bluetooth was another $100 or so. I bought that too, and it actually works great! I can use airplay to play over bluetooth from the iPhone or iPad. The sucky thing is that I can only connect to one bluetooth device at a time; and it *must* be my phone because hand’s free calling is the main purpose of having it. The other kicker is that the head unit charges the iPhone fine, but doesn’t emit enough amps to power the iPad! Ug…darn it. I’ll have to get another power source. I probably could have gone for a cheaper stereo, as I’ll probably be using it mainly for FM and bluetooth, and not much else. The Alpine CDE-103BT might have done everything I wanted for the price of the bluetooth add on for the CDA 117! …but sound quality might have been worse.


