Plug Bug: Front battery box fabrication
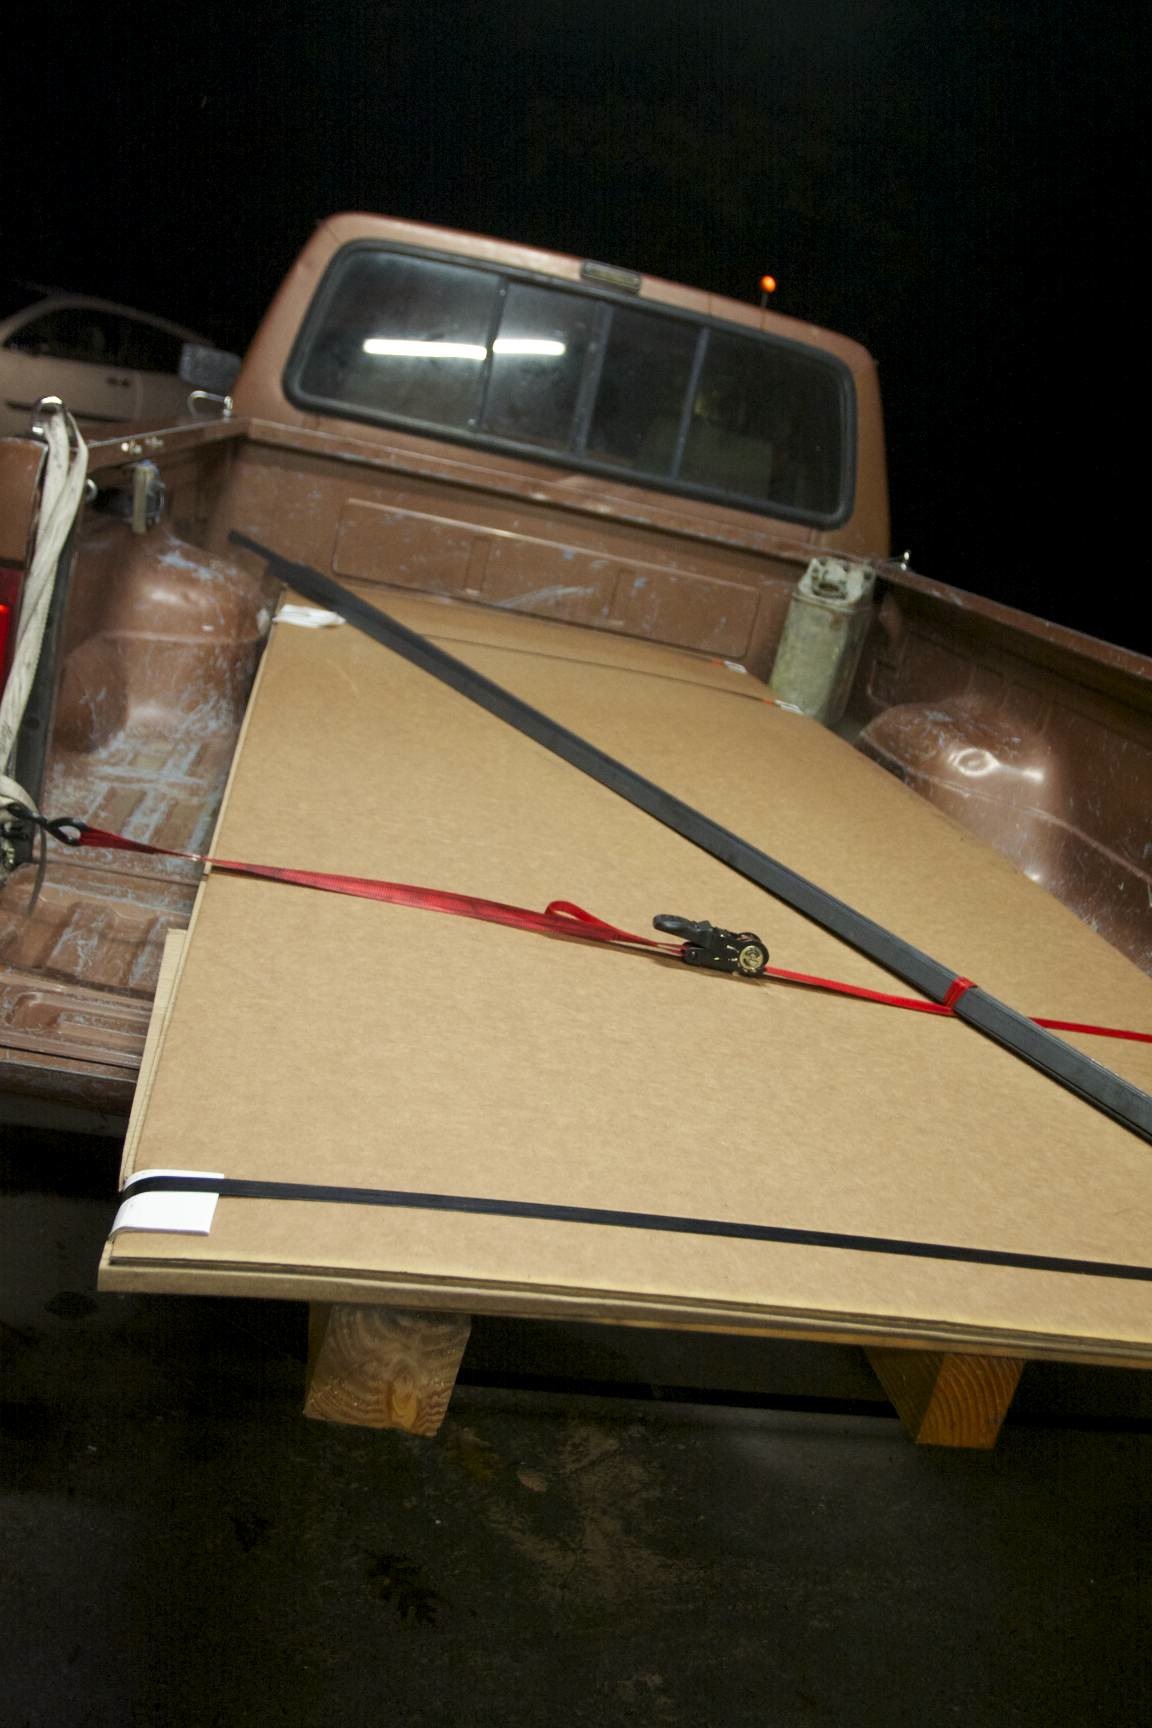
I’ve been working on fabricating the battery boxes out of 1/8″ steel angle iron and flat stock for the past two weeks. The first step was to strap them together to get an accurate measurement of the size of the batteries when as a group. I then went to SIMs metals in downtown San Jose and picked up some steel. I ended up needing more 1/8″ aluminum plate for the cells, and ordered another 4’x4′ piece from Reliance Metal Center up Union City, CA. I also needed some sheet metal, which I was going to get at SIMs but I figured I might as well just pick it up there while I was driving up. I got a full 8’x10′ 22 gauge sheet — the smallest they would sell me, for about $43. I could have bought 4 small pieces at Home Depot for $10 each…but I figured it would be nice to have the spare steel around. The crazy part is how it was packaged — sandwiched between two thick pieces of cardboard and placed on heavy duty palette made out of 12′ four by fours! Great packaging, but a little excessive. I was planning on rolling it up in the back of the truck, but it was nice to have it all secure!
Onto the battery boxes. Here’s the front box as I went along:
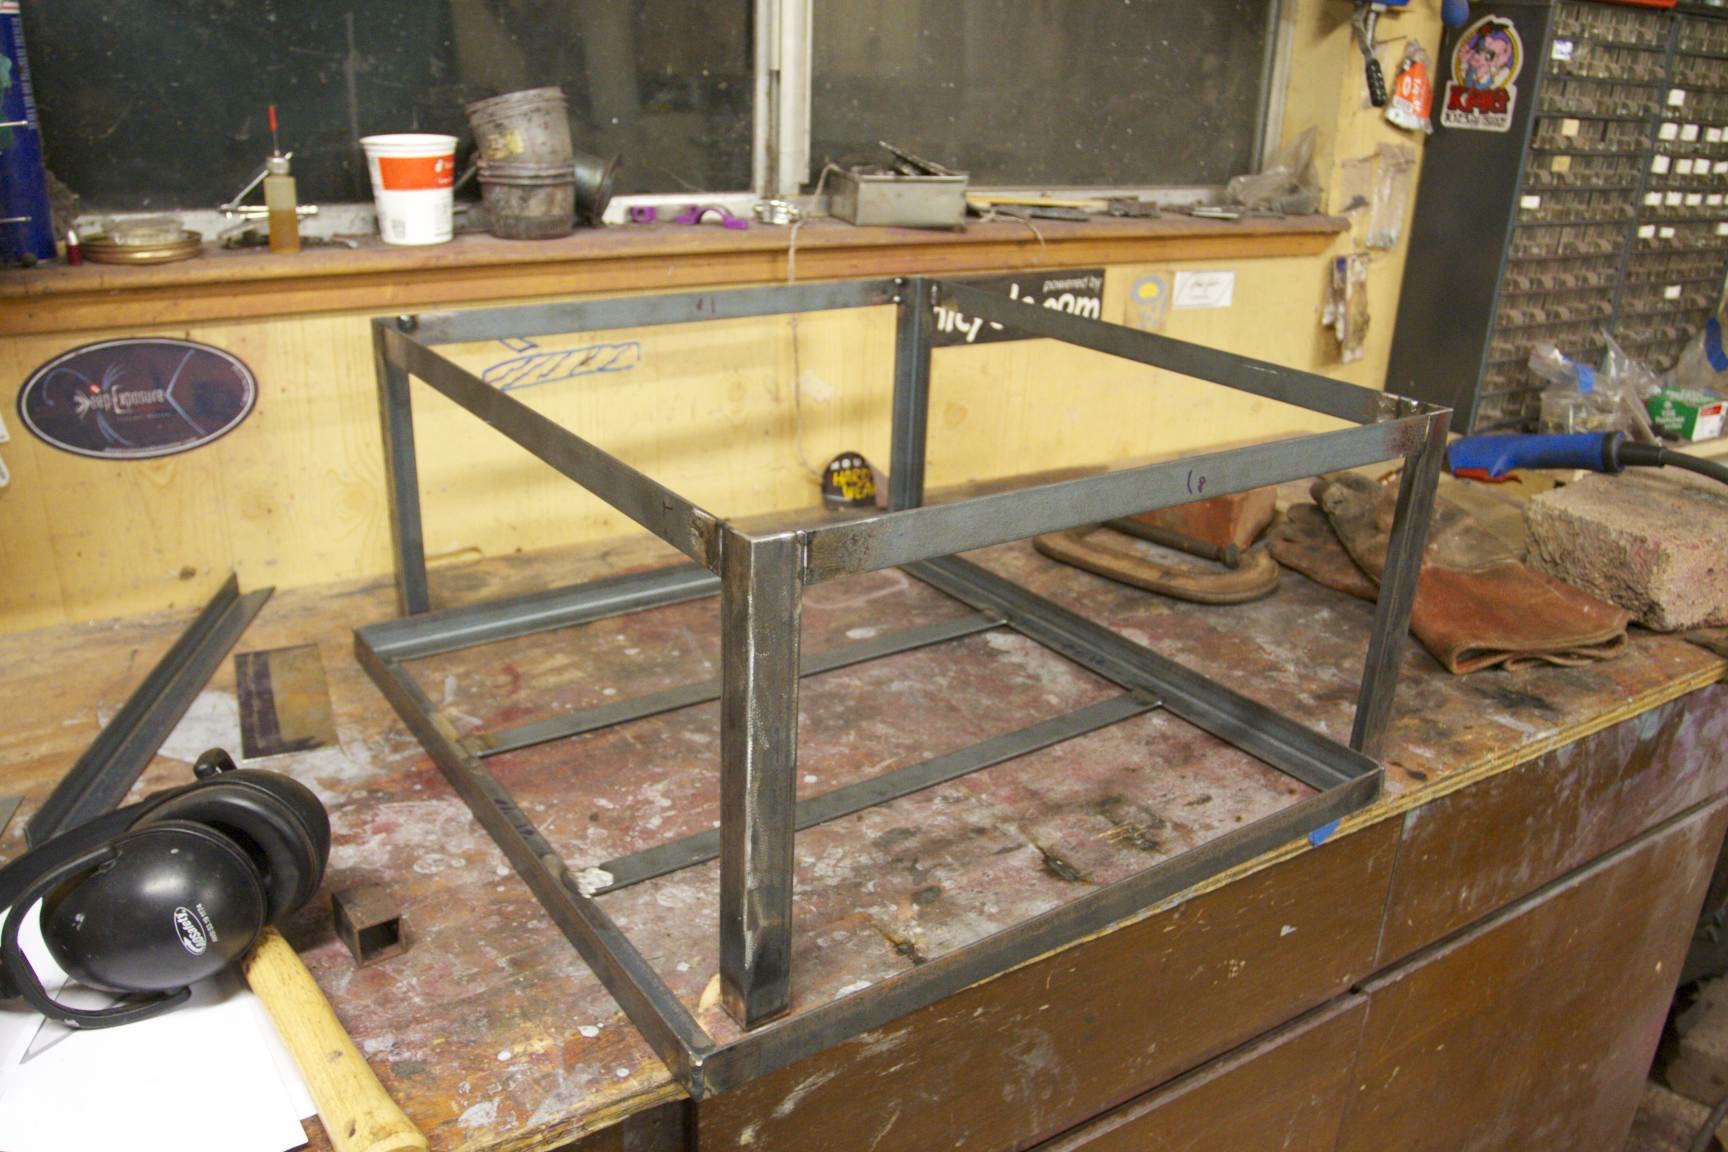

A trial fit turned out to be just too darn tight! I built it right to the size it needed to be…but it needs to have some play to get the cells in it (and back out!).
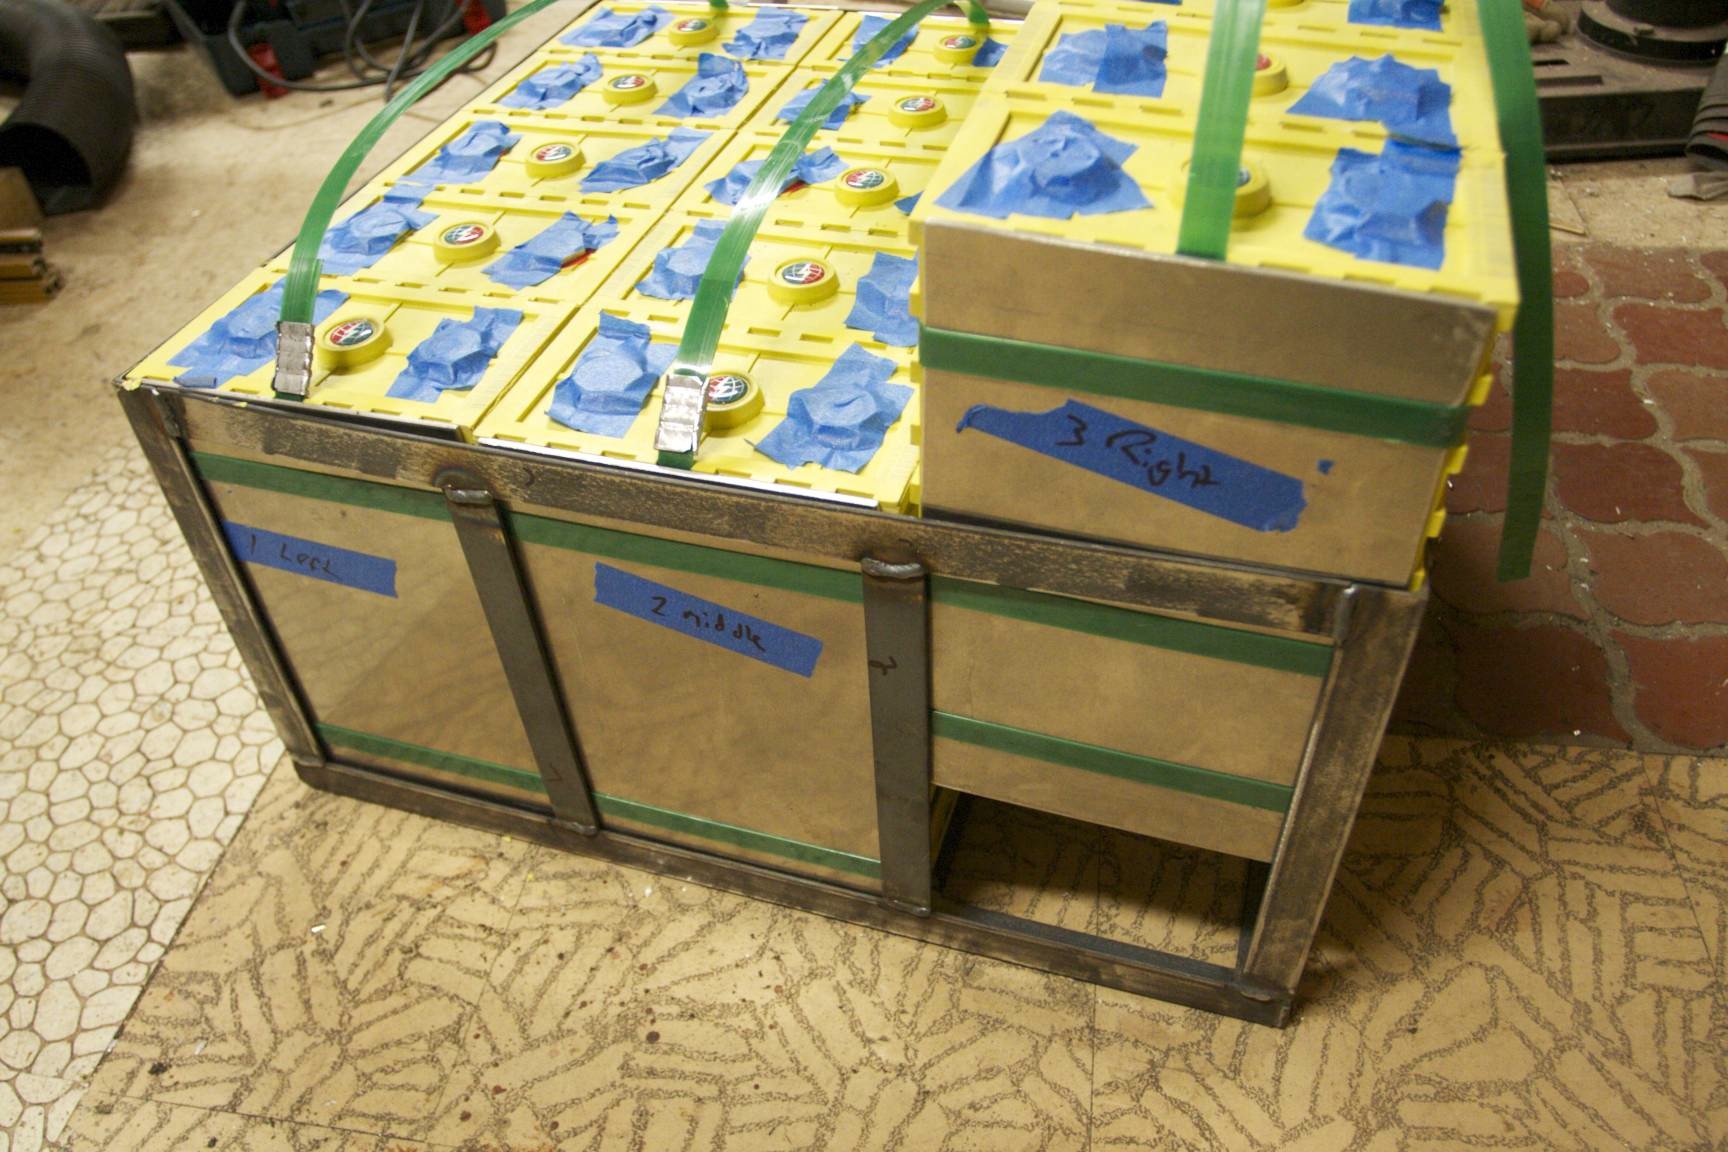
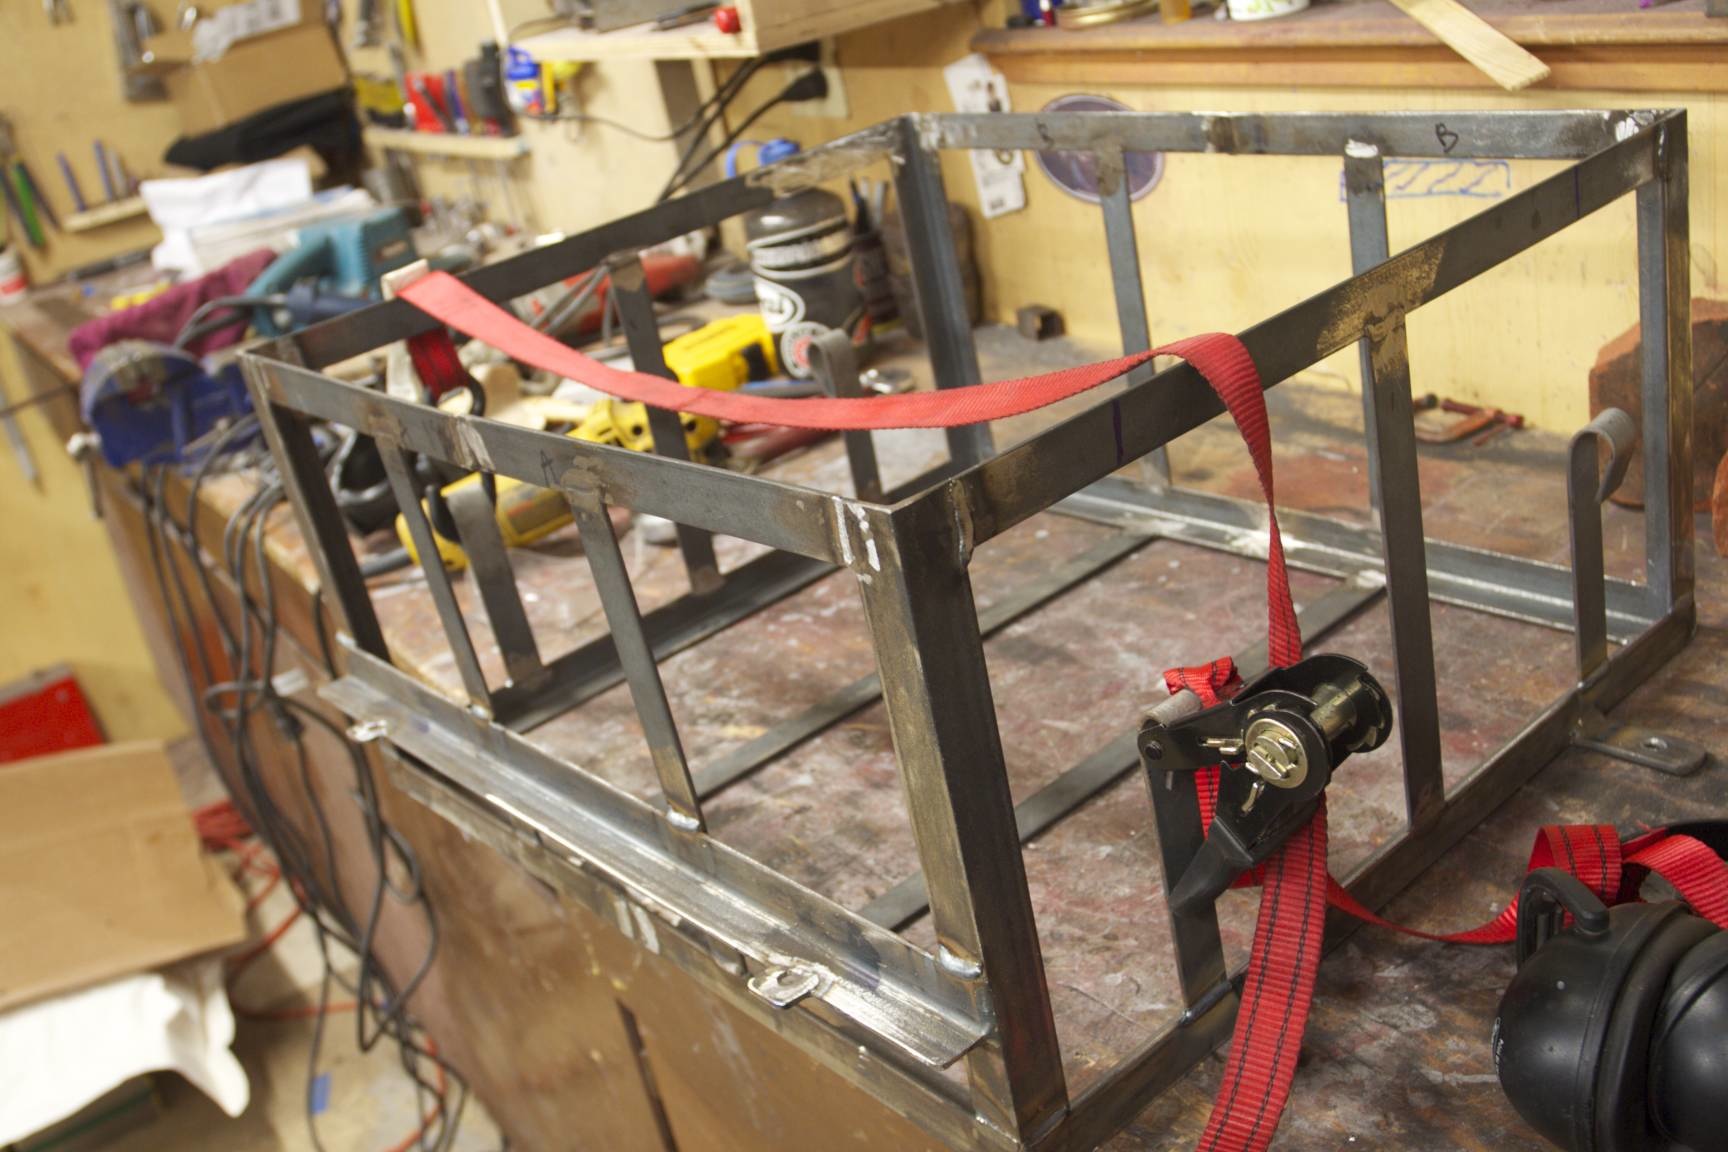
So, opted to cut it in half and weld in 1/8″ spacers. That made them fit; albeit still a little tight, but they do go in:

NOTE: The picture about is showing only two straps on the two right banks of cells — I later added the third strap.
Next, I did some trial fitting in the front trunk. I added about 1.5 inches on top with cardboard to make sure I would have enough clearance for the mounting hardware (straps, BMS), and a lexan cover.
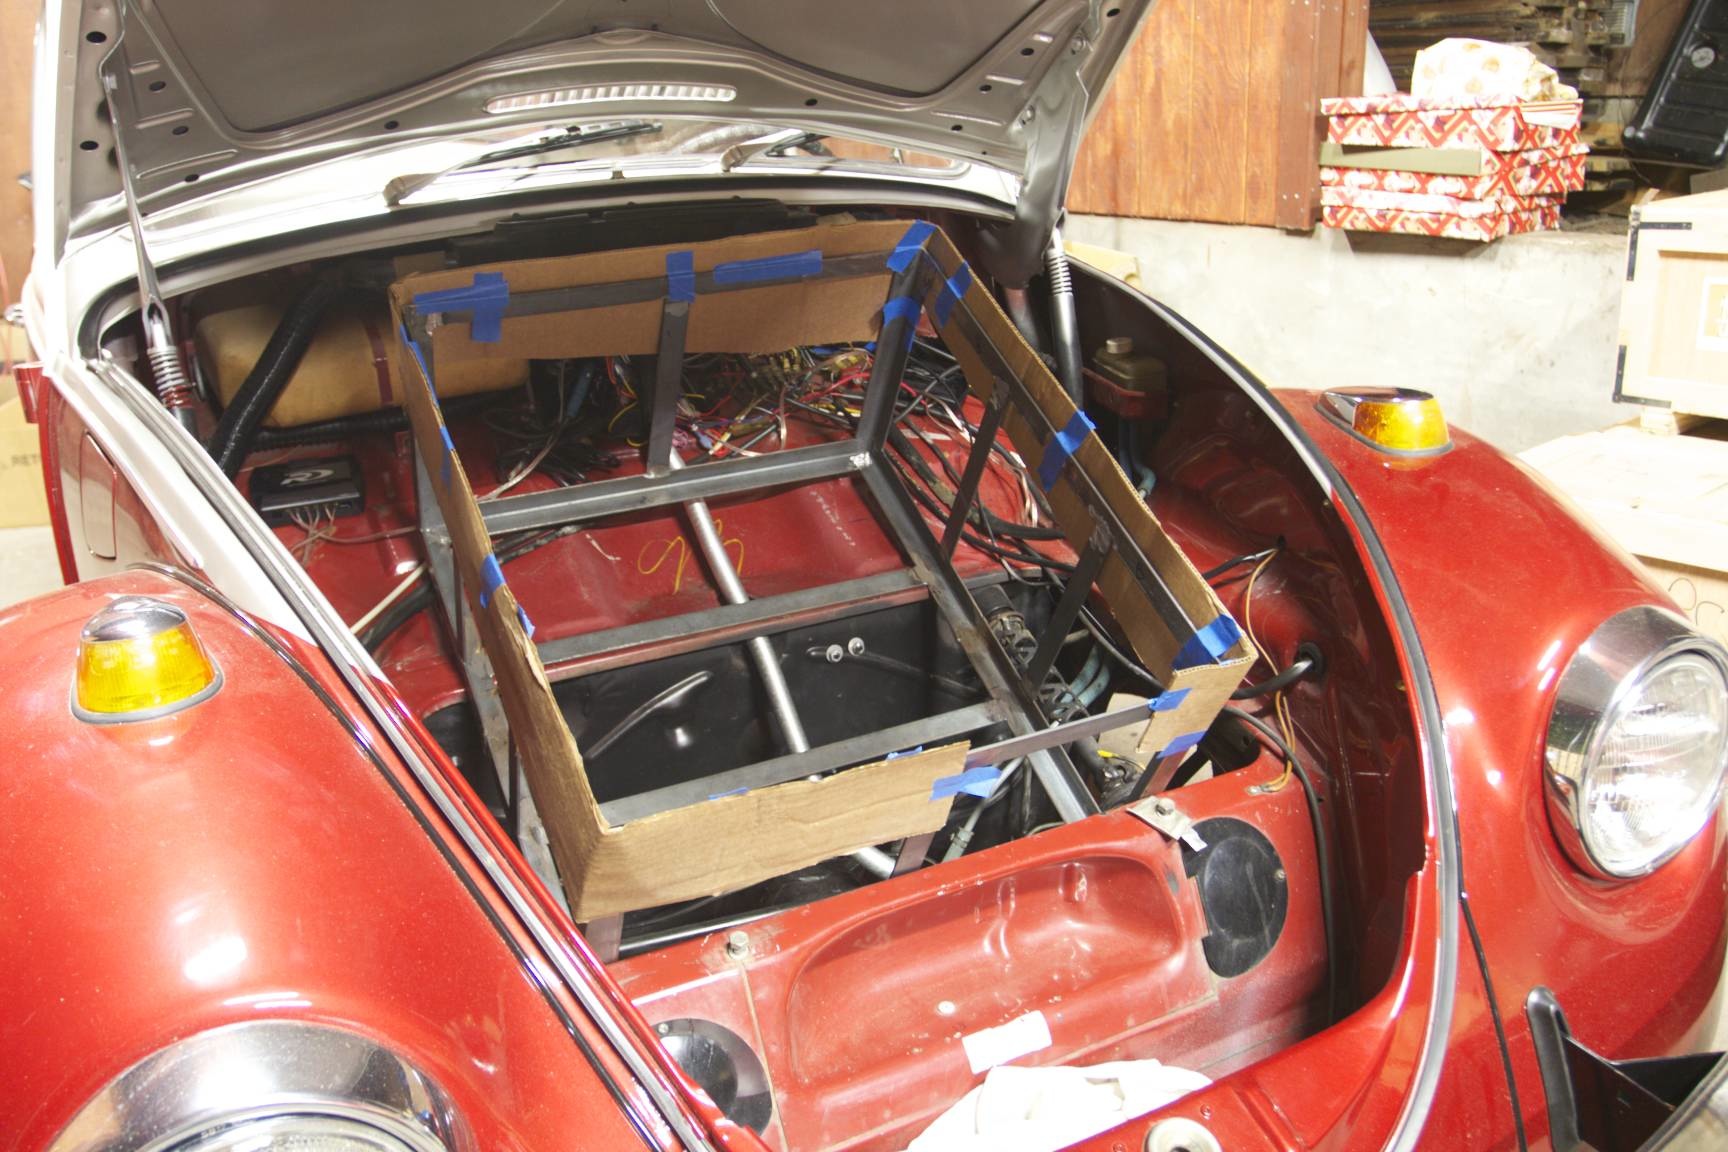
It seemed to fit just perfectly if I sunk it as low as it would go in the front area, and have it hover just over the steering wheel column.
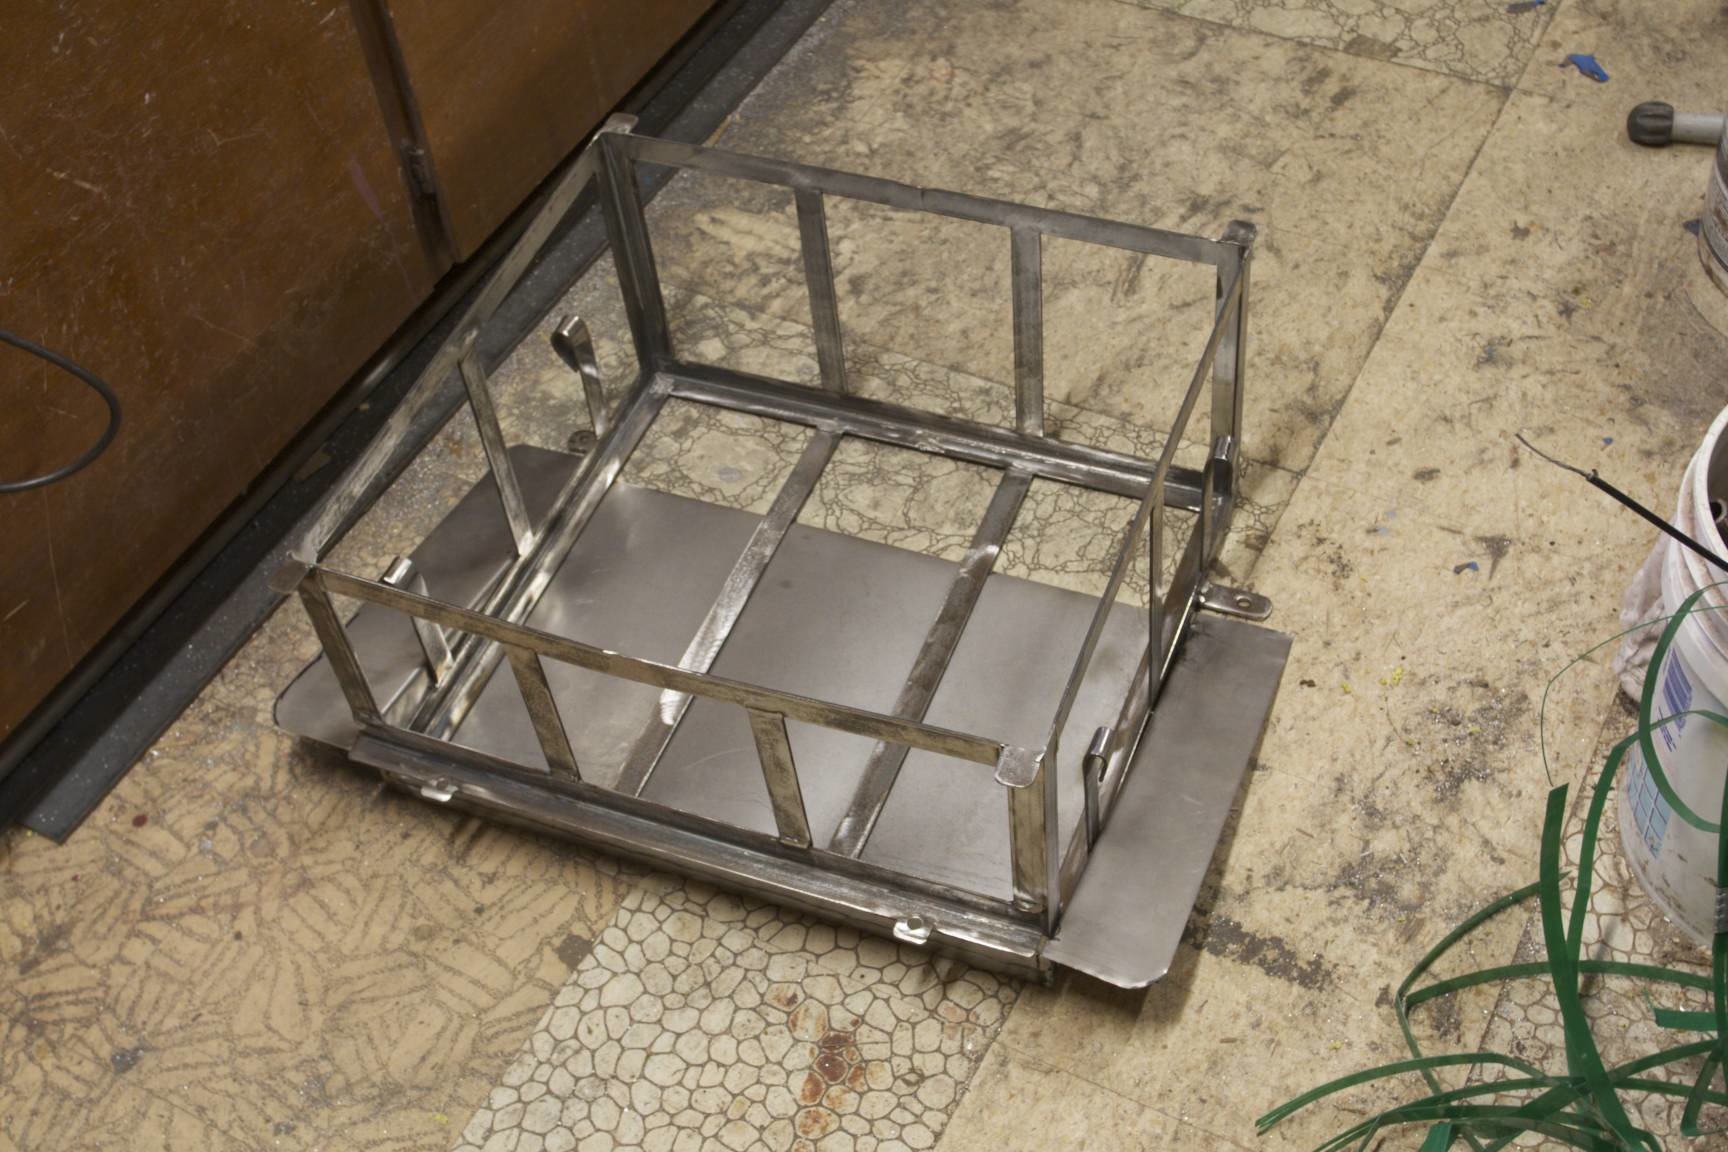
I used two C-clamps to secure a piece of angle iron on the front and then welded that on:

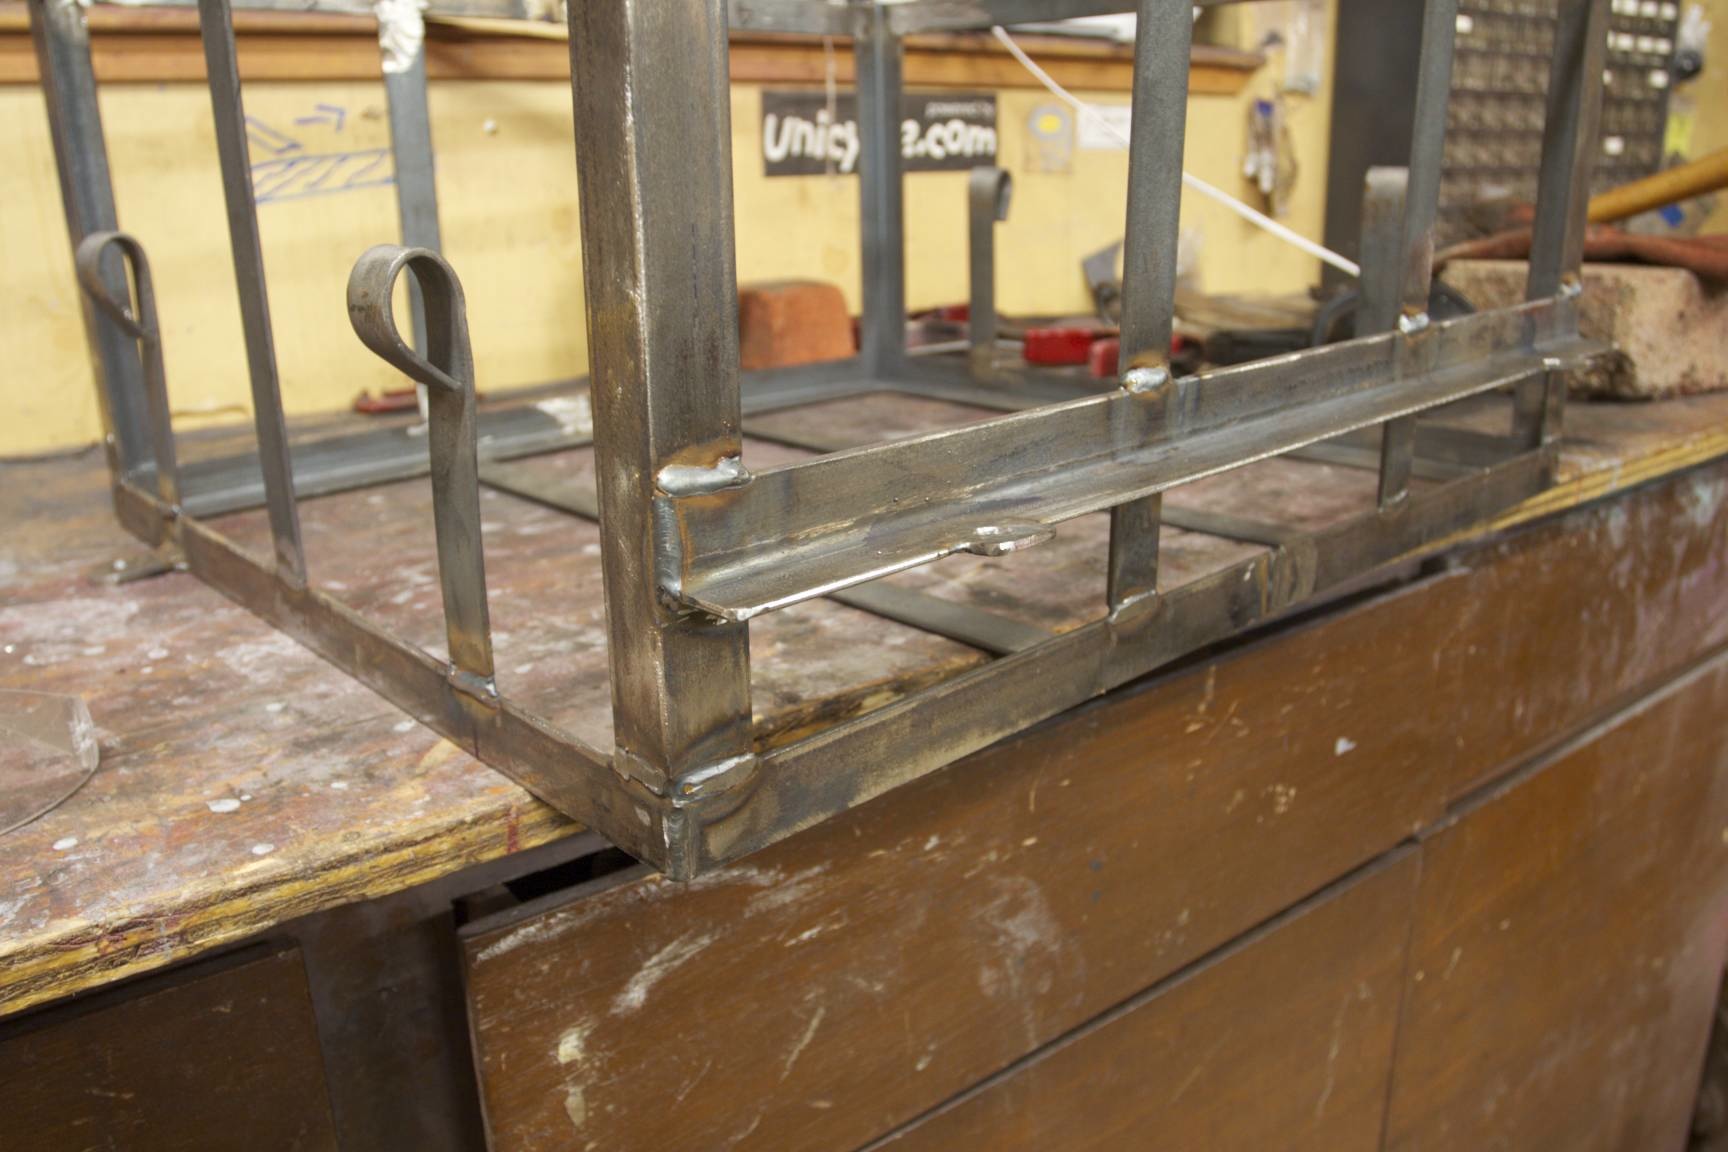
The picture above also shows my idea of strapping the cells down in the Z axis (vertical). I don’t want the cells to move around when I go over a bump, nor do I want them to fly out the top if the car happens to flip over in an accident. I’ve heard of other people using tie down straps, so I simply attach them to the side pieces of metal I bent to act as a nice hold down. This will also help cinch the cells up tight to help expansion issues.
In the above picture, you can also see the two front holes drilled to mount the box to the frame. I simply used the existing gas tank bolt holes as they were in just the right location.
<< Fast forward a few days — I worked on the rear box since I didn’t have the sheet metal at the time. >>
I wanted the front box to be 100% sealed from the elements. I made a mold out of cardboard to cover up the side area as a little wing. I then traced it onto the sheet metal and cut it out with the jig saw. The jig saw was a pain; I really wish I had a nice metal band saw!
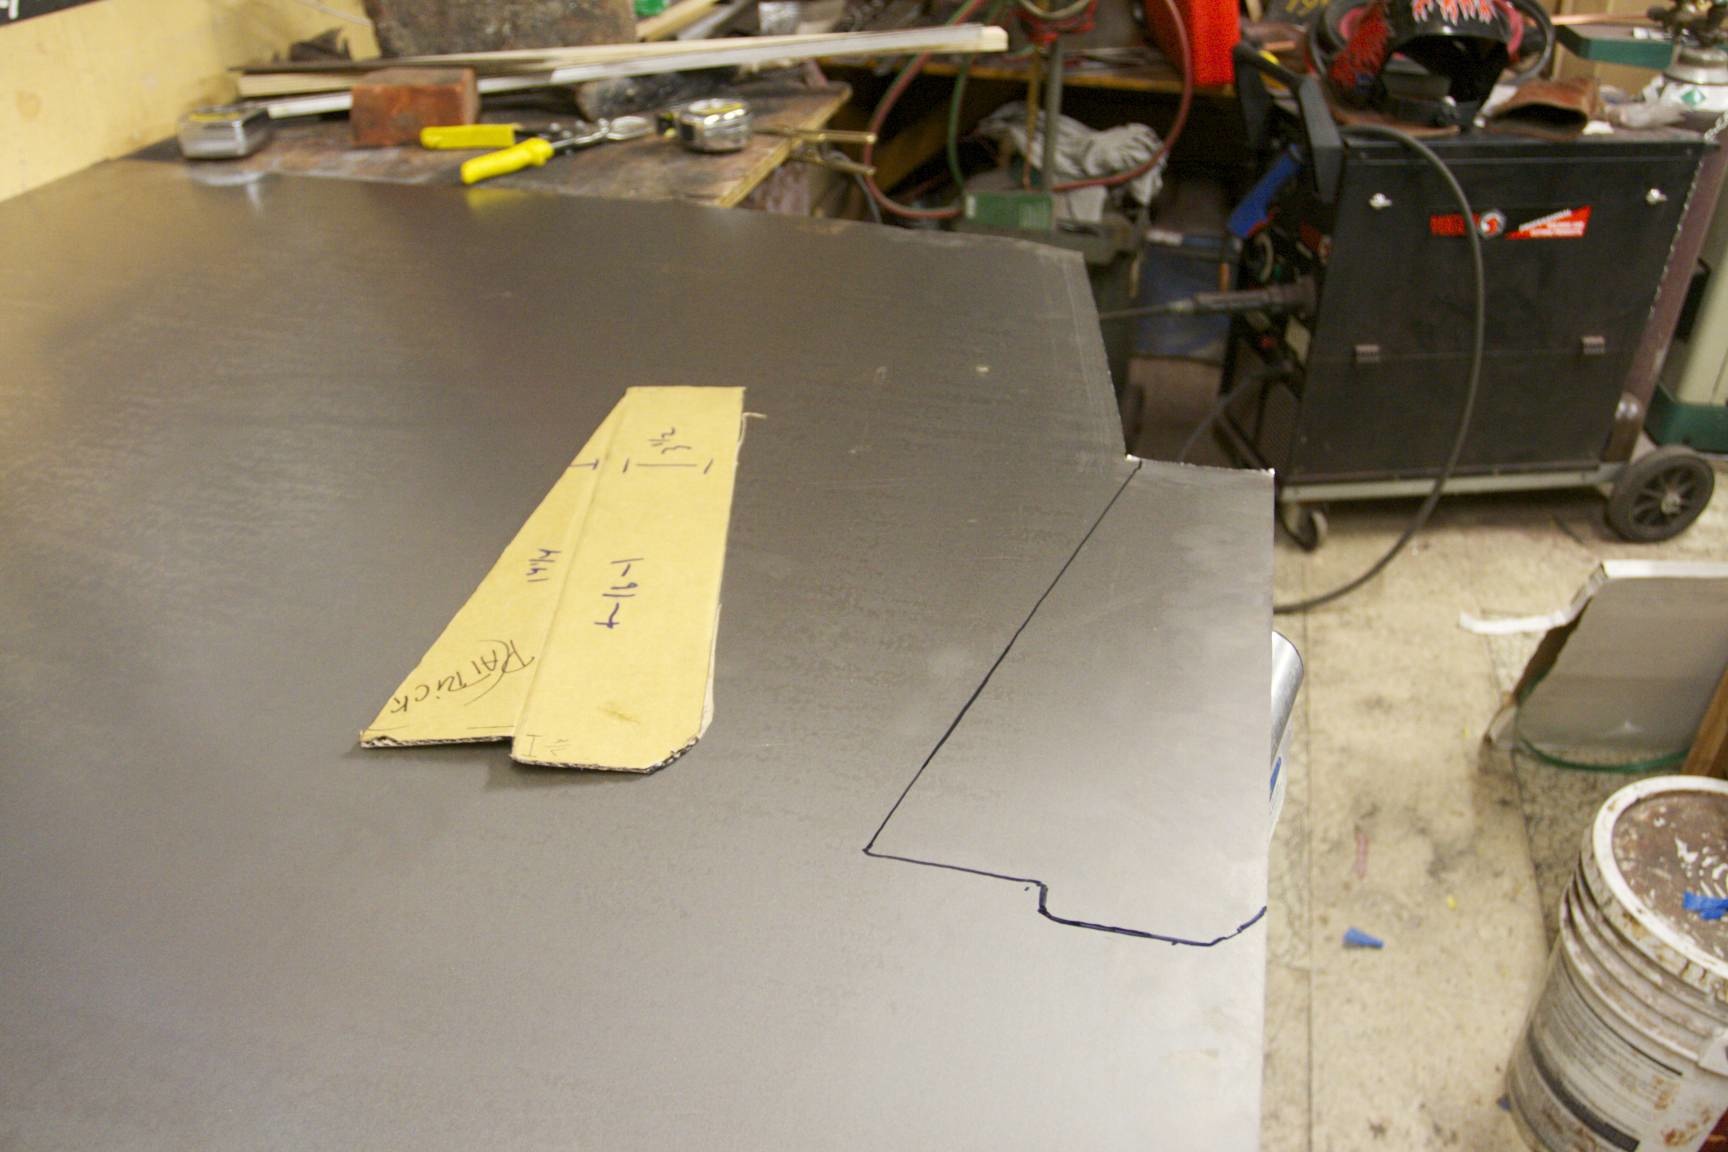
There’s also a large piece on the bottom:

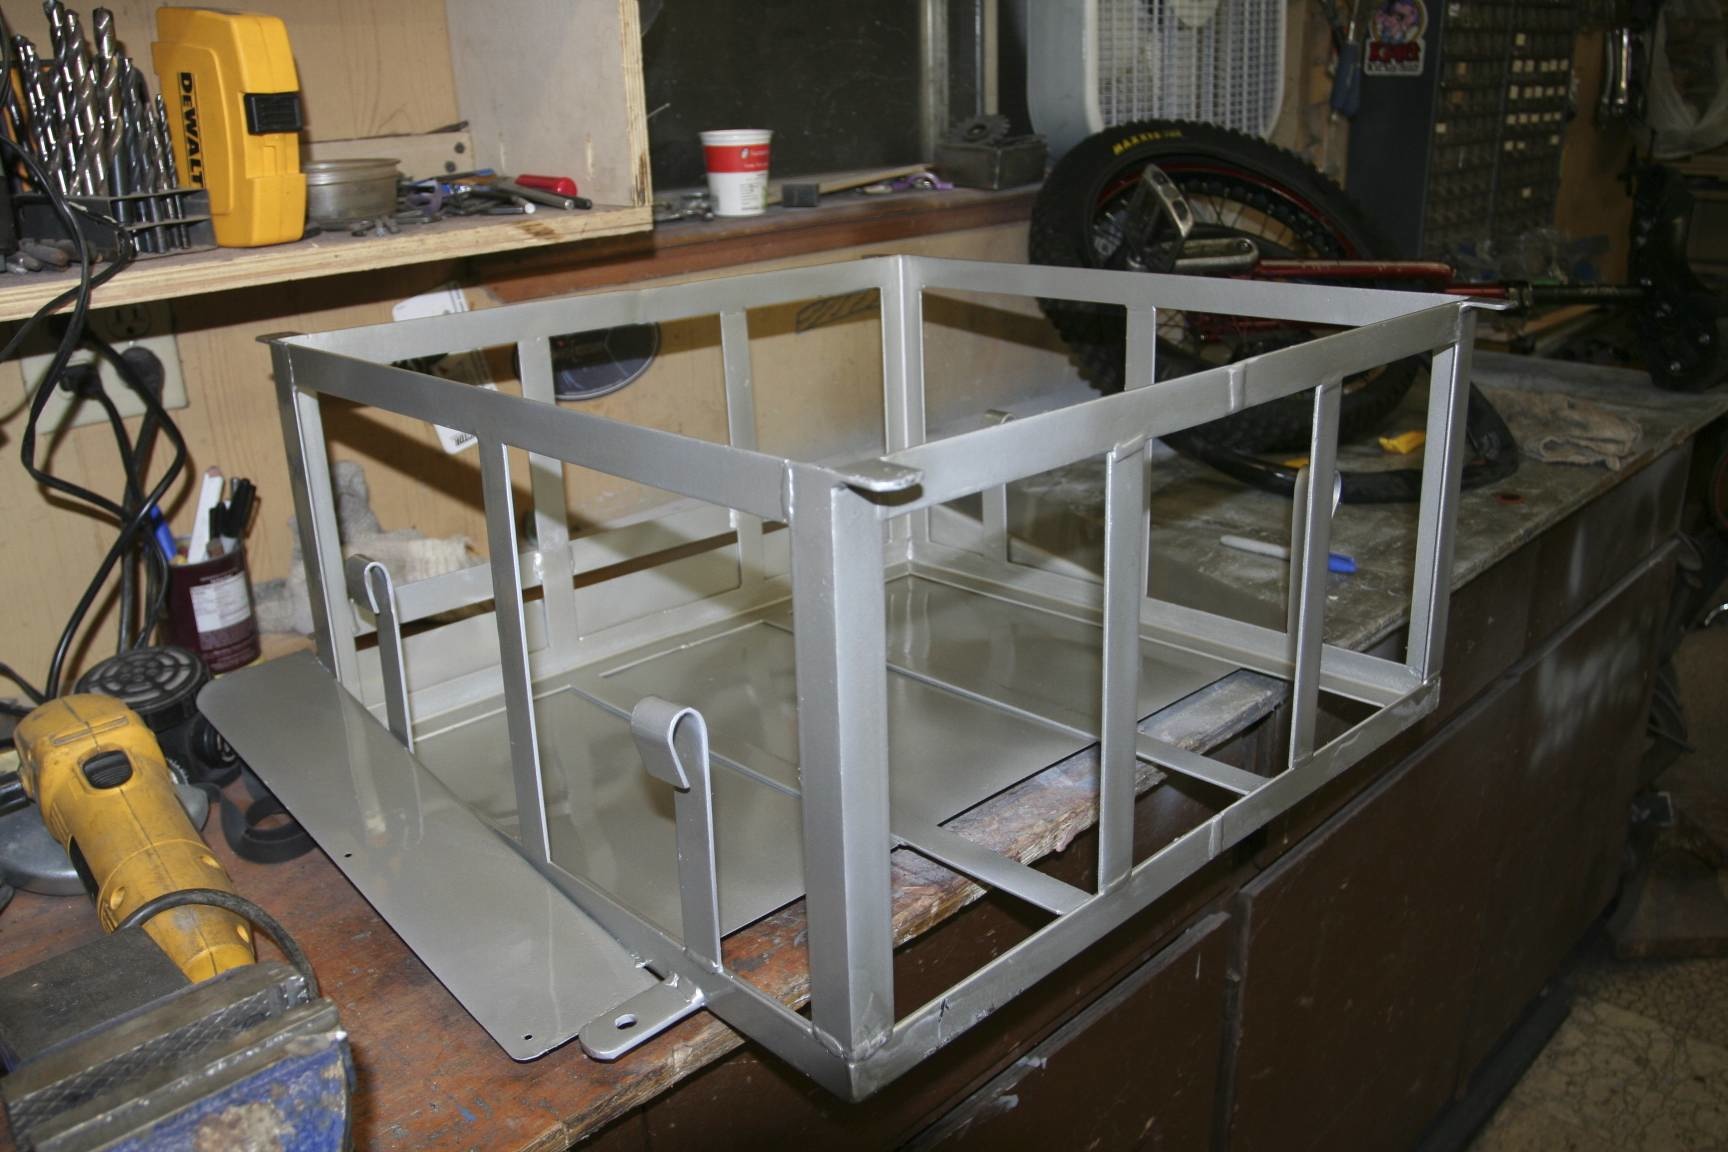
The completed welds — the bottom of the box is facing to the left. The front of the box is facing up. The “wings” are on the left and right side.
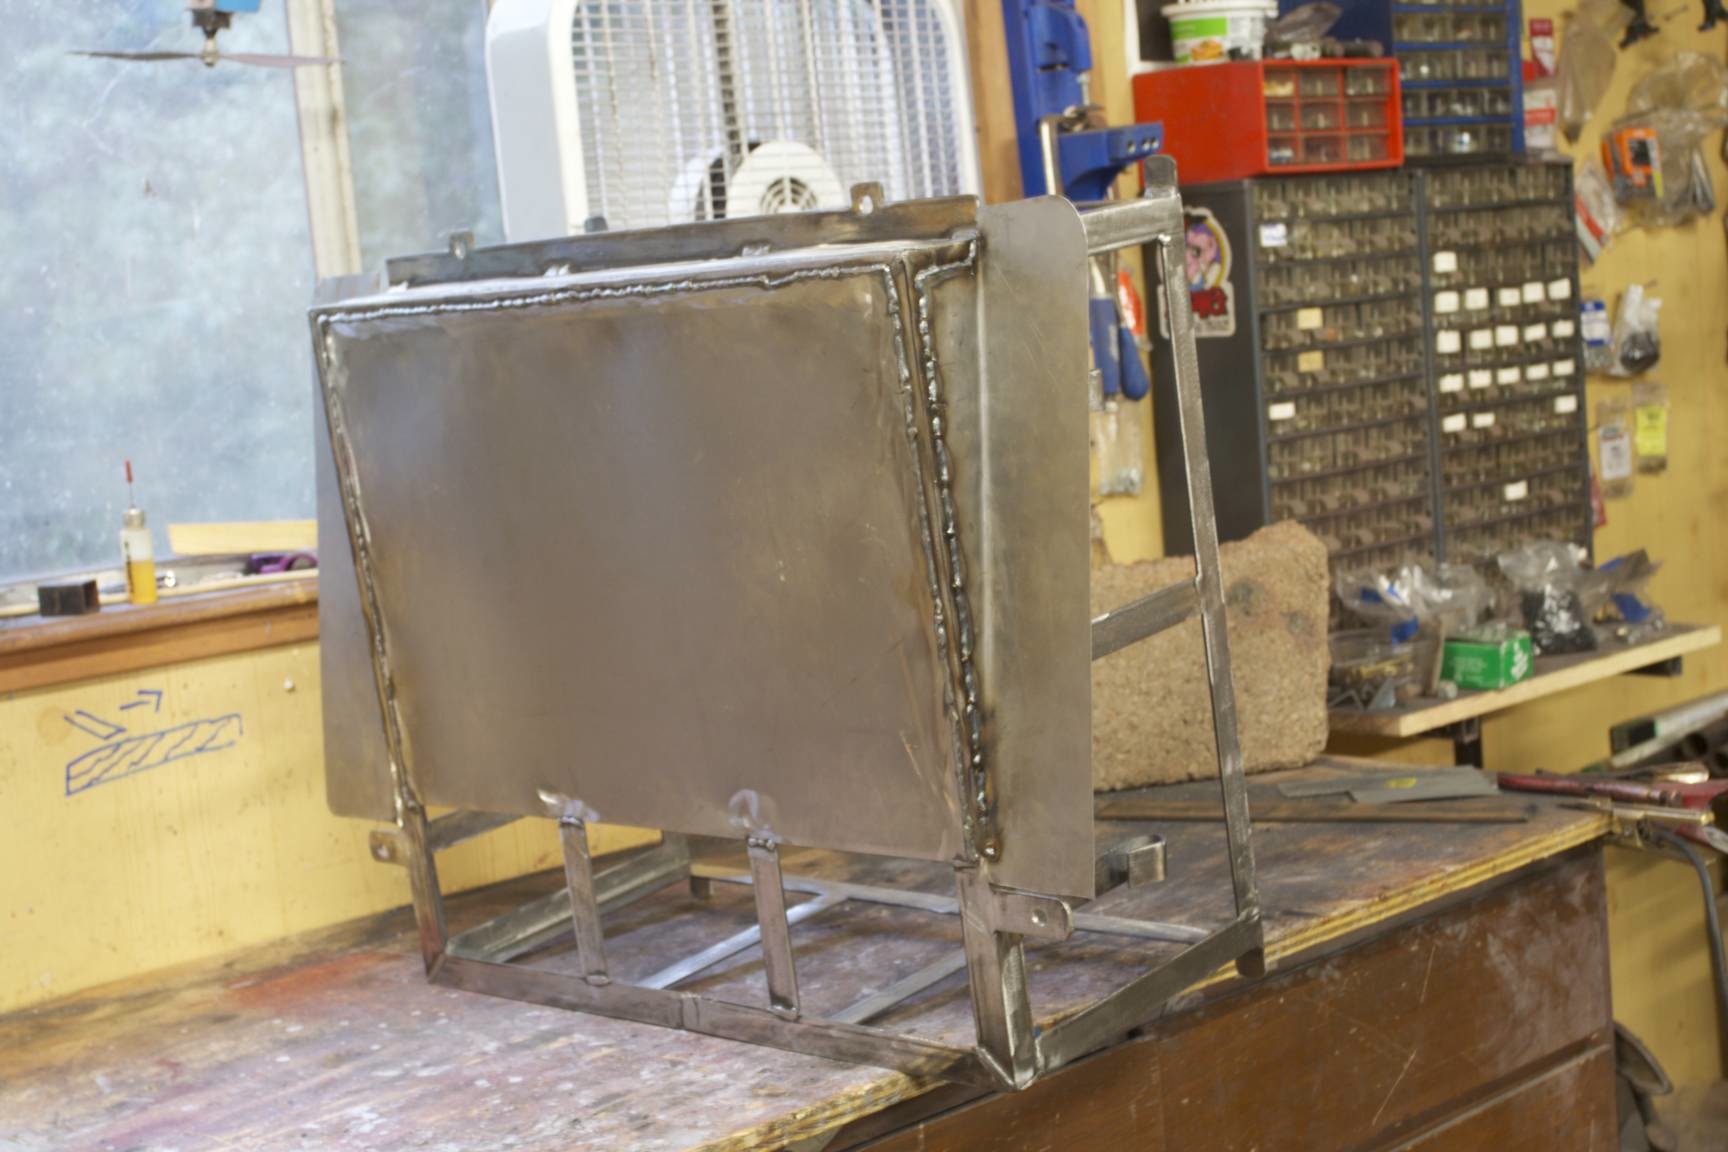
Top view:
Positioned in the car — it completely covers up the area that the gas tank was in.
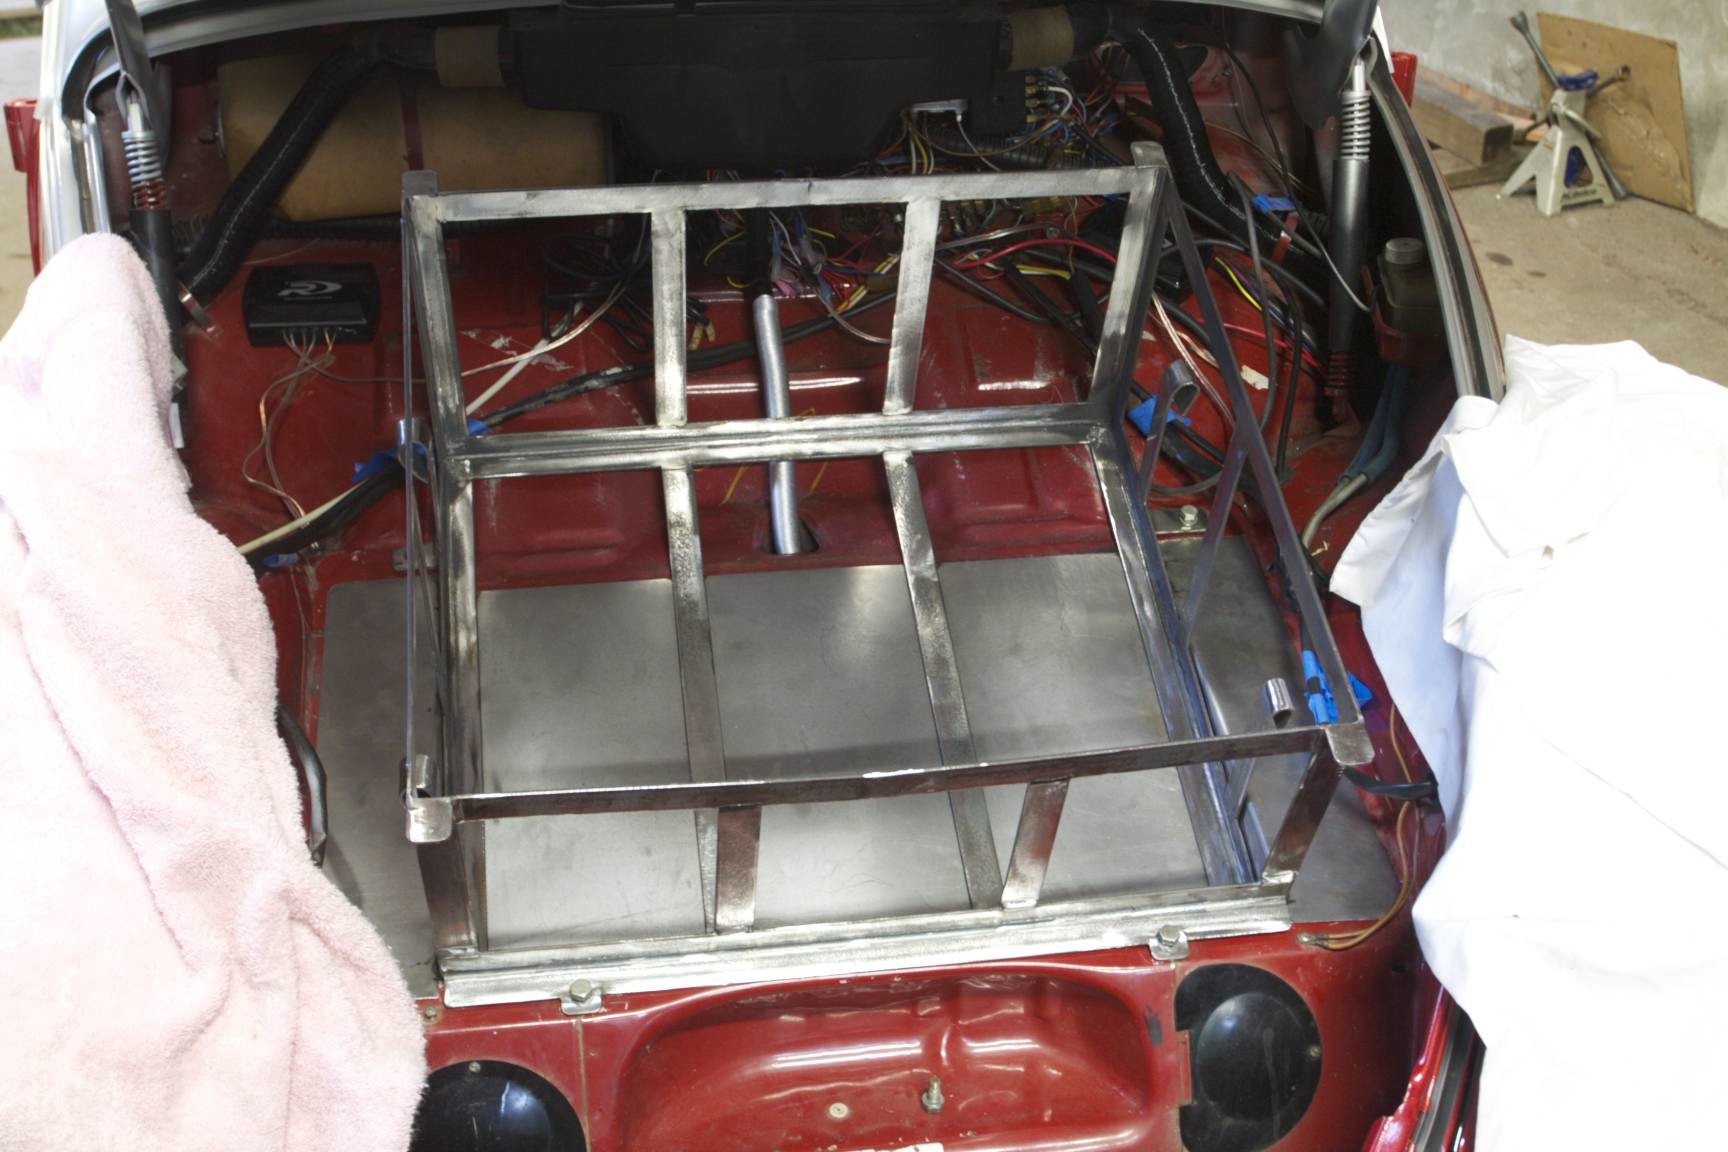
Also note that the above picture has little ear tabs on each of the four corners; these will be used to mount the Lexan piece on top.
The final step, was to paint it. I used the same metallic silver paint as I used on top of the bug. There are (sort of) two coats of primer, two coats of color, and two coats of clear. All I did today was paint all the boxes:
The rear box will be detailed in the next post…

Looking good on the battery boxes. My son-in-law starts class on Jan 10 to work on the VW bug that we bought to refurbish the body. I purchased a brand new flywheel off of ebay last week for $60.00 and it arrived yesterday.