Plug Bug: Motor Installed
Last weekend was a big weekend for the project. My buddy Aaron, who has a lot of home-built EV experience and now works at Tesla came over to lend me a hand. He brought over a friend, Nate, who also works at Tesla. So two Tesla employees helping me put my car together; how cool is that?
We set the adapter on the motor shaft, bolted on the lightened (and recently balanced) flywheel, and then bolted on the clutch pressure plate with the clutch disk inside:

Then it was mated to the transmission. This is actually a picture from the next day after I made a better jig to hold the motor (more on that a bit):
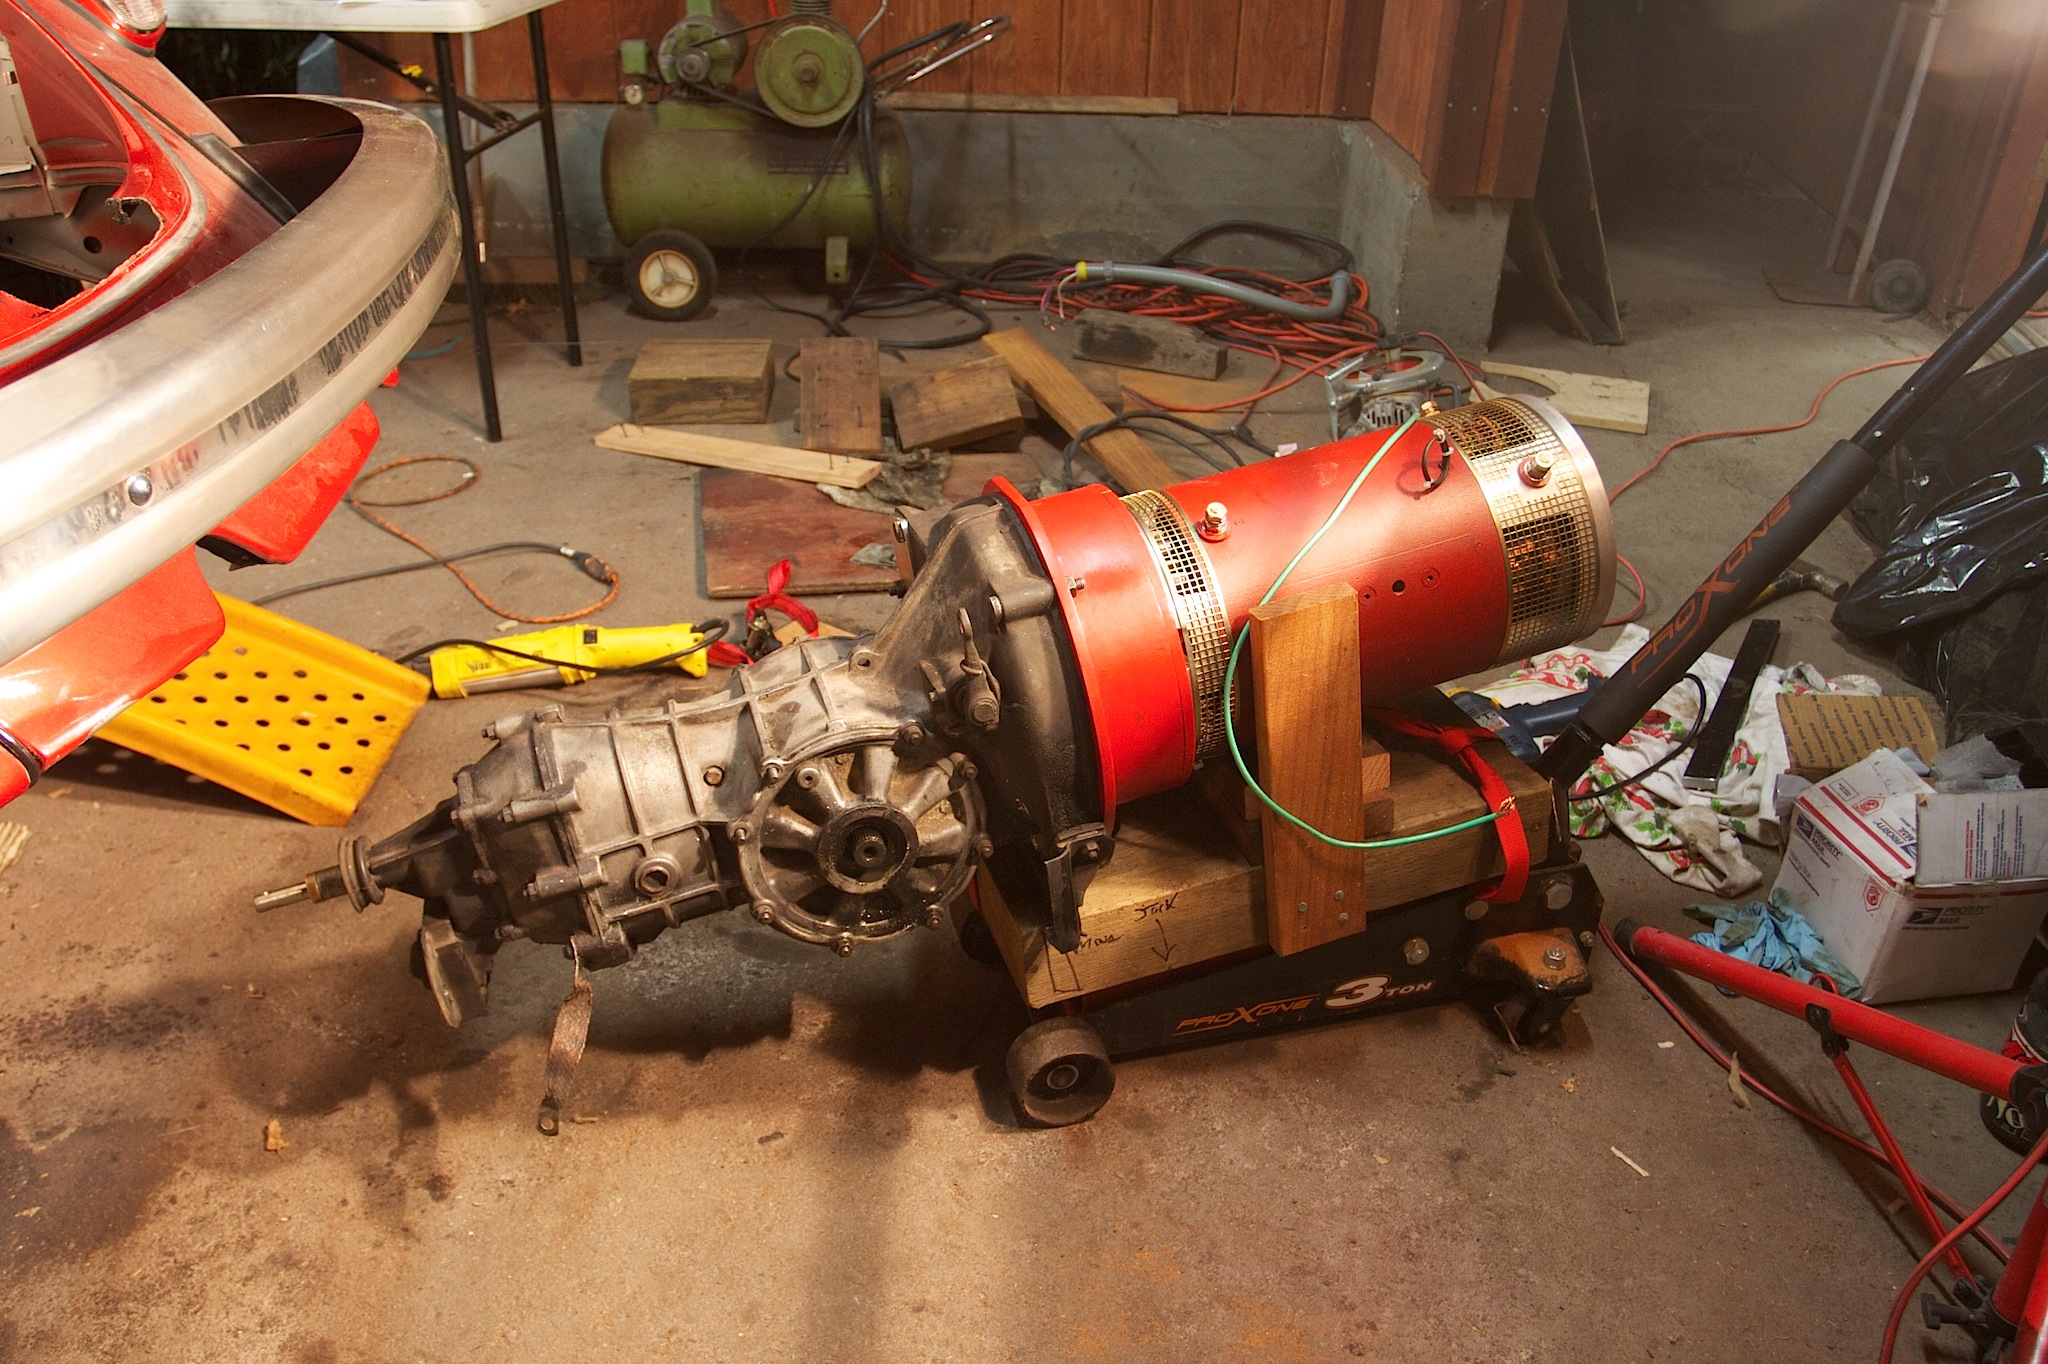
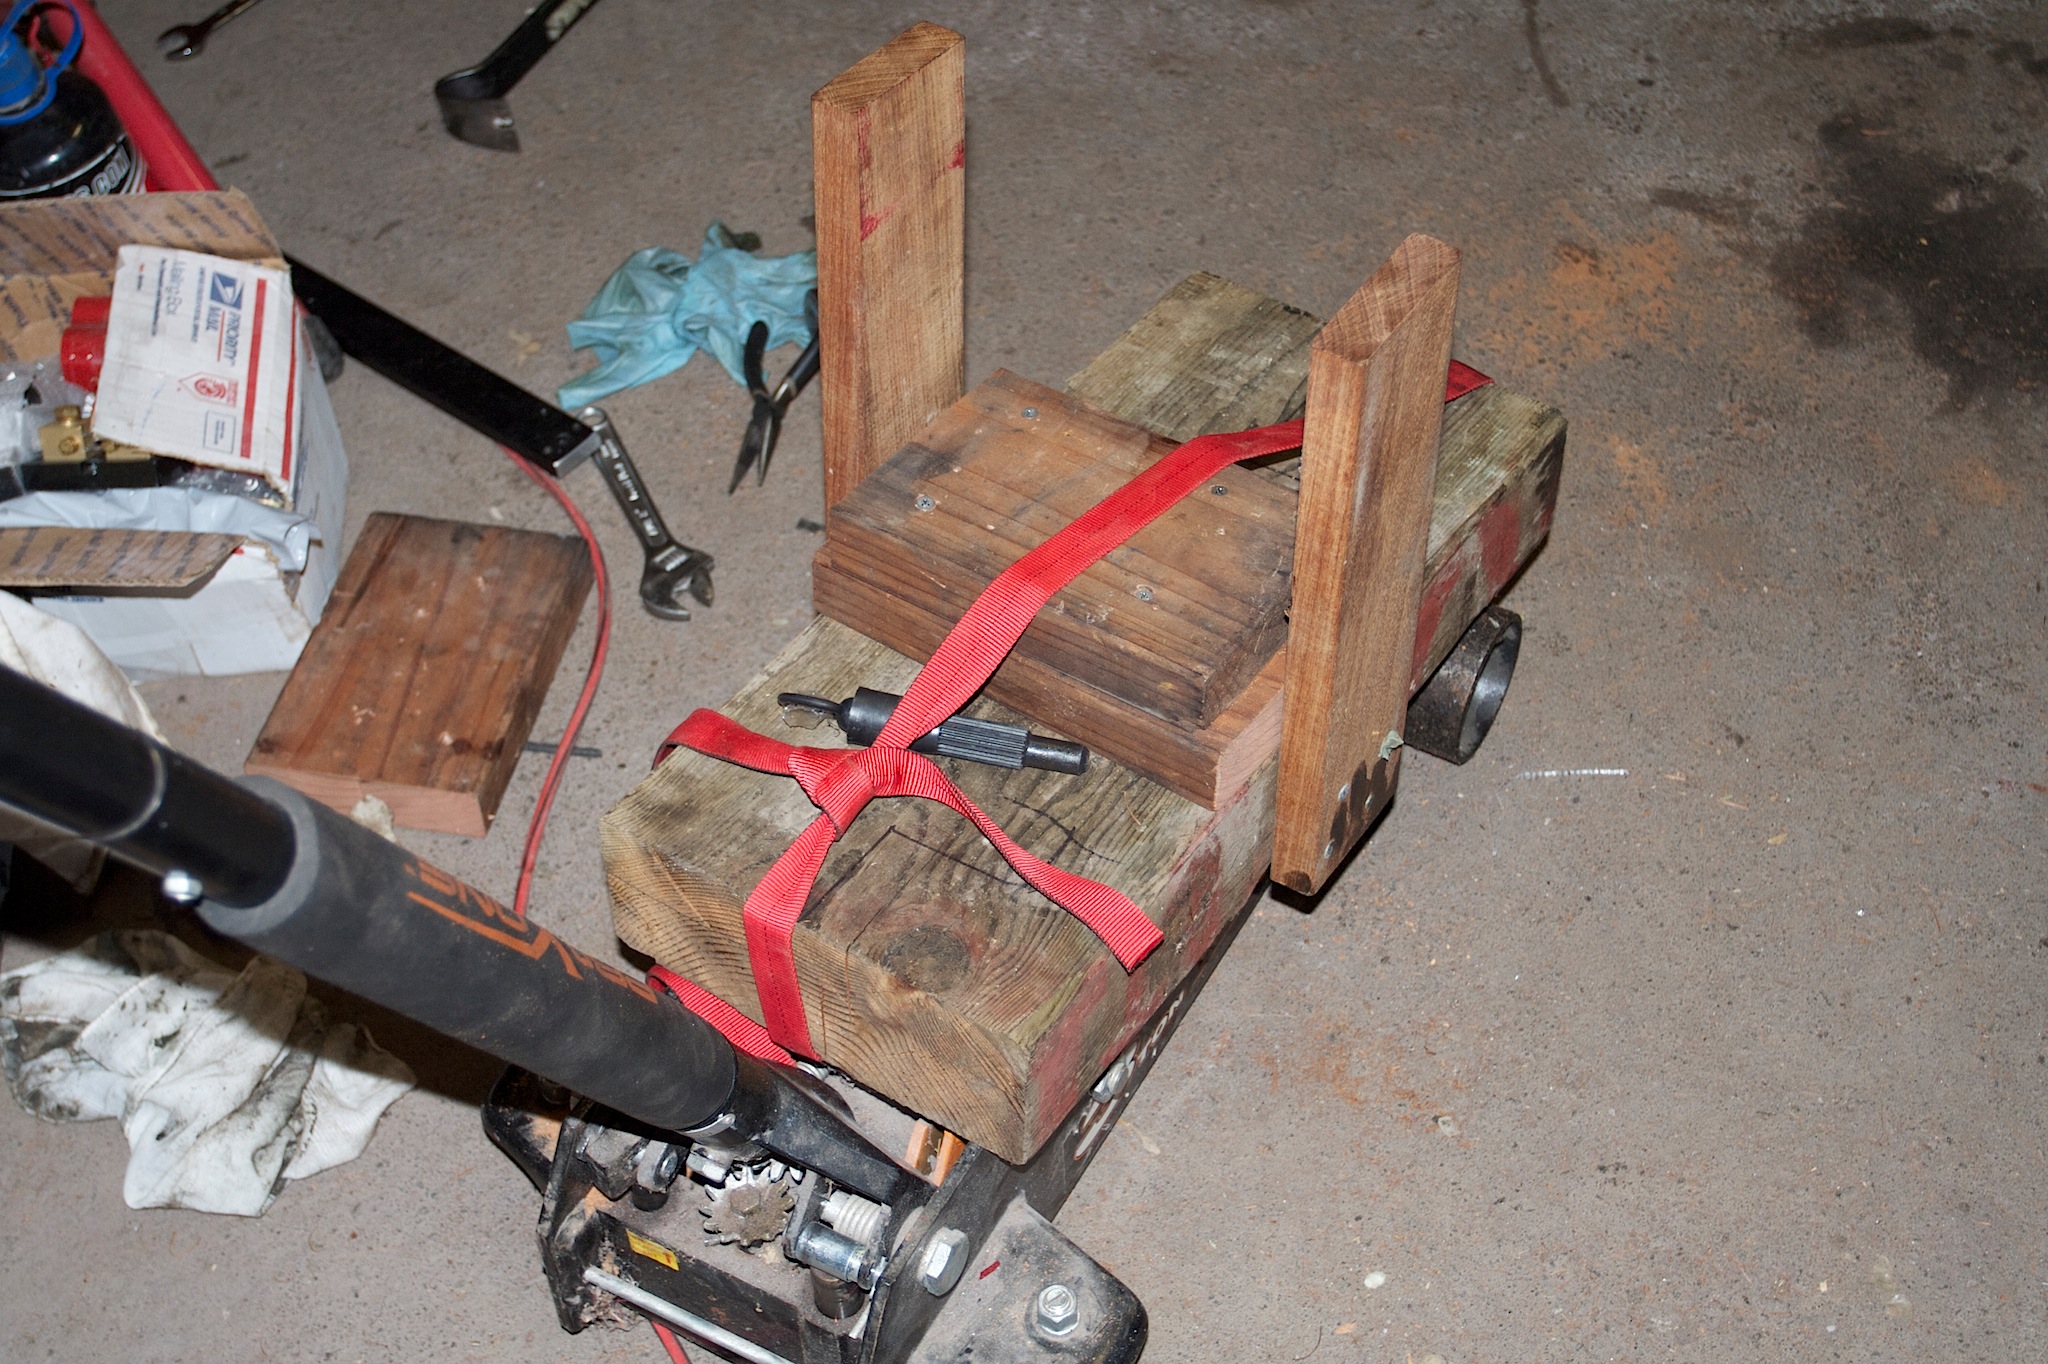
The jig is just a few pieces of wood screwed together. I then found the balancing point with the motor on it (which took some trial and error), and marked the locations so I could easily get the motor on and off by using the jack to lift it into place (or out of the bug).
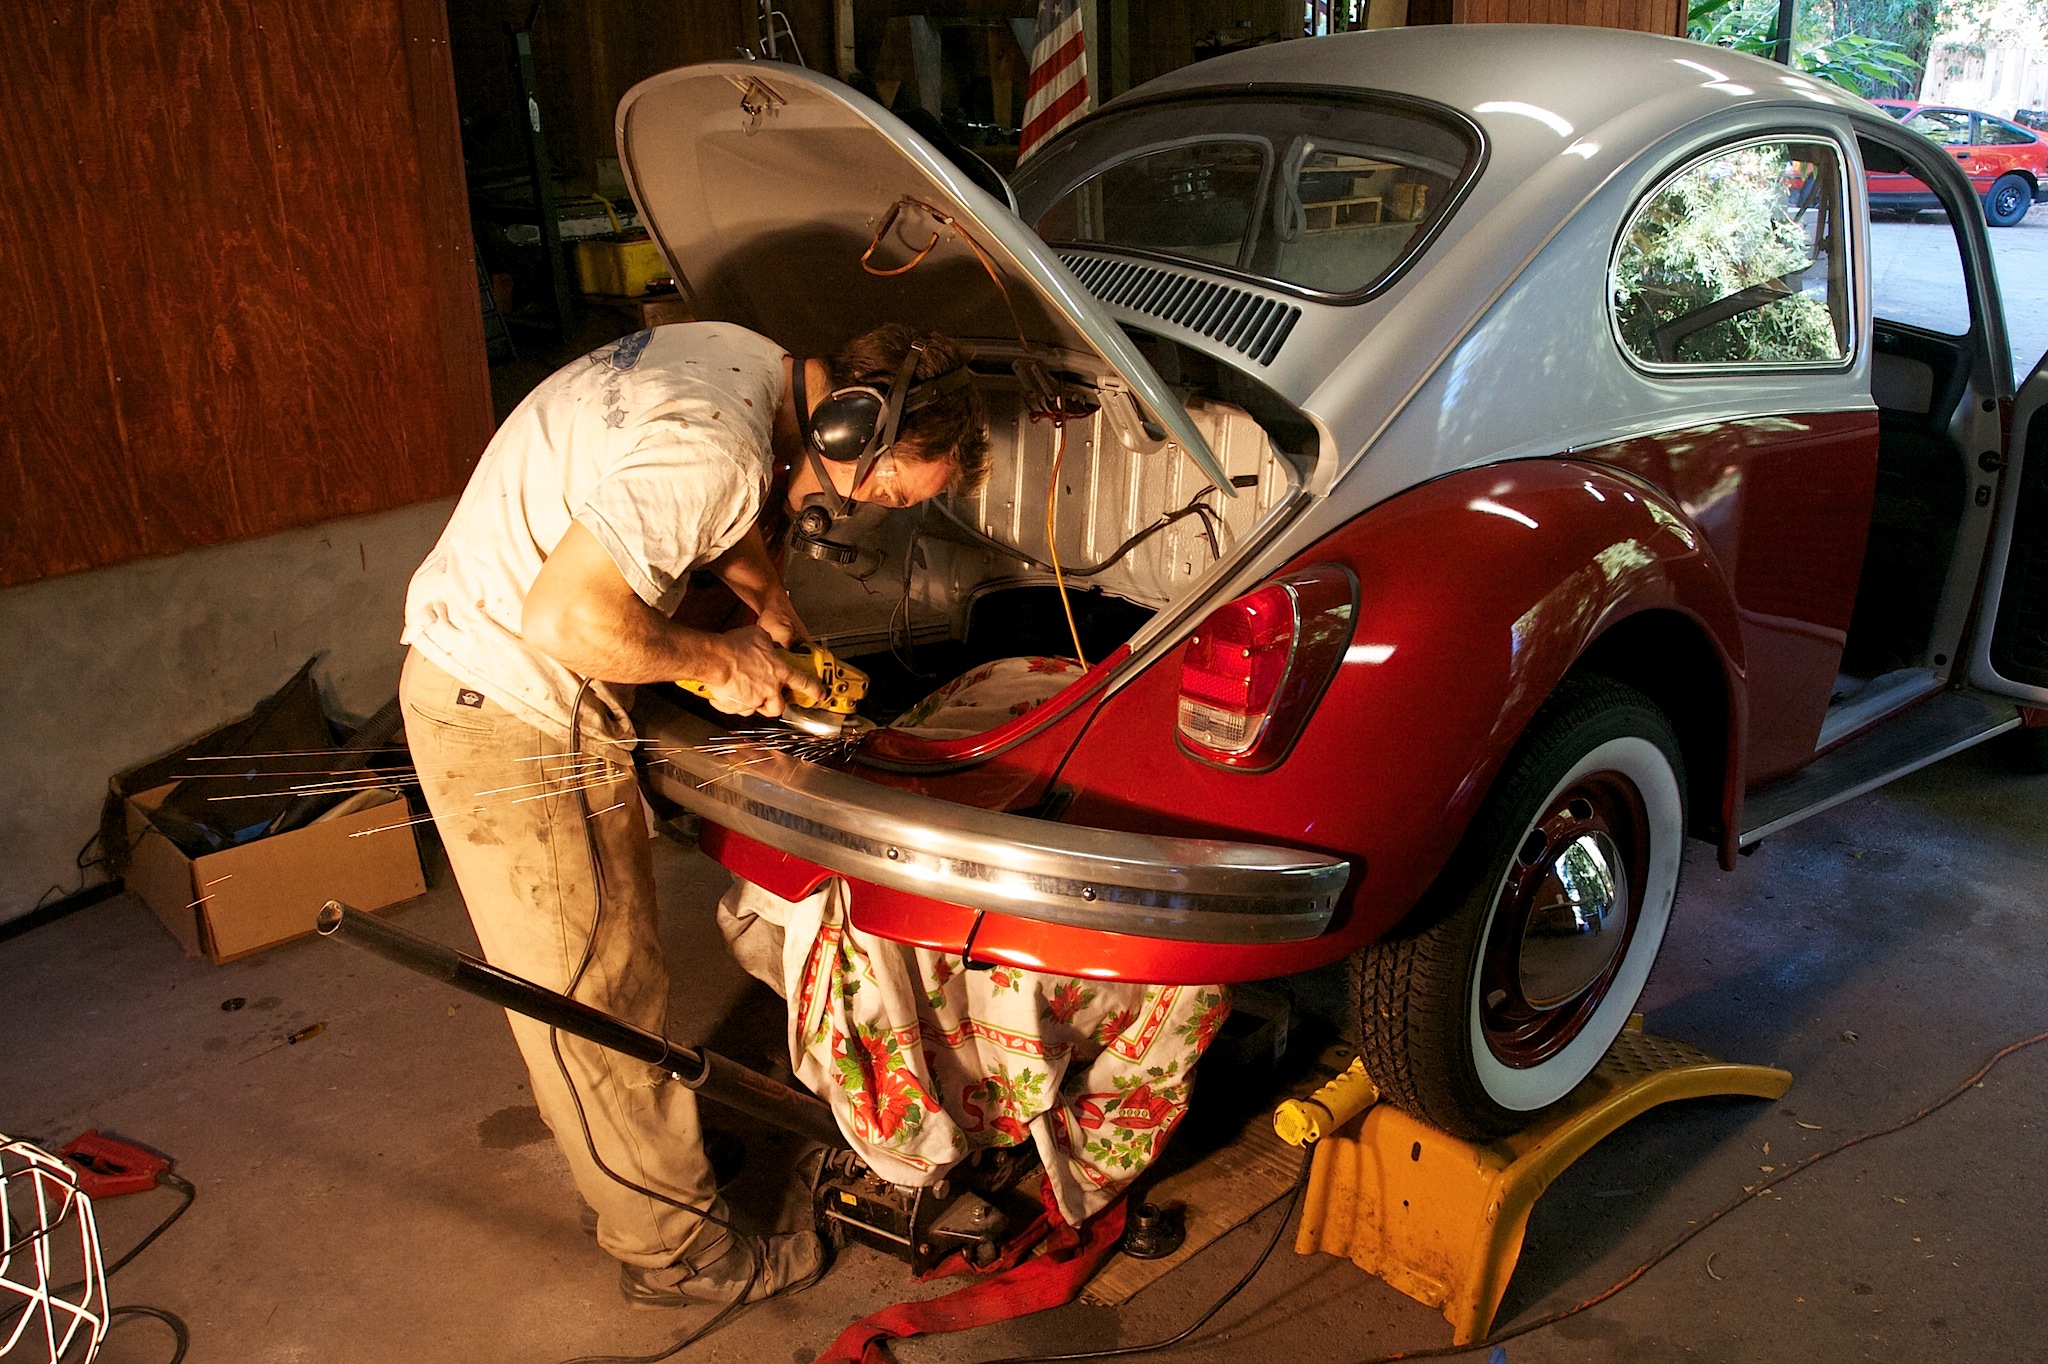
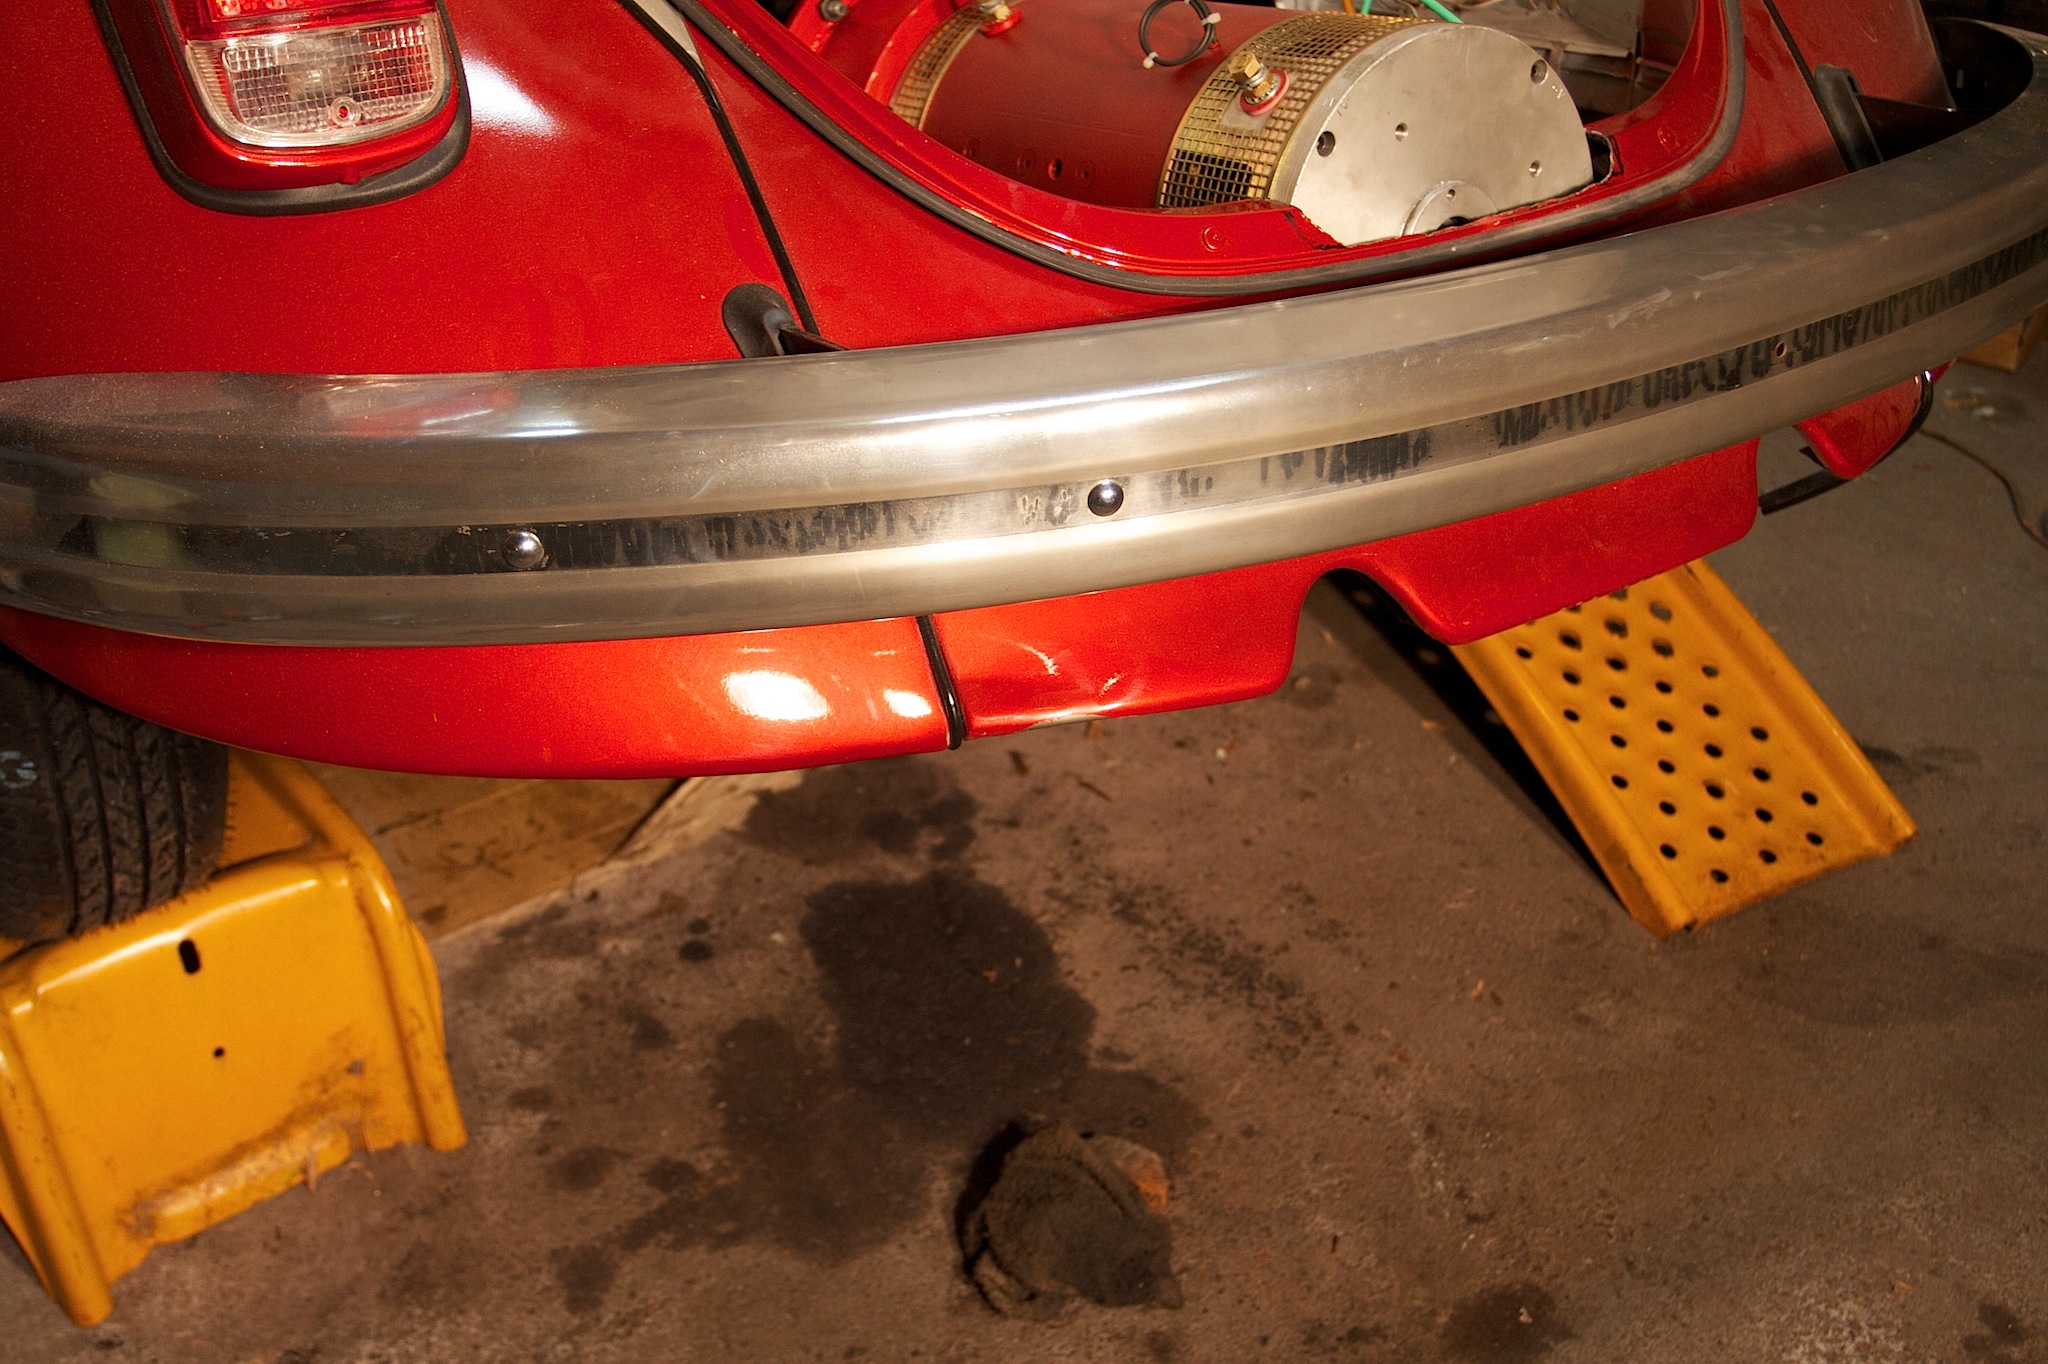
Now, the WarP 9 didn’t fit. I didn’t ever think I was going to use the tail shaft, so I made the decision to cut it off. Sure, it might have been nice to have to run A/C off of, but I would have had to cut even more out of the bug to make that happen. Here’s me grinding it off:
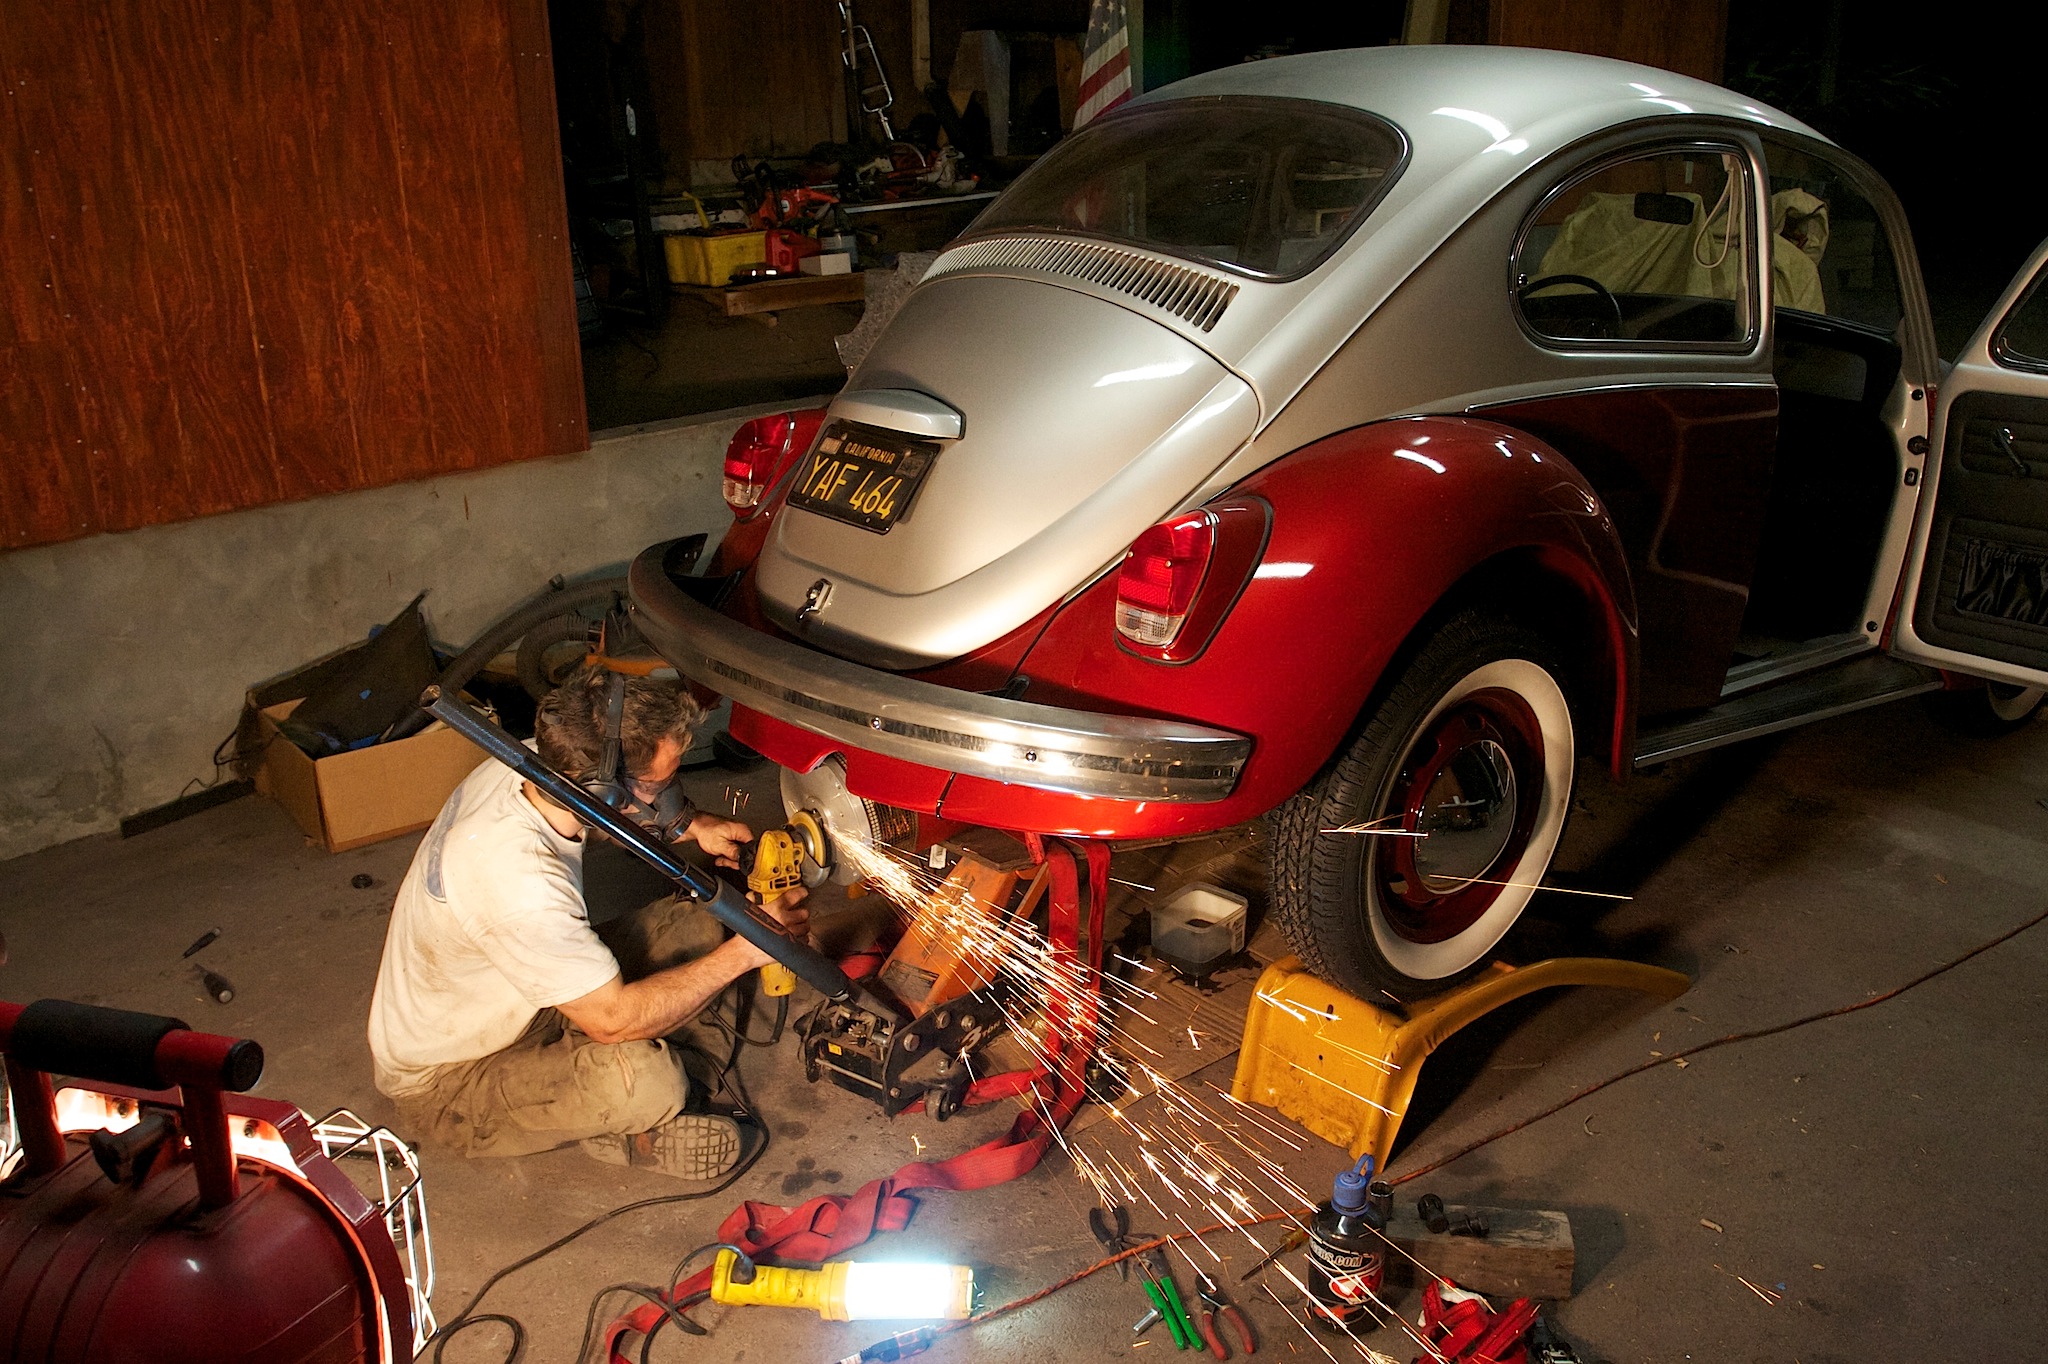
It still wouldn’t fit in the back, and it was clear that I’d have to cut the apron. I had seen other conversions that had to do this, so I wasn’t surprised. I did see a few that didn’t have to do it, but they use the slightly smaller (and weaker) Impulse 9 or some other older GE electric motor.
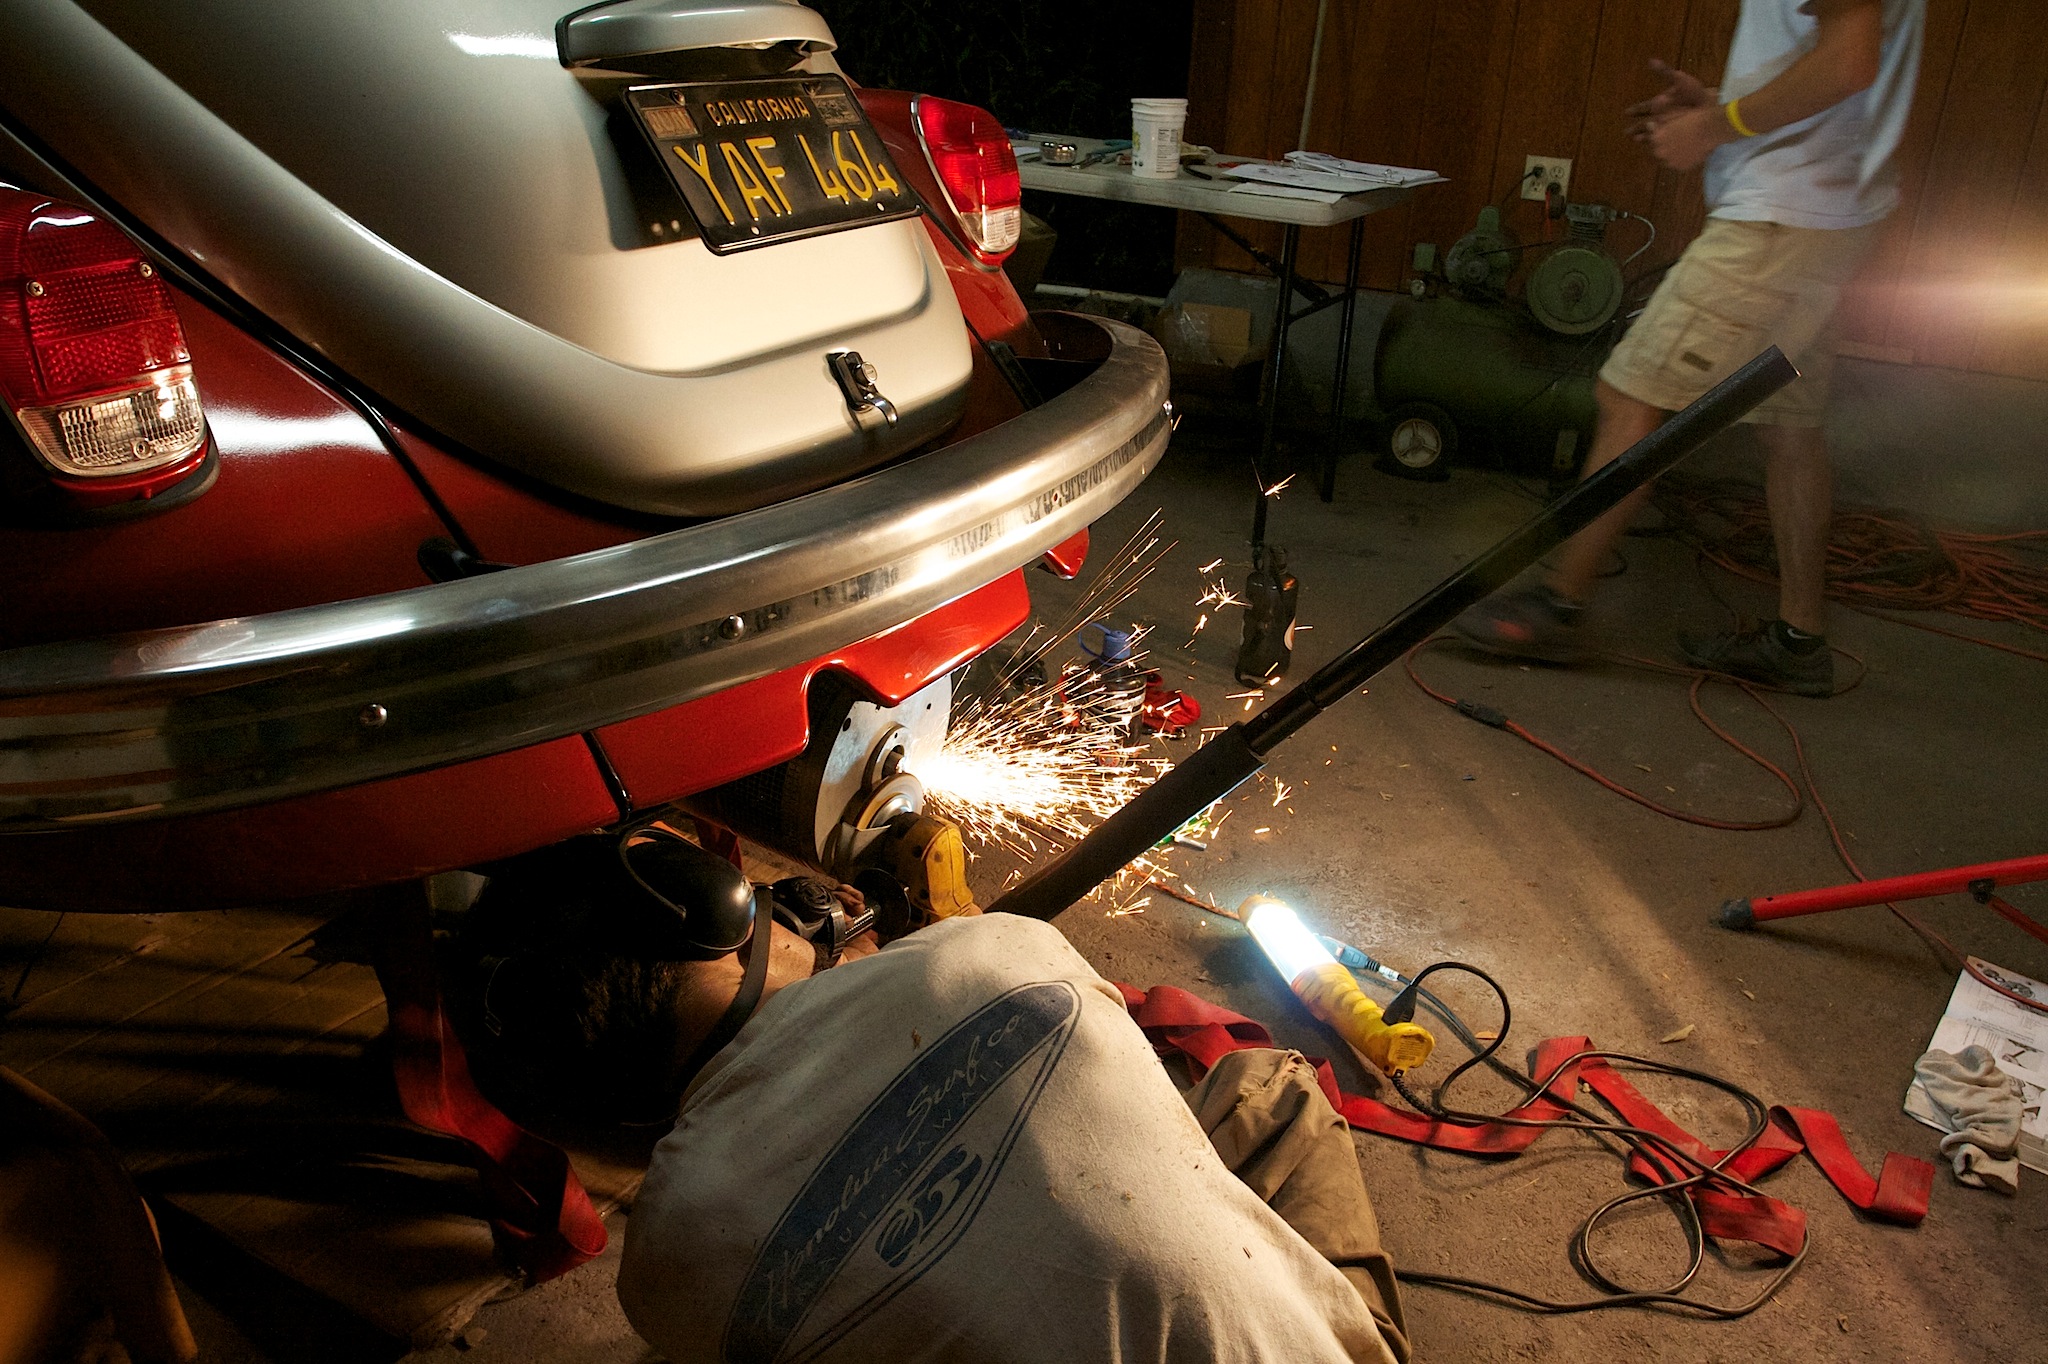
I made rough eyeball cut marks with a sharpie marker and cut it out using a grinder, sawzall, and dremel. The sawzall was the most effective, but also the easiest to potentially have it get away from you.
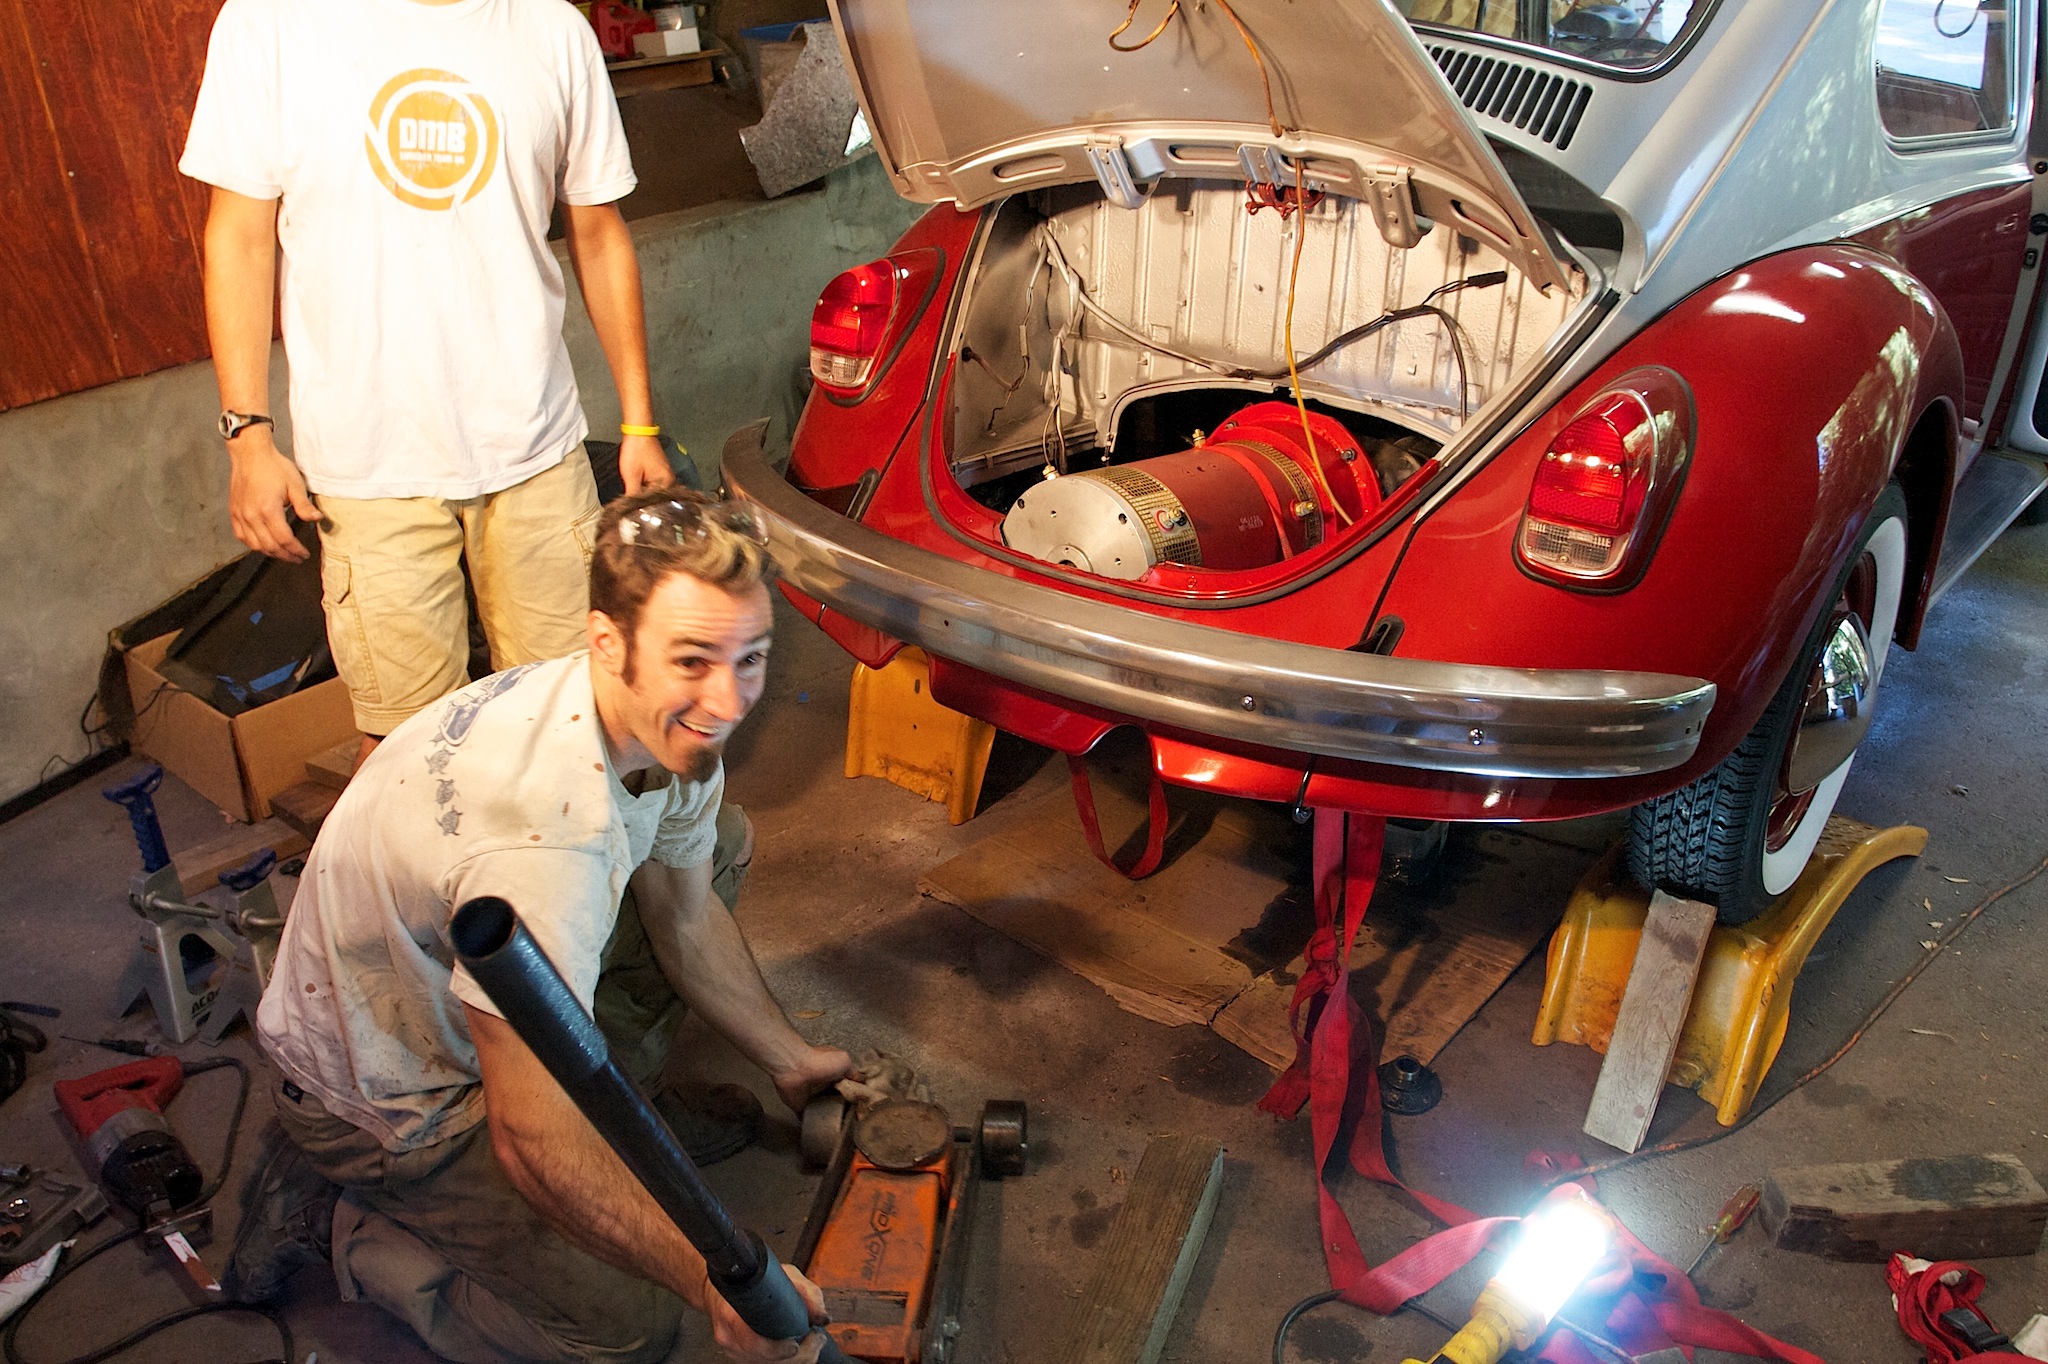
To actually get the transmission to slide into place I had to take off the CV “ears” on the side of the tranny to get it to clear the mounting arms. That was a great idea by Aaron as it simplified a lot of things. I should have drained the tranny gear oil at that point, because I ended up spilling a lot of my floor. After the last trimming we pushed it up and bolted it on.
corbin: “Hey look, its in!”
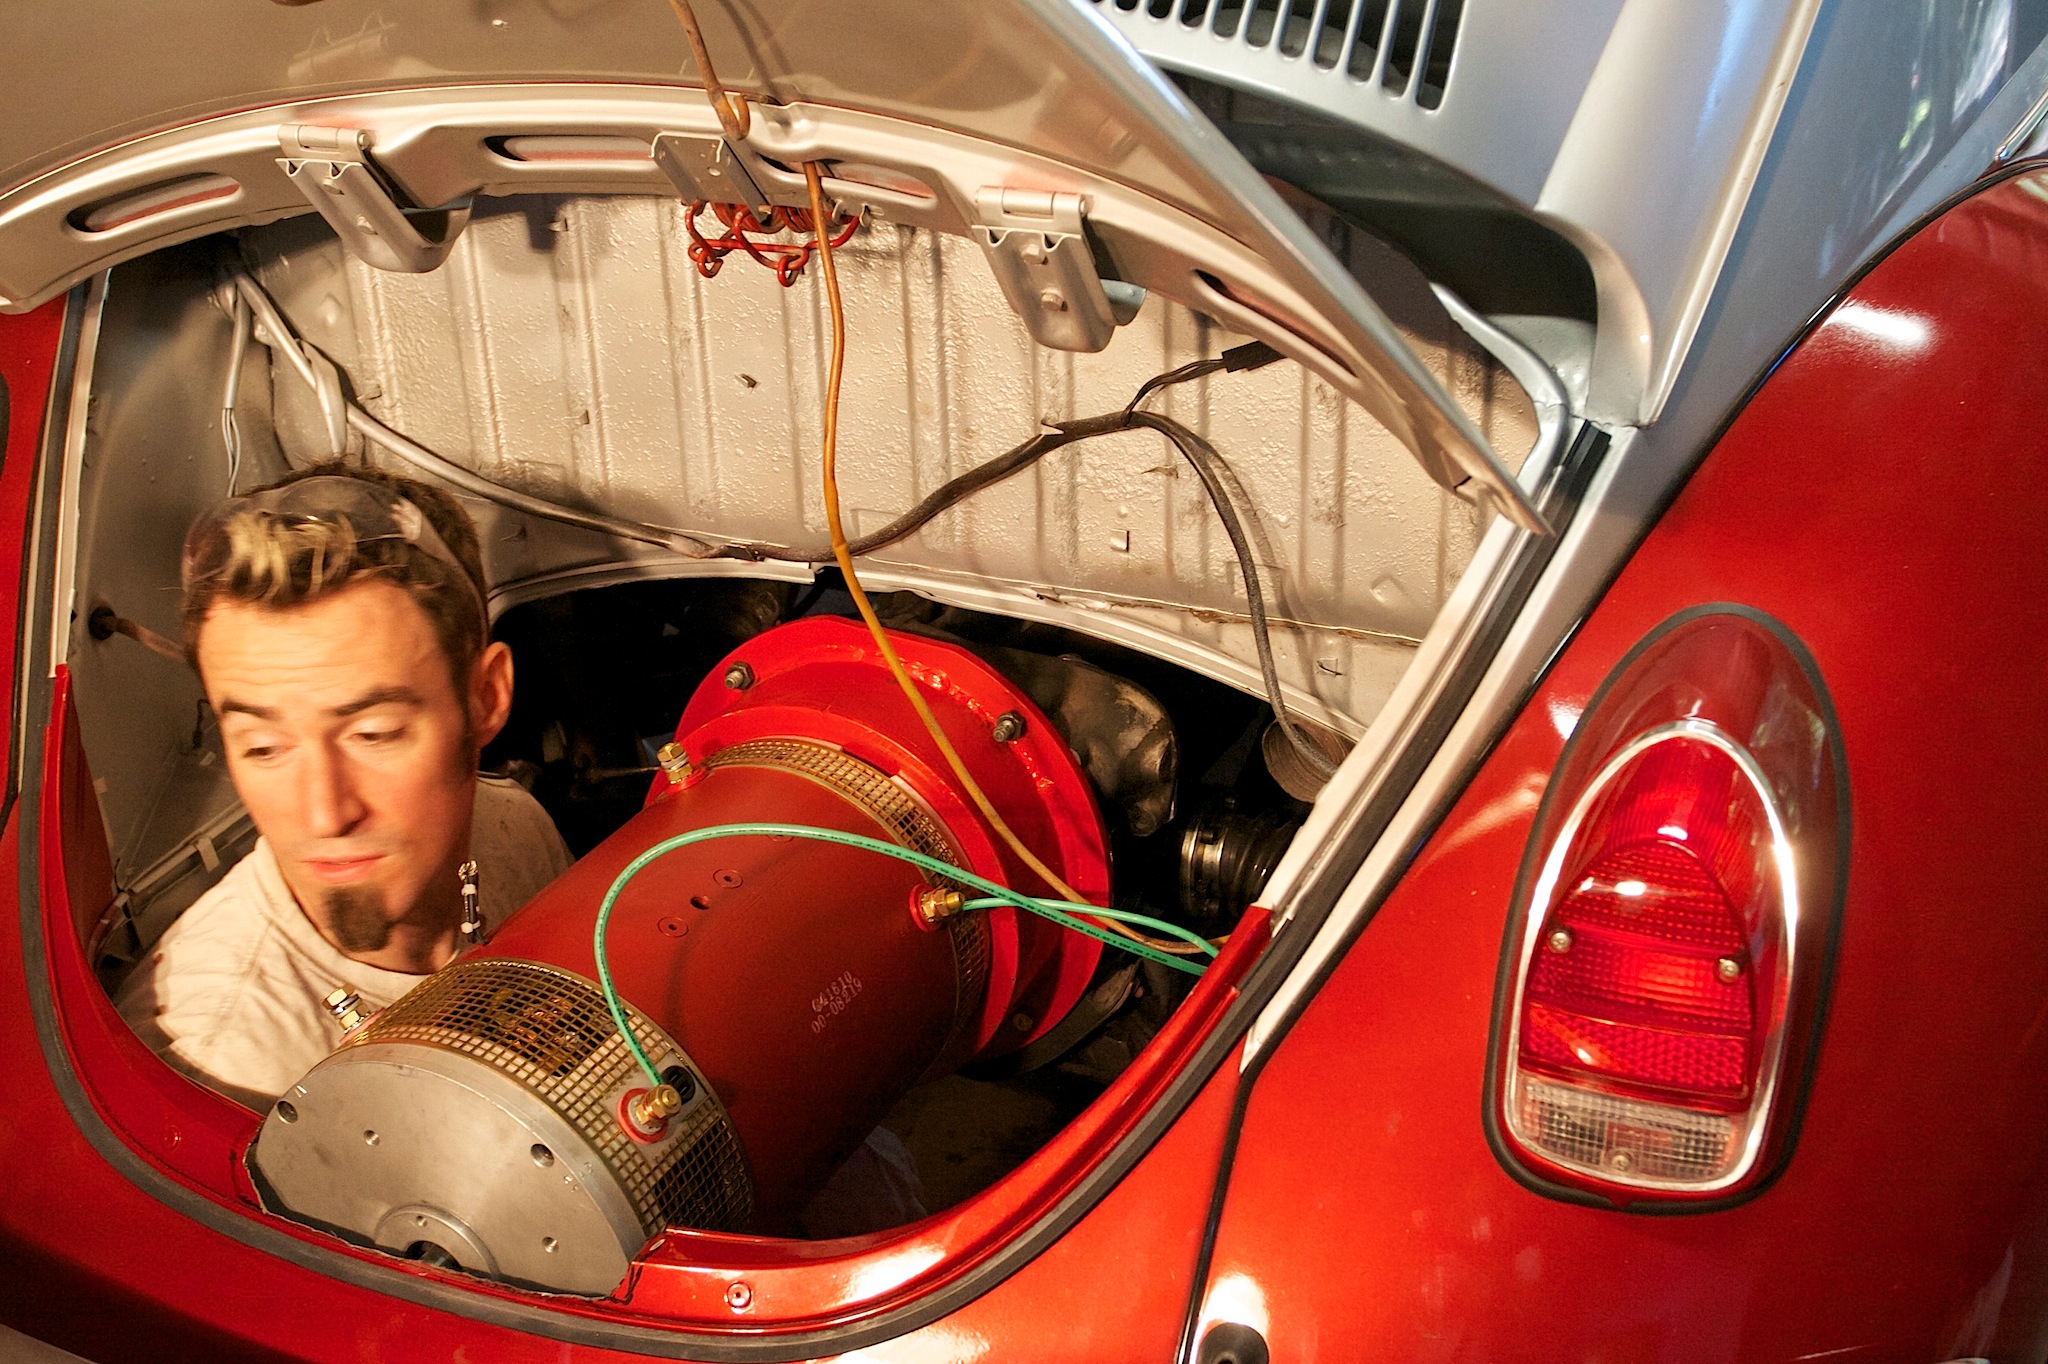
Detail of it and my head for scale reference:
Then, what else to do but hook up a 12 volt car battery and spin the tires!
Here’s another close up of the apron cut out; I haven’t cleaned it up yet:
So…we got it in, but the clutch didn’t appear to be working. In hindsight, I think we were wrong, and it did work and just needed adjustment. Anyways, Aaron and I dropped the motor/tranny combo out and moved the whole clutch/flywheel/coupling slightly forward on the shaft to let the clutch disengage better. (NOTE: that was a mistake — it was better to match the position compared to the original engine).
We had the car on jacks, instead of the solid orange feet seen in the above pictures, and it wasn’t quite high enough to get the motor underneath. We had the single hydraulic jack already in use to hold the motor/tranny, so I figured we could just use the regular spare tire car jack to jack it up a little and sneak it in. HUGE MISTAKE! Never leave a car on a janky car jack and work on it. We hit the car and pushed it off the jack. The jack was bent on the side, and the left of the car was in the air, supported by the rear apron sitting on the motor! I didn’t take a picture of that, but here’s the damage it caused:
You can see the slight push out where the apron sat on the motor, and there is a bit of paint missing. I’m not too worried; it is hard to notice, and I can touch up the paint. Oh well…live and learn, and we were glad no one got hurt! We managed to get the motor/tranny out and get everything restable and setup right, without any more damage. We put the motor back in, and apply power again; the motor made a small sound but wasn’t turning…that seemed like really bad news.
We called it a day, and on monday evening I made a better motor/tranny support system (the wooden thing at the top) so I could easily and safely get it in and out by myself. Previously we had balanced it on a piece of plywood. I quickly got the motor out, pulled it apart and saw that the clutch was too far forward and the pressure plat was hitting the housing. I reset it back to where it should be (compared to the ICE, based on positions from the mounting holes using calipers), and put it all back together. It didn’t take long, and now I’m a “pro” at it.
This time the wheels spun again, and the clutch seemed to be working. Yes!


Great job! I know how frustrating it is to have a tranny buttoned up and realize you have to take it apart again. Thats a sexy motor!