Plug Bug: Window / Door Restoration
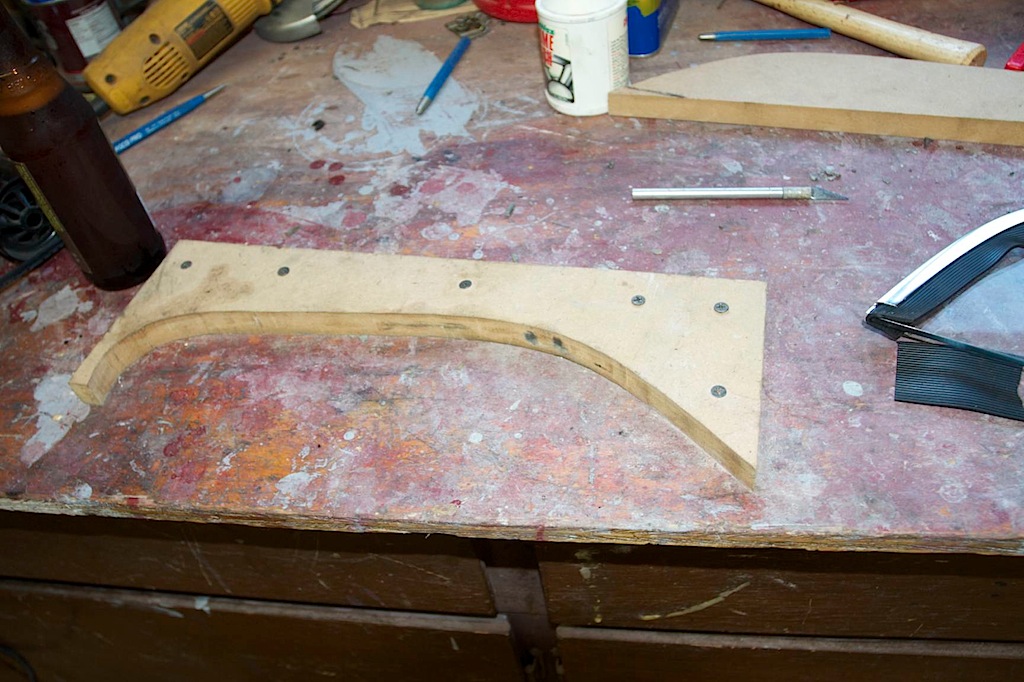
I needed to replace the seals in the little vent windows and put in a new handle. This involves pulling the glass out out of the vent window channel and riveting on a new handle. It turns out it isn’t easy to do. I had found some general vent window install steps on the BugShop, but he used a screwable “Workmate” table, which I don’t have. So, instead of doing it with a proper jig, I figured I could muscle it in. I did go ahead and use the bandsaw to cut out the profile of the vent window in some MDF and screwed it to my work table:
I figured this would give me a good surface to push against. It turns out, it kind of worked. I used a lot of soapy water sprayed from a little spray bottle, and that really made it nice and slippery. I sort of pushed the vent window in and worked it until it was fairly well seated. I would alternate from using the jig (as seen below) to pushing down on the metal part with the glass on the table.
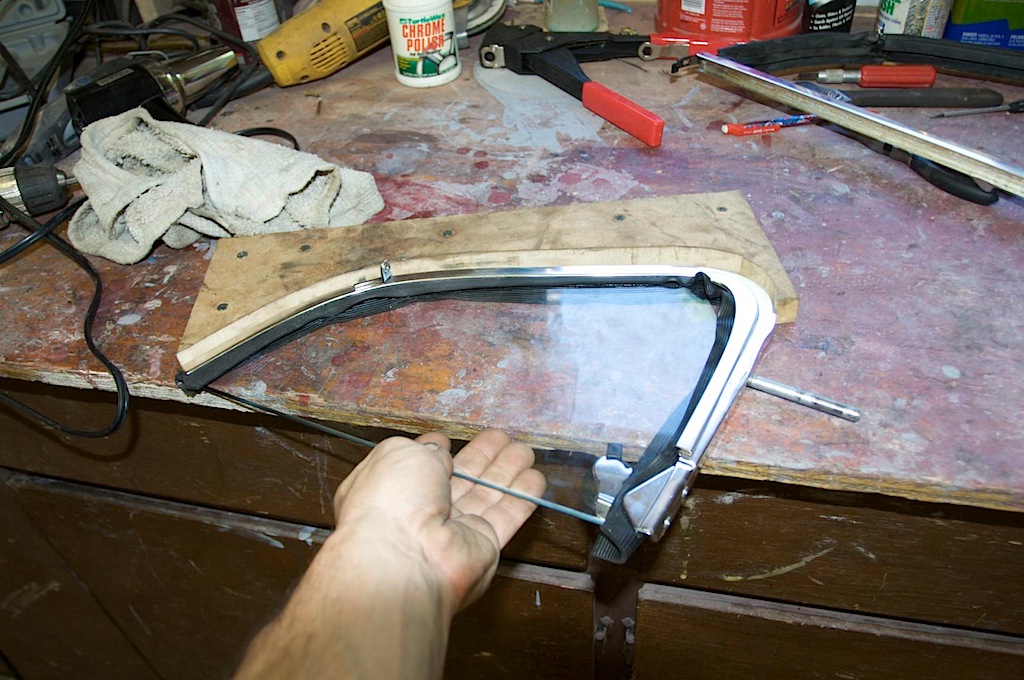
It was tough, and I had to remove the glass once and try it a second time, but it did work and eventually got it together:
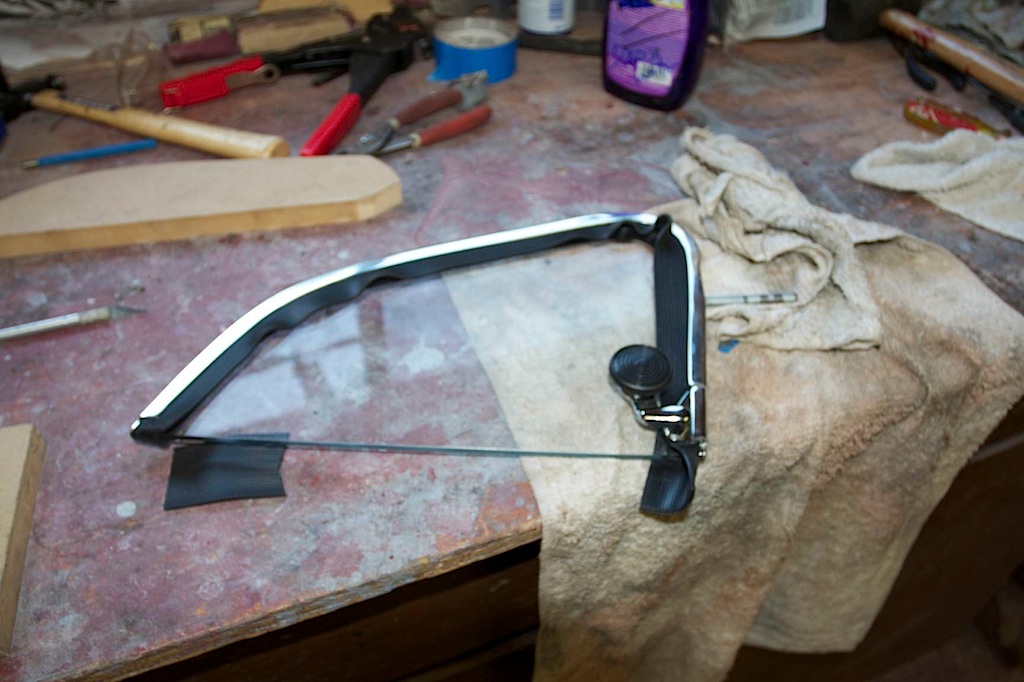
After the window was in I used a sharp Xacto blade to trim the excess seal off. The next tricky part was how to set this rivet hinge:
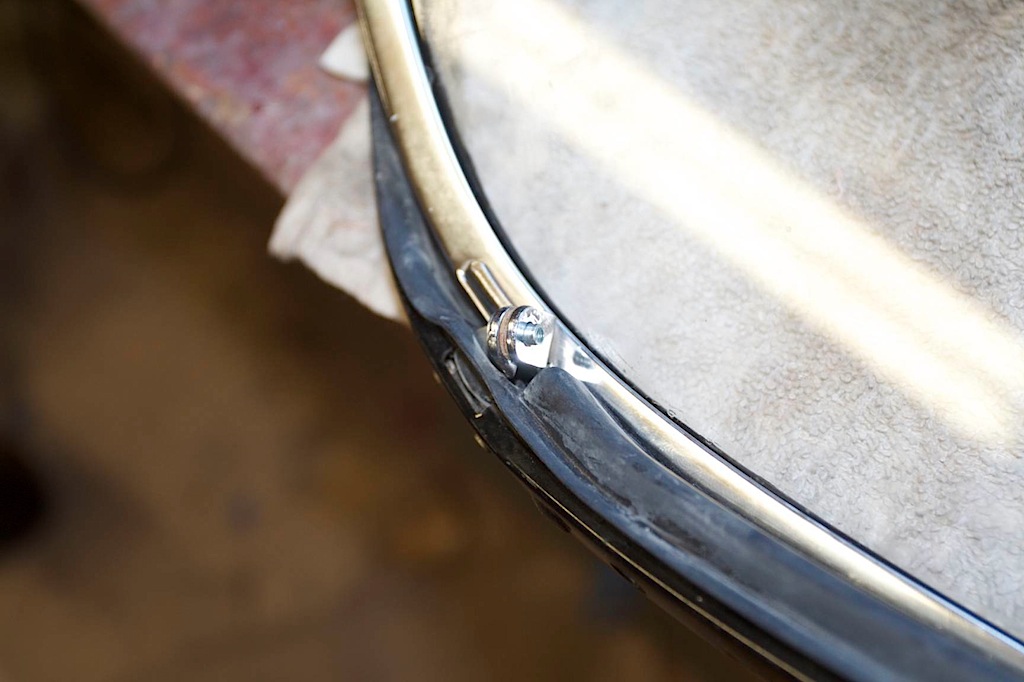
The normal rivet gun doesn’t work with this style rivet, and I think there is a special tool that you can use to sort of compress the revet into the right shape. Basically, all that needed to be done was to have the bottom of the rivet widened so it wouldn’t fall out. I looked around my shop and realized I had a little punch that had an angled end which would widen the rivet as I pushed it in. So, I flipped the window upside down and put the head of the rivet on a piece of metal (specifically, my vise head), and hammered it in to make it widen out. In the end, the flare out isn’t perfect, but it holds really well, and isn’t something anyone will ever even think to look at. And I didn’t have to waste any time figuring out what tool I would need to buy to get it done right.
After the vent window was back together, I did the following install:
- Outside window scraper with the metal trim — unfortunately, Brazil made as I didn’t search around and find a higher quality German made one
- Vent window
- Install the clips for the felt window channel
- Inside felt window channel
- Inside window scraper (really crappy quality — I’m not happy with it). This was a pain to get in right, and I ended up accidentally scratching the inside of my door a little bit (doubt!)
- Install the window. You don’t have to take out the window channel — just undo the bottom bolt and pull the window runner out a bit so you can slide the window up underneath it.
The window rolls up really tight. I wish it was easier to roll up, and I’m not sure why it binds so much. I think it is the crappy inside window scrapers, which didn’t want to seat or install very well. I was tempted to use the original ones, but the rubber was ripped and torn in a few spots. It also might be the new felt window channels — they are pretty tight. I’m hoping it will wear in with some time and become easier to roll up and down.
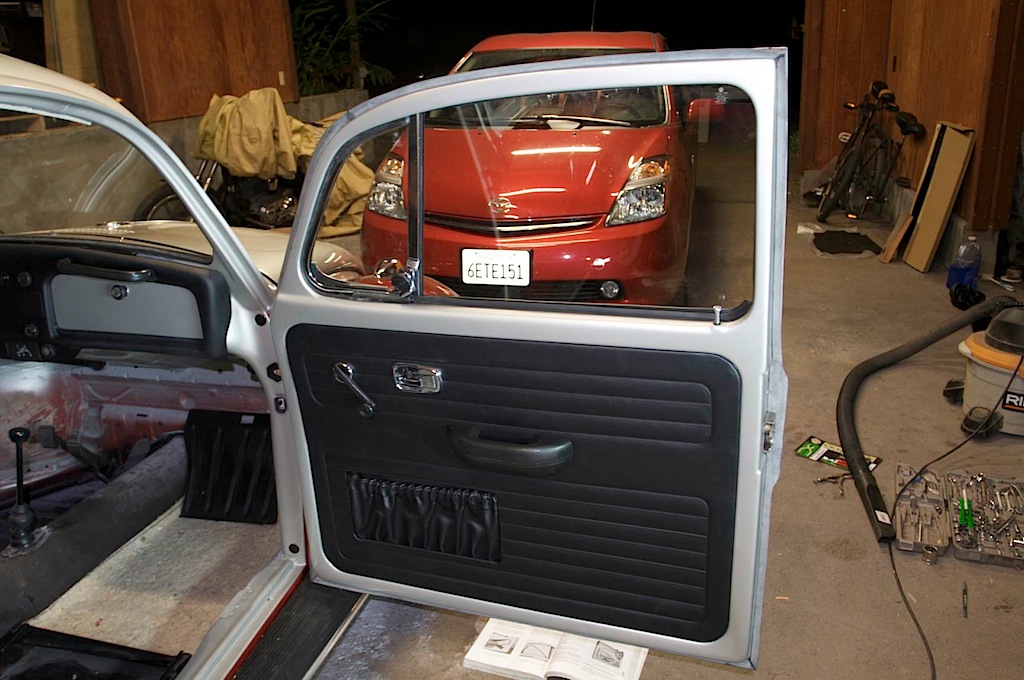
I tossed on the brand new side door panel to get a feel for the finished door and it looks GREAT!