All posts in January, 2009
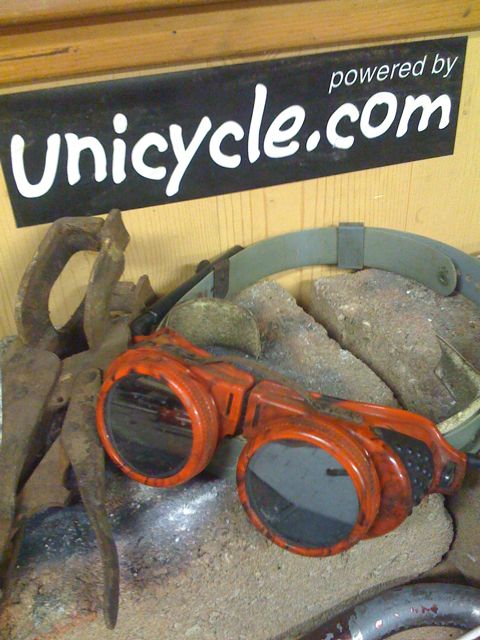
Cool welding goggles
They aren’t as dark as my glasses and work well for brazing. Very old school.
Jan
29
2009
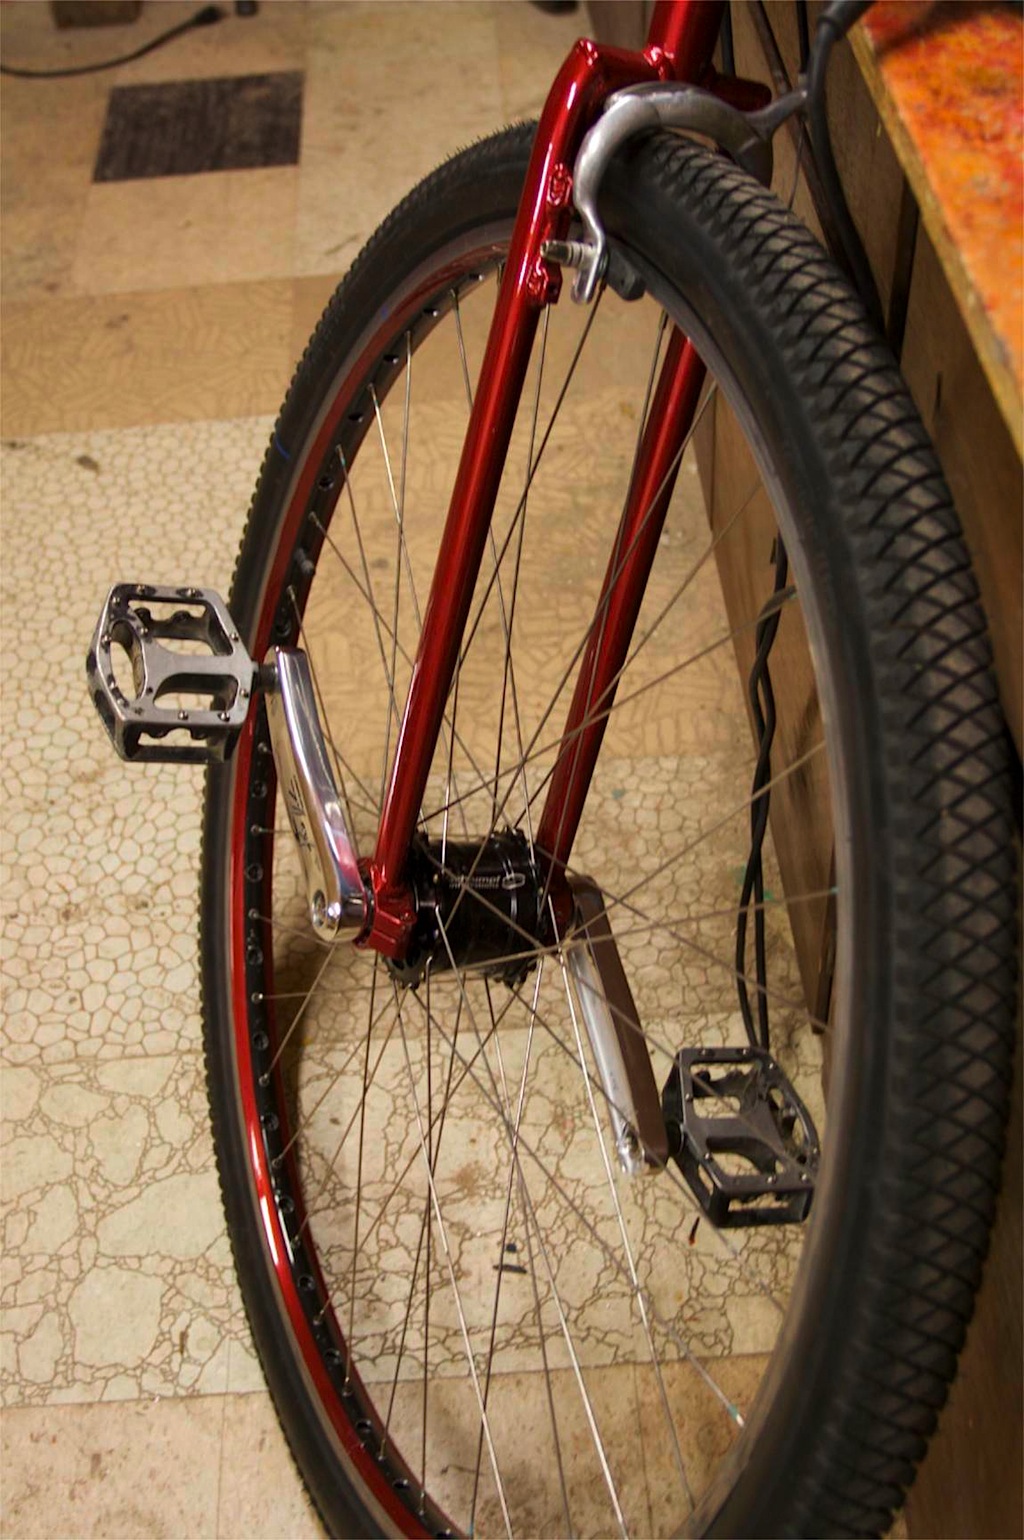
KH 36 Unicycle
My new road unicycle is setup and ready to ride! My old road unicycle was a Nimbus 36 frame – but, I had had dremmeled out the bearing holders to fit the 42mm bearings for... [read more]
Jan
20
2009
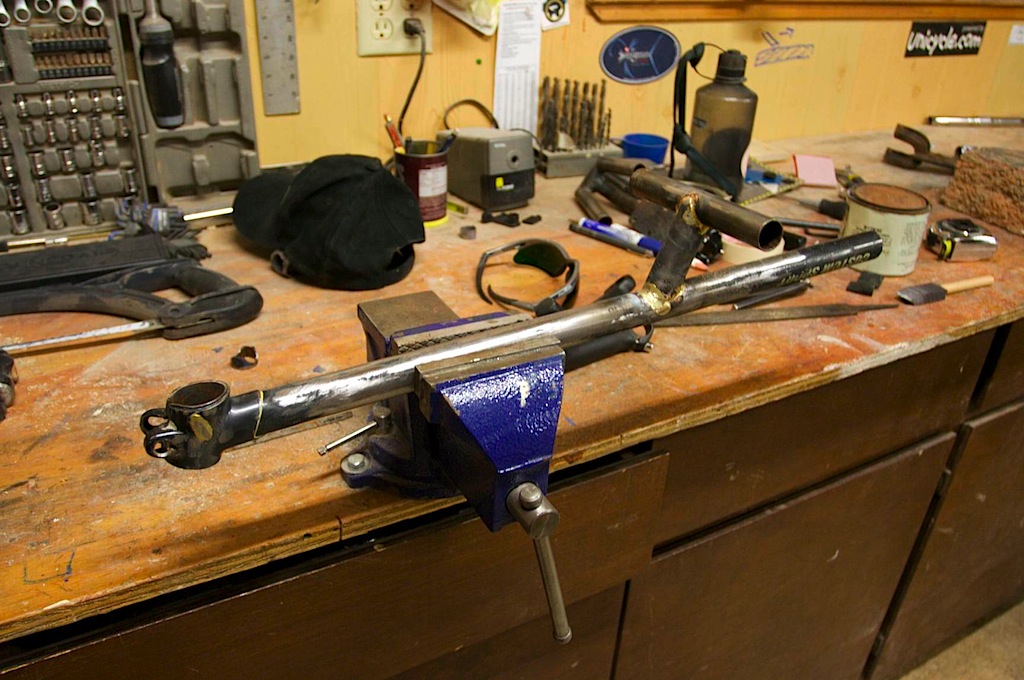
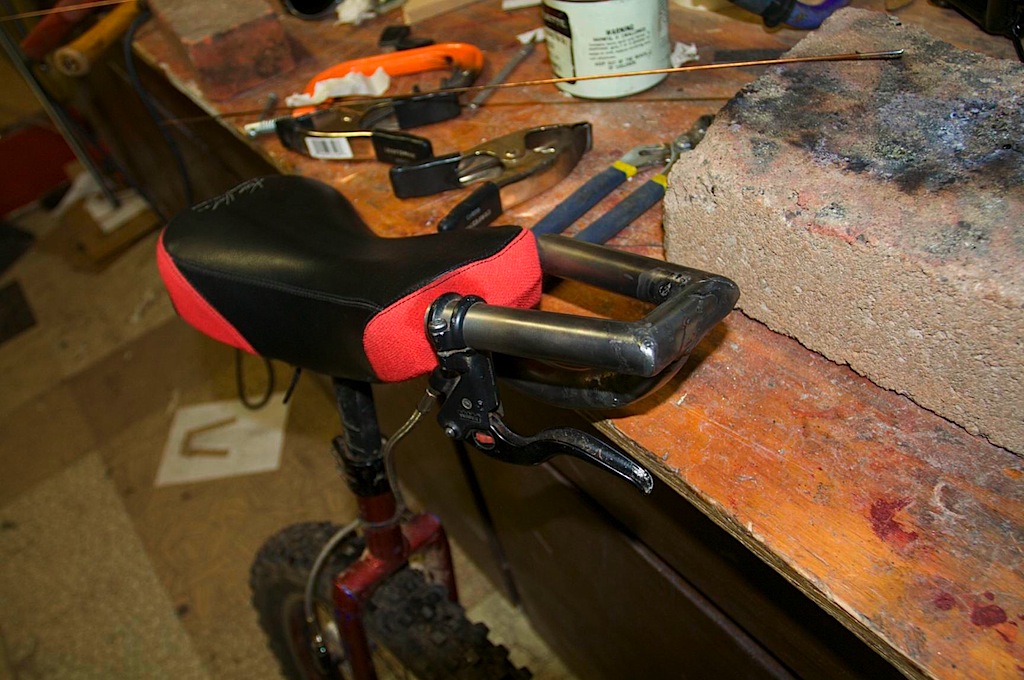
Yet another unicycle handlebar
I made another unicycle handlebar. This time, taking some ideas from other people and using an old bike seat tube with a T welded on front so I could mount bar ends on it. It... [read more]
Jan
19
2009

Pete Nelson’s latest treehouse
From his blog: http://petenelson.wordpress.com/2009/01/05/a-treehouse-north-of-seattle-2/ Just amazing, as usual!
Jan
6
2009
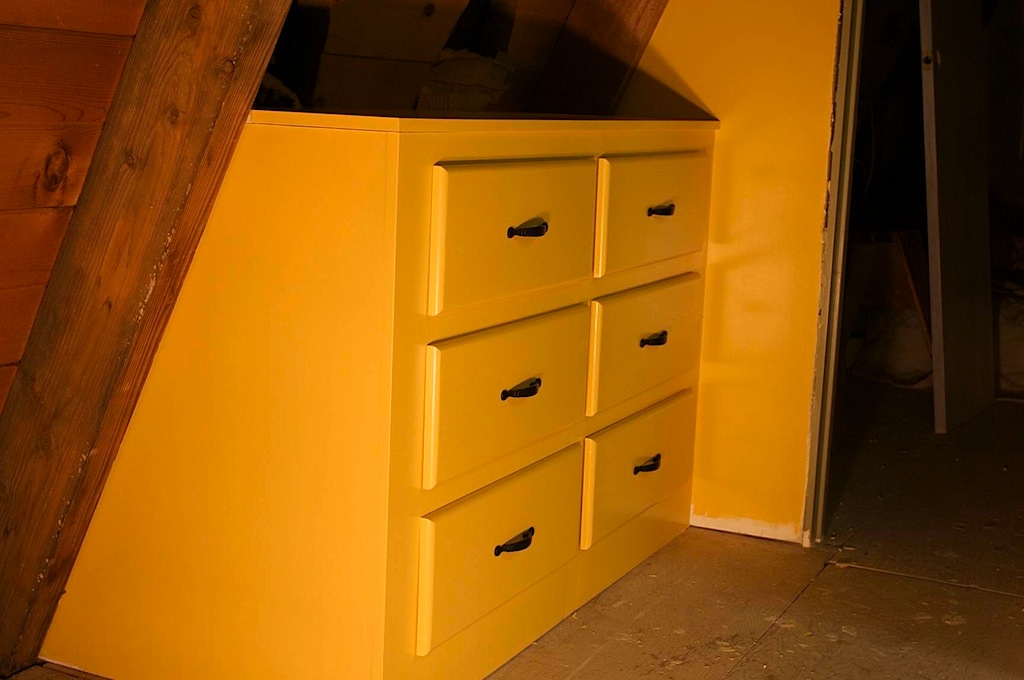
Project Hutchinson: Upstairs built-in dressers
The built-in dressers are coming along. Here’s the first set in front of the bathroom. Louise picked the color.
Jan
5
2009
Munibar: Mountain Unicycle Handlebar
A few days ago I finished a new unicycle handlebar for my mountain uni; thus, we have the munibar. I’m planning on using the geared 24″ mountain unicycle for the Africa tour next summer, and... [read more]
Jan
5
2009
As an Amazon Associate I earn from qualifying purchases.
(c) 2008-2026 Corbin Dunn
Subscribe to RSS feeds for entries.
53 queries. 0.574 seconds.